Flow design in Wevo iPaaS
The Wevo platform has been designed with the goal of facilitating the processes that occur during an integration, thus enabling information to flow from one system to another without interruptions. This page will show you the tools and options available so you can use them to create your own flows.
Overview
Once you have created a flow (if you haven't done that yet, see Create a flow to learn how you can do so), you'll be redirected to the space where you can design it. There, you'll be able to drag the connectors' actions and the tools you want to use onto the flow.
-
Name: The flow name is shown on the upper left corner of the screen. Click on it to pick a different name.

-
Options: These flow options are present on the upper right corner of the screen:

-
Edit multiple items: Enters or exits multiple selection mode.
-
Connection type: Switches between visual flow line styles.
-
Center content: Centers the view of your flow.
-
Zoom out / in: Adjusts the grid zoom level.
-
Remove flow: Deletes the flow. A confirmation dialog is shown prior to deletion.
-
Notify: Creates flow notifications. For more information, see Notifications: Configure events.
-
Export flow: Opens the flow export dialog. For more information, see Export a flow.
-
Copy flow: Opens the flow copy dialog.
-
Check audit logs: Shows a history of all changes made by users to the flow. For more information, see Audit log.
-
Version: Shows the current version of the flow. Click to switch between versions or create a new one.
-
Options: Shows additional flow options:
-
Publish template: Publishes your flow as a template.
-
Log retention: Adjusts flow log retention settings.
-
-
Execution logs: Shows the flow logs. For more information, see Log analysis.
-
Flow status: Toggles the flow on or off.
-
Save: Save all changes made to the flow.
-
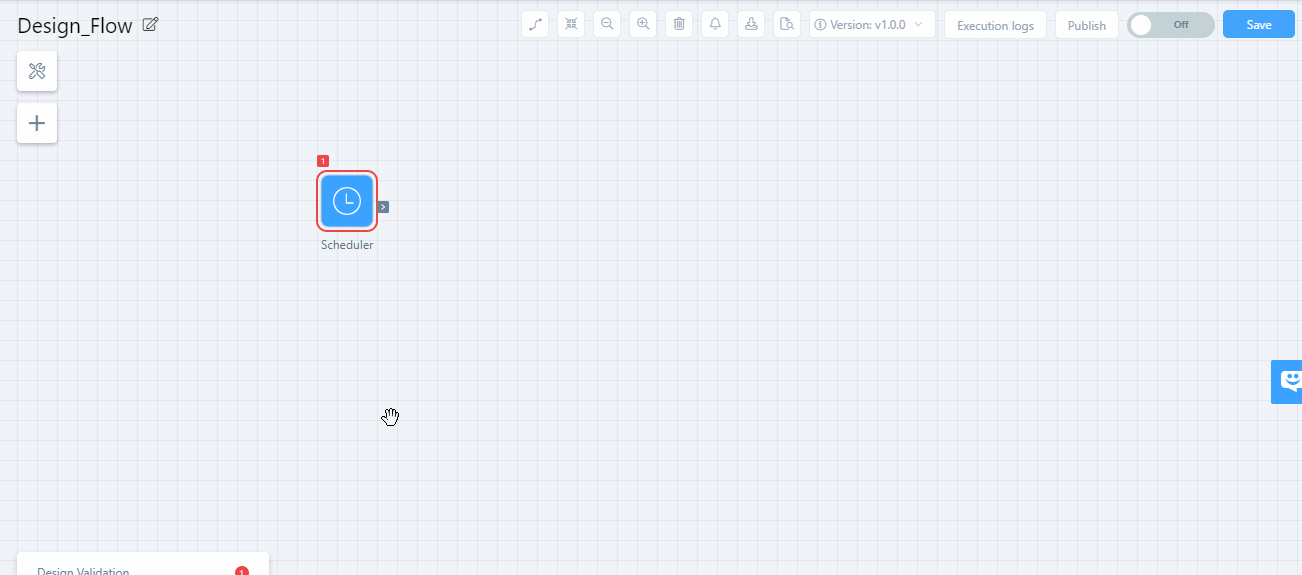
Configure or modify the trigger
In the grid where your integrations are shown, you can see the trigger item you've defined during the creation of your flow. By clicking it, you can edit the settings as you need. See Configure or modify a trigger to see a detailed walkthrough of how to do that.

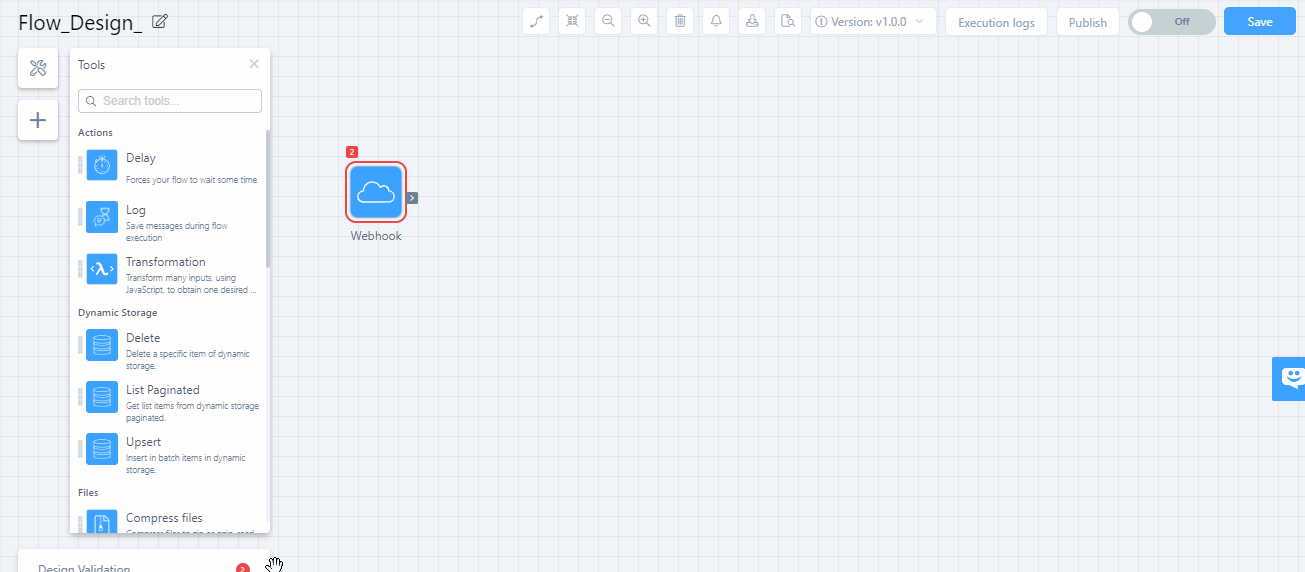
Tools
Underneath the flow name, click the Tools icon to show available tools that can be used to handle the integration data in a variety of different ways.
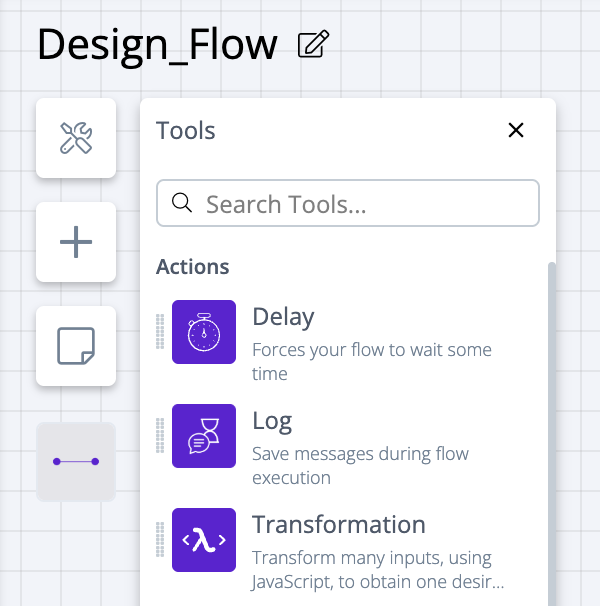
There are individual pages for each of those tools. See the links below.
-
Actions
-
Dynamic storage
-
Files
-
Flow control
-
Iterators
-
Logic
-
Parse
-
Process Queue
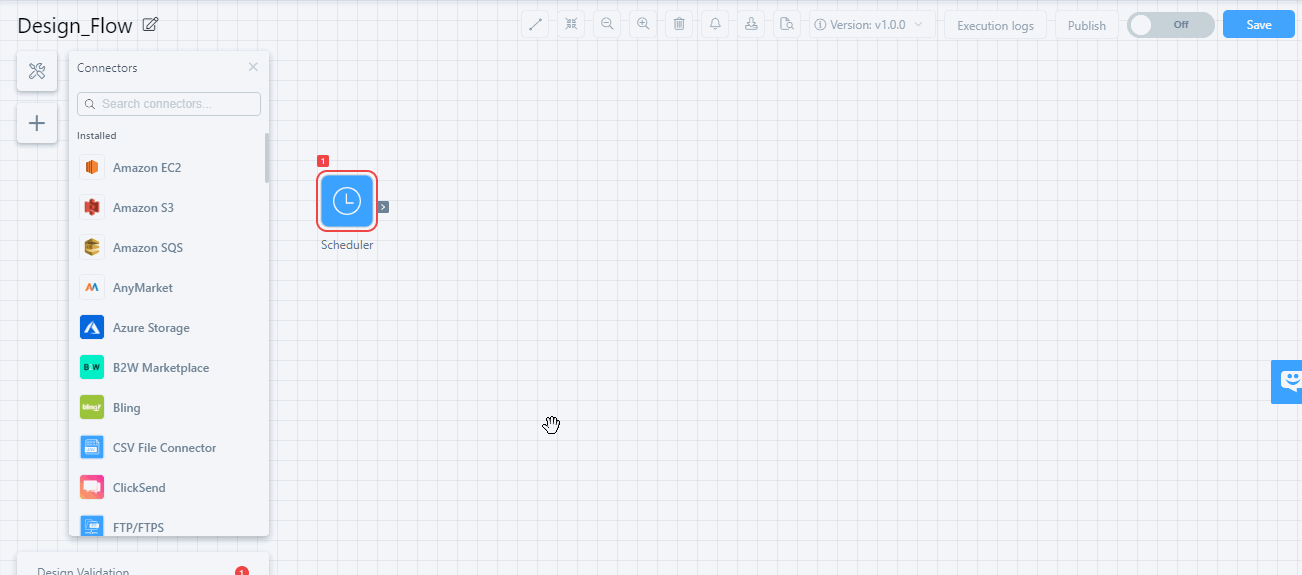
Connectors
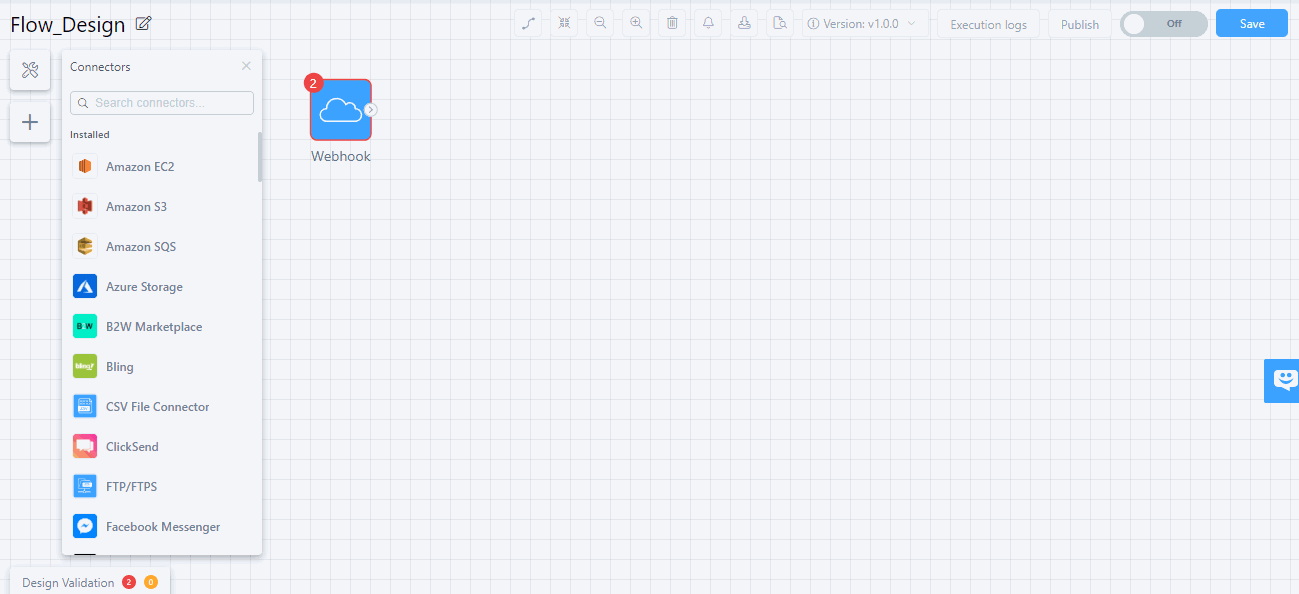
Underneath Tools, click the Connectors icon to show a list of all connectors installed in your environment that you can use during construction of your integration. You can look up existing connectors or, if you click the Available filter, you can locate a new one to install. To learn more about connectors, see Connector store.
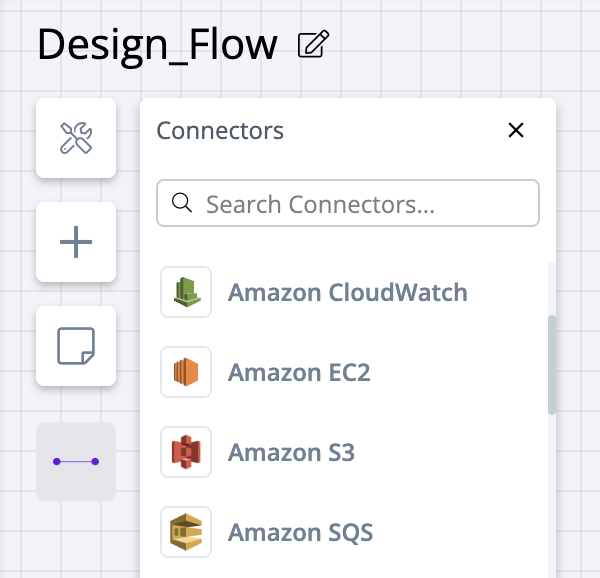
To use a connector's actions, click on the connector then drag the action to the grid. To delete an action, hover your mouse over it and the trash can icon will appear.
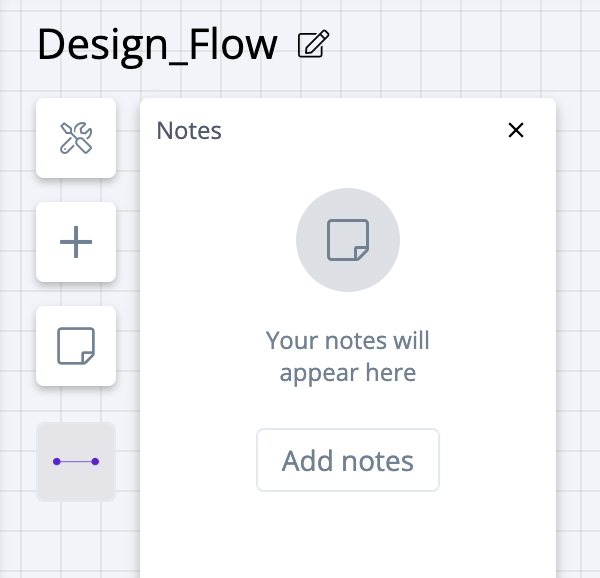
Notes
Underneath Connectors, click the Notes icon to show a list of notes associated with flow actions. If no notes are present, click Add notes to get started.
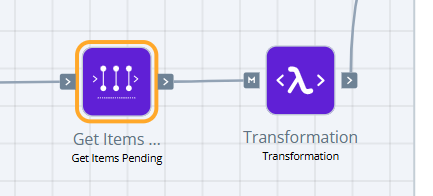
Highlight related inputs and outputs
To see which steps are used as input for a specific action, hover over an action and click Highlight related inputs:
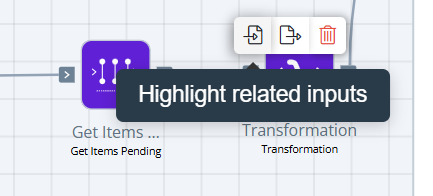
The border of any actions that use that action as input will be highlighted in orange:
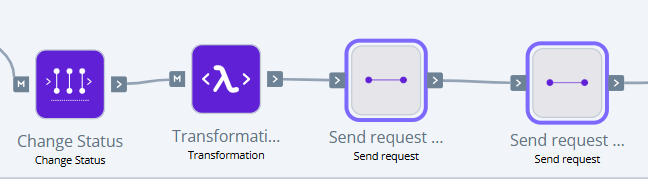
To see which steps are consuming the output of a specific action, hover over an action and click Highlight related outputs:
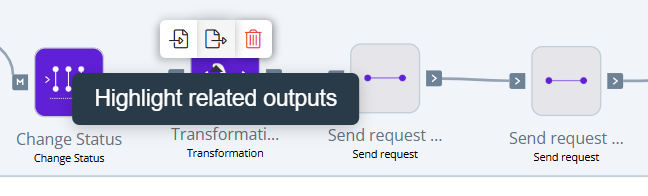
The border of any actions that use that action as output will be highlighted in purple:
Output details are provided in the action's Outputs tab.
Select and move multiple actions
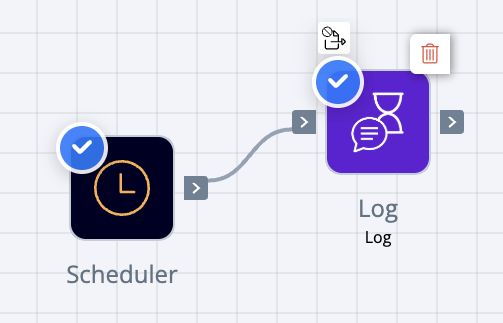
Click Edit multiple items to move multiple actions as a group and easily reorganize portions of flows without having to move them individually.
With multiple selection mode enabled, hover over and click the selection toggle for an action to add it to the selection. Click an action's selection toggle again to remove it from the selection. You can also define selection areas by clicking and draging your cursor.
It is possible to move multiple selected actions inside and outside these scope tools at the same time:
Design validation
Design validation is a flow design tool that works as a debugging aid. With it, some errors that may have occurred during the integration flow development process can be detected, allowing you to rectify them without even having to turn the flow on in order to test it.
When you start developing a flow, click on Design Validation on the bottom left every time an error is detected. Additional information about the error will be shown.
The information shown includes:
-
Which action has errors
-
The current status
-
A description of the error
The errors that can be detected include:
-
An action must be connected to the trigger.
-
Connectors need to have an account selected.
-
Connectors compatible with v3.
-
A path must be set for an API flow.
-
There must not be two identical paths.
-
There is no Dynamic storage or Lookup table linked to the code tools.
By clicking on one of the lines, you can see the action's dialog box so you can make the necessary correction. After fixing the problem, the error message will disappear, leaving behind only the errors that haven't been corrected.