Create a panel in Jitterbit App Builder
In App Builder, Panels reside on pages in an application and have controls within them that contain the actual data content displayed. App Builder has several different panel types to select from, based on how you want the information on the page to render.
App Builder organizes panel types into three categories:
-
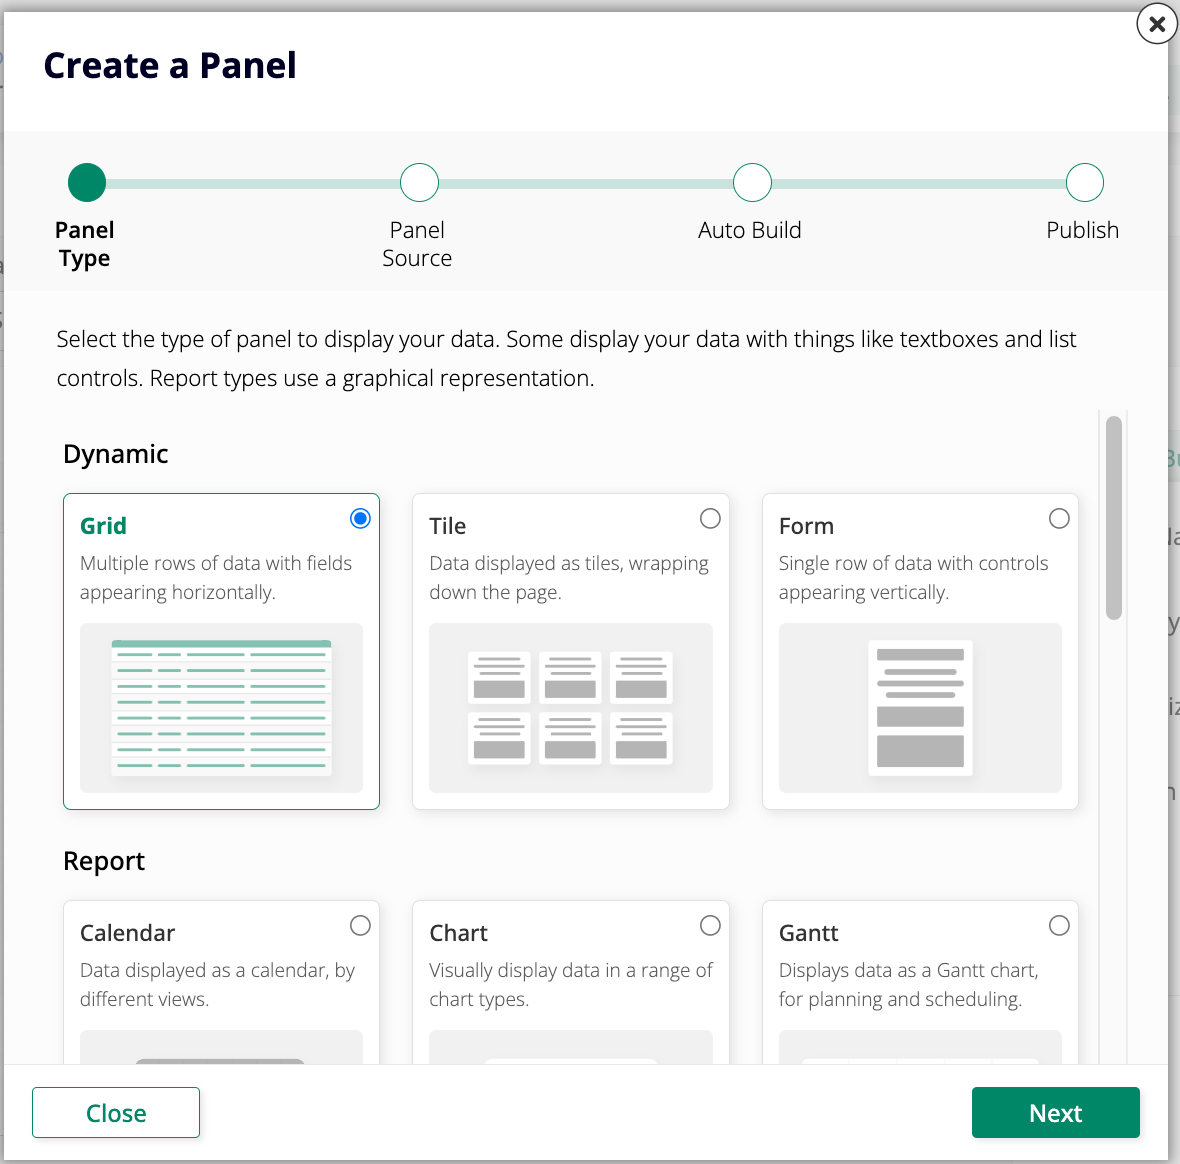
Dynamic: Grid (multiple records in rows), Tile (multiple records as tiles), and Form (single record).
-
Report: Calendar, Chart, Gantt, Map, Network Graph, and Pivot.
-
Edge Case: Agent Chat, Custom HTML, Event Diagram Panel, File Browser, Frame, and Lane.
For a full description of each panel type, see the Panel types cheat sheet.
Use the panel wizard
The Create a Panel wizard steps you through adding a panel to an existing page. You can open it from the App Workbench or from the Live Designer.
From the App Workbench
- Go to App Workbench > Pages and find the page you want to edit.
- Click the pen icon at the end of the page's row to open the page edit screen.
- In the Page Panel Layout panel, click + Add Panel (or Choose Panel Type if no panels have been added yet).
From the Live Designer
- Navigate to the page in your application.
- Click the hamburger icon to open the action drawer, then select Live Designer.
- Click + Panel.
Complete the wizard
Both methods open the same Create a Panel wizard. Follow these steps to finish:
- Select the panel type you want to use and click Next.
- Select the Panel Source (a business object or rule), or click + New Source to create one. Click Next.
- Choose how to build the controls on the panel:
- Auto Build: App Builder automatically adds controls based on the panel source.
- Choose Manually: An extra step appears where you select which columns to include.
- Click Next.
- Review the proposed changes and click Finish.
The panel is added to the page.