Create and use HTML templates in Jitterbit App Builder
An HTML template is a reusable block of HTML, CSS, and JavaScript that you design once in App Builder's Look & Feel area, then bind to a Custom HTML panel to generate dynamic markup from your application's data. Templates give you more styling and functionality than a standard control alone, such as combining several columns into one formatted block of text or embedding a custom layout, map, or chart.
This is a distinct feature from the HTML control, which displays HTML typed directly into a single bound column through a WYSIWYG editor. Use a template when you need to combine multiple columns or add custom markup around your data; use the HTML control when a single column already contains the HTML you want to display.
Tip
See W3Schools' introduction to HTML for an overview of HTML, CSS, and JavaScript. For a complete list of HTML tags and their syntax, see the HTML element reference.
Create an HTML template
This section walks through creating a new, empty HTML template and populating it with static content.
- Select App Workbench > Look & Feel > Templates.
- Select the Collection the template belongs to.
- Click + Template.
- Assign a Name for the template. For example: Home Signup.
- If you want the template's content to be translated, check to enable Translations. See Translation templates for how to translate it afterward.
- Click Save.
Saving the template opens two fields where you can enter its content: Editor and Source. Editor is a WYSIWYG (What You See Is What You Get) field that updates the underlying HTML tags as you type.

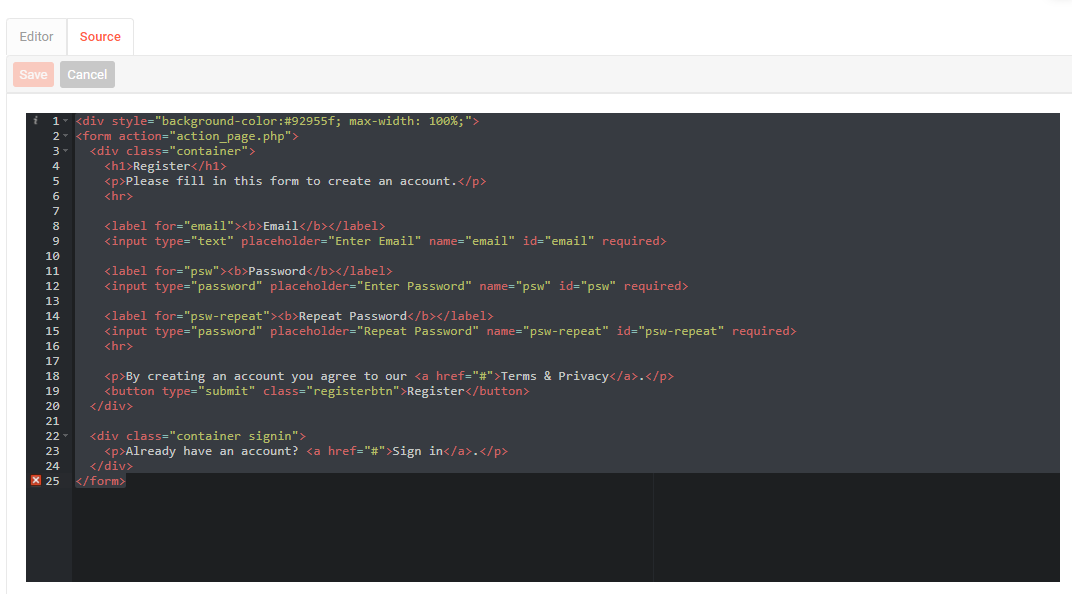
As you type in Editor, the underlying HTML and CSS it generates appears below in Source:
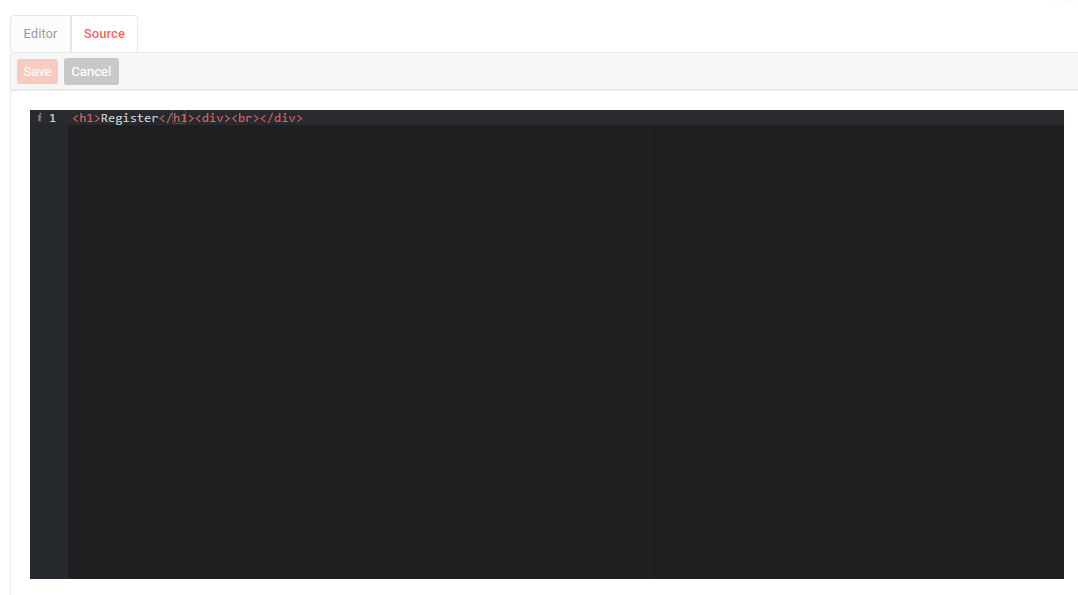
Continue adding content using either view, as appropriate. Editor lets you take advantage of WYSIWYG styling, while Source is where you work directly with anything more complex than Editor accommodates, such as custom HTML, CSS, or JavaScript.
Add dynamic substitution to a template
A template can also pull its content from App Builder columns, substituting live data into the HTML each time it renders. For example, a page using a Custom HTML panel might show a list of employees, concatenating the TitleOfCourtesy, FirstName, and LastName columns into a single styled name, with the Title column shown underneath in smaller text:

To build a template like this one:
- Navigate to or create a template under the application where you want to use it.
-
This example starts from a template already sized, weighted (bold), and aligned (centered) as needed, containing the placeholder text
"Hello World!". Change that text to the columns you want to substitute, for example{{TitleOfCourtesy}} {{FirstName}} {{LastName}}.Important
Be sure to choose columns that exist in the business object on the page you are putting the template on.

-
Place
{{Title}}under the full name, centered and in smaller text, by inserting a new</span>tag after the existing content: that content already has a font size of 25px, so the new span needs its own, smaller size. - Add a break tag (
<br>) to move to the next line. -
Create a new span with a font size of 15px containing the
{{Title}}column, then close the span and the bolding:<div style="text-align: center;"><strong style="font-size: 25px;">{{TitleOfCourtesy}}{{FirstName}}{{LastName}}<br> <span style="font-size: 15px;">{{Title}}</span></span></strong></div>
-
Add the columns the template now uses as Template Parameters, so the page knows which columns to pass in.
- Add a panel to the desired page, and set its Panel Type to Custom HTML.
- On the panel's Panel tab, set Template Properties to the template you created.
- Click the chain icon next to Template Properties to open the Template Parameter Bindings dialog, then click Create.
- In the Param Binding dialog, select the Template Parameter to bind, set Parameter Type to Column, select the matching Target Column, and click Save. Repeat for each Template Parameter.
With the panel bound, the Employee Board now renders each employee's name and title from the underlying data:

Example: templates on a Custom HTML panel
A single Custom HTML panel can hold more than one template. The following panel combines two templates: one showing the number of people currently in line, and another showing hospital information at the bottom.
