Create a flow in Wevo iPaaS
A flow is an integration pattern that brings together two distinct systems using connectors and tools in a specific sequence. The flow visually shows a series of steps indicating where data enters and exits, as well as what happens with the data on each one of the steps, including their transformations and business rules. Each connector has its own actions, and it's important that you know exactly what they do when building your flows, because it is through them that the data handling procedures will occur. When an operation gets implemented on Wevo, each integration process is represented by a flow.
Flows need a clear beginning and an ending. The beginning is always a trigger that determines how the integration gets started, and the ending can be either an action or a tool that will be the last step of the flow.
The first step to build a flow is defining the settings regarding how, when and where your process will be executed. Follow the steps below.
Flow creation
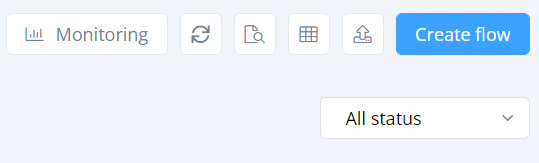
When you access the Flow Monitor, click Create Flow on the upper right corner of the screen.
On the screen that will be shown, some information needs to be provided:
-
Name: Enter a name to identify the flow.
Note
Use a descriptive flow name that includes the names of the endpoints being used and the actions being performed to help with identifying the flow in the future.
The flow illustrated below creates a new card in Trello based on information obtained from Postman.
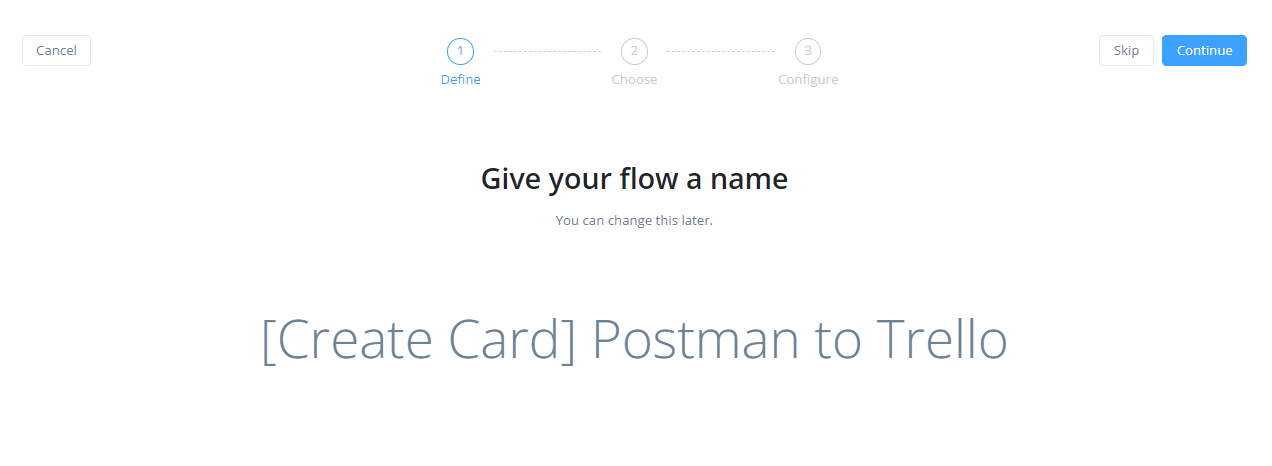
Click Continue to move on to the next step.
-
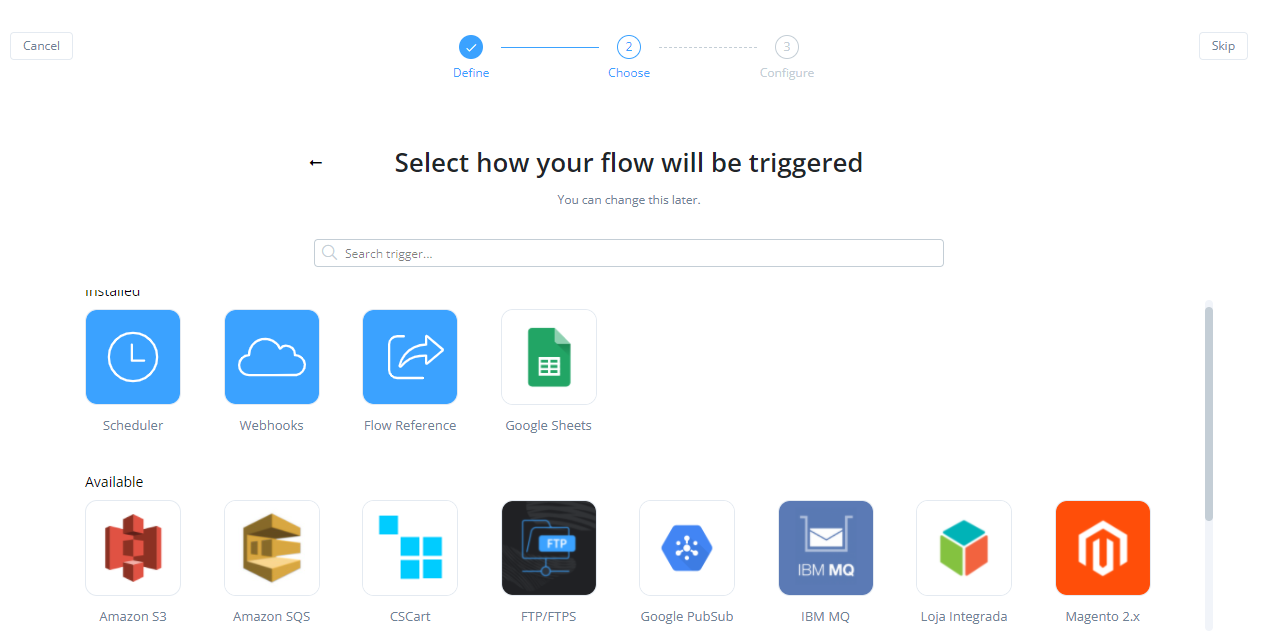
Triggers: A trigger is the beginning of your flow, which determines what kickstarts it. There are a few possibilities to choose from, listed below:
-
Scheduler: This option allows you to start your flow at predetermined or customized times. Pick this option if you want your flow to execute periodically. If you pick this option, the following fields will need to be configured:
-
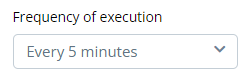
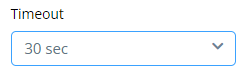
Frequency of Execution: Use the menu to select the time interval between separate runs.
-
Timeout: Use the menu to select the amount of time the flow will have to run all of its actions. Once the timeout expires, any remaining actions will complete with an error.
-
Advanced: Pick the pod type your flow will have. To learn more about pods, see Pod management.

-
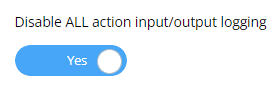
Disable All Action Input/Output Logging: When this option is toggled on, input and output data is not logged for the flow. By default, this option is toggled off.
-
-
Webhook: This trigger option means you will create an API which will remain available to be consumed by external applications that activate configurable methods for sending information during requests. If you pick this option, you will need to configure the following fields:
-
Path: Enter a path to customize the URL of your API. Once you enter a Path, it will be appended to the base URL. You can see the final result in the Preview field below. Here, you can also work with route parameters, in case you want to attribute them to the API URL. The route parameter can be attributed with the syntax
${}, with the parameters inserted between the brackets: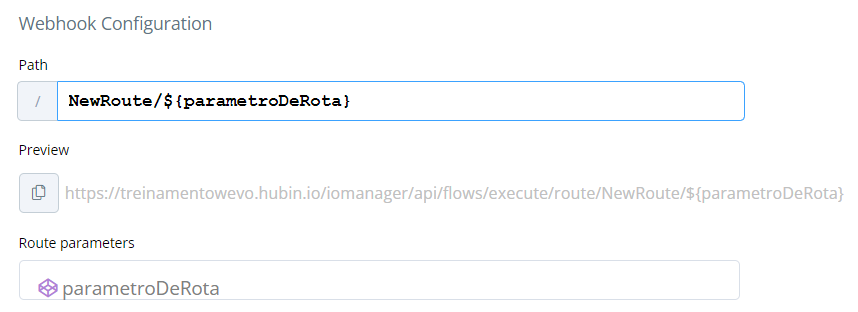
-
Methods: Pick which method will be used to receive the API requests. More than one method can be selected. Learn more about this topic in API verbs.

-
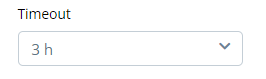
Timeout: Use the menu to select the amount of time the flow will have to run all of its actions. Once the timeout expires, any remaining actions will complete with an error. Webhook-type flows can have a maximum timeout of 30 seconds.

-
Multiple Request: When toggled on, the API will be able to receive more than one request in parallel, meaning that while one flow execution is in progress, other requests can be accepted.

-
Advanced: Pick the pod type your flow will have. To learn more about pods, see Pod management.

-
Disable All Action Input/Output Logging: When this option is toggled on, input and output data is not logged for the flow. By default, this option is toggled off.

-
-
Flow Reference: Flow reference is a kind of trigger that starts execution of the flow when another one gets started, either synchronously or asynchronously. However, it's necessary that the origin flow contain either the Flow reference async or Flow reference sync tool.
In order to use flow reference, configure these fields:
-
Timeout: Use the menu to select the amount of time the flow will have to run all of its actions. Once the timeout expires, any remaining actions will complete with an error.
-
-
Event trigger: An event trigger starts your flows automatically in real time when specific events occur in your connected systems, such as when a record is inserted. Event triggers eliminate the need for a scheduler or an API trigger. To learn more, see Event triggers.
-
-
Continue: After you've picked a trigger, click Continue on the upper right corner to advance to the next step. You will be redirected to the flow design screen, where you can start building your integration. See Flow design to learn more.