Event Triggers in Wevo iPaaS
An event trigger starts integration flows automatically when specific events occur in your connected systems. For example, an event can start a flow when a new message arrives in a queue, a new order is placed, or a record is updated in a database. Event triggers allow flows to run in response to real-time events without requiring manual scheduling.
Event trigger types
Event triggers use two different methods to detect events.
- Stream: A stream event trigger monitors the system continuously and starts the flow immediately when an event occurs. Stream event triggers are common in messaging services such as RabbitMQ, Amazon Simple Queue Service (SQS), and Kafka.
- Polling: A polling event trigger checks the system at regular intervals for new events. Polling event triggers allow you to customize the check frequency.
View available event triggers
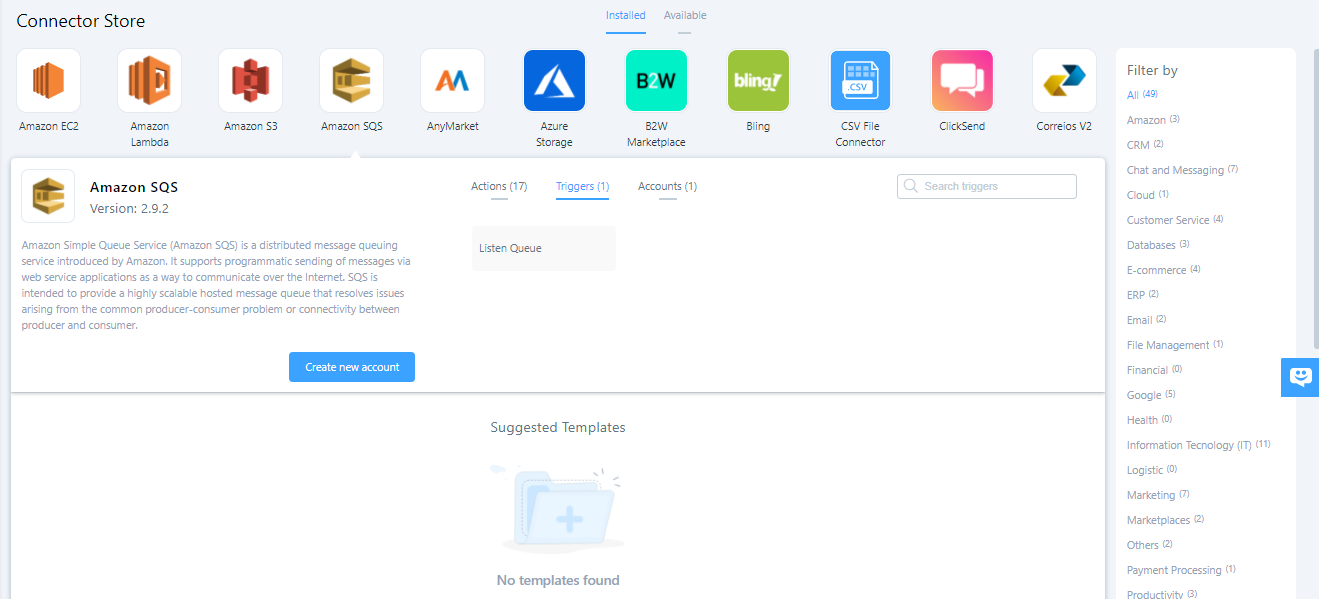
To view available event triggers for a connector, go to the Connector Store, select the connector, and click the Triggers tab:
Create a flow with an event trigger
To create a flow that starts with an event trigger, complete the following steps:
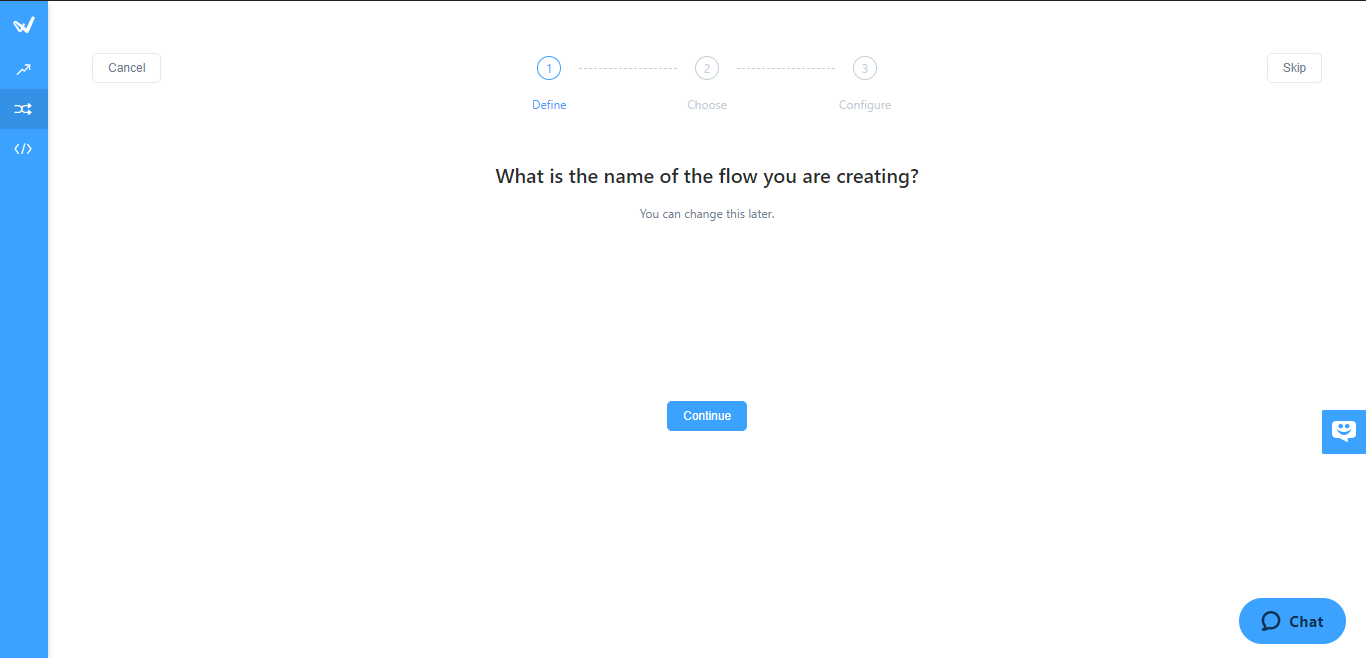
-
Enter a name for your flow and click Continue.
-
Select the connector that has the event trigger that you want to use.
-
Configure the trigger settings and parameters. The available parameters vary by connector and event trigger type. Parameters are described next to a lightbulb icon directly under each field.
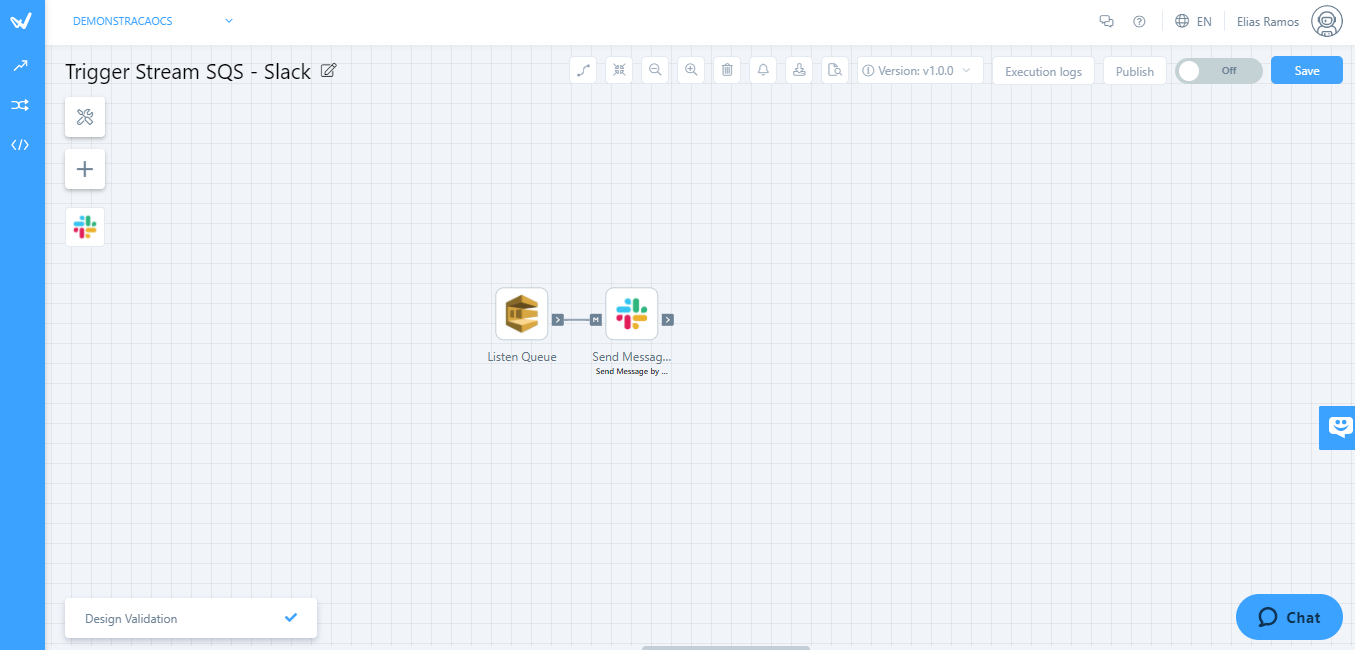
-
Continue building your flow. The event trigger that you selected appears as the first item in your flow.