Create a connector in Wevo iPaaS
This page shows how you can use JavaScript in the Connector Studio to develop your own connectors.
This video (provided in Portuguese) demonstrates the connector creation process:
Note
Connector studio has a standard code that creates a dashboard in Trello, a web-based project management application. You can use it as a support base any time you need to create a new connector.
Start the creation process
Access the connector studio and click on New Connector.
In the dialog box that will be shown, provide the following information:
- Connector Name: Choose a name for your connector.
- Action Name: Insert the action that is to be performed by the connector.
- Action Type: Use this field to define the action type, whether establishing an HTTP connection or connecting to a Postgre, MySQL, or SQLServer database.
After you click Create to confirm the operation, a new screen will be shown. Note that it contains several configuration options that you can use.
Actions
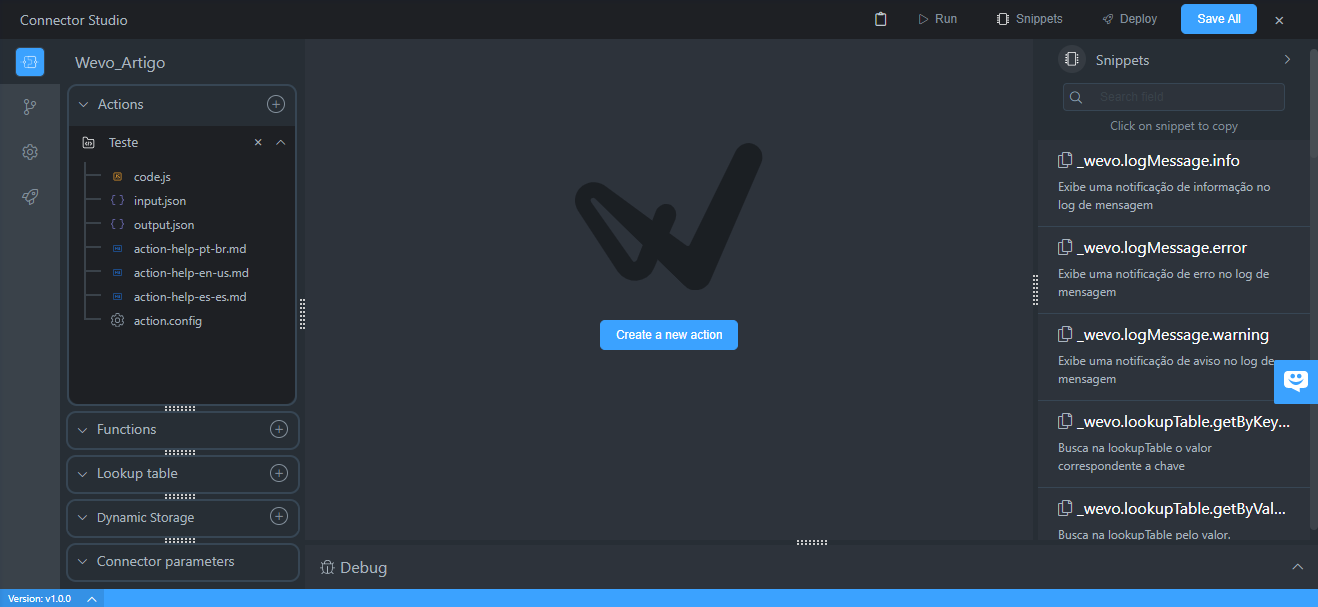
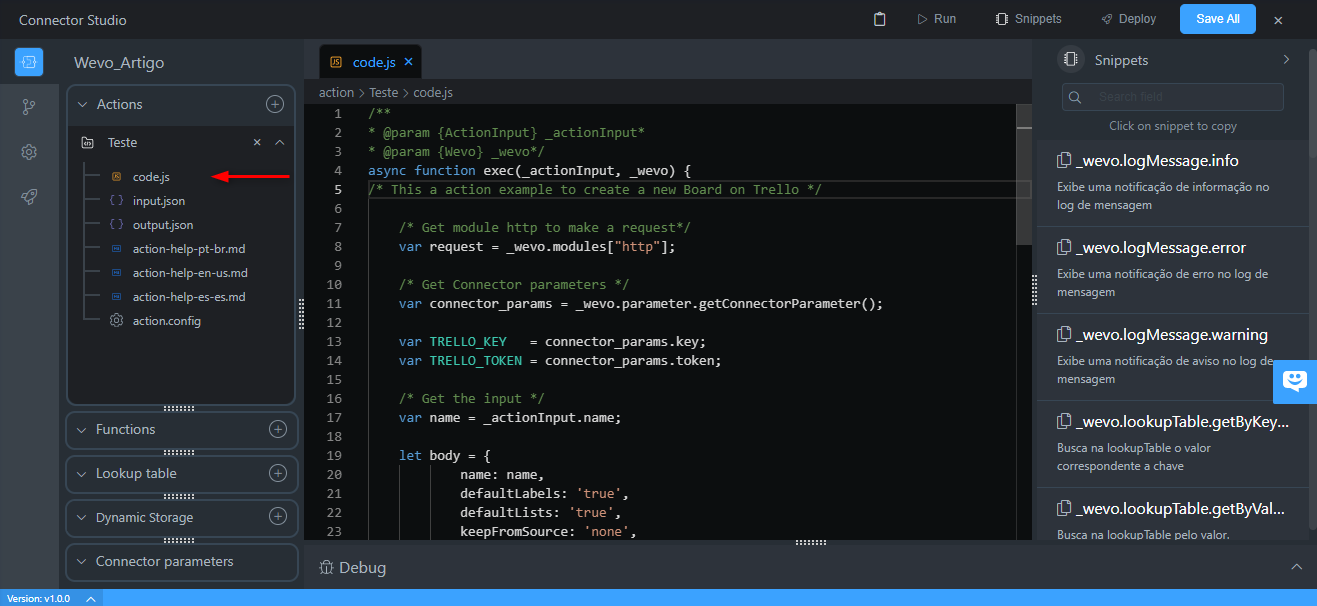
To start coding your action, click code.js in the Actions column on the left side of the screen. That will show the support code. You can modify it based on the action you are trying to create.
You can use snippets to make the process more agile. They are small lines of code that you can use to in order to type less code and accelerate the connector creation process.
To use them, select Snippets on the top of the page, then click on the one you want to use. It will be automatically copied to your clipboard and you can paste it in whatever part of the code you want.
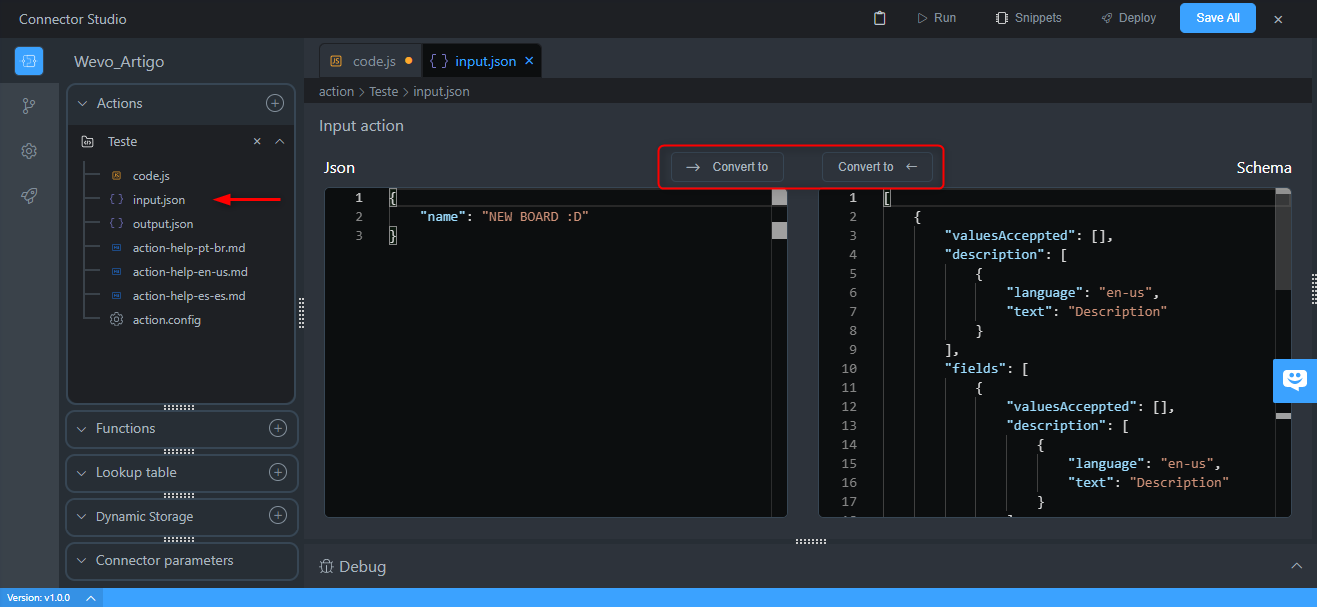
Click Input.json in order to determine what data the action you are creating expects to receive from a previous action as input. You can do that in JSON or Schema, and you can also convert between the two using the highlighted buttons.
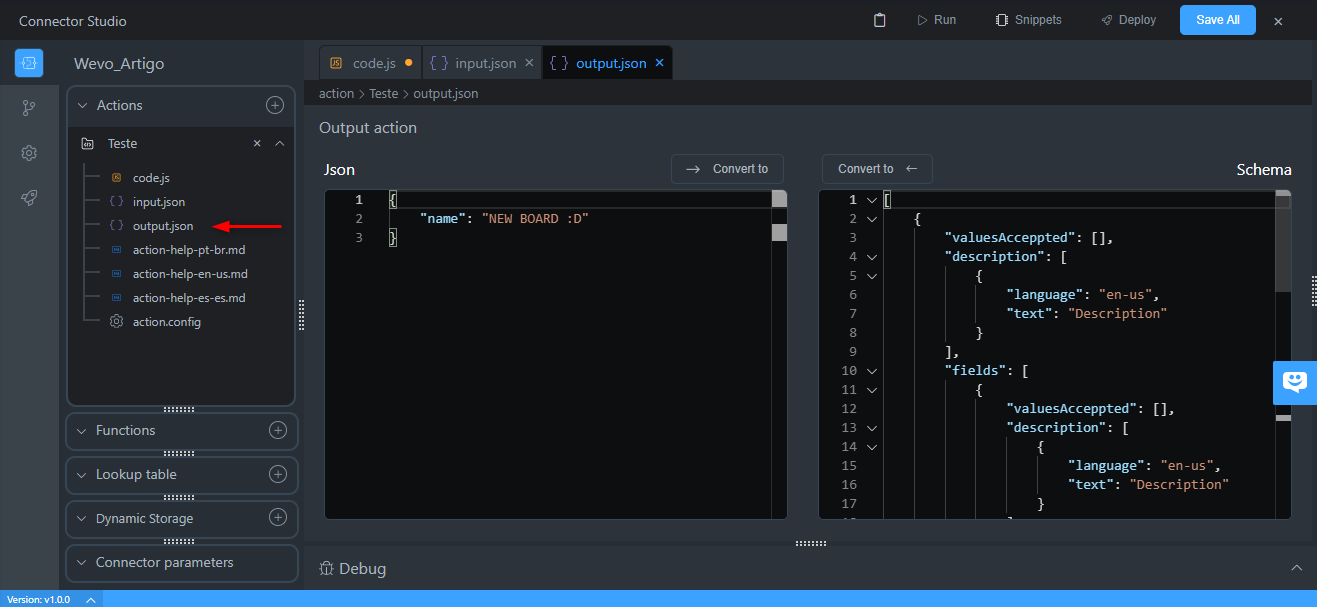
Click Output.json and do the same for the data that your action should send as output.
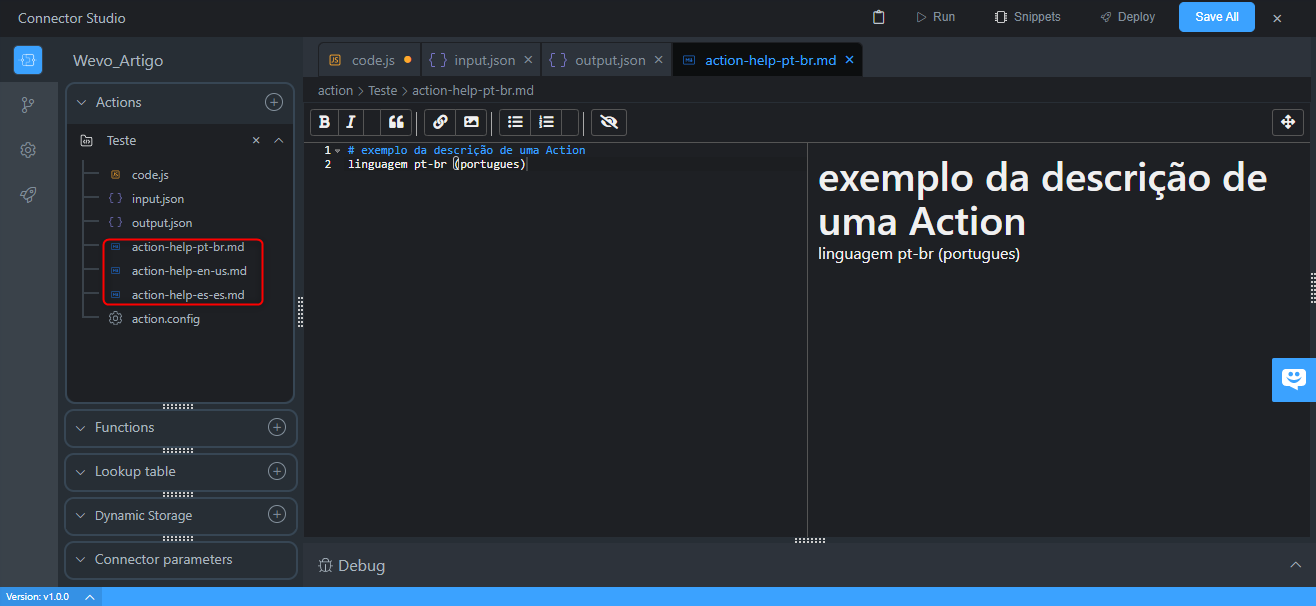
With the Action Help buttons, you can insert a description for your connector's actions. You can do that in Portuguese, English, or Spanish. You can also format the text.
Next, click on Action.config to define the parameters that must be defined for that specific action. Click on Add Field in order to add new parameter configuration fields. You will see a field to insert:
- Internal name
- Label
- Type
- Description
Functions
Functions are code blocks that you can use to automate your connector creation process. To learn more, see Code function.
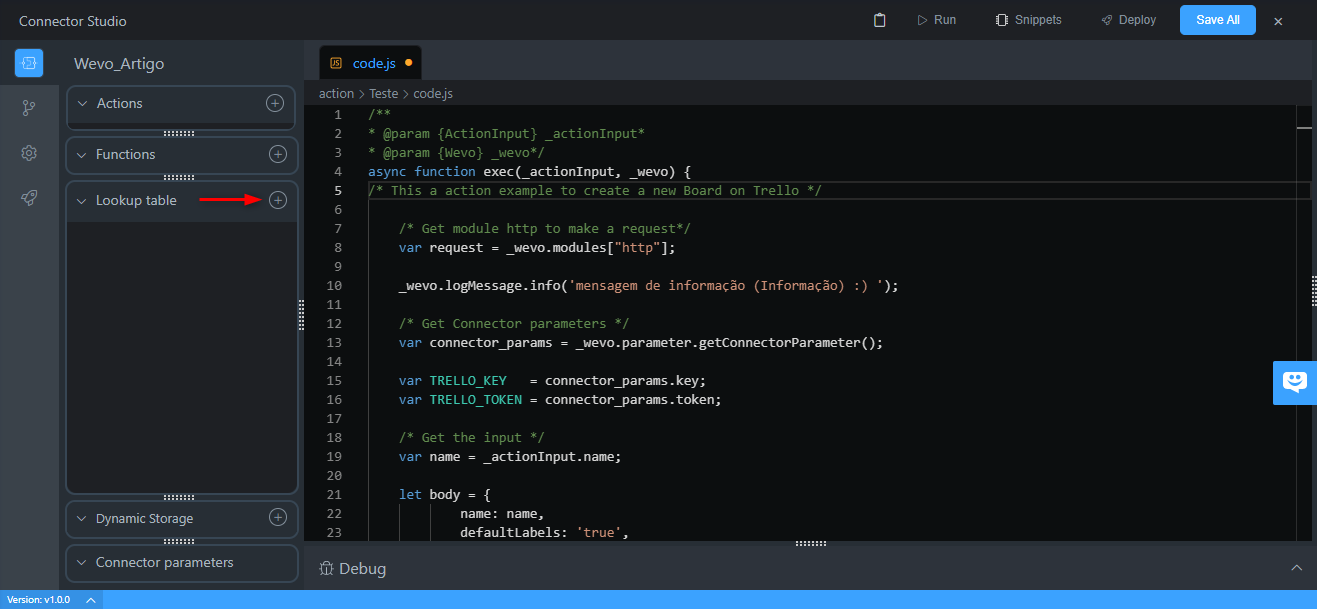
Lookup table
The Lookup Table field allows you to add a lookup table to your connector creation process. To add one, click the plus icon.
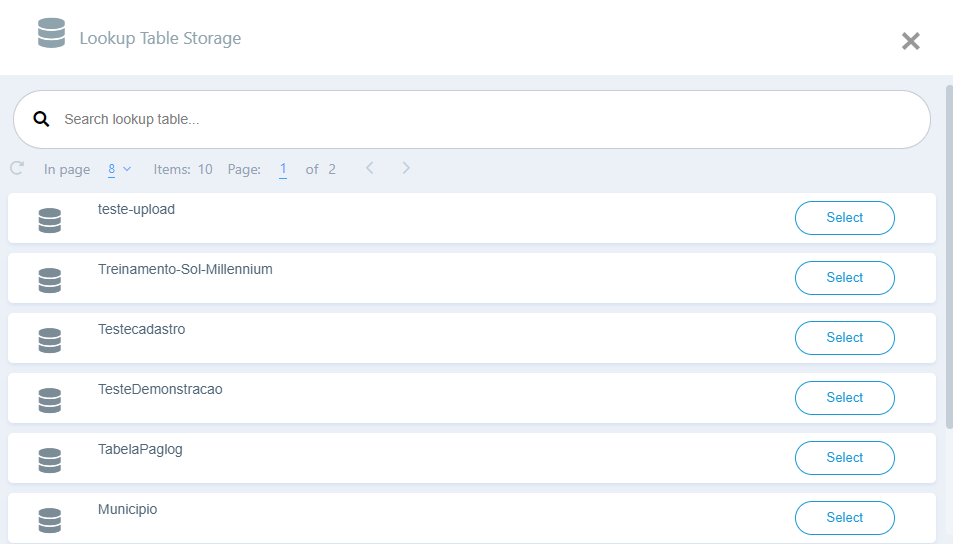
Next, select which lookup table you want to add by clicking Select.
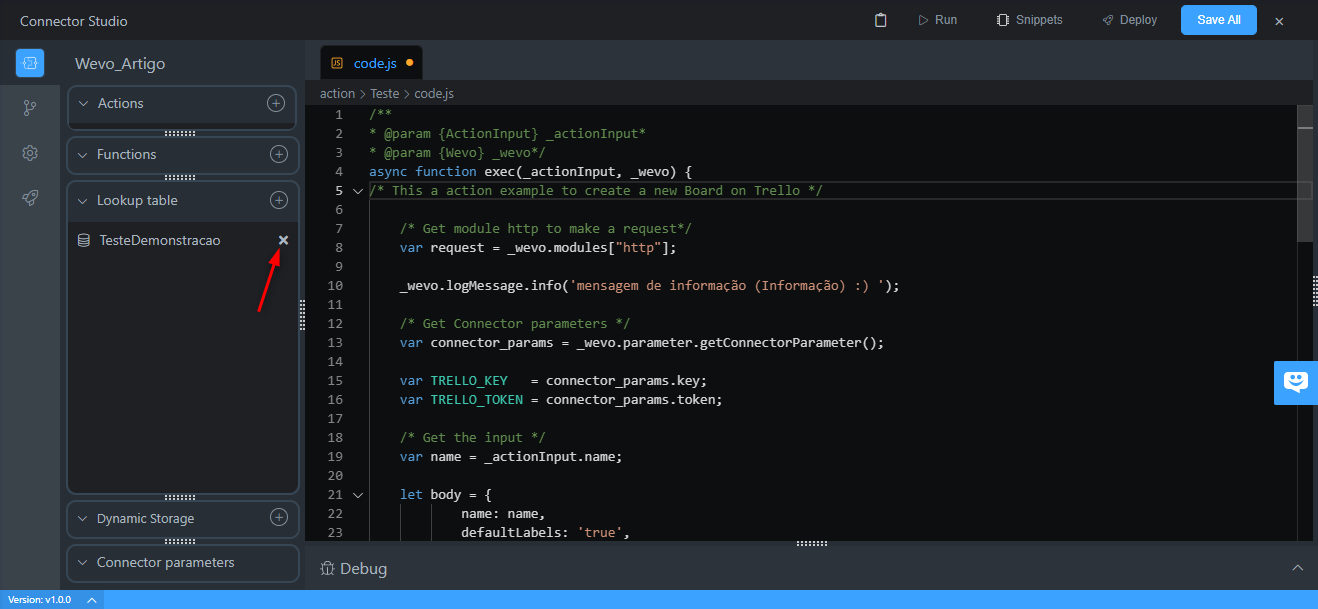
Notice that it will be listed in the Lookup Table column. To remove it, click the highlighted icon.
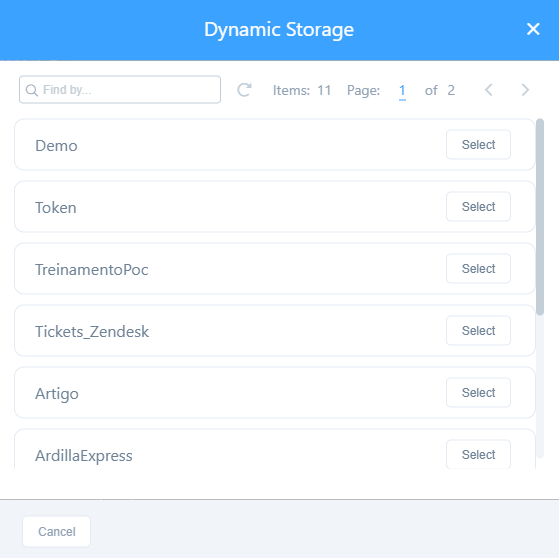
Dynamic storage
The Dynamic Storage field allows you to add a dynamic storage to your connector creation process. To add one, click the plus icon.

Next, select which dynamic storage you want to add by clicking Select.
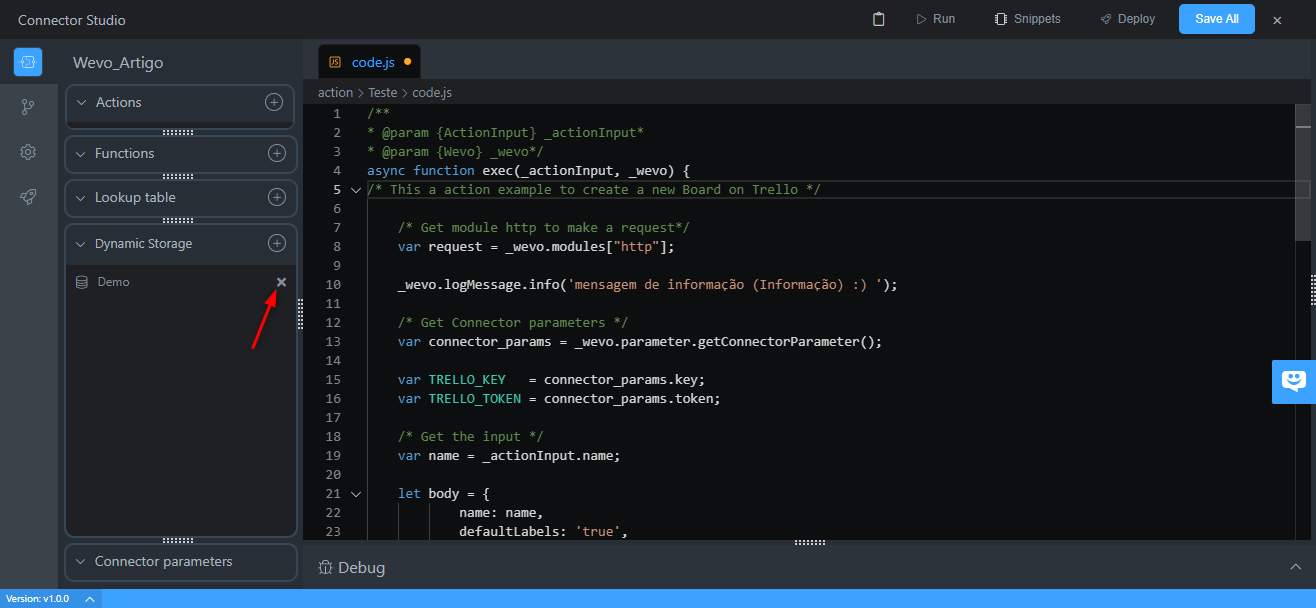
Notice that it will be listed in the Dynamic Storage column. To remove it, click the highlighted icon.
Connector parameters
A connector's parameters are the pieces of information that a user must insert to ensure that it is able to successfully establish a connection. During the creation process of a new connector, you must know which parameters will need to be defined.
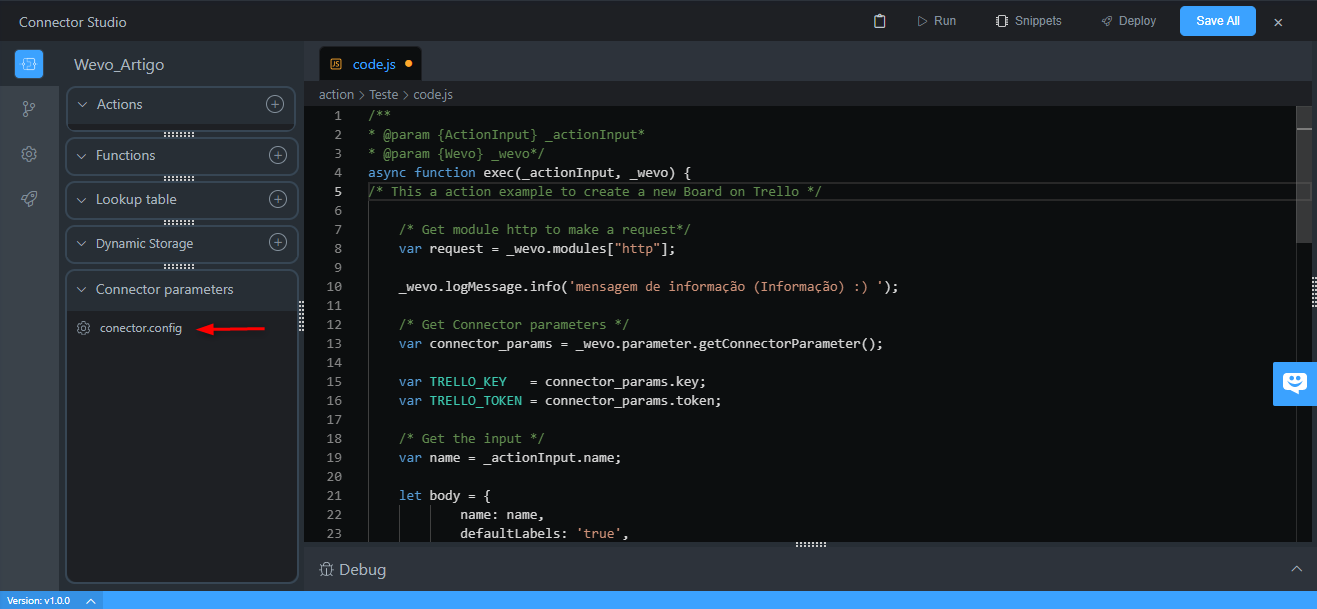
To create those configurations, click Connector Parameters, then conector.config. Notice that the settings are quite similar to the ones described above in Actions when the actions parameters were described.
After defining the parameters, you can click Code.js again and use the parameters by storing them in variables. Notice that, by default, in order to create the Trello dashboard, the connector's parameters must be shown in this screen, which are the same that were specified in the code block.

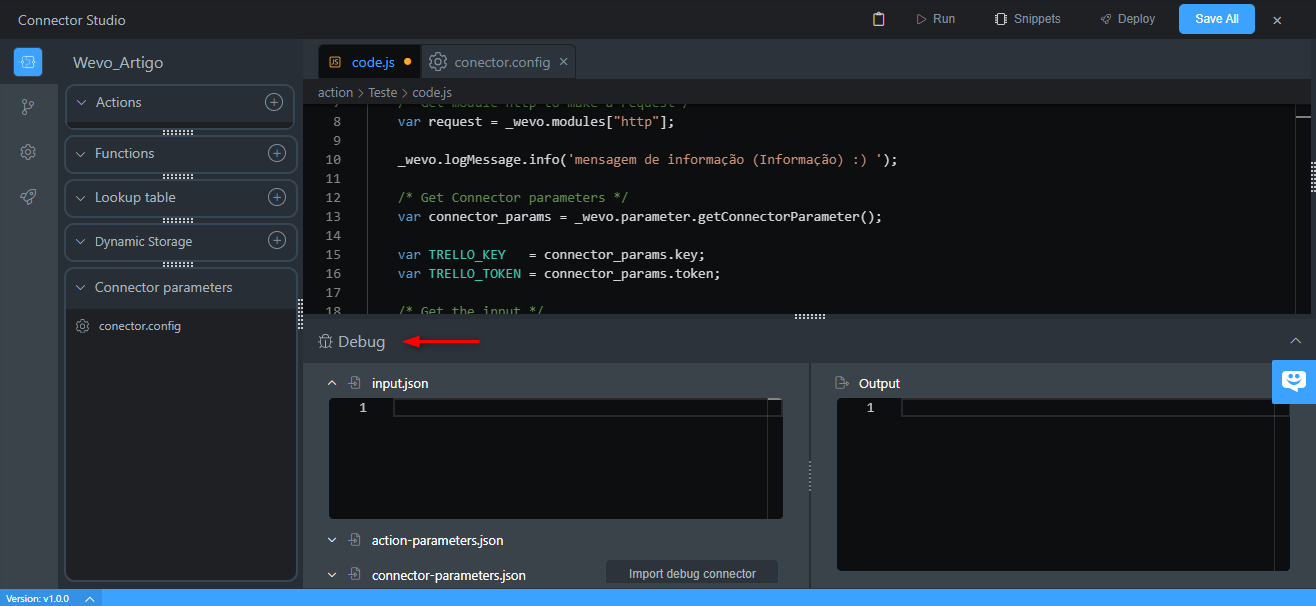
Debug function
After configuring your new connector, you can test it using the Debug function. The idea is to run your connector to check if it's working correctly. Click Debug on the bottom half of the screen.
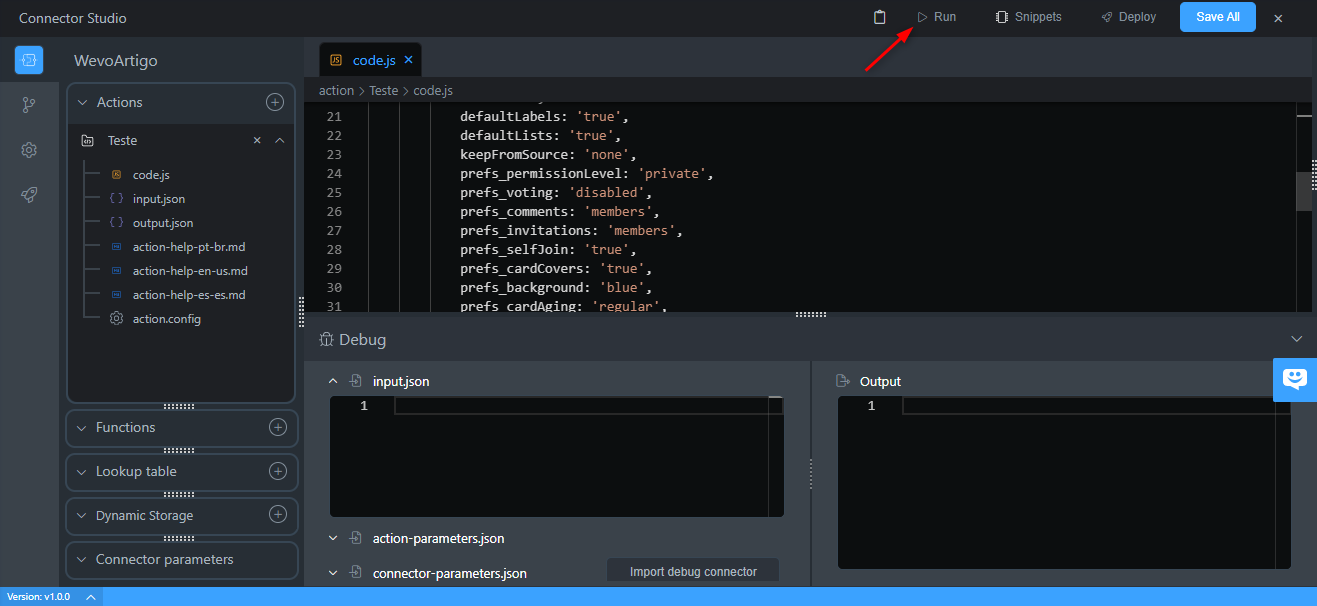
Click the fields you want to test and insert the necessary parameters. After that, click Run on the top of the screen to run the code. The result will be shown in the Output field.
Customize your connector
After that, your connector should be correctly configured and you can customize the appearance it will have on the connector store. To do that, click the cogwheel on the left side of the screen.
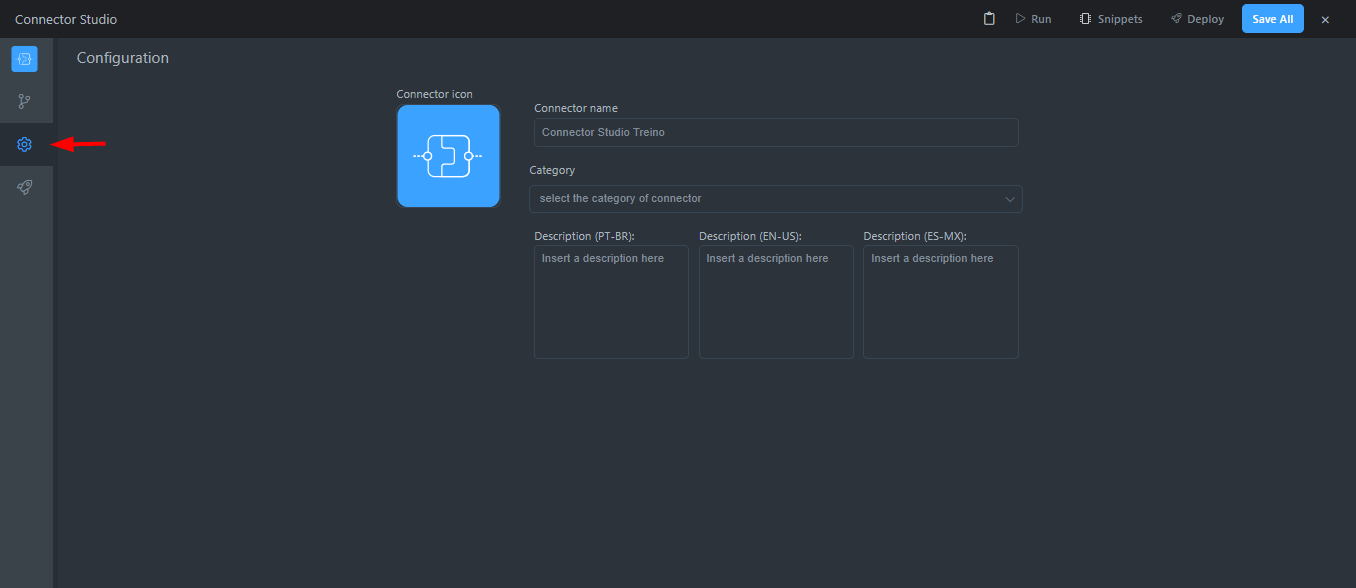
Next, pick an image for your connector. Define its name, which category it will belong to, and add a description in Portuguese, English and/or Spanish.
Deploy your connector
Now that everything is set, you can publish your connector and use it on the platform. To do that, just click Deploy on the top of the screen. Note that after deploying your connector, you can no longer edit it, but you can create a new version of it.
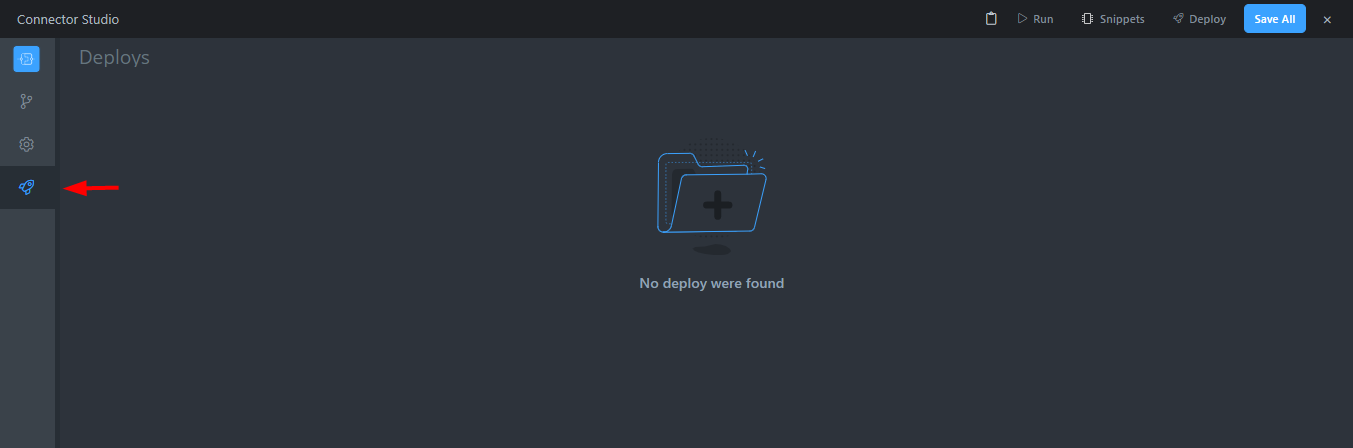
If you want to see the deploy history, click the highlighted button: