Create a page in Jitterbit App Builder
Pages are the canvases that users of an App Builder application see and interact with. An application can have any number of pages, each linked to a navigation menu or left without navigation.
The Create A New Page wizard guides you through adding a new page, selecting a layout, and setting up the first panel.
Every page that is created in an App Builder application gets listed in the App Workbench Pages tab, from where you can easily edit all of the content in a page.
Use the wizard to create a page
The wizard can be accessed via the App Workbench.
-
Go to App Workbench > Pages.
-
Click + Add Page and the wizard will open:
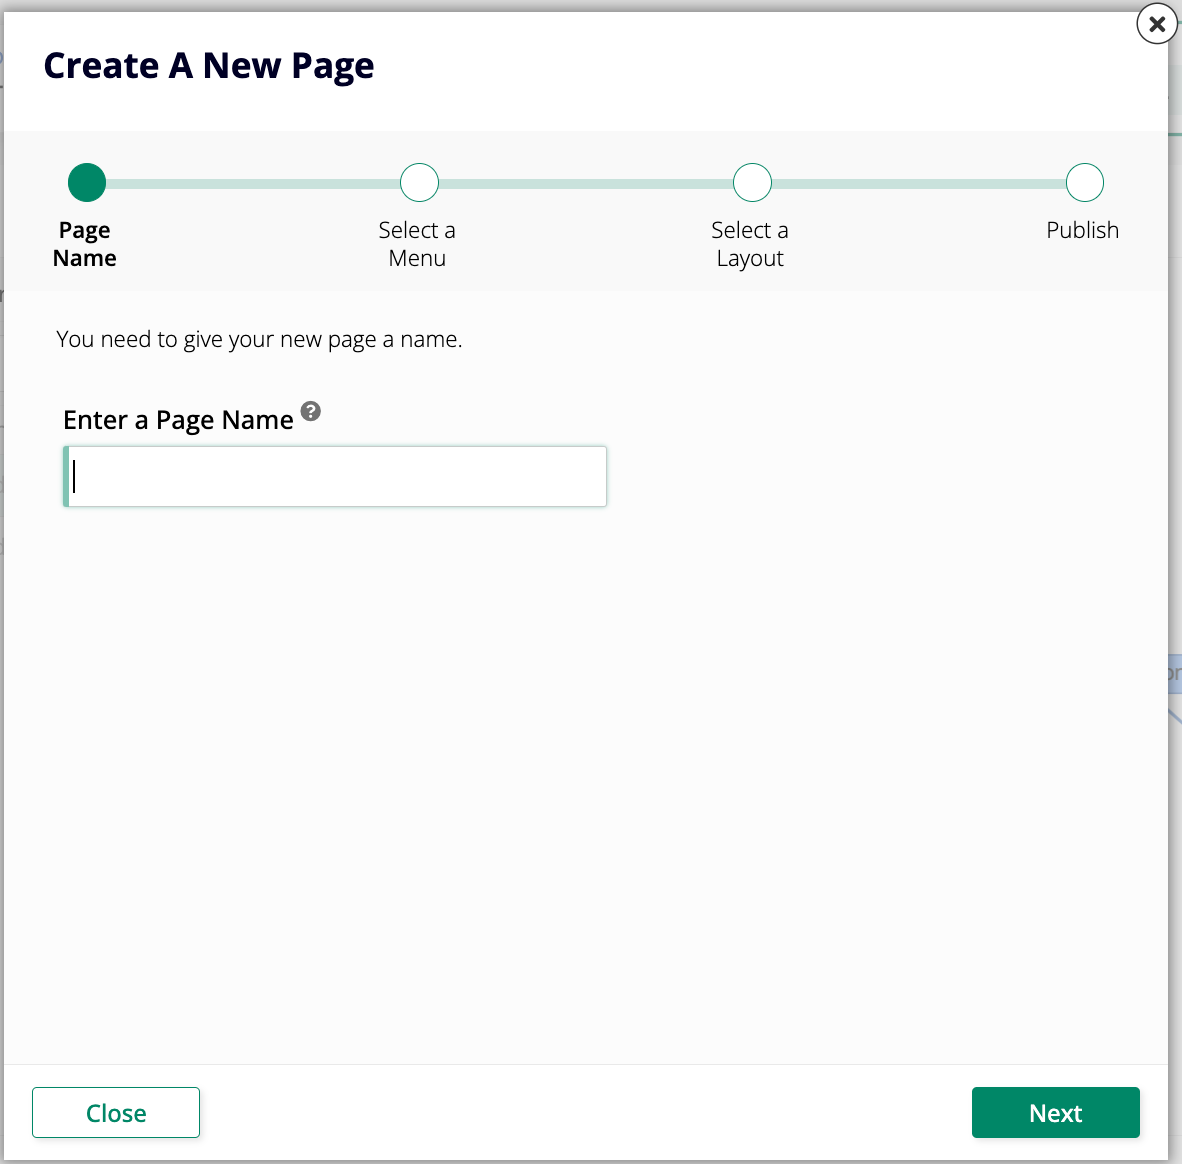
Once the wizard opens, follow its instructions to create a page:
-
Enter a Page Name and click Next. The name must be unique within the application and can be changed later.
-
Select a menu to link the page to and click Next:
-
Home: Links the page from the home page.
-
Configuration: Links the page under the Configuration menu.
-
Reports: Links the page under the Reports menu.
-
Application: Links the page from the application navigation menu.
-
None: No navigation link is created for the page.
-
-
Select a panel layout for the page and click Next. The layout determines the initial arrangement of panels on the page and can be changed later.
-
Review the proposed changes and click Finish.
App Builder will create the page and you will then be taken to its edit screen:
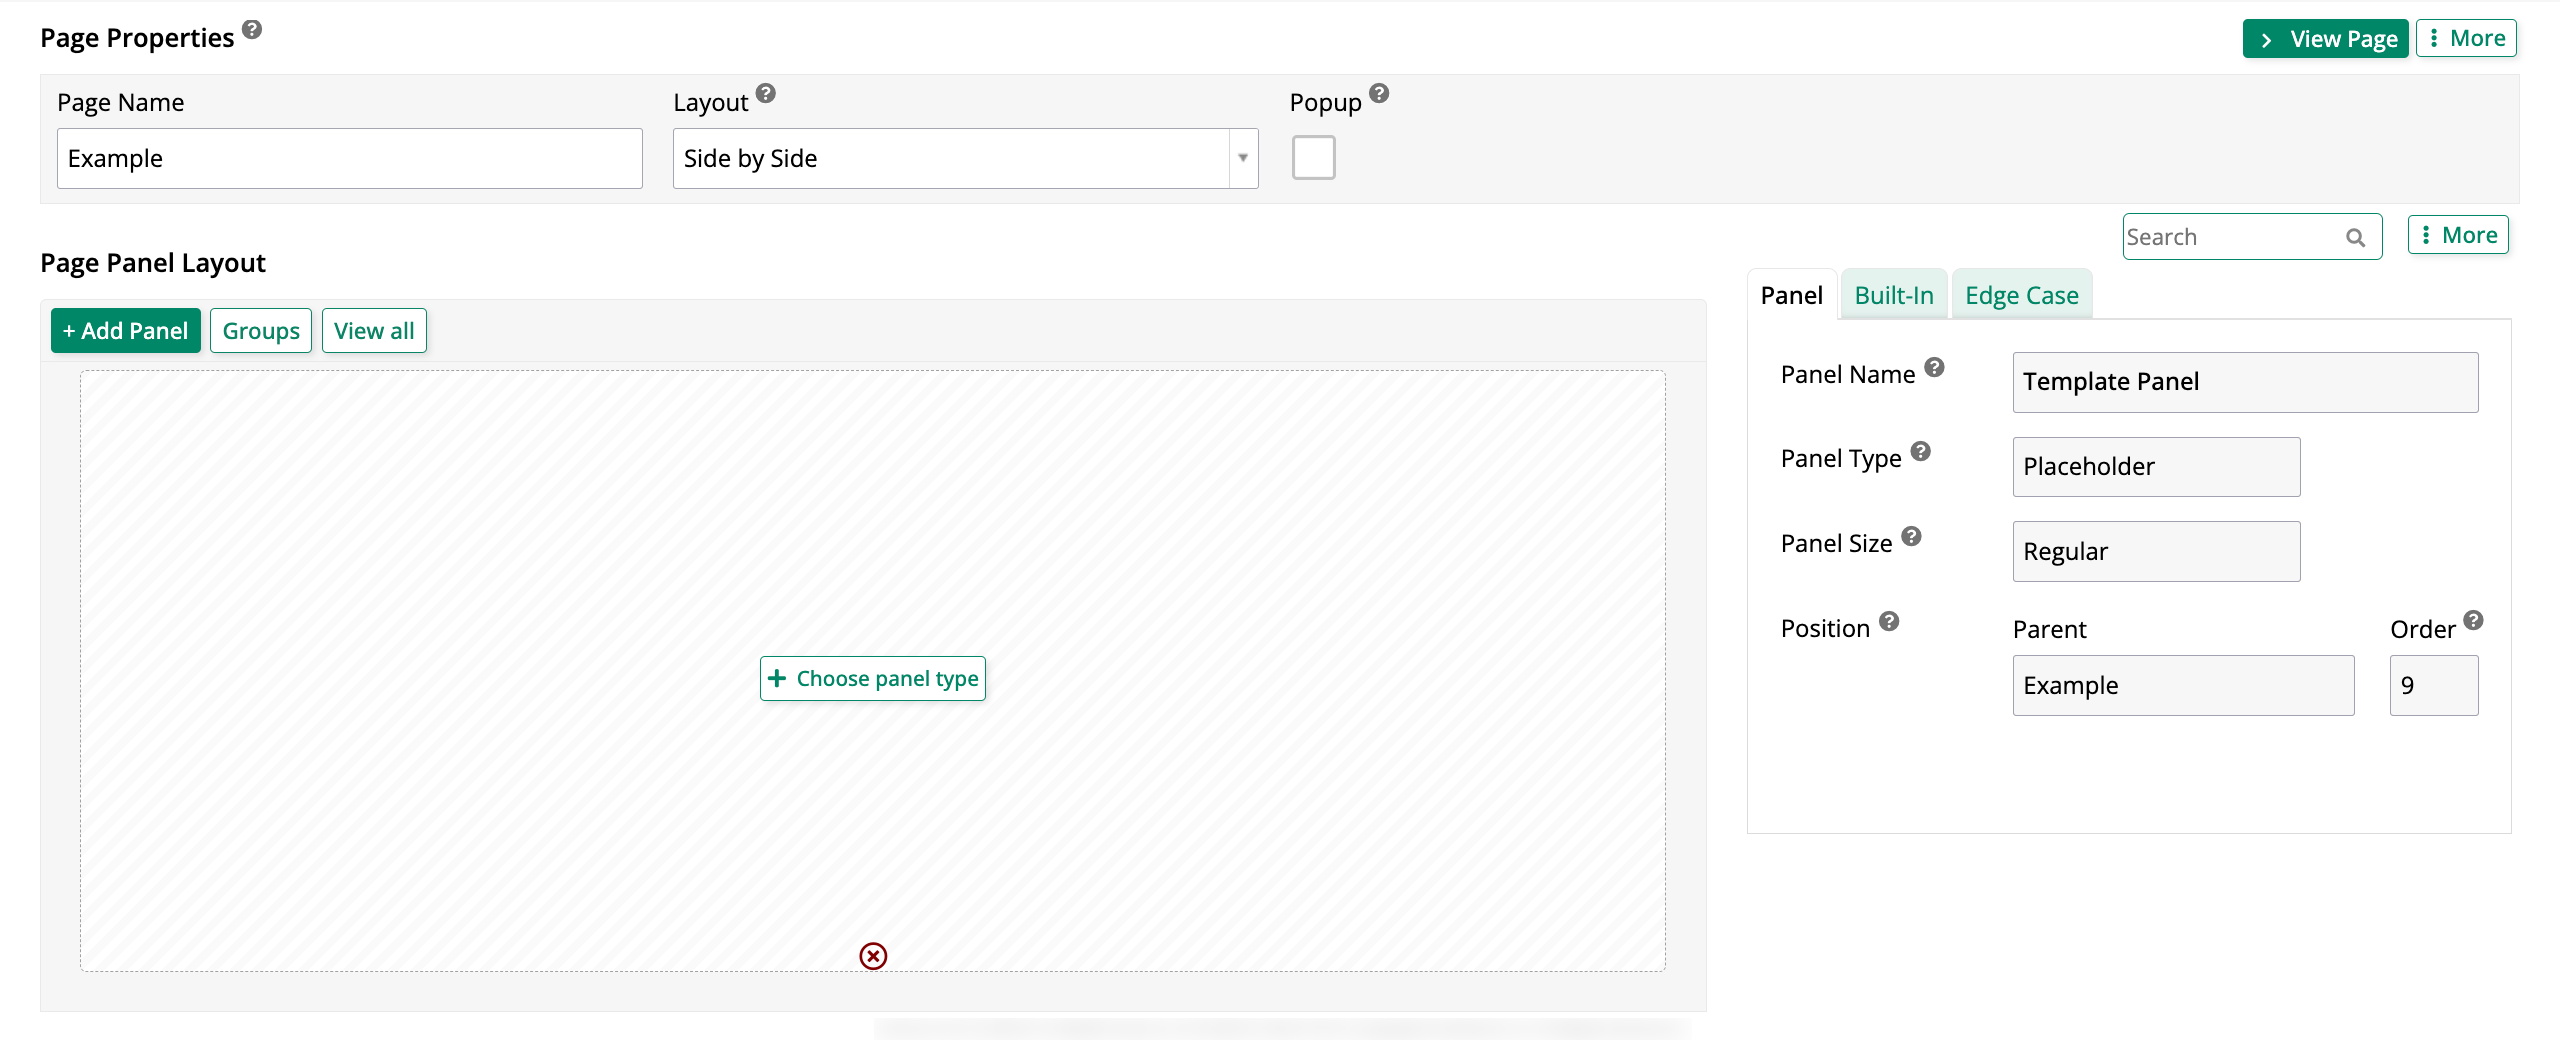
Now that the page has been created, you can use this edit screen to configure it further and add content to it. Usually, the next step is to add a panel to the new page. See Create a panel for more information.