Get started in Jitterbit Marketplace
Introduction
Use search and filters to find integration recipes, process templates, AI agents, and apps you might want to use.
The action shown on an asset's card and Details panel tells you whether you can use the asset right away or need to request access to it first:
| If you see... | What it means |
|---|---|
| Start project (integration recipe, process template, or AI agent) | You can use the asset now. The button opens a wizard that sets up the Studio project. |
| Download app (app) | You can use the asset now. The button downloads the app's release package to install in App Builder. |
| Get this template, Get this agent, or Get app | You need to request access first. The link opens a dialog with a Submit button to send your request. |
Start project
Integration recipes, process templates, and AI agents that you can use right away show a Start project button on their card:
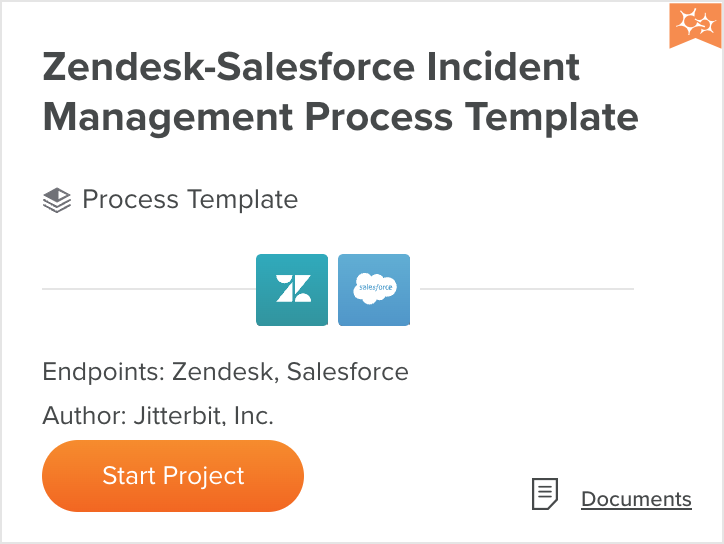
When you click Start project, a project wizard will open. Depending on the recipe, template, or agent, it may have one or two steps:
- Download Customizations (only for specific templates and agents).
- Create the project(s) (all assets).
Download Customizations
Certain process templates and AI agents require customizations to be applied, such as adding custom fields within endpoint systems or configuring an API Manager API. This step provides the downloads and instructions for applying those customizations:
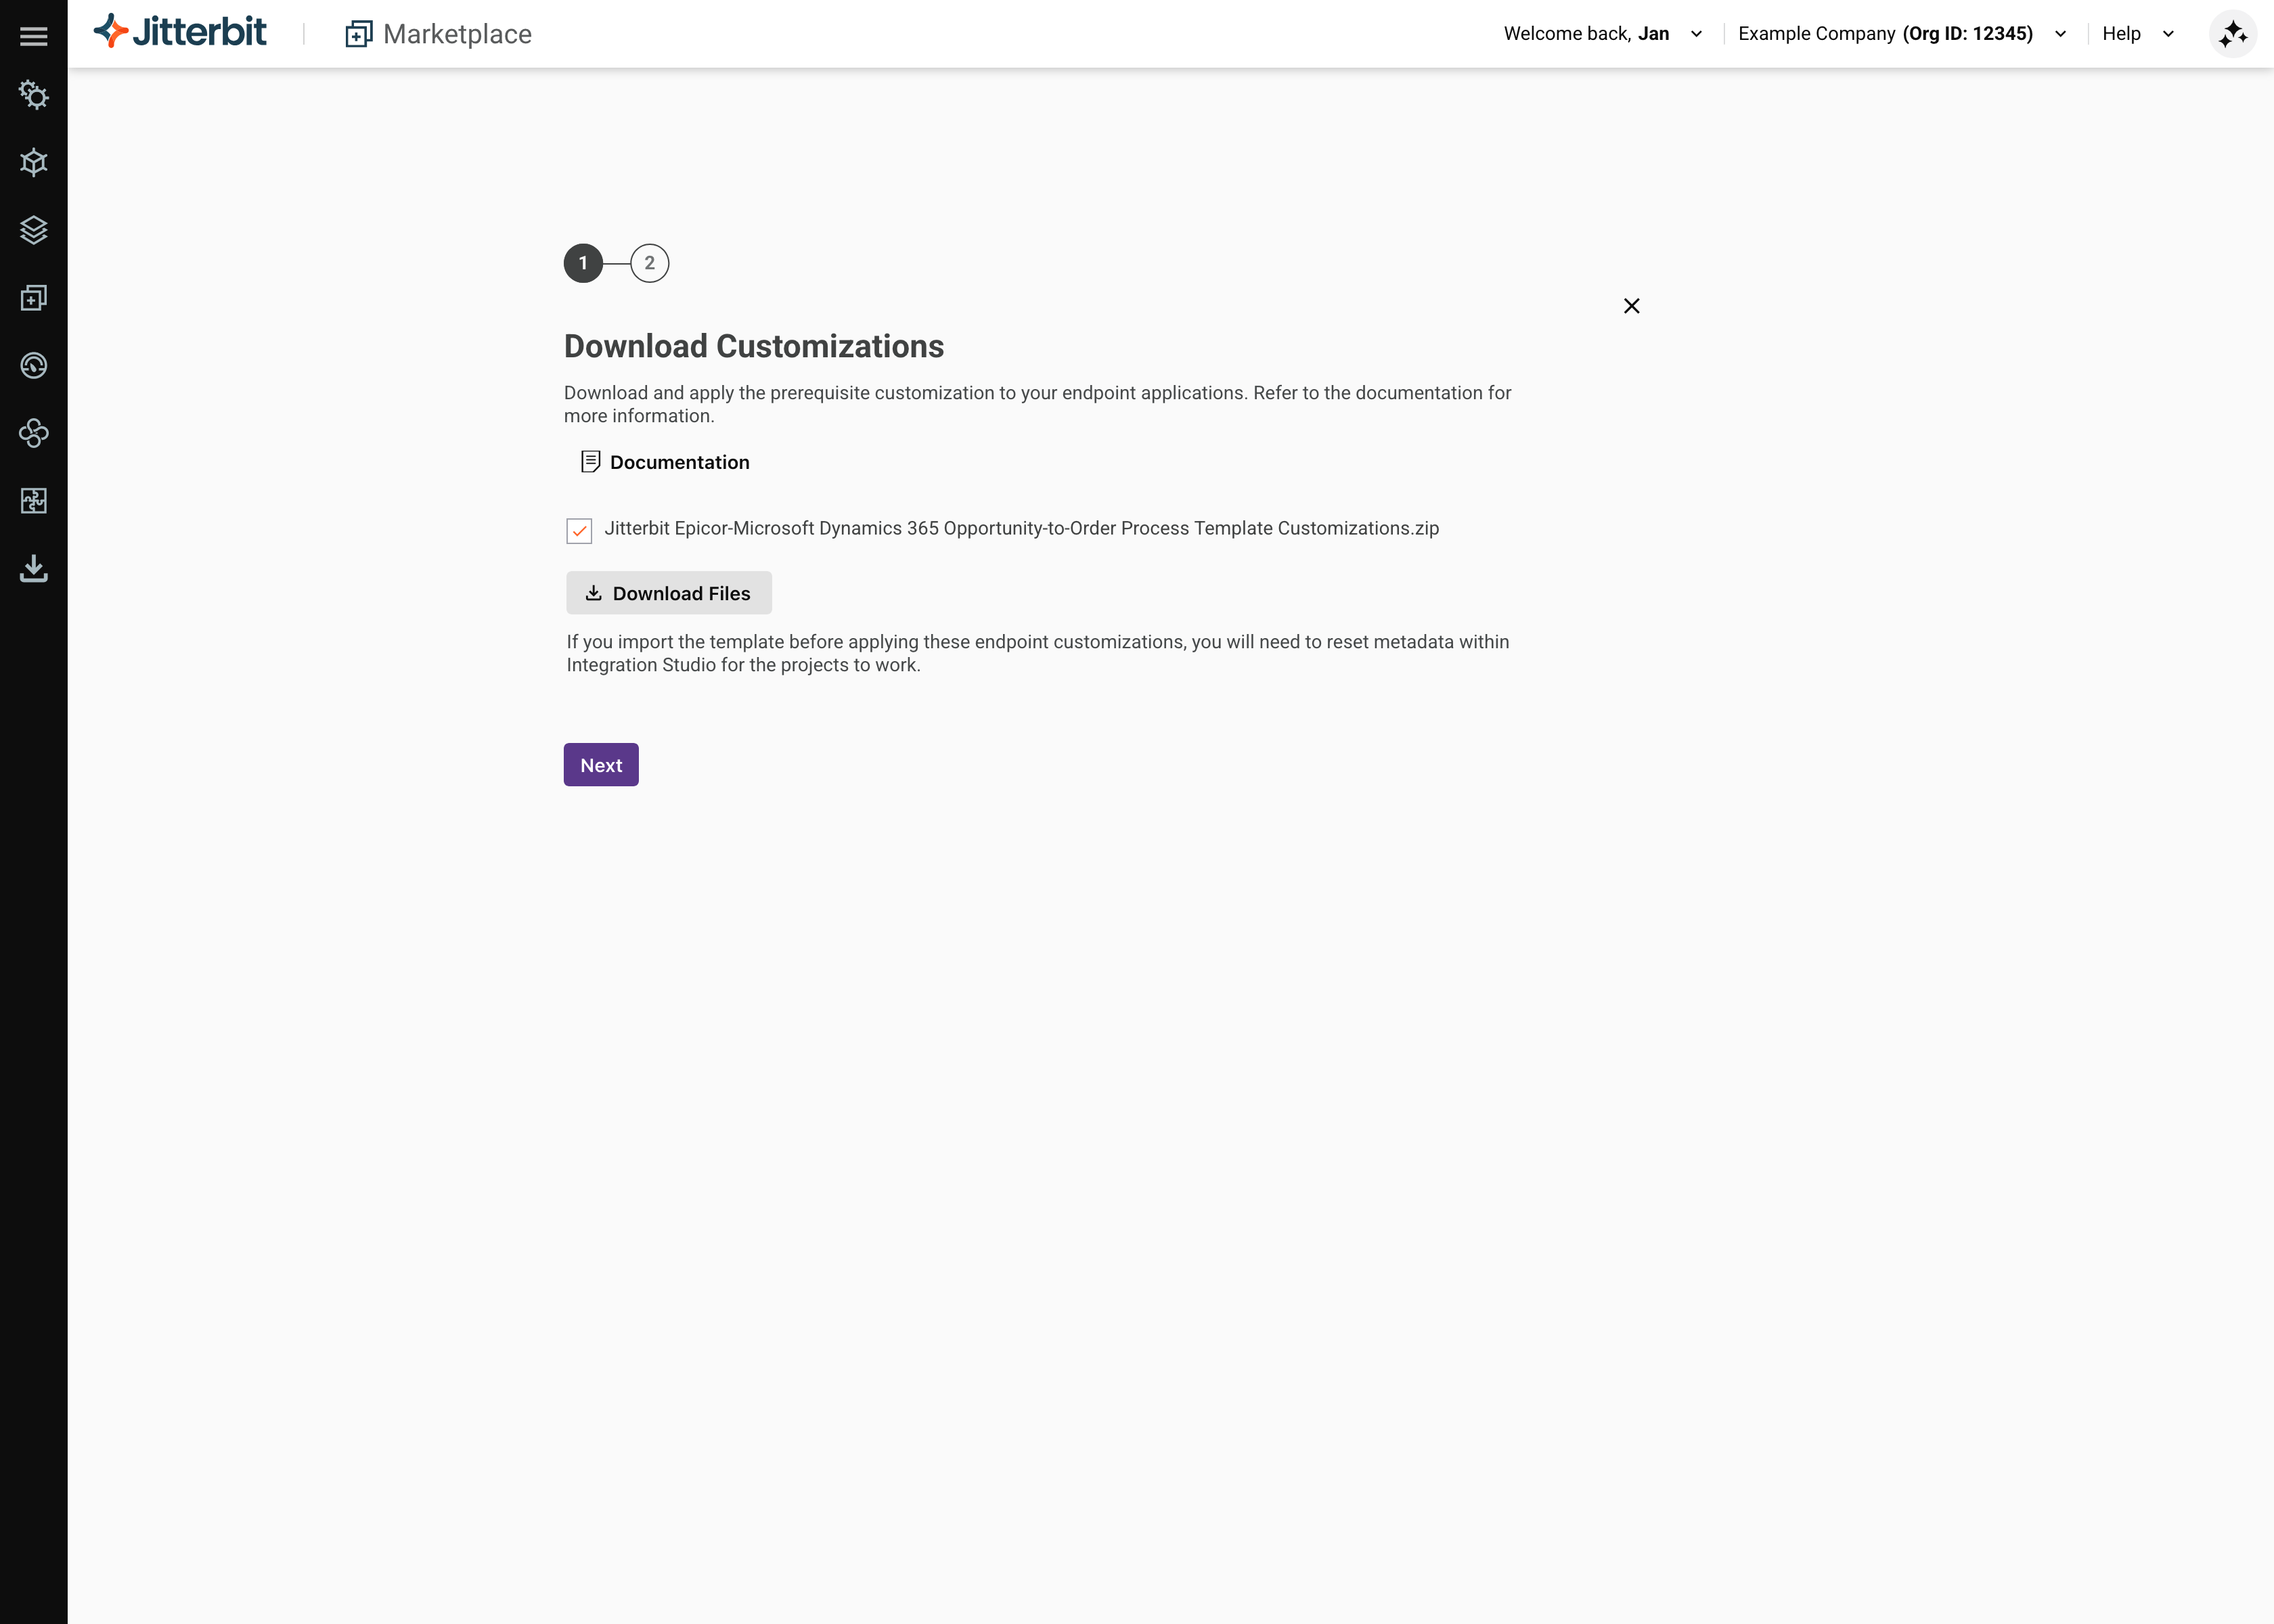
-
Documents (PDF) or Documentation (link): Click to download or open the documentation. Read the documentation for instructions on how to apply the customizations before starting the project. See Connectors for how to use connectors and endpoints.
-
Download Files: Select the customization files to download, then click to download the selected files.
-
Next: Click to continue.
Create the project(s)
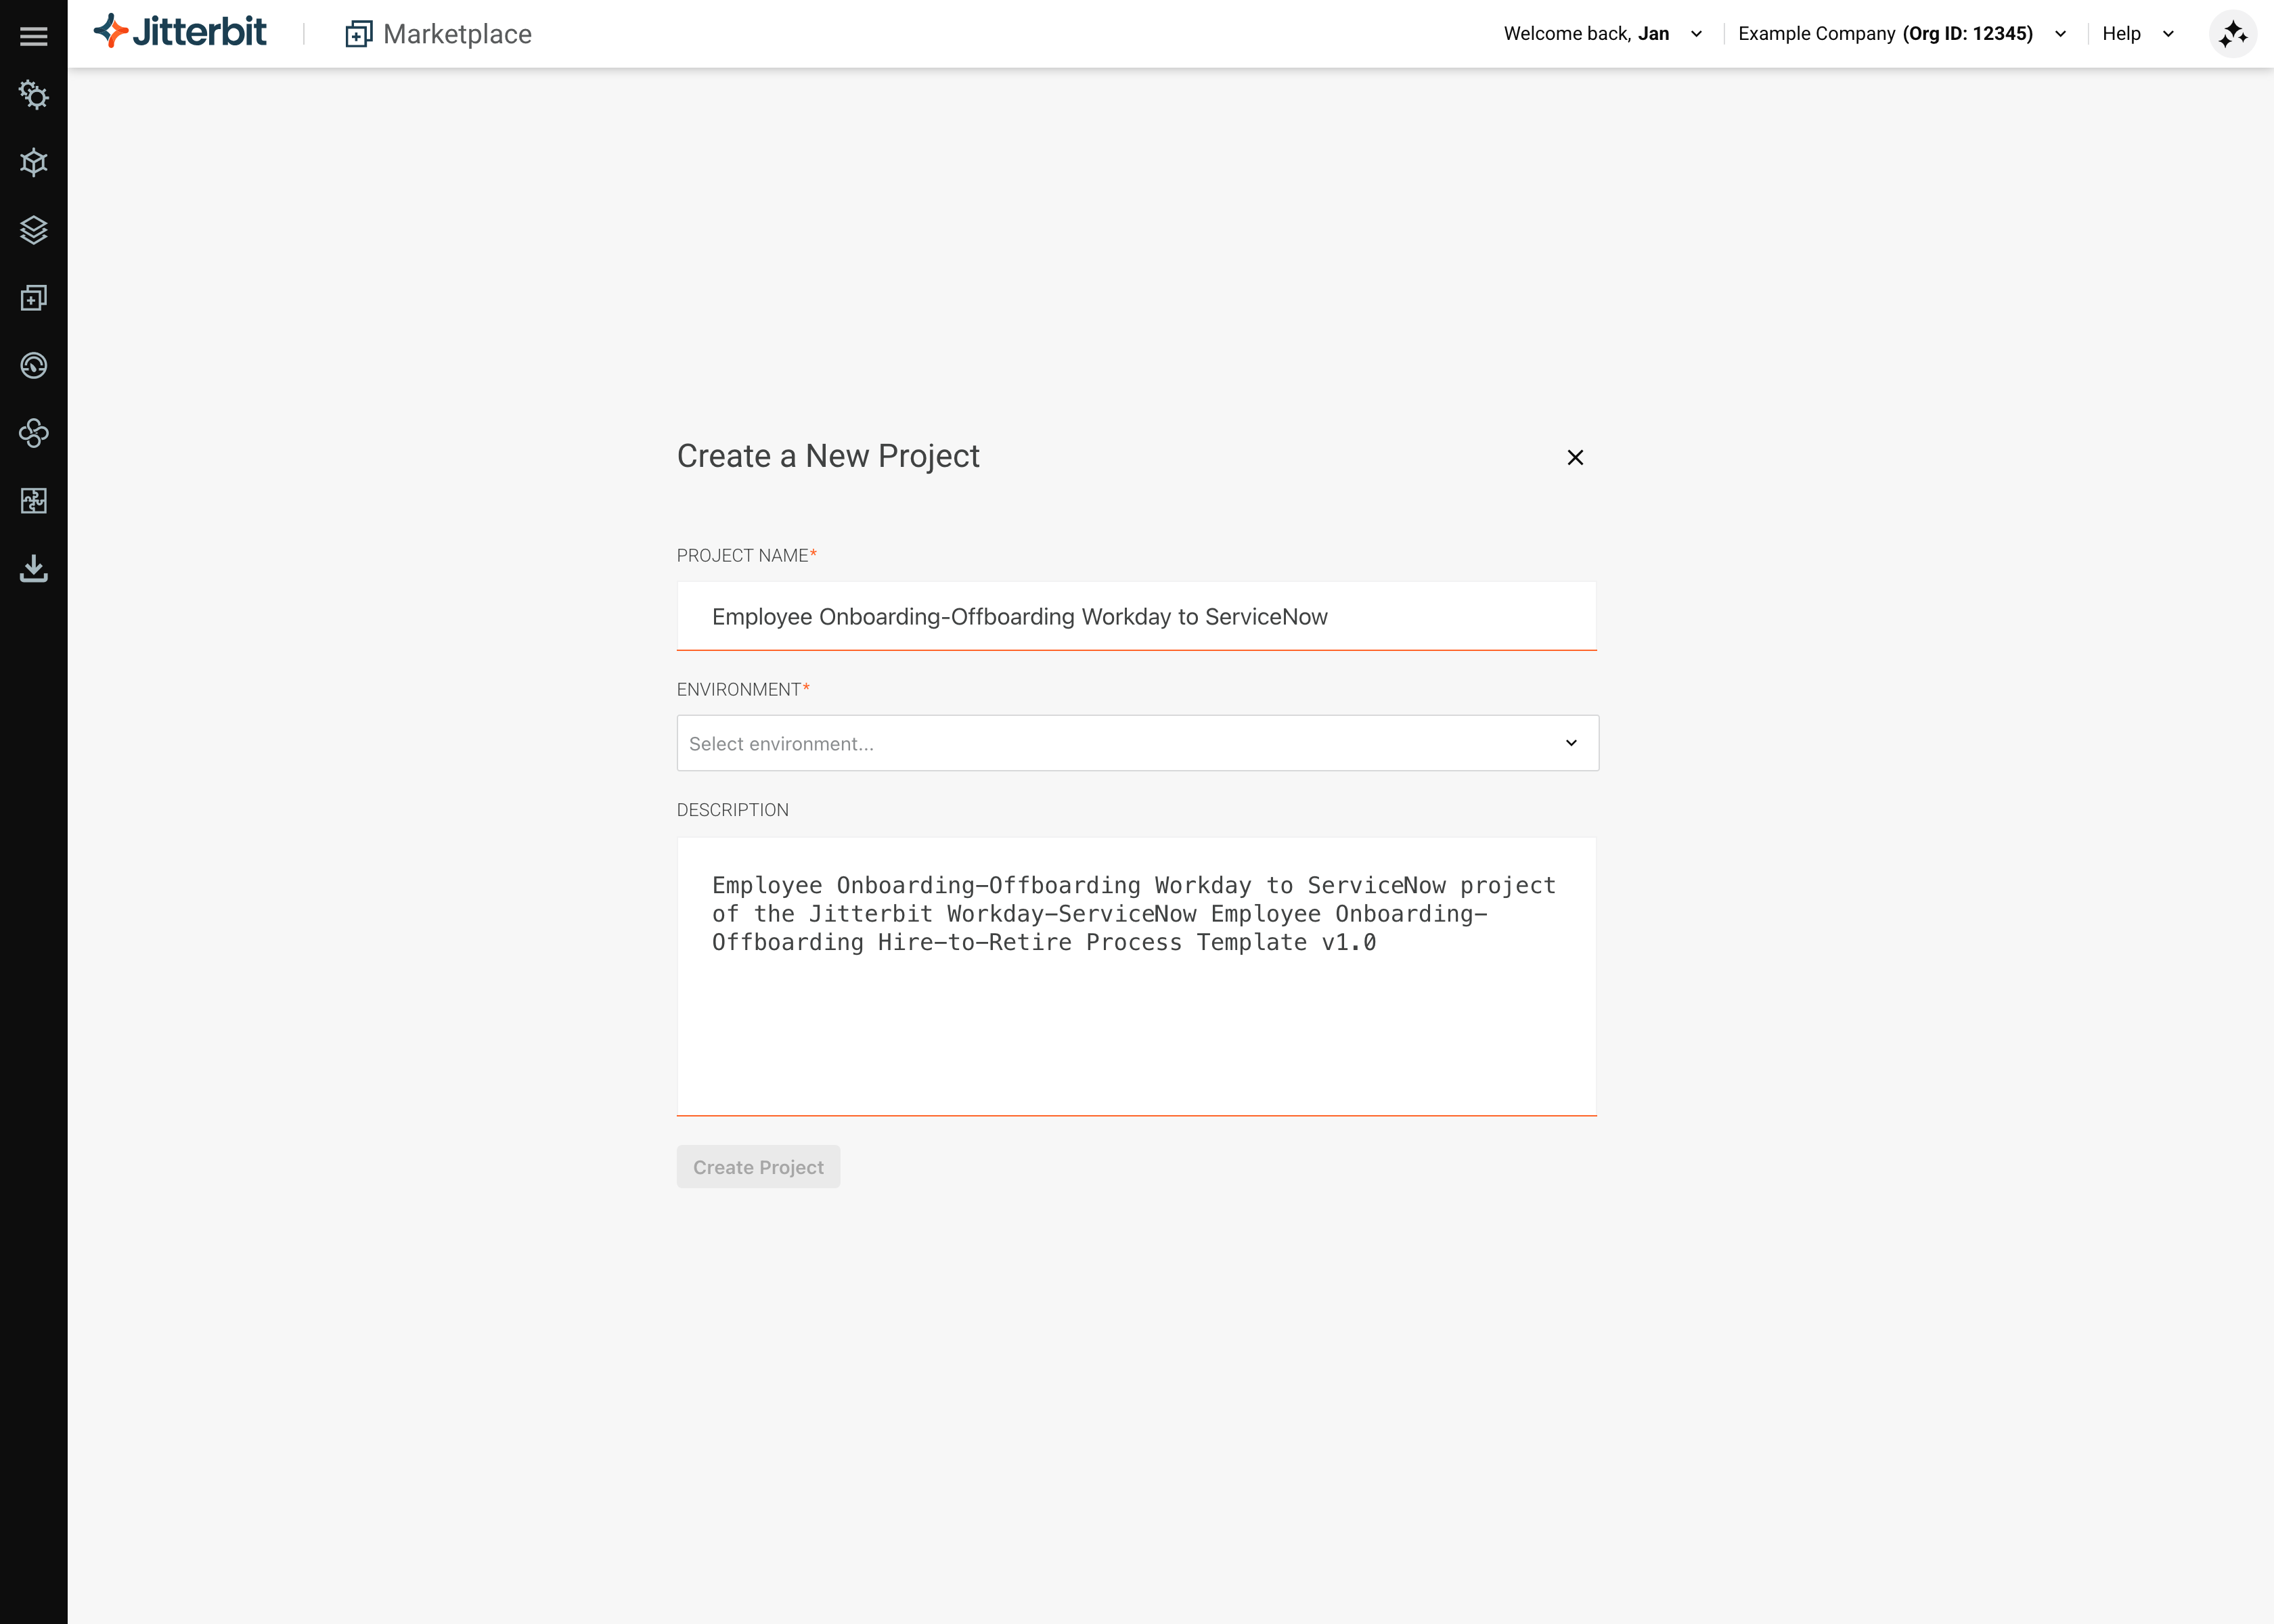
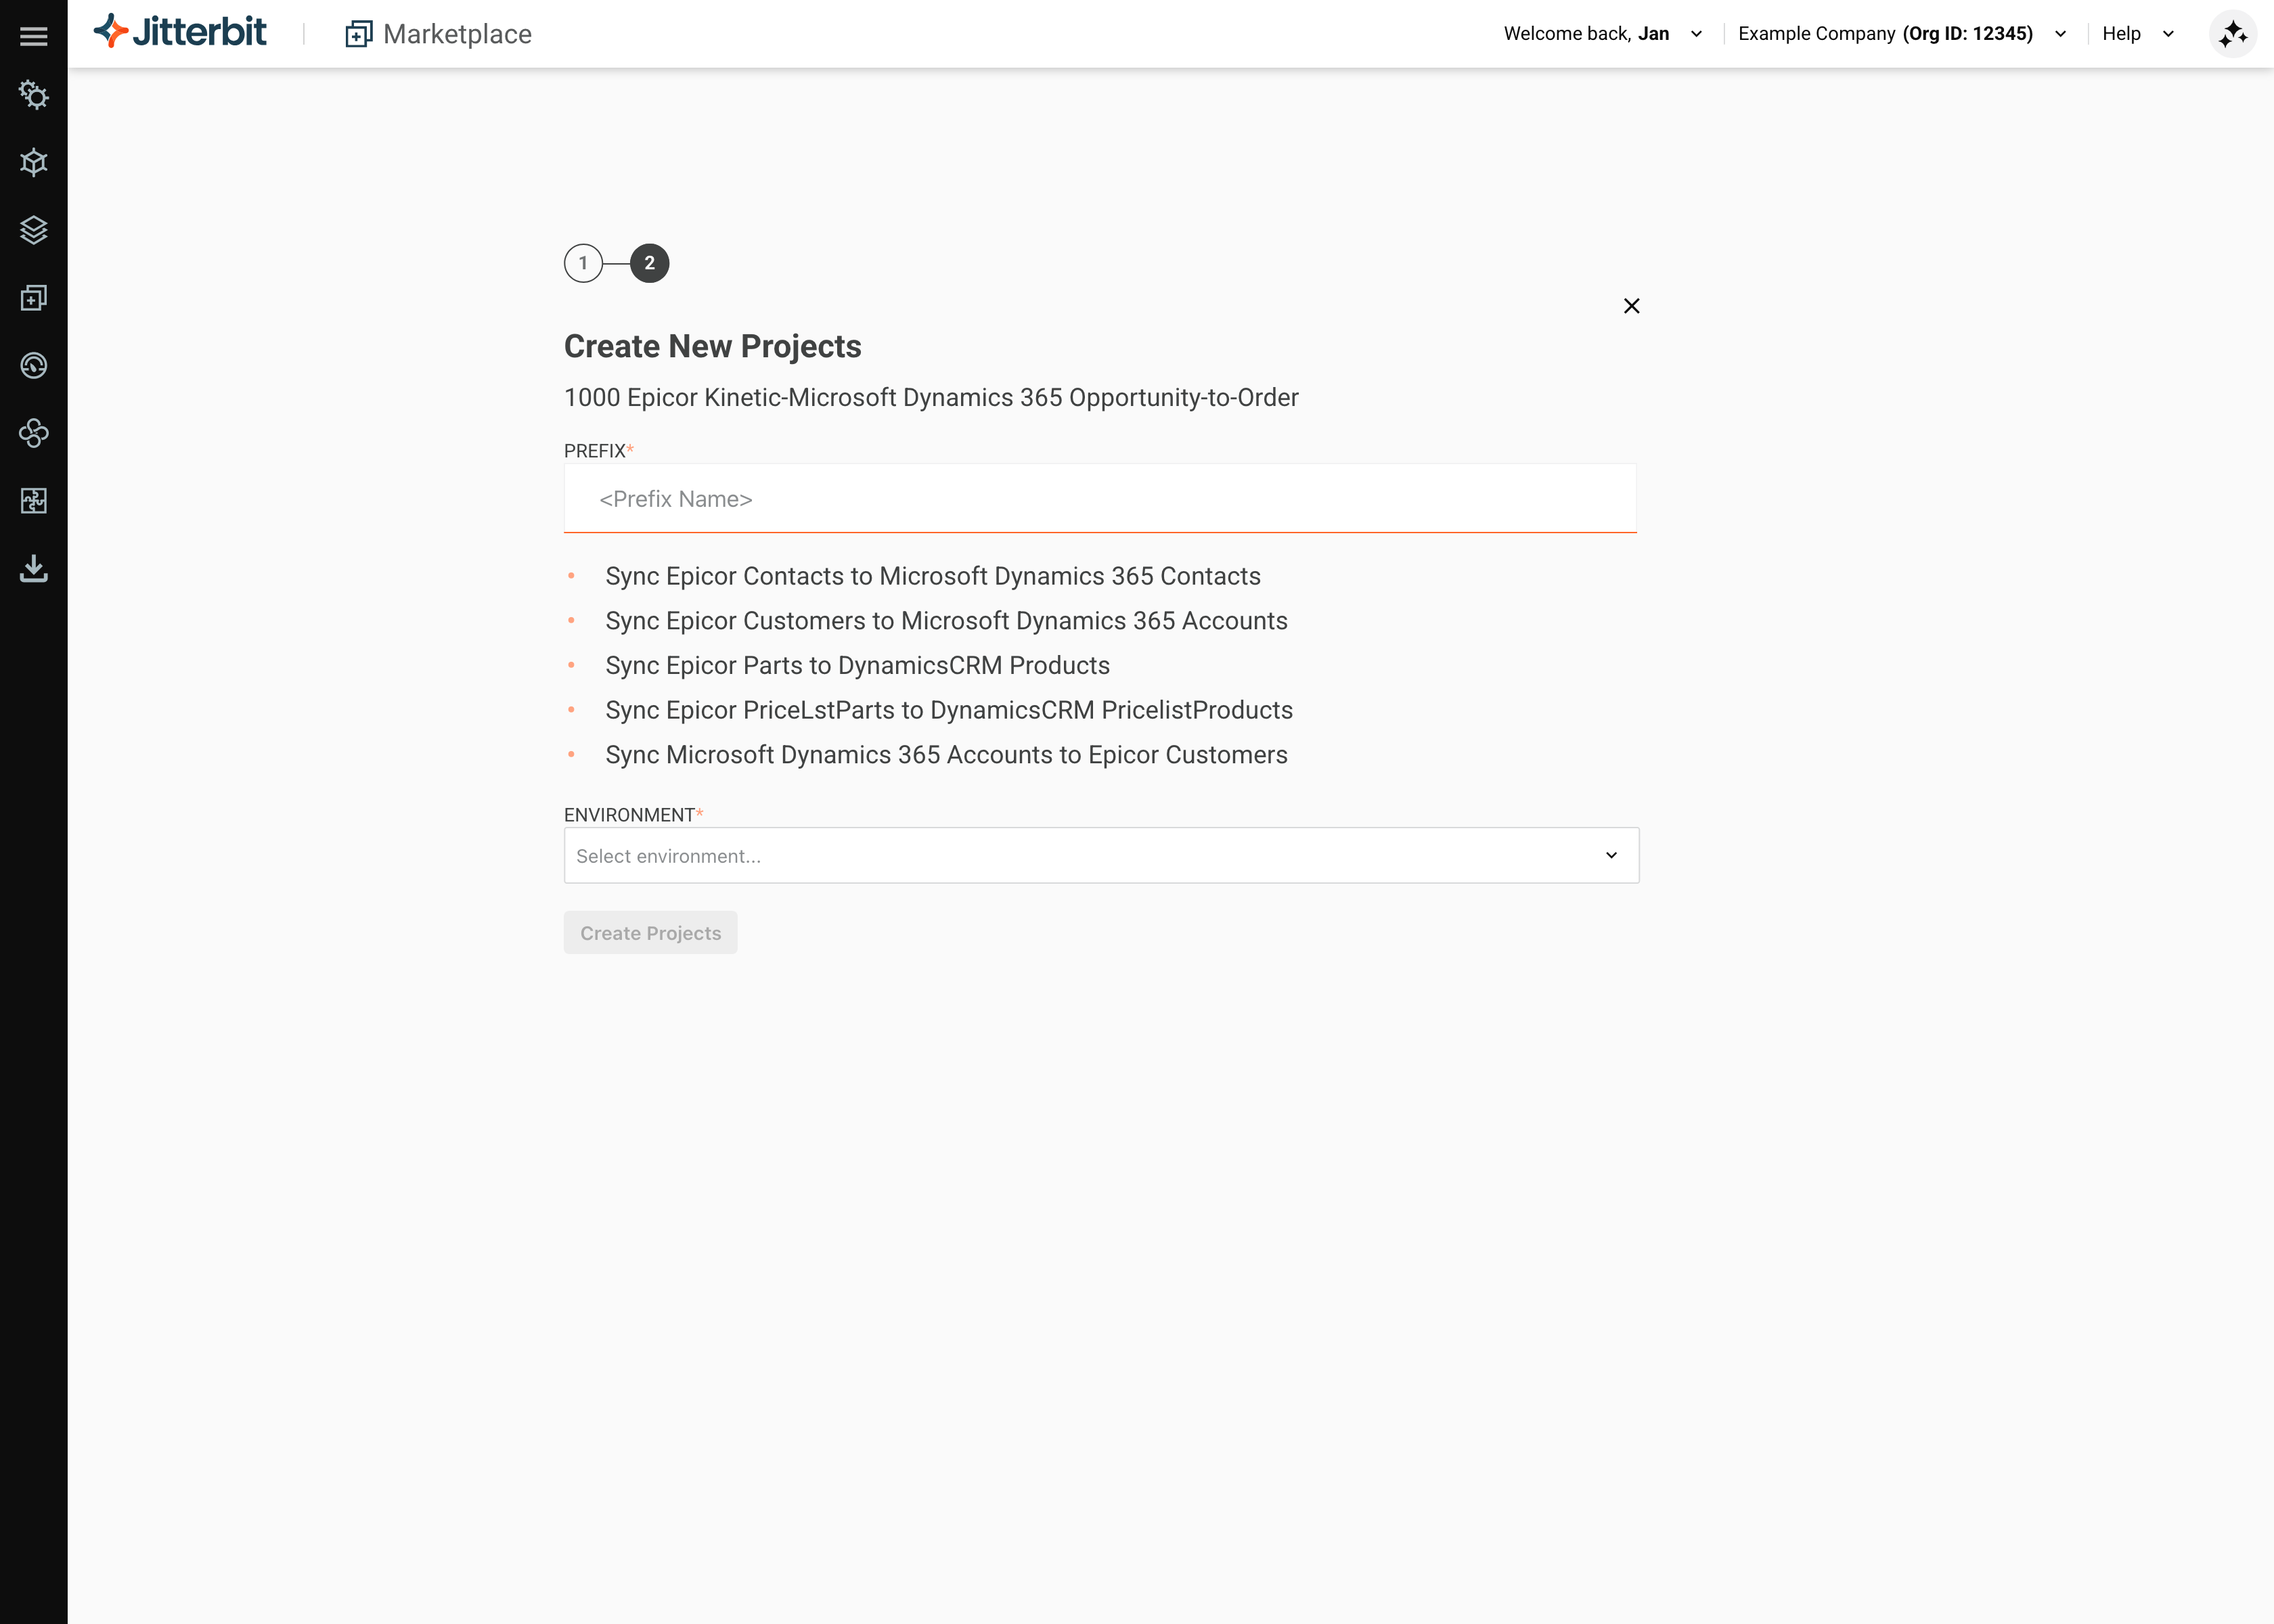
A Create a New Project or Create New Projects screen opens with the following fields:
| Create a New Project | Create New Projects |
|---|---|
 |
 |
-
Project Name: (Shown if a single project is present.) Keep the suggested name or give your project a new name.
-
Prefix: (Shown if multiple projects are present.) Enter a prefix for each project listed below. Choose one that makes it easy to recognize projects that are part of the same template when you have multiple projects.
-
Environment: Select an existing environment from the list.
-
Description: (Shown if a single project is present.) Add any information that might be helpful to other users when using the project.
-
Create Project(s): Click to create the project(s). The project names are validated for uniqueness. For multiple projects, if the names have already been used, select a new prefix.
A dialog tracks the progress of the project creation process:
In progress Done Dialog text
Creating
number> Project(s) After the project(s) have been created go to Studio and update project variables with credentials and other pertinent information.
You can close this dialog without interrupting the creation of your project. It may take up to 2 minutes for projects to appear in Studio.
Dialog text
Creating
number> Project(s) Project created.
After the project(s) have been created go to Studio and update project variables with credentials and other pertinent information.
You can close this dialog without interrupting the creation of your project. It may take up to 2 minutes for projects to appear in Studio.
-
Back to Marketplace: Click to return to Marketplace. The projects are created in the background. You can also wait until the projects are created.
-
Go to Studio: Opens the Studio Projects page where you can open the projects and continue your work. This button is disabled until all projects are created.
Get this template or agent
Instead of a Start project button, some assets have a Get this template or Get this agent link, as shown in these examples:
| Get this template | Get this agent |
|---|---|
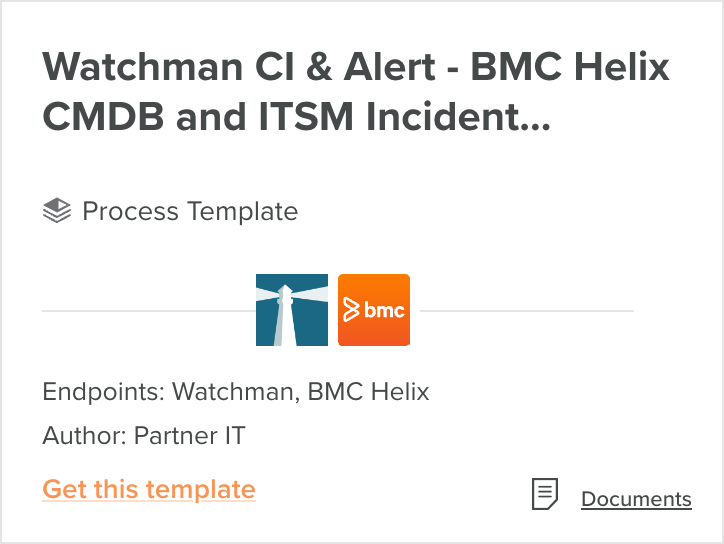 |
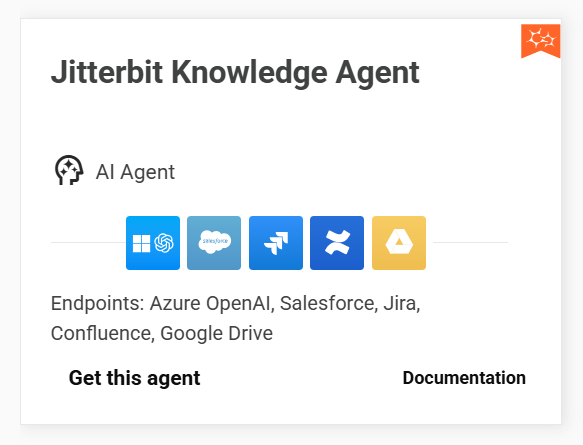 |
When you click the link, a dialog opens with instructions related to the template or agent. Here are two examples:
| Example dialog with external download link and Submit button | Example dialog with Submit button |
|---|---|
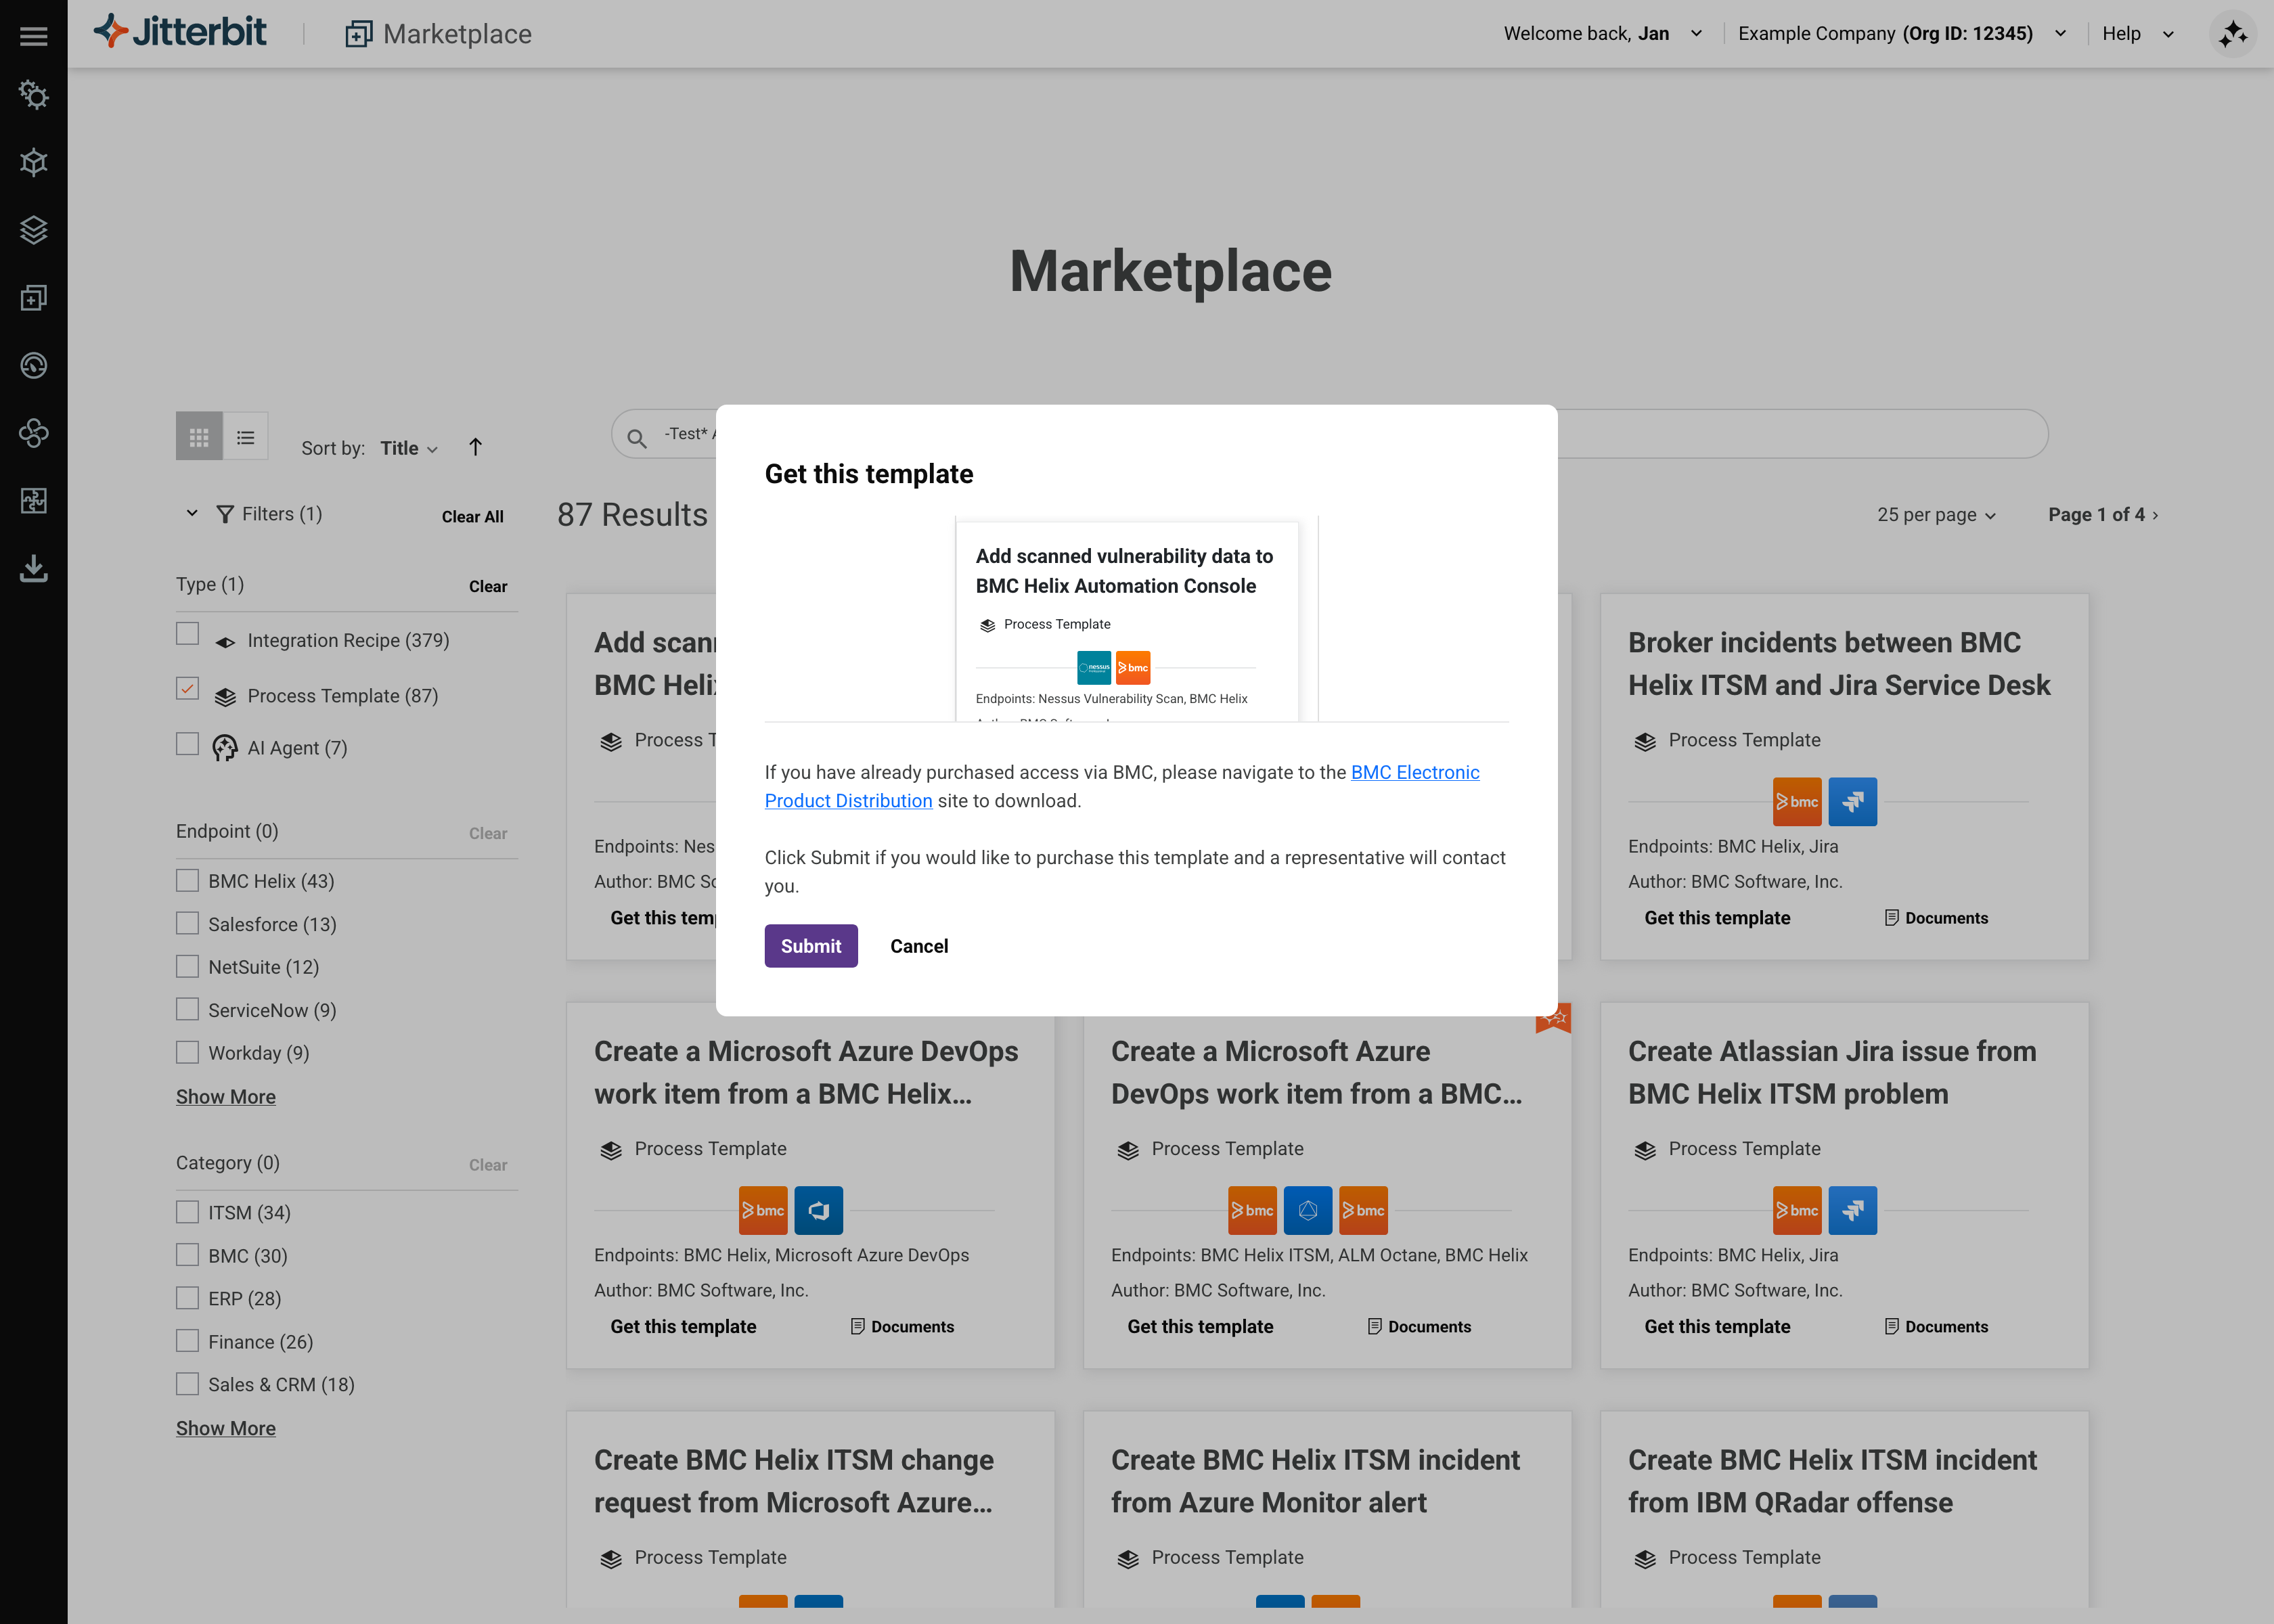 |
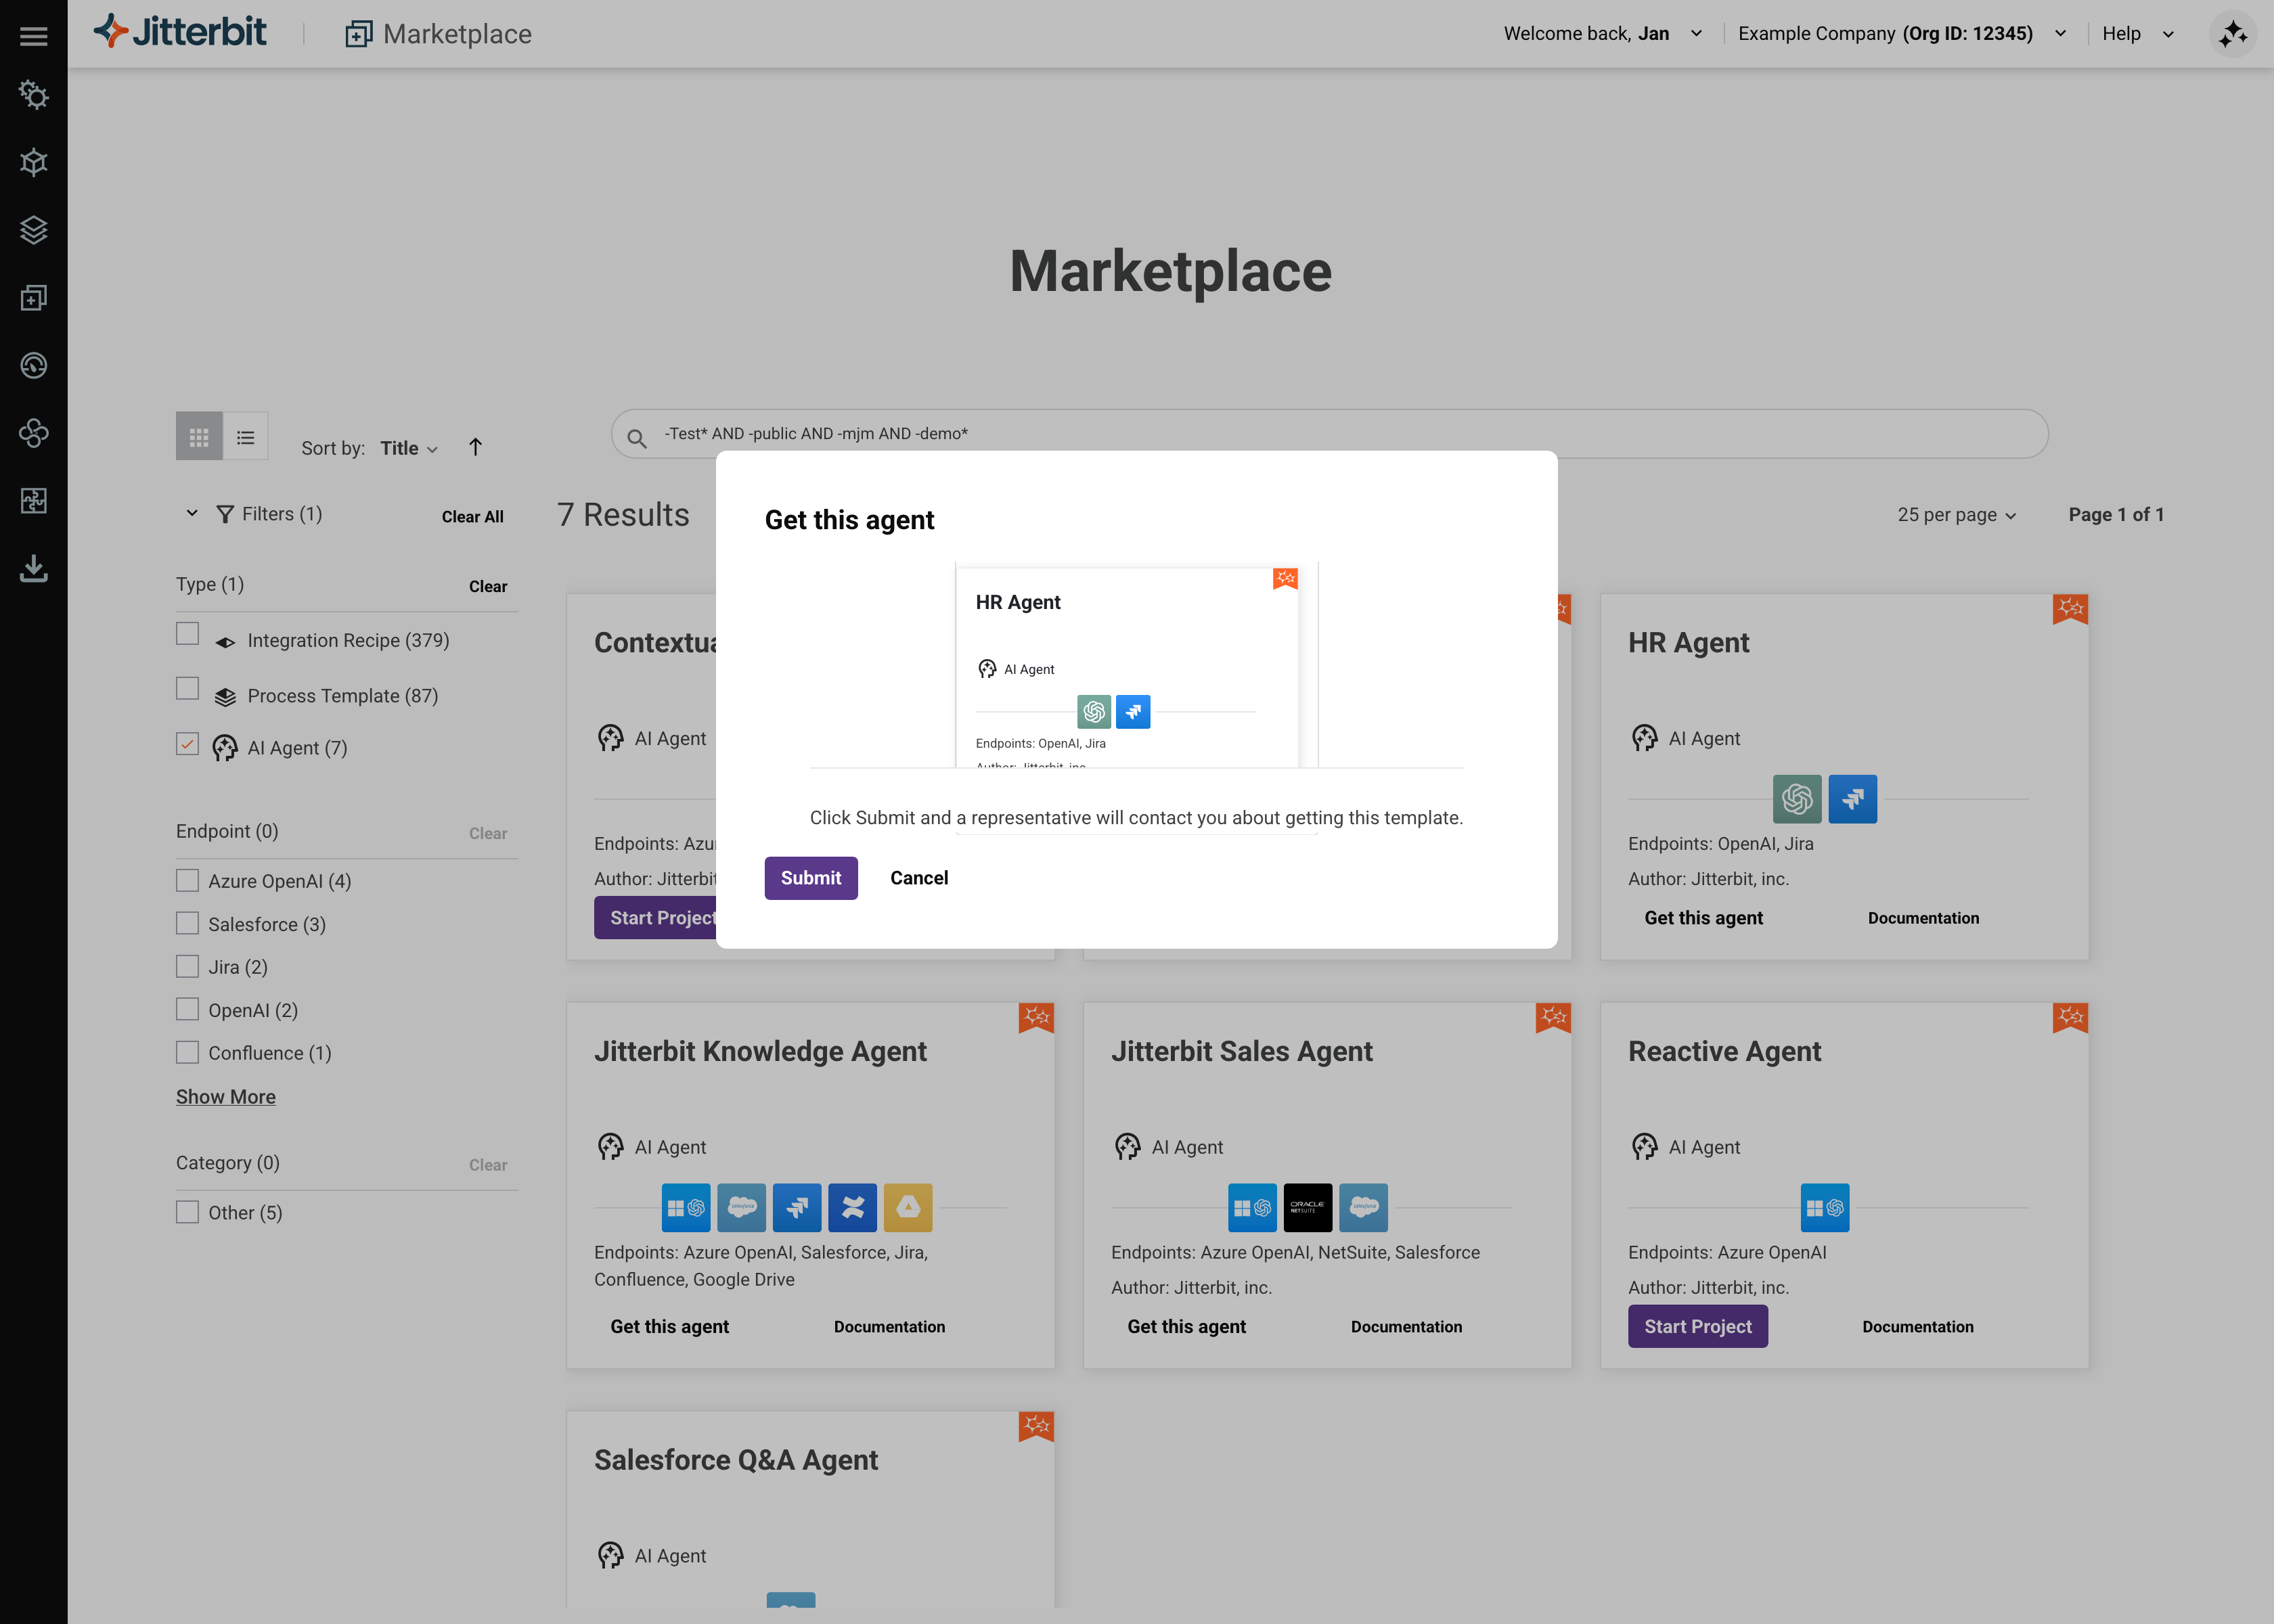 |
-
Click Submit to send a message to a representative who will contact you about getting the template/agent.
-
Click the Close button to close the dialog without requesting information on the template/agent.
Download app
Apps are distributed as App Builder release packages. To use an app, you download its release package (an .LP file) and install it into your own App Builder instance.
If your organization is licensed for App Builder, both the app's card and its Details panel show a Download app button:
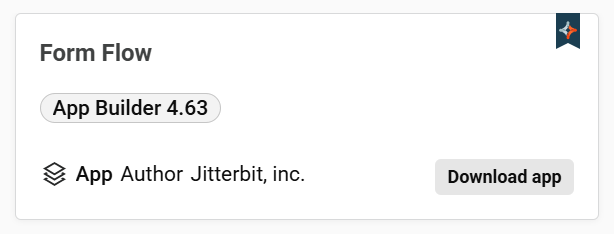
To download the app:
-
Click Download app. Your browser downloads the app's
.LPfile to your default download location. -
An App Builder file downloaded successfully notification confirms the download.
Next, install the .LP file into your App Builder instance. Each app's documentation includes the install steps and its configuration; see Apps for the list of available apps.
Get app
If you do not yet have access to an app, its card shows a Get app button instead of Download app. Clicking Get app opens the app's Details panel, which explains what you need and provides a Submit button to request it.
If your organization is not licensed for App Builder, the panel shows the message "An App Builder license is required to use this app. Click Submit and a representative will contact you about getting App Builder."
Click Submit to send the request. A Message successfully sent notification confirms that a representative will be in touch.