Calendar panels in Jitterbit App Builder
Overview
Calendar panels populate a calendar with information from a data source, using three required control types: Description, Event Start, and Event End. The Description control designates what appears on the calendar, typically an event's name. Event Start and Event End designate the day each event starts and ends on, optionally including timestamps shown alongside the event description. Like Chart panels, Calendar panels can be linked to another panel to display greater detail about an event on the calendar. See Panels for the complete list of Calendar panel control types.
By default, a Calendar panel displays based on the data in its business rule, honoring whatever sort the rule applies; review your business rule to verify its sort. If the business rule has no data yet, the calendar shows the current month, day, or year instead. Once you add data, you'll likely want to add a sort to the business rule too — see Display the current month by default below.
For example, the following screenshot shows a Calendar panel:
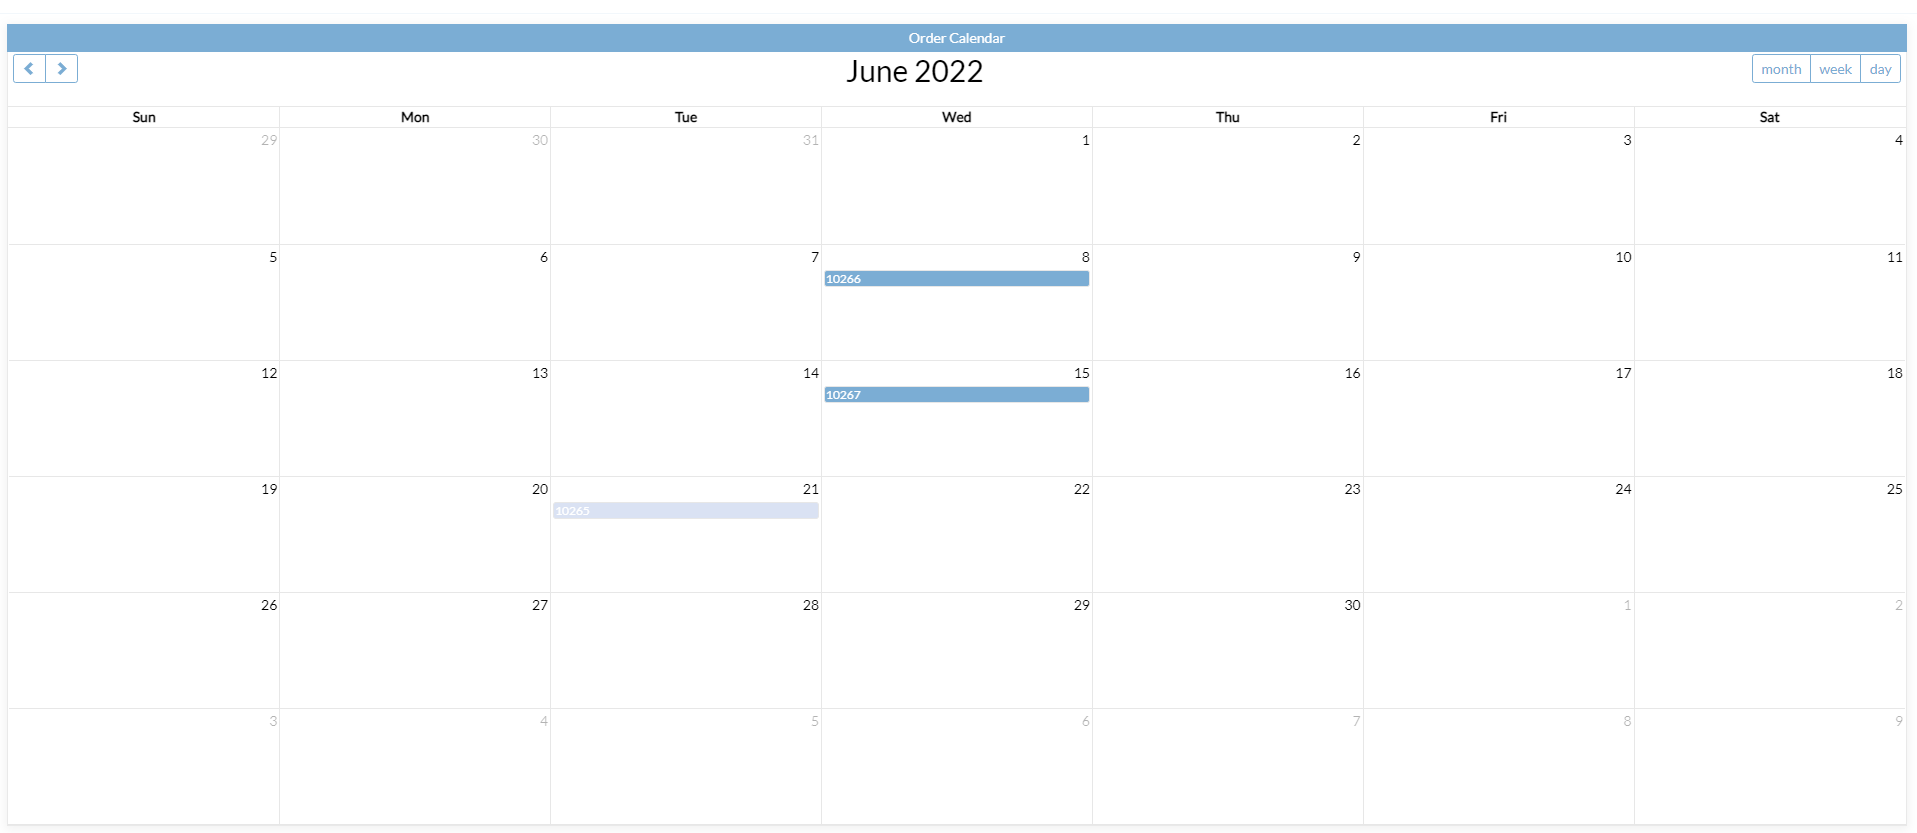
This page also covers the following tasks:
- Change the date and time of an event
- Add a new event to the calendar
- Create a calendar using the Northwinds database
- Configure the calendar events to link to another page
- Enable 24-hour time format
- Use the color control to change the color of events
Display the current month by default
To make sure the panel returns the current month, day, or year, add a column called Sort with logical type numeric, and apply an ascending sort on that column. For example, if your business object supporting the calendar panel has a column called StartDate that you'd like to use, and it's a SQL data source, you can use a SQL escape function:
${ABS(DateDiff(day, getdate(), StartDate))}
or an App Builder IIF statement:
IIF(DateDiff(dd, Now(), StartDate) < 0, (DateDiff(dd, Now(), StartDate))*-1, DateDiff(dd, Now(), StartDate))
Note
The SQL escape method is more efficient, but IIF doesn't rely on SQL syntax. Both produce identical output.
To view other months, click the forward and backward chevron buttons in the panel's upper left-hand corner. To toggle between Day, Week, and Monthly views, click the corresponding buttons in the panel's upper right-hand corner. Calendar panels can't be edited directly; however, a separate panel that displays the event's controls can be.
Change the date and time of an event
To change the date and time of an event:
- Select the event.
- In the panel that displays the event's information, click the Pencil icon.
- Adjust the date and time as necessary, then click the Checkmark icon to save.
Add a new event to the calendar
To add a new event to the calendar:
- Select any pre-existing event and click the Create button.
- Enter a title for the event, then select a date from the calendar drop-down menu.
- For controls with time and date enabled, click the Time icon to bring up a clock.
- Click the Checkmark icon to save.
- After making any revisions to the calendar, refresh the page to confirm the update.
Create a calendar using the Northwinds database
This example adds a new Calendar panel to visually represent the dates that orders get logged into the Northwinds sample database.
-
Create a business object to use with the calendar panel:
- Create a new business rule.
- Give the rule a Name. For example:
Order (Calendar). - Set the Purpose field to Calendar.
- Target the
Ordertable. - Click Save.
- From the
Ordertable, select theOrderIDandOrderDatecolumns. - Click the Where tab. Add the
OrderDatecolumn to the Left field, choose IS NOT NULL as the Operator, and leave the Right field blank. - If desired, add a column that supports sorting to the Columns tab. For example:
DatePart(mm, O.OrderDate).
-
Create the calendar:
- Go to App Workbench > Pages.
- Name the page
Order Calendarand click Create. - Select the single column layout, then click + Add Panel.
- Select Calendar.
- Locate the business rule you created above and click Select.
- Click Customize Page.
- Enter
Order Calendarfor the Name, select Calendar Panel as the Type, and select Monthly as the Sub Type. -
Add two controls with the following settings:
Column Name Usage Type Control #1: OrderIDOrderDescription Control #2: OrderDateOrder DateEvent Start -
Navigate to the app view and confirm you now see the calendar.
Configure the calendar events to link to another page
To configure a calendar's events to link to another page:
- From the calendar page in your app, select Action Drawer > Live Designer.
- Click the Controls button on the Calendar panel.
- Click the Open Record icon for the control to link from.
- From the Update and Linking, set Link To Page to Orders.
- Verify that it is bound by OrderID in the Criteria.
- Navigate to the application view and confirm the update.
See Configure how linked pages open for how Link Target and Replace Page In History affect the linked page's behavior.
Enable 24-hour time format
Since App Builder 4.60, calendar panels support a 24-hour time format. By default, event times are displayed in 12-hour format. To switch to 24-hour format:
- Navigate to the calendar page in your app and select Action Drawer > Live Designer.
- Click the Controls button on the calendar panel.
- Click the Edge Case tab.
- Under the General section, enable the Use 24-Hour Clock setting.
- Navigate to the application view and confirm the update.
Use the color control to change the color of events
To use the color control to change the color of events:
- Add a new column to the calendar's business rule. For example, enter
'#000343'in the Column or Expression field, and enterColorin the Alias field. - Navigate to the calendar page of your app and select Action Drawer > Live Designer.
-
Add a new control:
- Select
Colorfor the Column. - Name the control
Color. - Select Color for the Control Type.
- Select
-
Navigate to the application view and confirm the update.