Configuration screens in Jitterbit Studio
Introduction
Most project components and other areas of the user interface (UI) require configuration. You provide this input through a configuration screen or editor for each component type or configuration area.
Studio uses configuration screens in multiple areas of the UI. This page describes configuration screen elements that are common across these areas.
Terminology for specific component types
Each component type has a specific configuration screen:
- Activities use activity configuration screens.
- Connections use connection configuration screens.
- Scripts use the script editor.
- Transformations use the transformation configuration screen.
- Schedules use the schedule configuration screen.
Activity configuration screen
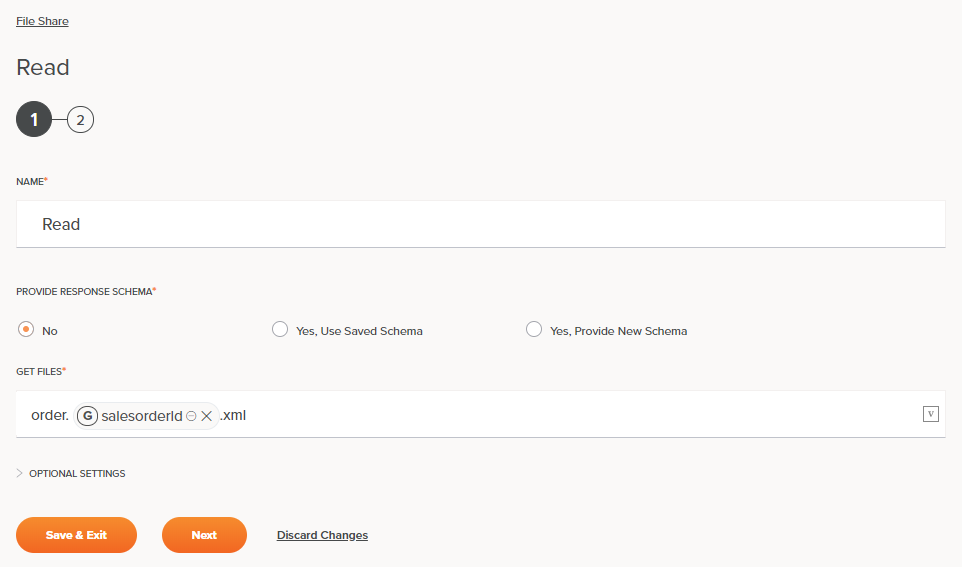
This section uses a File Share Read activity to illustrate a typical activity configuration screen.
After you create an activity, open its configuration screen to provide information such as the files you want to interact with and optional schemas. Some configuration screens have multiple steps that you must complete in sequence.
Tip
If you experience issues with names and passwords auto-populating in configuration fields, try adjusting your browser settings (such as clearing the cache and disabling autofill) or disabling any password managers.
-
Connection configuration link: Each activity configuration screen includes a connection link at the top of the screen. How you access the connection configuration depends on how many endpoints you have configured for this connector type:
-
Single endpoint: Click the connection name to open the connection configuration.

-
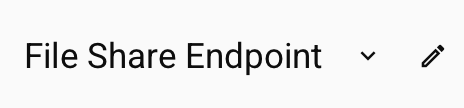
Multiple endpoints: Hover over the endpoint name to display the edit button , then click Edit endpoint to open the connection configuration for the currently selected endpoint.
-
-
Component names: Many screens also include the name of the component you are configuring. The displayed name might update automatically based on your component or operation name. For other components, such as activities, the name might be static, such as a File Share Read activity:

-
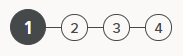
Multi-step screens: On multi-step screens, step numbers appear with the current step highlighted:
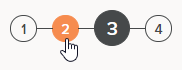
After you configure a step, you can return to it by clicking its step number. Navigable steps show an orange background when you hover over them:
When you initially create a component, you must complete the steps in sequence and save using the Finished button on the last step.
During creation or editing, you can navigate back to any configured step using the step number or the Back button. However, if you change a previous step, you must reconfigure or acknowledge each subsequent step in sequence.
When you reopen a component with steps, Studio shows the last configuration step. The last step is often a review step, which lets you see the existing configuration without resubmitting previous steps.
-
Saving and closing: Many configuration screens have a close icon . Activity configuration screens use manual save, so clicking this icon discards unsaved changes. Scripts and transformations use auto-save and preserve all changes. Studio indicates auto-save by showing the save status on the screen. For more information, see Saving in Studio permissions, collaboration, and saving.
-
Fields: Studio indicates required fields with a red asterisk after the field name:

The absence of the red asterisk indicates the field is optional.
Depending on the field type, complete it by selecting a radio button, using a dropdown, or entering text.
-
Variable support: Fields with a variable icon support global variables, project variables, and Jitterbit variables. Type an open square bracket
[into the field or click the variable icon to display a menu of existing variables. After you insert variables, Studio displays them as pills inline with any other text:
Change the assigned endpoint
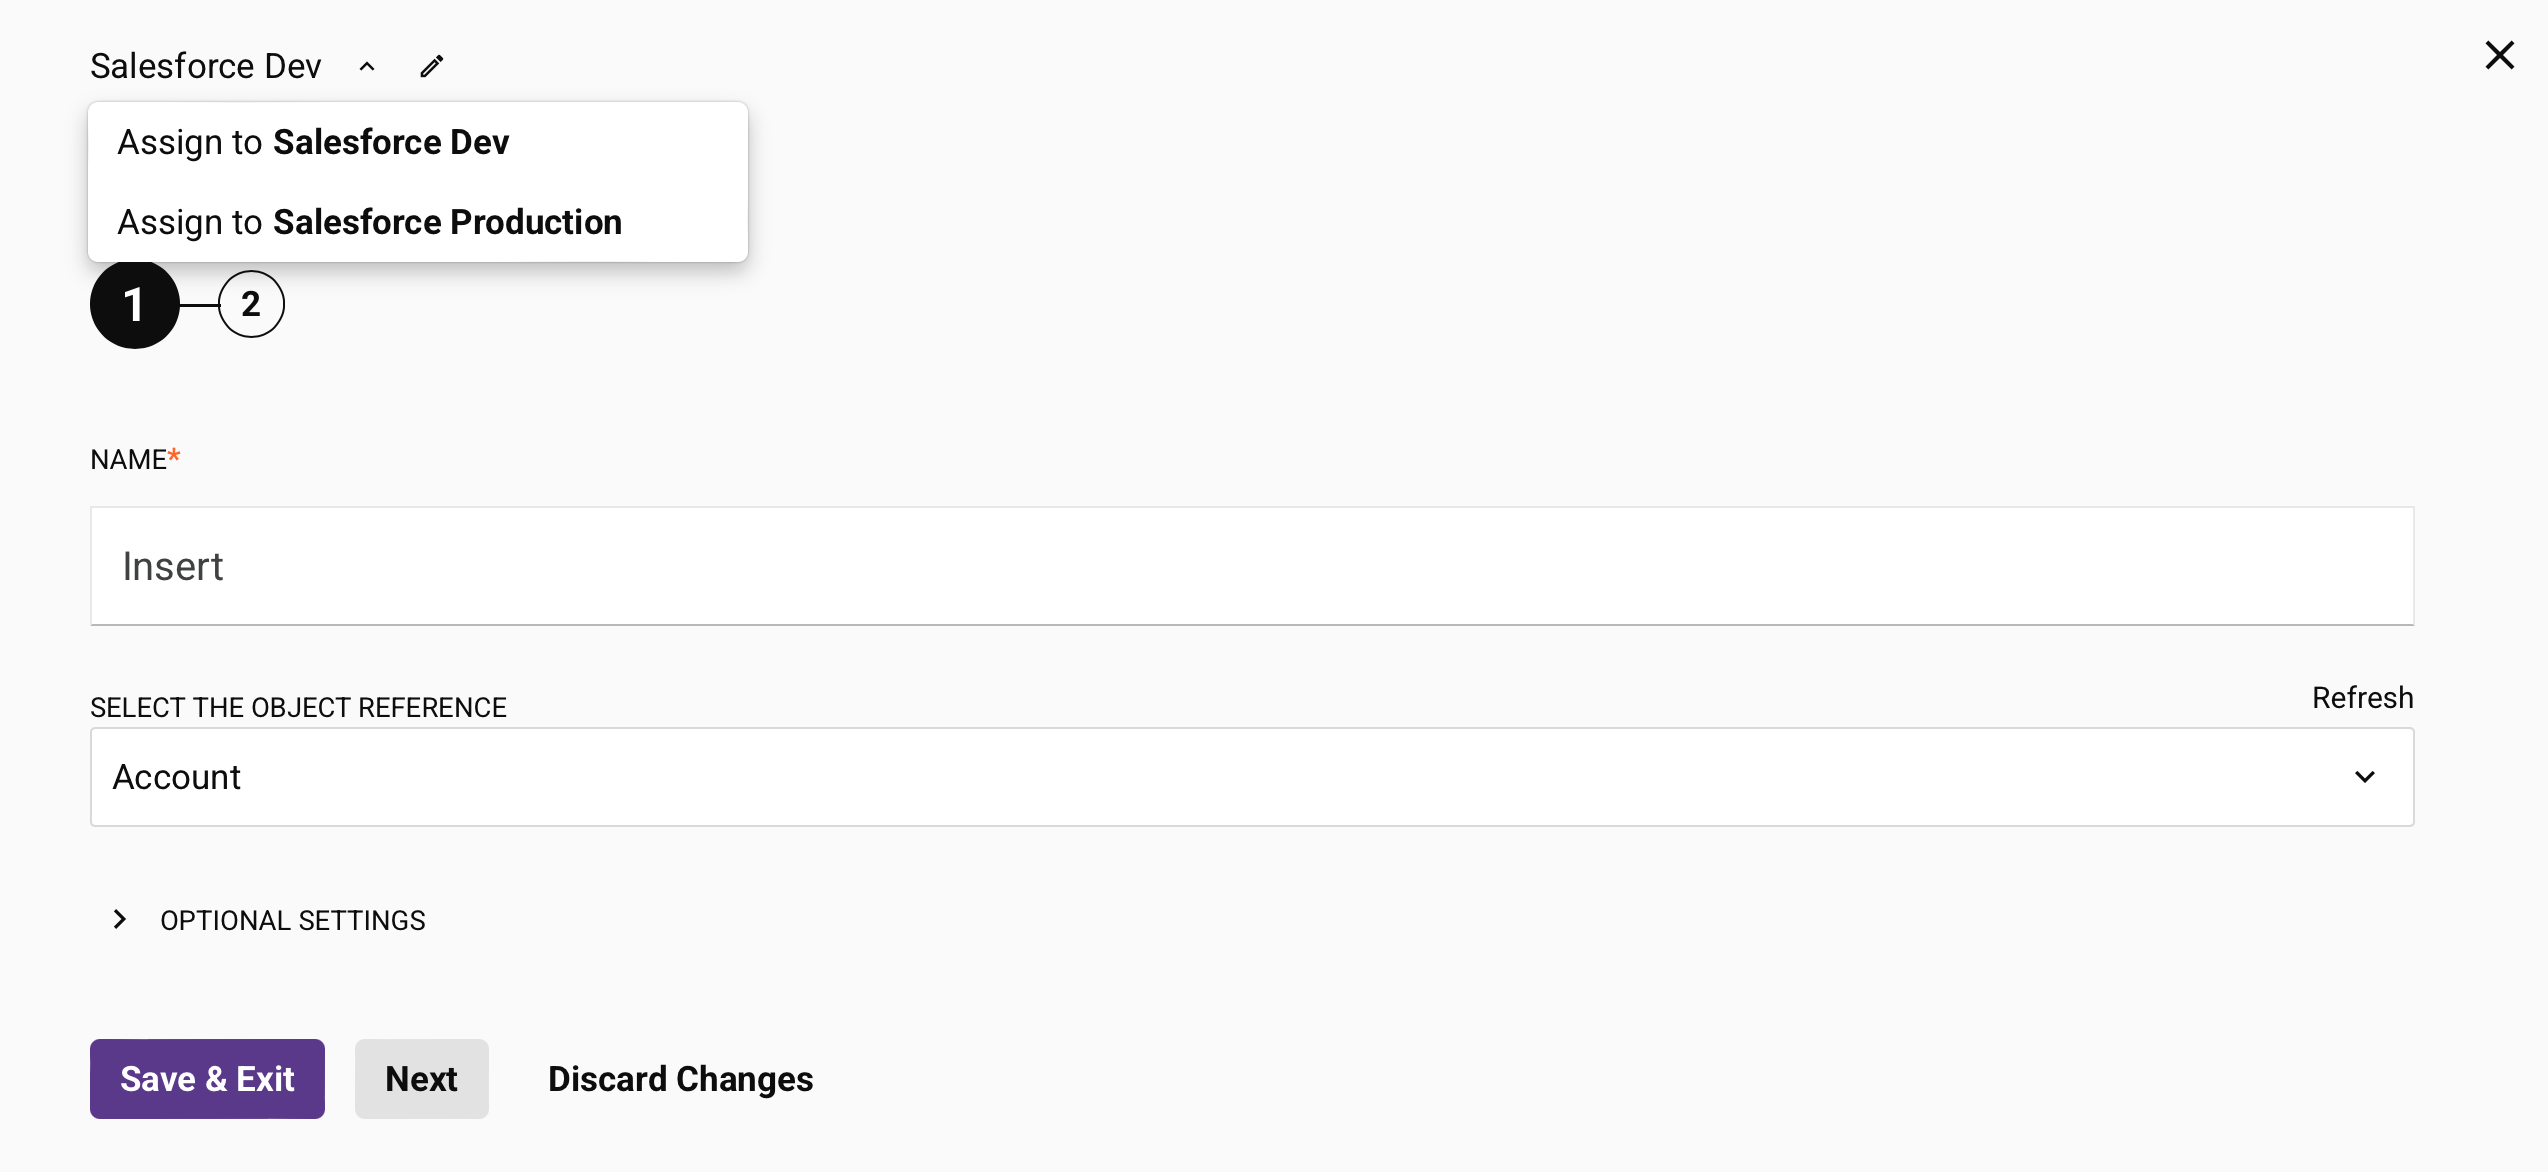
You can change the endpoint that an activity uses directly from the activity configuration screen. When you have multiple endpoints of the same connector type, a menu at the top displays the current endpoint name. Click the menu to view and select other endpoints. For example, if you have multiple Salesforce endpoints (such as one for development and one for production), you can switch between them without creating a new activity.
To change the assigned endpoint, complete these steps:
- Open the activity configuration screen.
- At the top of the screen, click the endpoint menu.
-
Select the endpoint you want to use:
After you switch endpoints, Studio redirects you to the first configuration page and prompts you to complete each step to refresh the metadata.
Note
If you switch back to the original endpoint without making configuration changes, Studio dismisses the warning message and doesn't require reconfiguration. However, if you make configuration changes after switching endpoints and then return to the original endpoint, you must reconfigure the activity.