Notifications: Channels and groups in Wevo iPaaS
Before you turn on notifications, first you need to define a few important configurations to ensure they will work correctly. One such configuration is which channel will be used in communication. This page shows how to do that.
After you finish this step, see Notifications: configure events and learn how to turn on notifications.
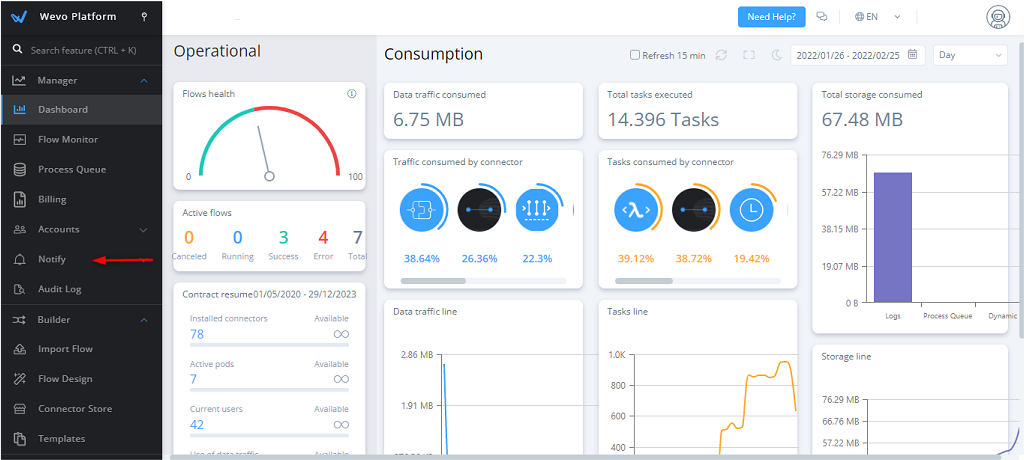
To access the notifications, click Notify in the lateral menu to the left.
Configure a channel to receive notifications
-
After you've selected Notify in the lateral menu (as explained above), click Channel:

-
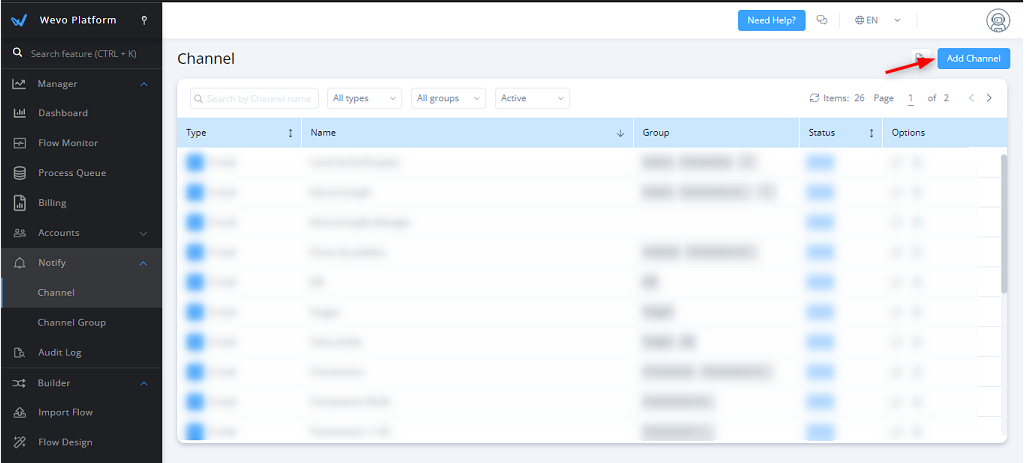
Click Add Channel:
-
In the dialog box that will open, define a few settings:
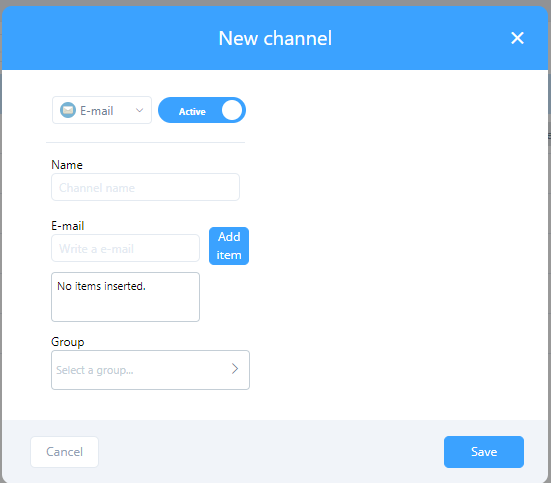
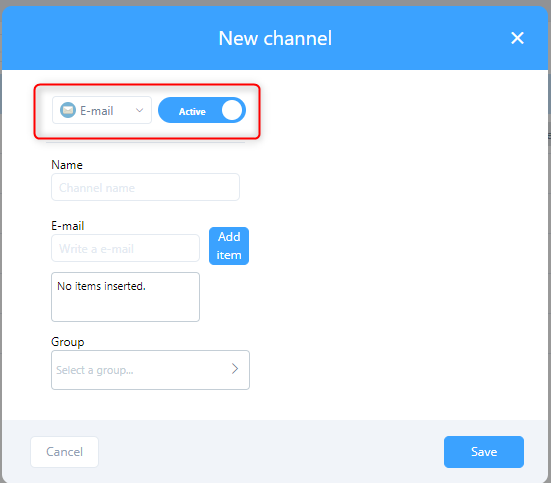
Use the menu to select which channel will send the notification, either Email or Slack (those are the only options currently available). The next configurations will differ slightly depending on which option you select here.
-
Email: After you select Email as the means to send the notification, make sure the Status toggle is switched to Active. Next, in the Name field, enter a name you want to use to refer to the channel. In the E-mail field, enter the email address that will receive the notification. If you want this channel to belong to a group, select it in the Group field. Finally, click Save to finish.
-
Slack: After you select Slack as the means to send the notification, make sure the Status toggle is switched to Active. Next, in the Name field, enter a name you want to use to refer to the channel. In the Web Hook field, enter the webhook that you've previously configured to send messages into Slack. If you want this channel to belong to a group, select it in the Group field. Finally, click Save to finish.

-
Configure a group
Although this isn't required, you have the ability to create a group to receive certain notifications. This is advantageous in case you've configured different communication channels for different users. By grouping them, you no longer need to create a notification process for each one.
To configure a notification group:
-
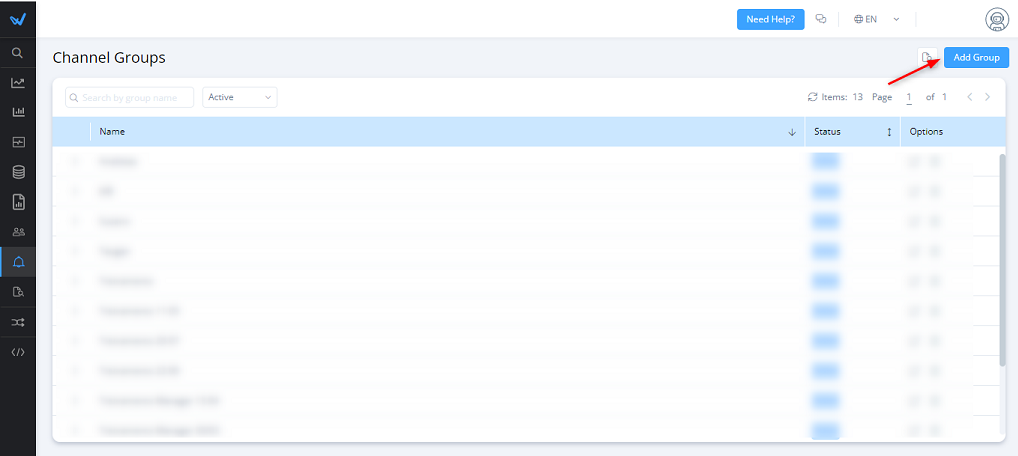
In the lateral menu, go to Notify > Channel Group:

-
Click Add Group on the top right.
-
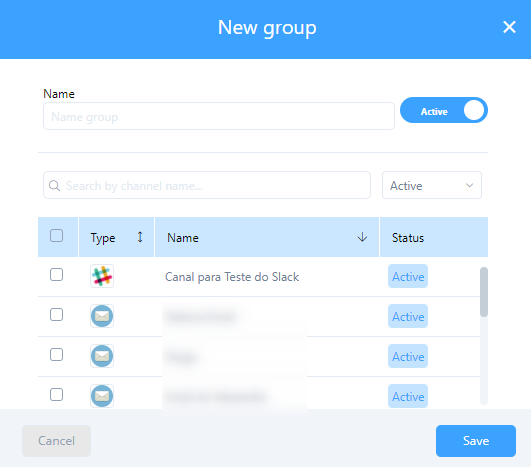
In the Name field, choose a name for that notification group. Next, pick which channels should belong to the group and click Save to finish.
Delete a group
To delete a group, follow these steps:
-
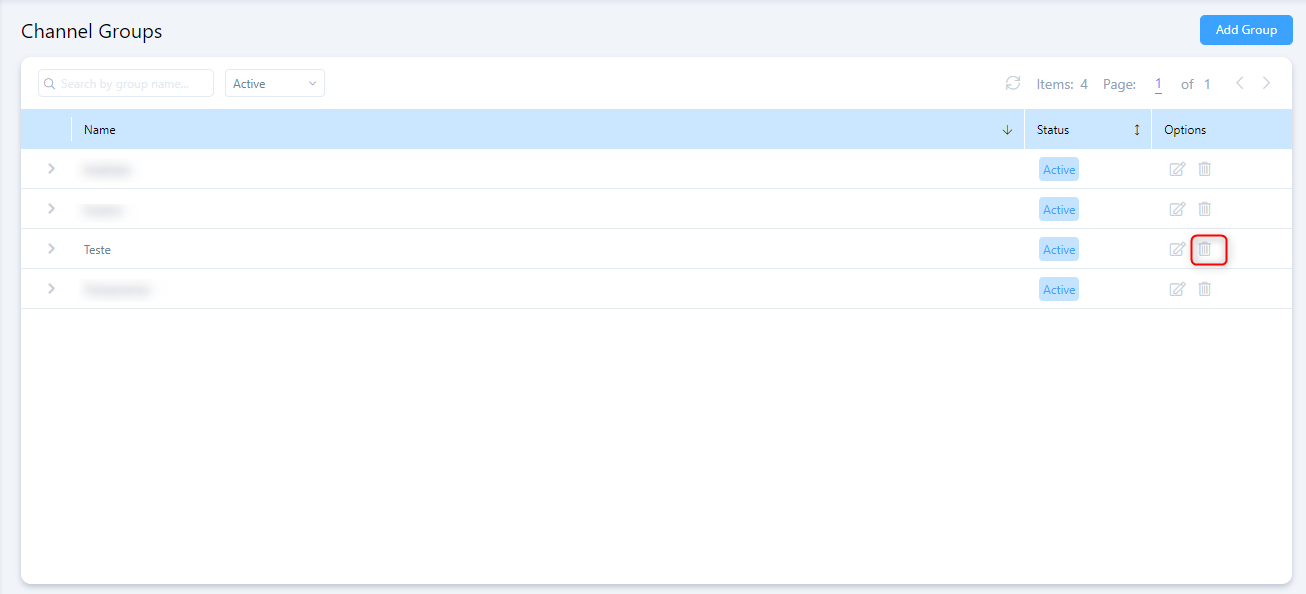
After you've accessed the Channel Groups page, locate the group you want to delete in the list and click the trash can icon, highlighted below:
-
Type the word
deleteinto the Confirmation field and click Confirm to delete the group.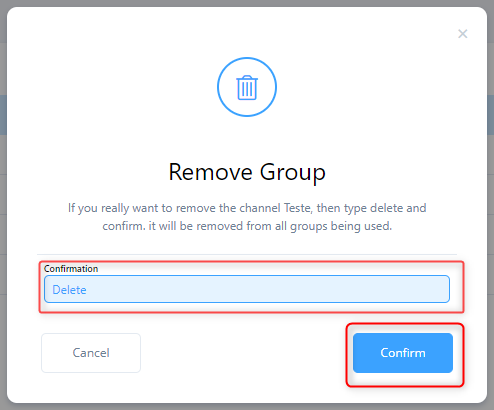
Filters
The Channel and Channel Groups pages offer filters to facilitate locating information in those pages. These filters are described below:
-
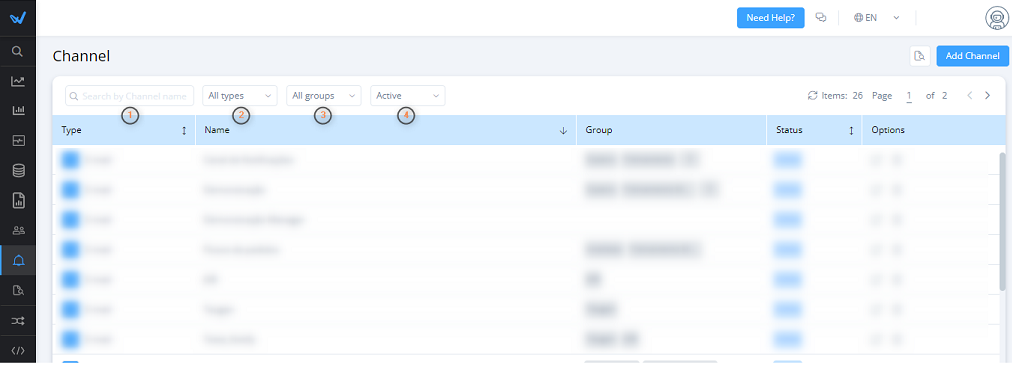
Channel: In the Channel page, the following filters are available:
-
In the search field, enter the name of the channel you want to find.
-
Use the menu to specify a type of channel, either Email, Slack, or All Types.
-
Select the specific group the channel belongs to, or use All Groups to see matches from all existing groups.
-
Filter the channels by status, either Active, Inactive, or All Status.
-
-
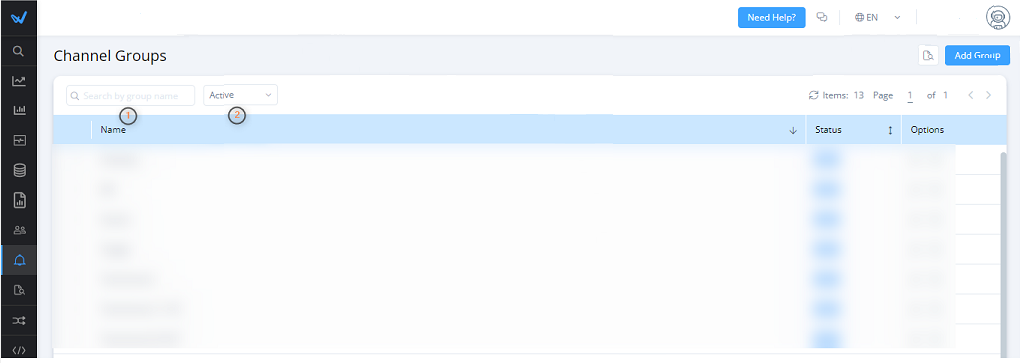
Channel Groups: In the Channel Groups page, the following filters are available:
-
In the search field, enter the name of the channel group.
-
Filter the groups by status, either Active, Inactive, or All Status.
-