Client Certificates page in Jitterbit Management Console
Overview
| Purpose | Manage client certificates |
| Location | Harmony portal menu > Management Console > Customizations > Client Certificates |
| Page access | Users with Admin role permission |
Introduction
The page is a table of SSL certificates for Studio projects with HTTP or SOAP endpoint connectors, or Design Studio projects with HTTP sources/targets or web services:
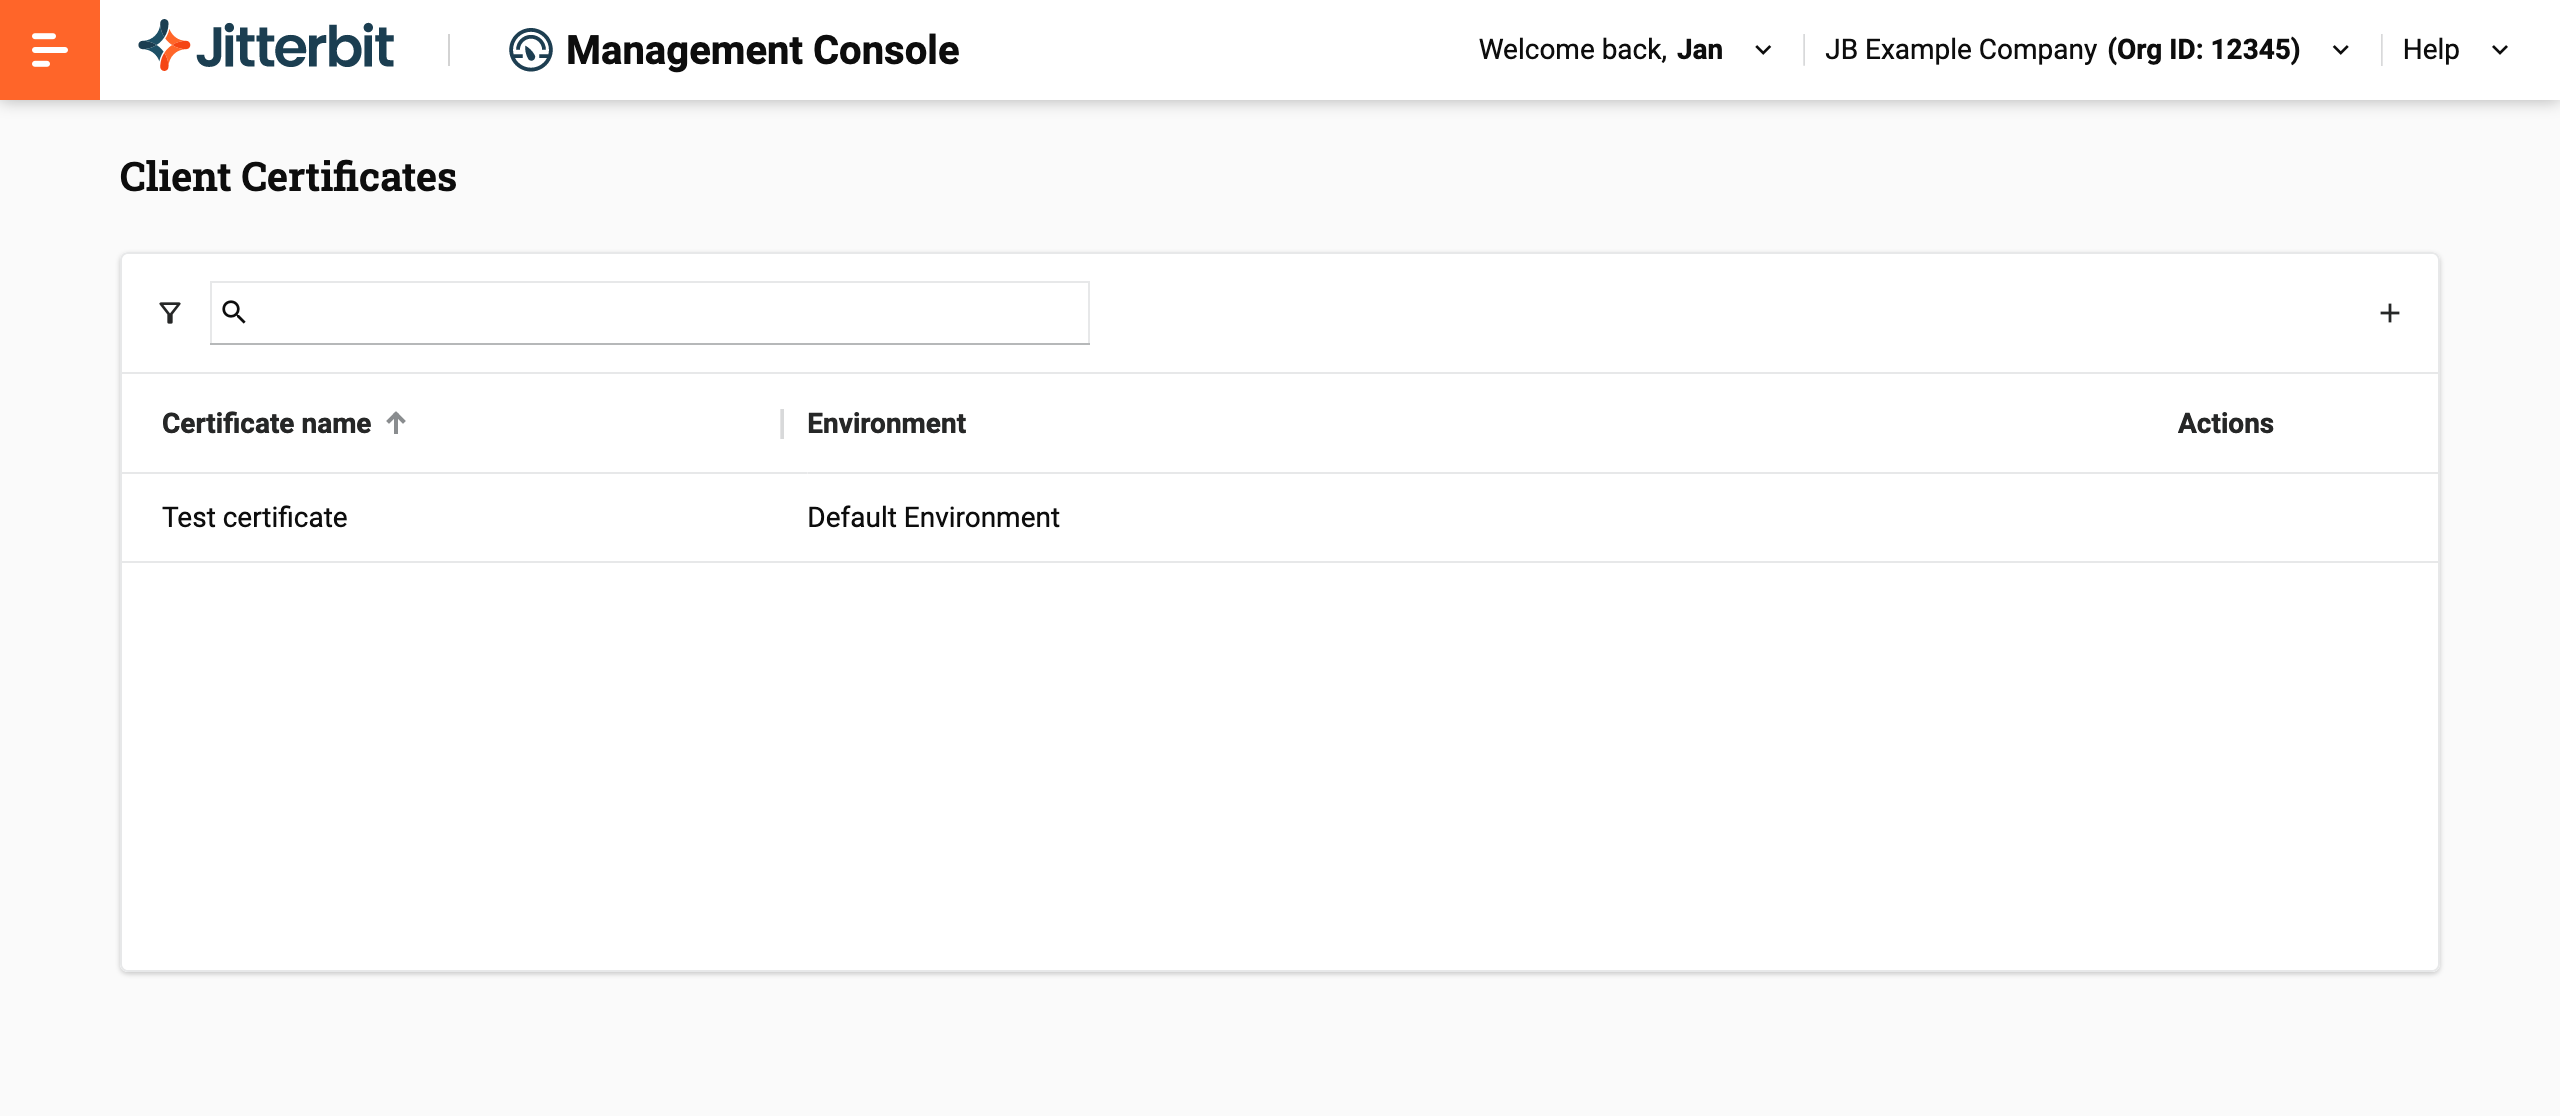
At the top of the page is a toolbar with the following:
-
Filters: Click to open the Filters drawer, to filter the list to certificates allocated to one or more selected environments.
Tip
Your filter selections are remembered the next time you visit the page.
-
Search: Enter text to search for a certificate. All fields are searched.
-
Add certificate: Click to add a certificate.
Note
SFTP connections use SSH client keys configured in private agents.
Add a certificate
To add a certificate, follow these steps:
-
Click the Add certificate icon. A new row appears:

-
Set values for the following fields:
-
Certificate name: Enter a name for your certificate. The name must be unique within the environment.
-
Environment: Open the menu and select which environment the certificate is to be used in.
-
Certificate file: Click the Upload button, browse to the certificate in
.crtor.pemformat, then select it. -
Private key file: Click the Upload button, browse to the private key file in
.keyor.pemformat, then select it. -
Passphrase: Enter the private key's passphrase, if any.
-
-
When all necessary fields are filled, click the Save button to save, or the Cancel button to cancel:

Edit a certificate
To edit a certificate, hover on its Actions column, then click the Edit icon. The certificate opens for editing:

You can change the certificate name, re-upload the certificate or private key files, or set or unset a passphrase for the private key.
Click the Save button to save any changes.
Delete a certificate
To delete a certificate, hover on its Actions column, then click the Delete icon. To confirm the action, enter the word DELETE in the Delete certificate dialog's text field, then click the Delete button.