Dynamic storage in Wevo iPaaS
Dynamic storage allows you to store spreadsheets and/or data structures to keep records saved and use them in your integration processes. This page describes how to use dynamic storage.
Access the Dynamic Storage page
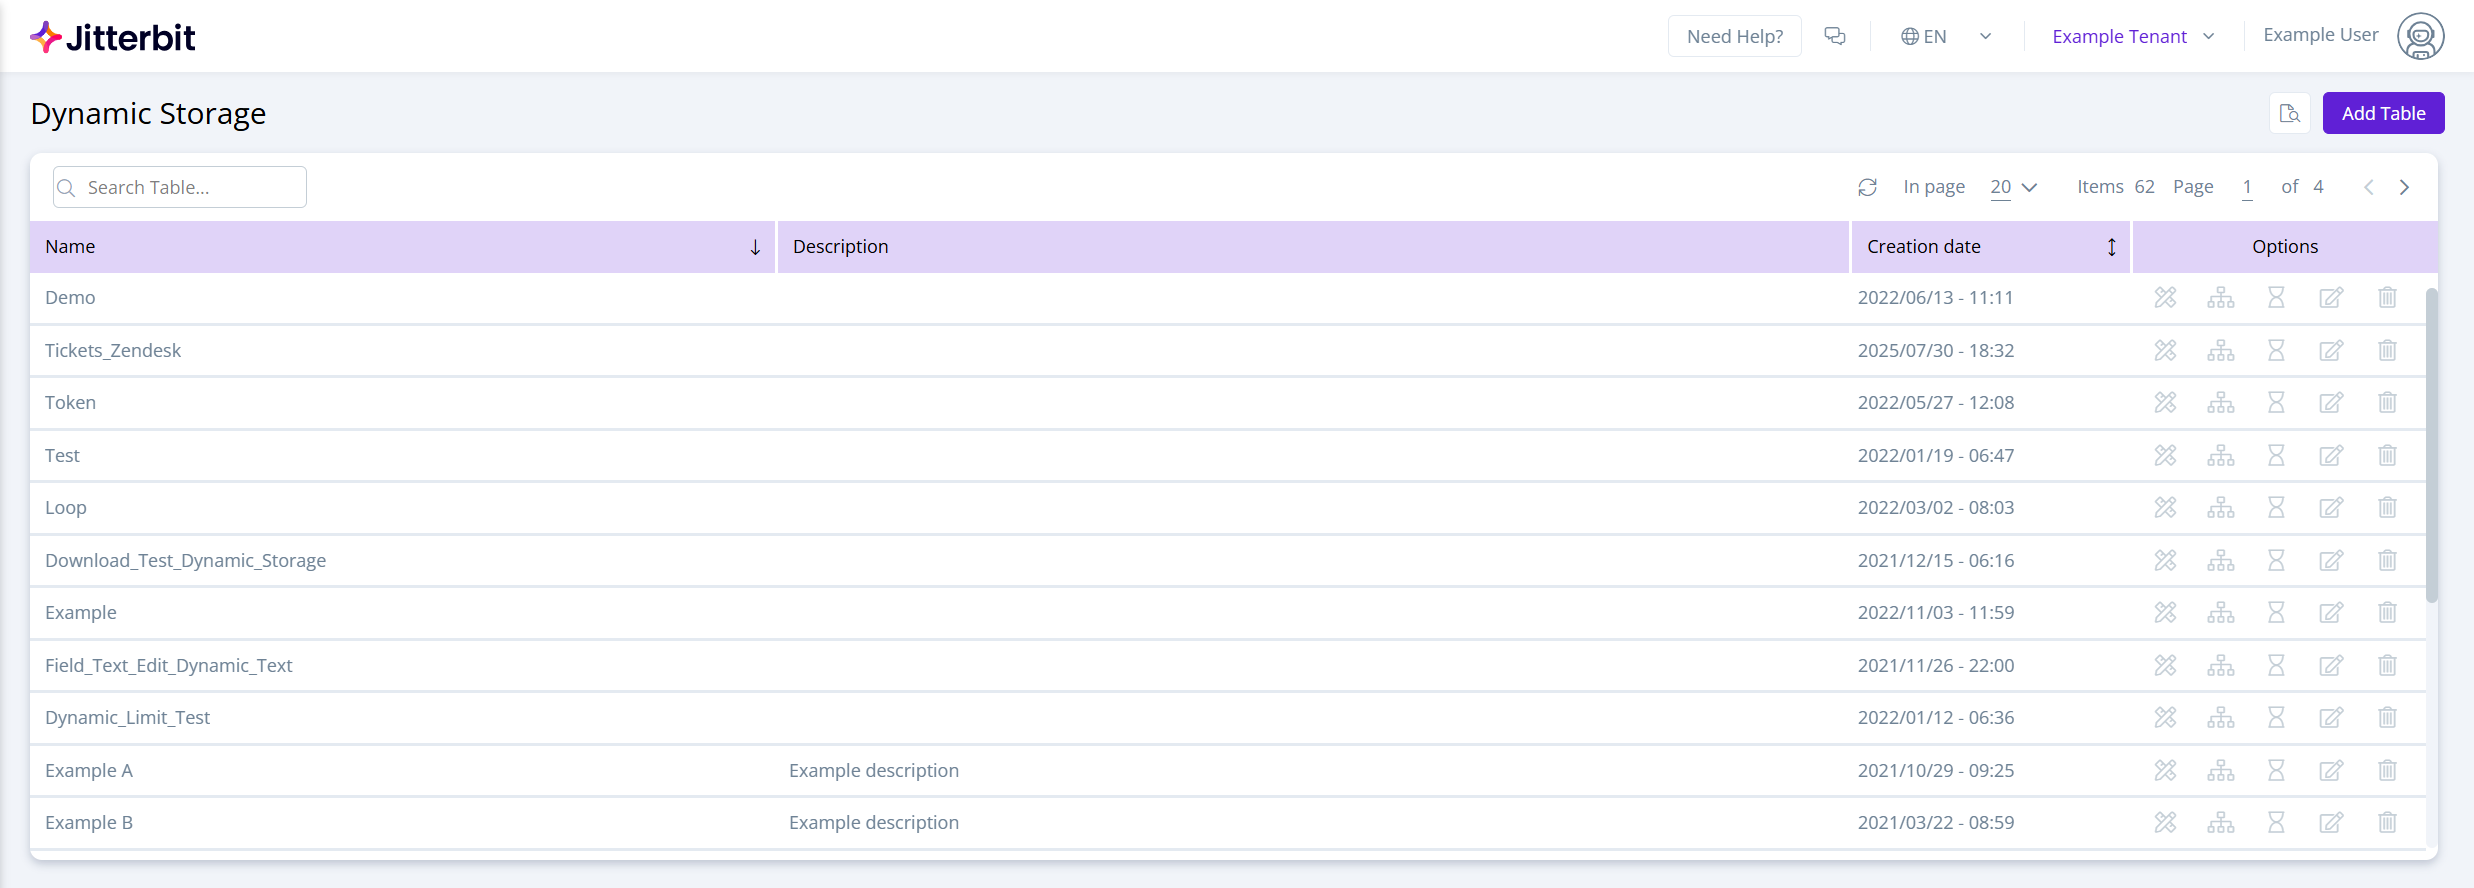
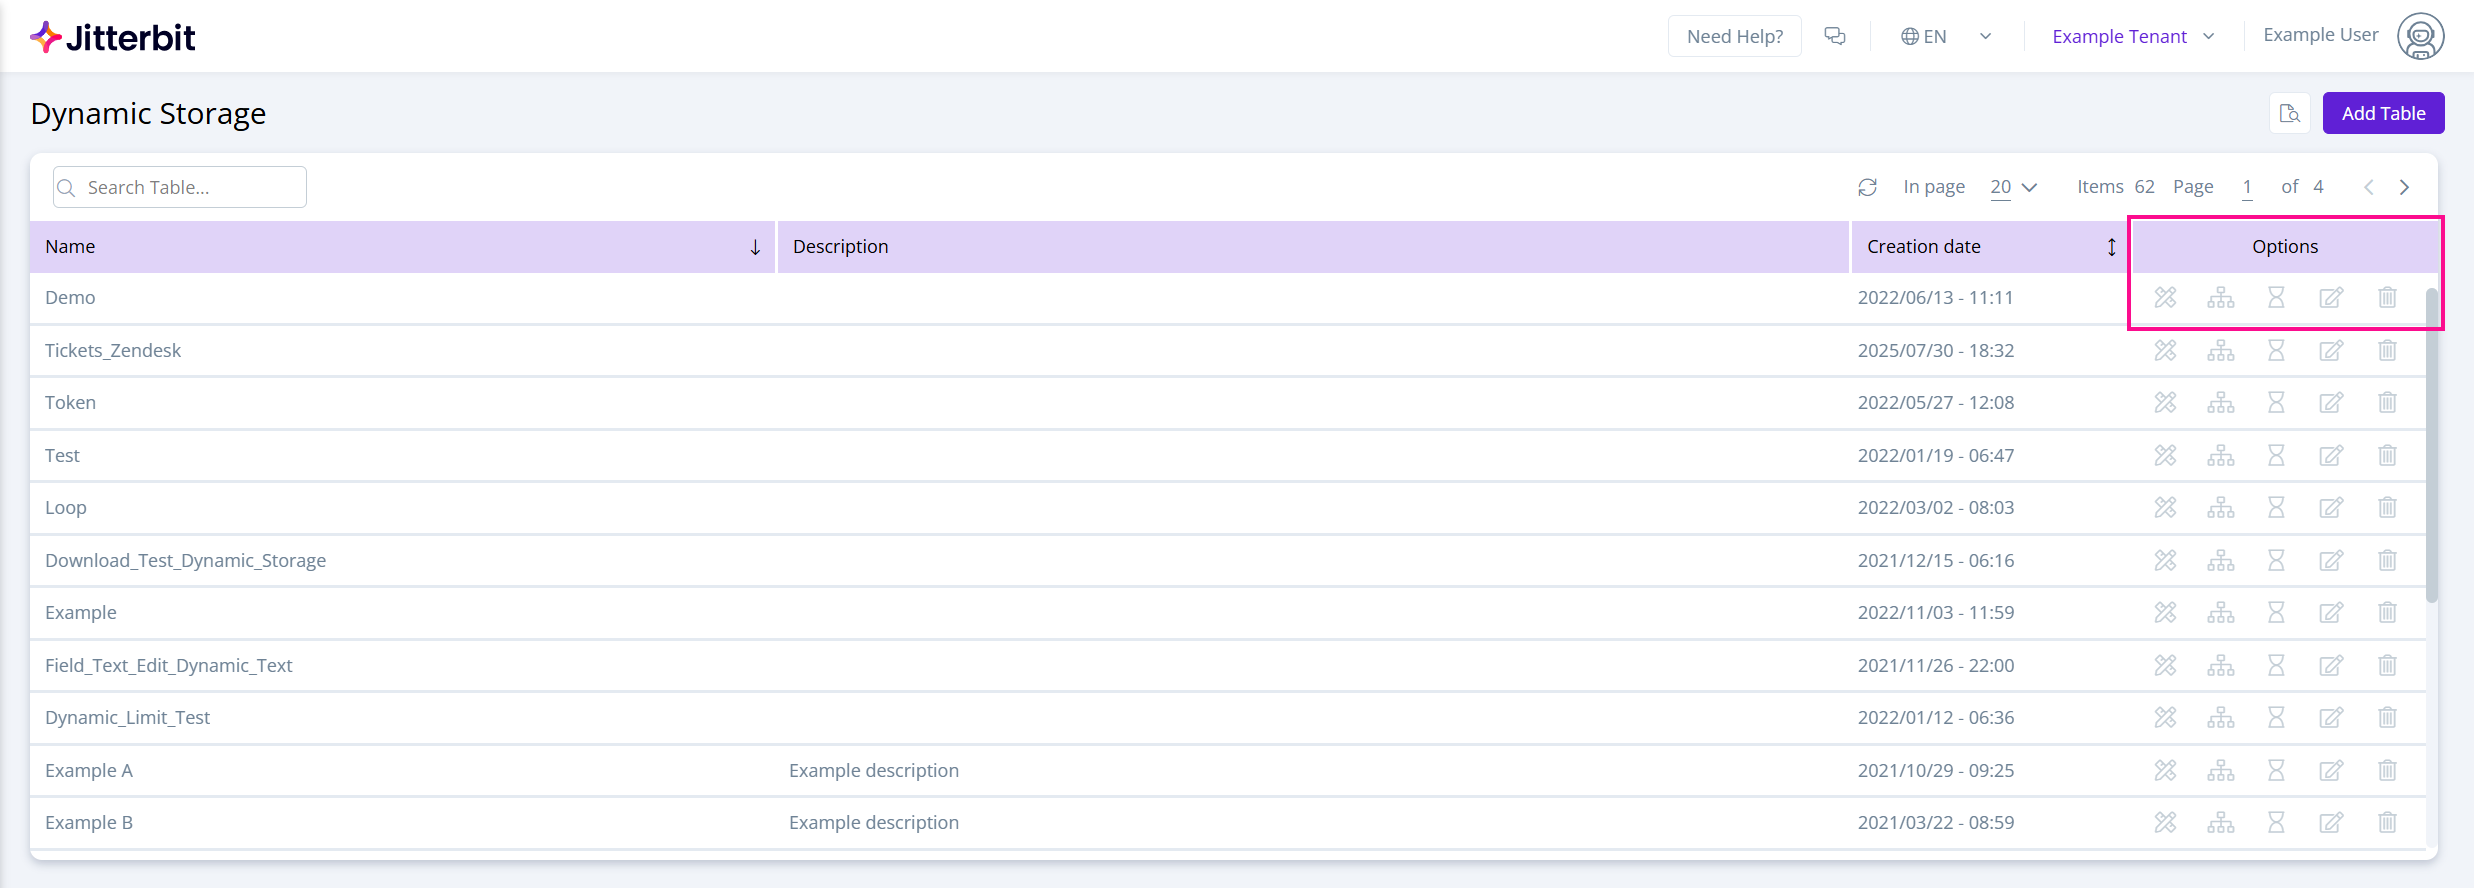
To access the Dynamic Storage page, use the Wevo iPaaS menu to select Developer > Dynamic Storage. The Dynamic Storage page opens:
Create a table
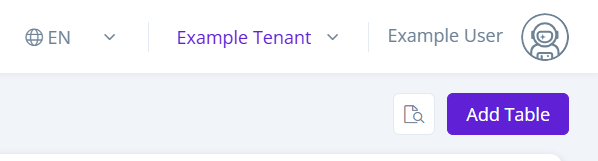
To create a table, click Add Table:
The dialog that opens is shown below. Configure the following fields:

-
Name: Insert a name for the table. Do not use spaces.
-
Description: Provide a brief description of the table.
-
Fields: Define the table's fields:
-
Name: Enter a name for the field. The field name must not contain spaces, and the first character must not be a number.
-
Type: Choose the field's data type, one of Text, Number, or Boolean.
-
Key: Select this checkbox if the field is to be a primary key.
-
Required: Select this checkbox if the field cannot be left empty.
-
Add Field: Click the add icon to add another field to your table.
-
Delete Field: Click the delete icon to delete any field.
-
-
Save: Click this button to finish the creation of the table.
Populate table data
There are two ways to insert data into the table: (1) manually or (2) through an integration flow. To insert the data manually:
-
Click Add Register:

-
Insert the data into the table by completing the fields. Click Save when finished:
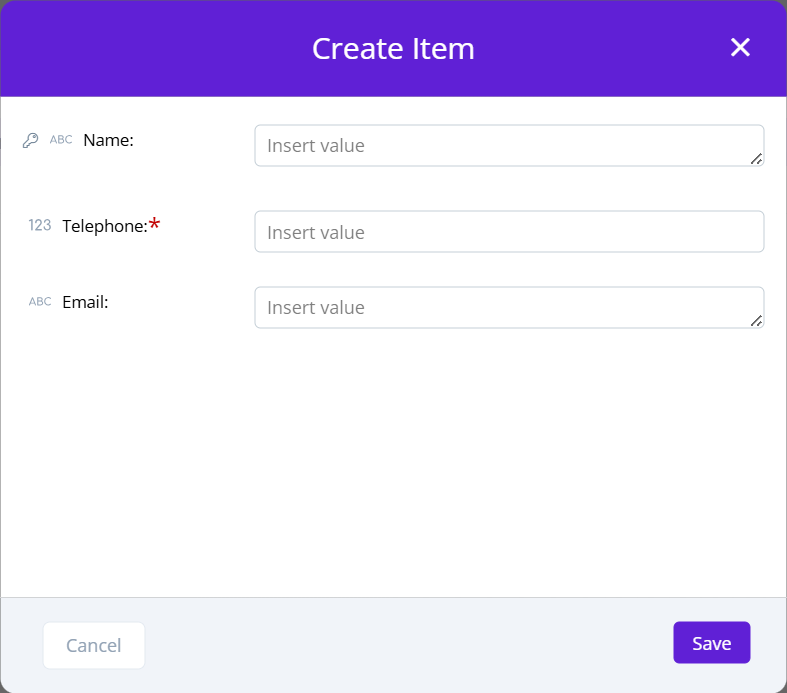
Table options menu
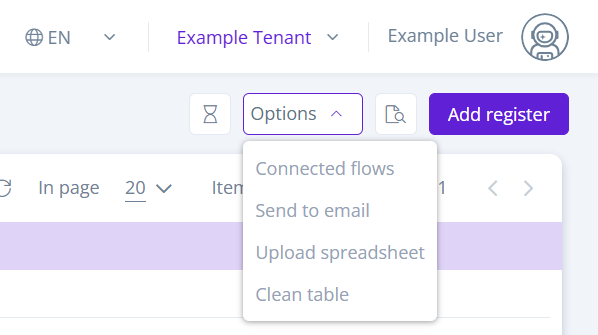
The following actions are available in the table's Options menu:
-
Connected flows: Opens a dialog showing a list of flows connected to the dynamic storage and their statuses. You can filter the list by name or status:
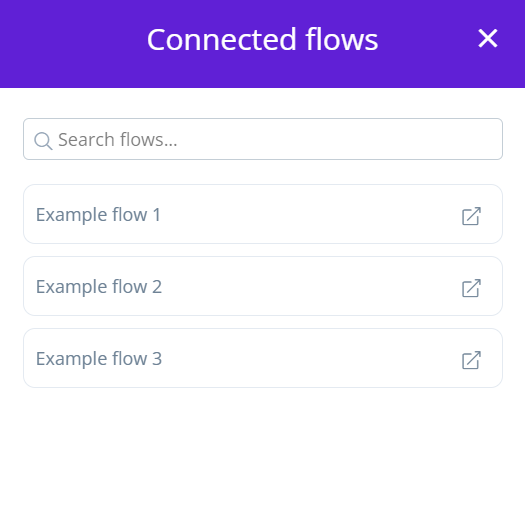
Click the shortcut icon of a flow to open it.
-
Send to email: Opens a dialog to send the table via email. All dates in the spreadsheet are set to UTC timezone (Coordinated Universal Time). Enter the email addresses to receive the spreadsheet and click Send.
-
Upload spreadsheet: Opens a dialog to upload a spreadsheet in XLSX format. Click Browse to select the spreadsheet to import.
Important
The column names in the uploaded spreadsheet must match the field names you created in the dynamic storage.
-
Clean table: Opens a dialog to delete all the records in the spreadsheet. To confirm that you want to delete all items, type the word
deletein the dialog and click Confirm.
Options
In the Dynamic Storage table, the following options are available in the Options column:
-
References: Opens a dialog showing a list of flows connected to the dynamic storage.
-
View Items: Shows all items in the dynamic storage.
-
Logs Events: Opens a dialog showing changes to the dynamic storage. The changes are shown as Events, such as Upload, Clean, or Deploy.
-
Edit Storage: Opens a dialog for editing, adding, or deleting storage fields. After making edits, click Save, then Deploy to update the storage.
-
Delete Storage: Opens a dialog to confirm deletion of the storage by clicking Confirm. When removing the storage, it will lose all data present on it.