Create a lookup table in Wevo iPaaS
Lookup tables are a functionality of the Wevo iPaaS platform that interpret and convert values. They behave similarly to dictionaries, with a value that can be located through a key. They help you convert data between two systems.
For instance, integrating products between your ERP and your e-commerce platform. Suppose you have a product category that is listed as a word in your e-commerce platform, but in your ERP, it is listed as a numerical ID. In a scenario such as this, a lookup table can convert this piece of data to facilitate the integration, that is, the word that serves as the product name will be turned into an ID so that the data can flow into your ERP.
This video (provided in Portuguese) demonstrates the lookup table creation process:
Overview
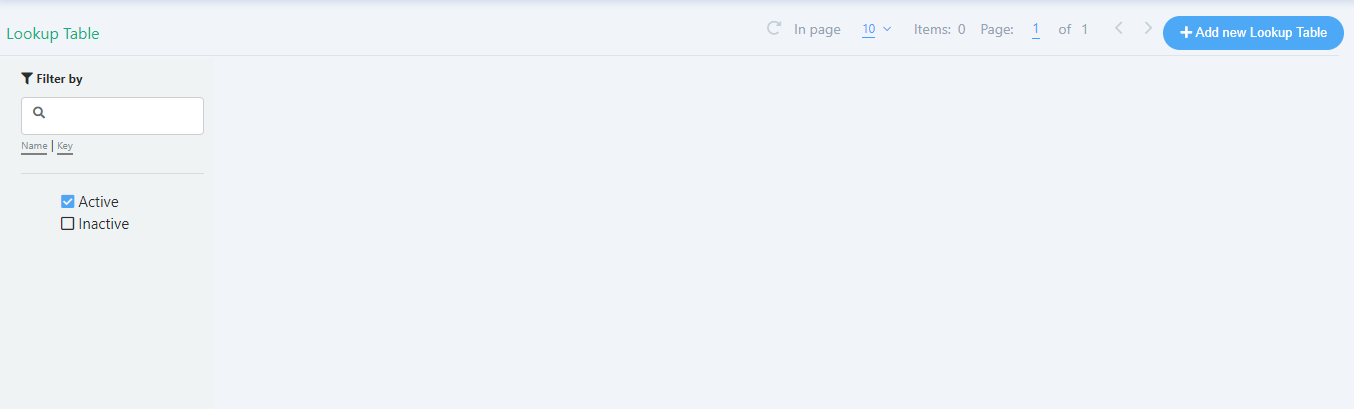
Under Storage, click Lookup Table to see a list of existing lookup tables:
-
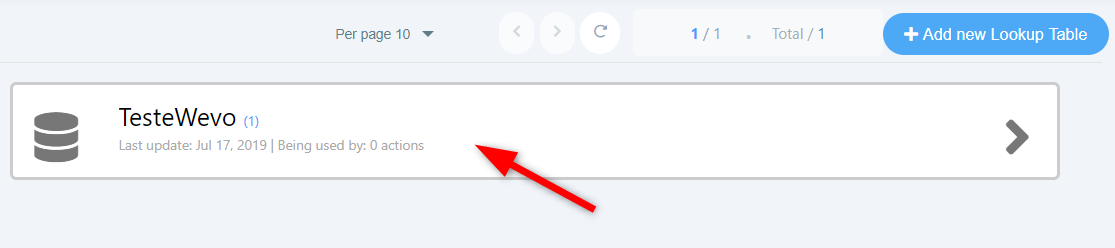
Navigation: In order to navigate between the pages, use the left arrow and right arrow buttons. Notice there is a counter showing how many pages of records are available. To update the information, click the Refresh button.

-
Filter By: On the left side of the screen, there is a search field. You can type the name of the record of the Key in order to search for a specific item. You may also choose to see only records that are active or inactive. Click on the respective checkboxes to use the filters.
-
Add New Lookup Table: Click this button when you are ready to create your new lookup table. See a full description of how to do so in the section below.
Create a lookup table
-
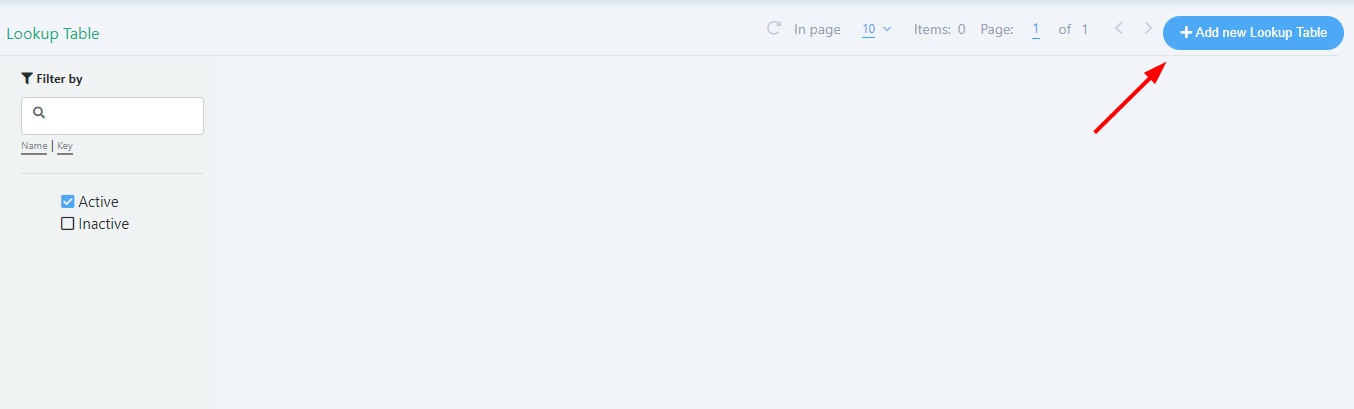
In the upper right corner of the screen, click Add New Lookup Table.
-
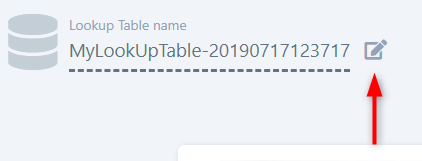
Under Lookup Table Name, click the edit icon to create a name. If your organization has naming conventions, it is a best practice to follow them.
Important
Do not use spaces in the name, as doing so will cause syntax errors that will prevent you from saving.
-
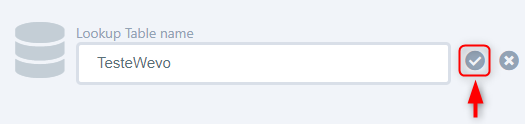
After choosing a name, click the icon highlighted below to save.
-
Keep the toggle switched to On so that the lookup table will be active, then click Save Lookup Table to finalize the process.

-
Return to the list of lookup tables by heading to Storage > Lookup Tables and the new table you've just created will be listed.
In order to be used, the lookup table needs to have data added to it in the form of records, which are key/value pairs. To learn how to do that, see Add or alter data in a lookup table.