OAuth prerequisites for the Workday connector in Jitterbit Studio
Introduction
To use the Workday connector with 2-legged OAuth 2.0, you must configure and register a Workday API client following the steps outlined on this page.
Generate a certificate and private key
Follow these steps to generate an SSL certificate and private key (required for connection configuration):
Note
To use the commands outlined in this section, you must have Java and a command-line interface (CLI), such as Cygwin, installed on your machine.
-
Run this command to generate a Java keystore certificate:
keytool -genkey -keyalg RSA -alias Workday -keystore JWTkeystore.jks -storepass <Enter a password> -validity 360 -keysize 2048 -
Run this command to generate a certificate key file (
publickey.cert) from the Java keystore certificate generated in step 1:keytool -export -alias Workday -keystore JWTkeystore.jks -rfc -file publickey.cert -
Run this command to generate a PKCS #12 key file (
keystore.p12) from the Java keystore certificate generated in step 1:keytool -importkeystore -srckeystore mycert.jks -destkeystore keystore.p12 -deststoretype PKCS12 -
Run this command to generate a private key file (
private.key) from the Java keystore certificate generated in step 1:openssl pkcs12 -in keystore.p12 -nodes -nocerts -out private.key -
In the Workday instance, open the Create x509 Public Key task:
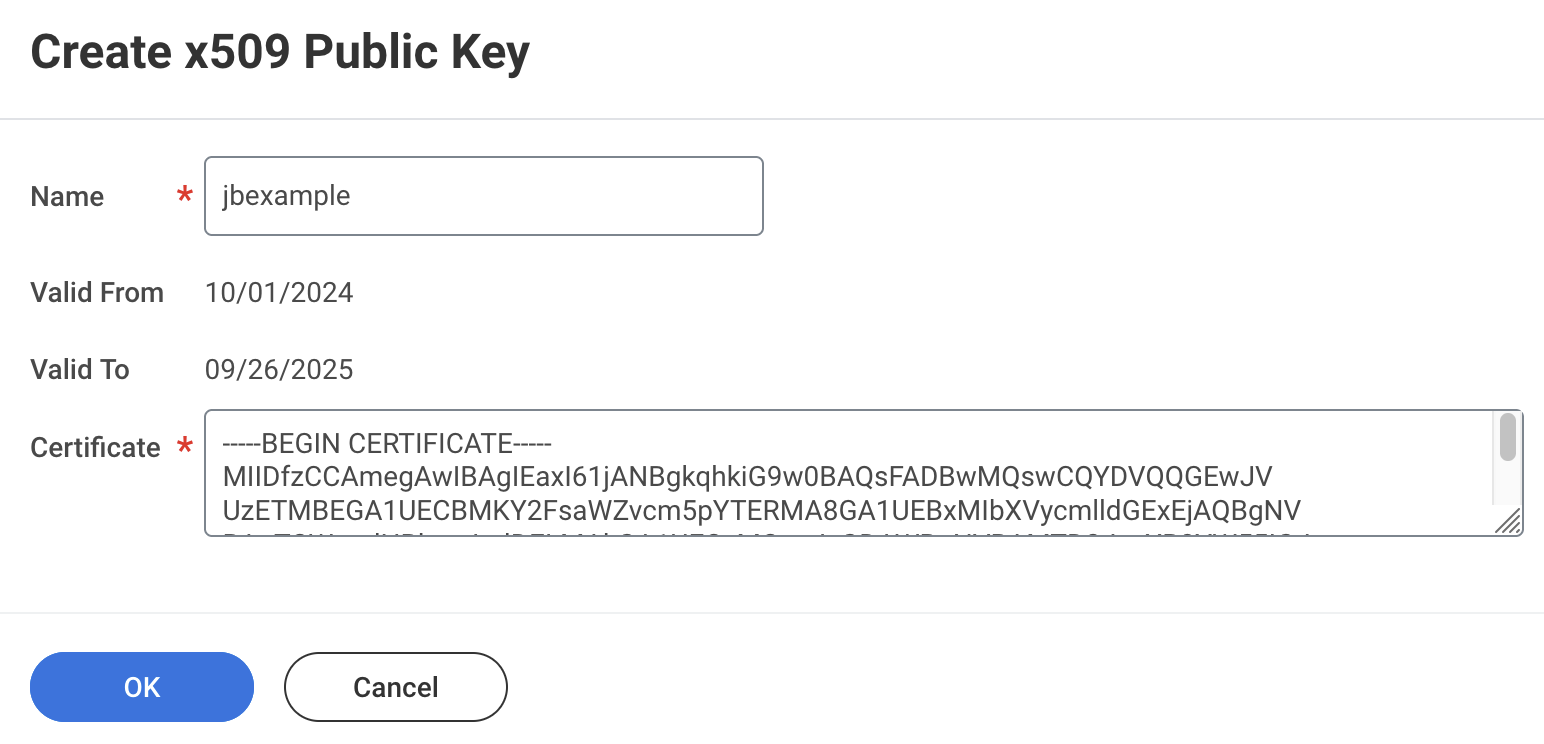
You can access this task by using the search bar along the Workday instance's header.
-
Name: Enter a name for the x509 public key.
-
Certificate: Open the
publickey.certfile (generated in step 2) in a text editor and enter the text into this field in this format:-----BEGIN CERTIFICATE----- <certificate> -----END CERTIFICATE----
Replace
<certificate>(including the angle brackets< >) with the appropriate value.After entering all values, click OK.
Retain the Name of the x509 public key to use in the next section.
-
Configure Workday Web Service security
Follow these steps to configure the Workday Web Service security for the OAuth 2.0 client:
-
In the Workday instance, open the Create Integration System User task:
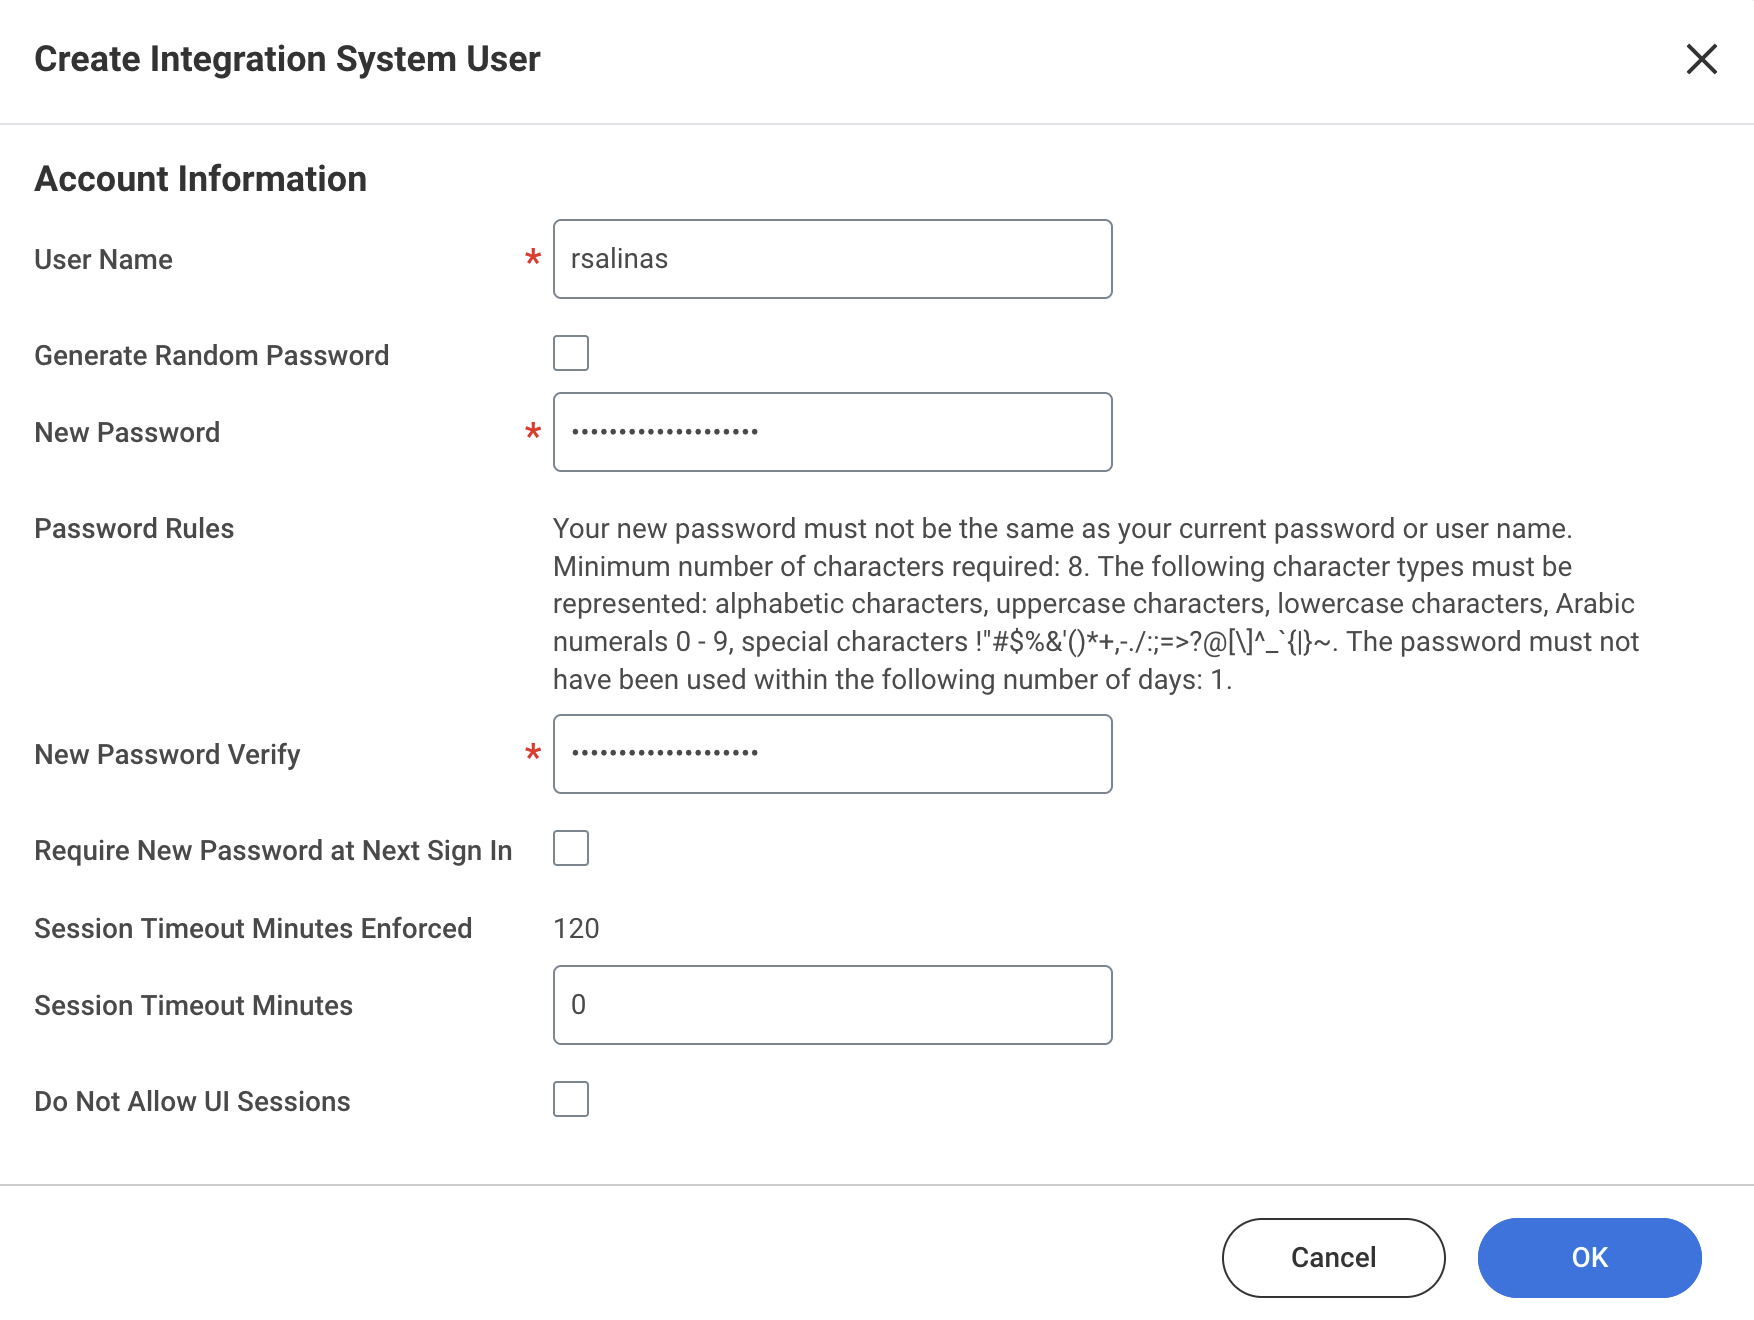
You can access this task by using the search bar along the Workday instance's header.
Enter a value for the User Name and New Password fields, then click OK.
Note
Retain the User Name, as it will be used as the ISU username in the connection configuration.
-
Open the Assign Users to User-based Security Group task in the Workday instance and select Setup Administrator from the menu and then click OK:
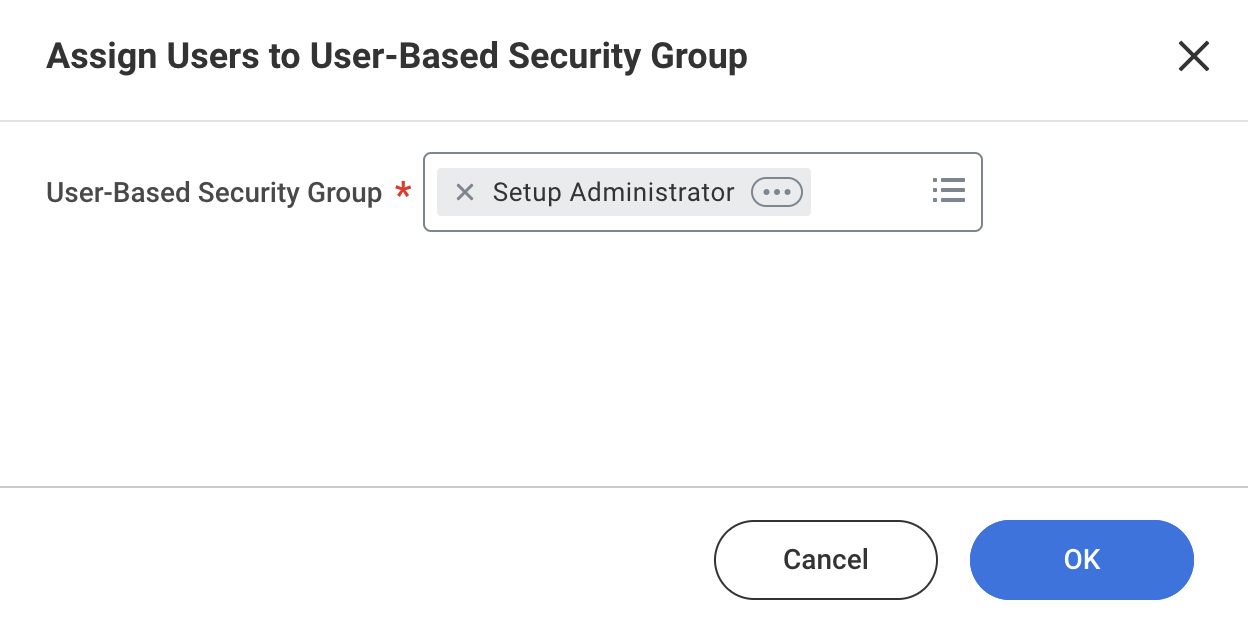
On the next screen, add the Integration System User and then click OK:
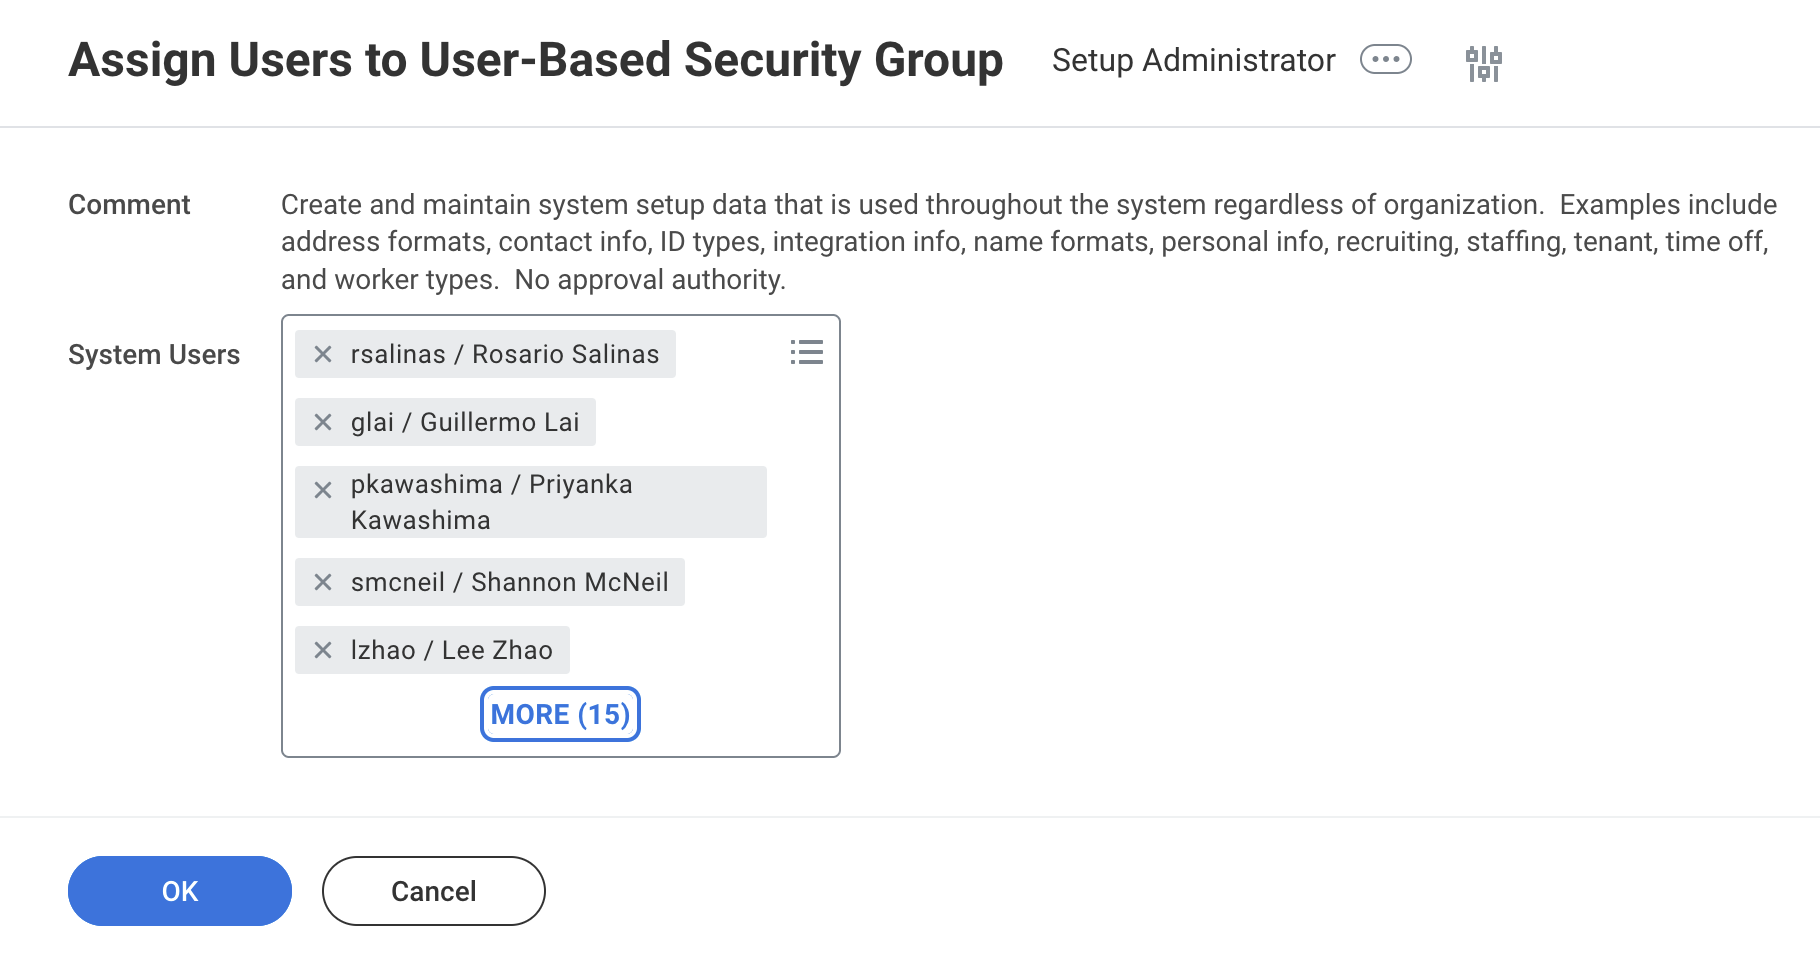
-
Open the Configure Web Service Security task. You can access this task by using the search bar along the Workday instance's header.
Select the Integration System User created in the previous section and click OK:
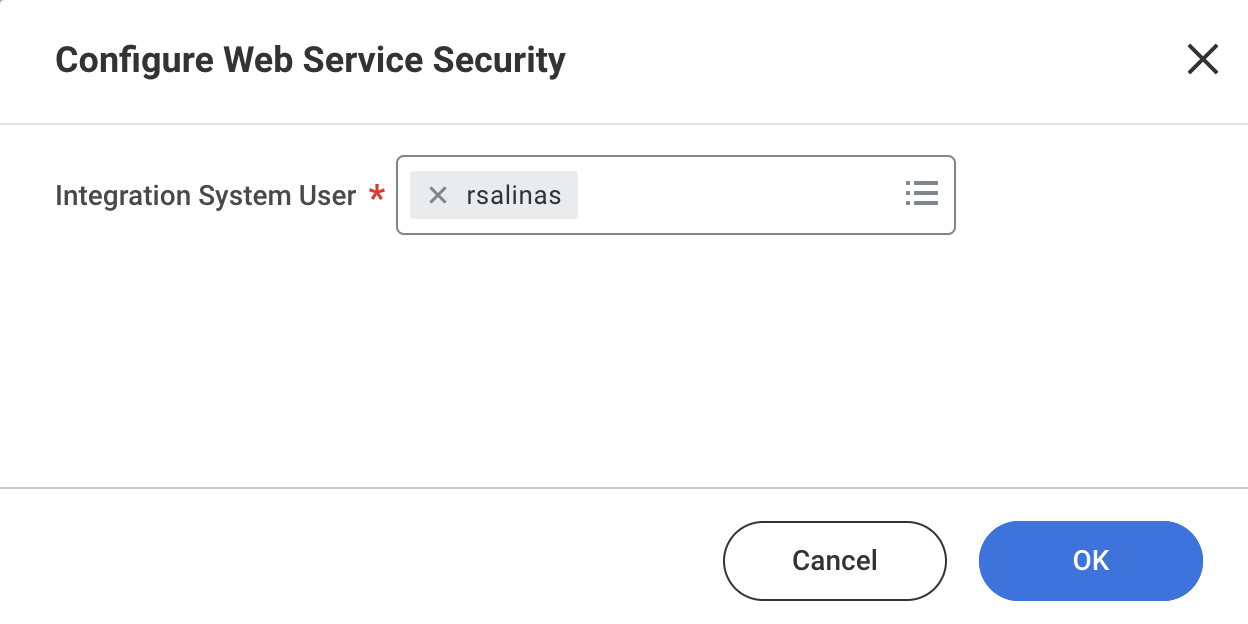
On the next screen, select Enable x509 Token Authentication and enter the Name of the x509 public key (configured in step 5 of the previous section) as the value of the x509 Public Key field:
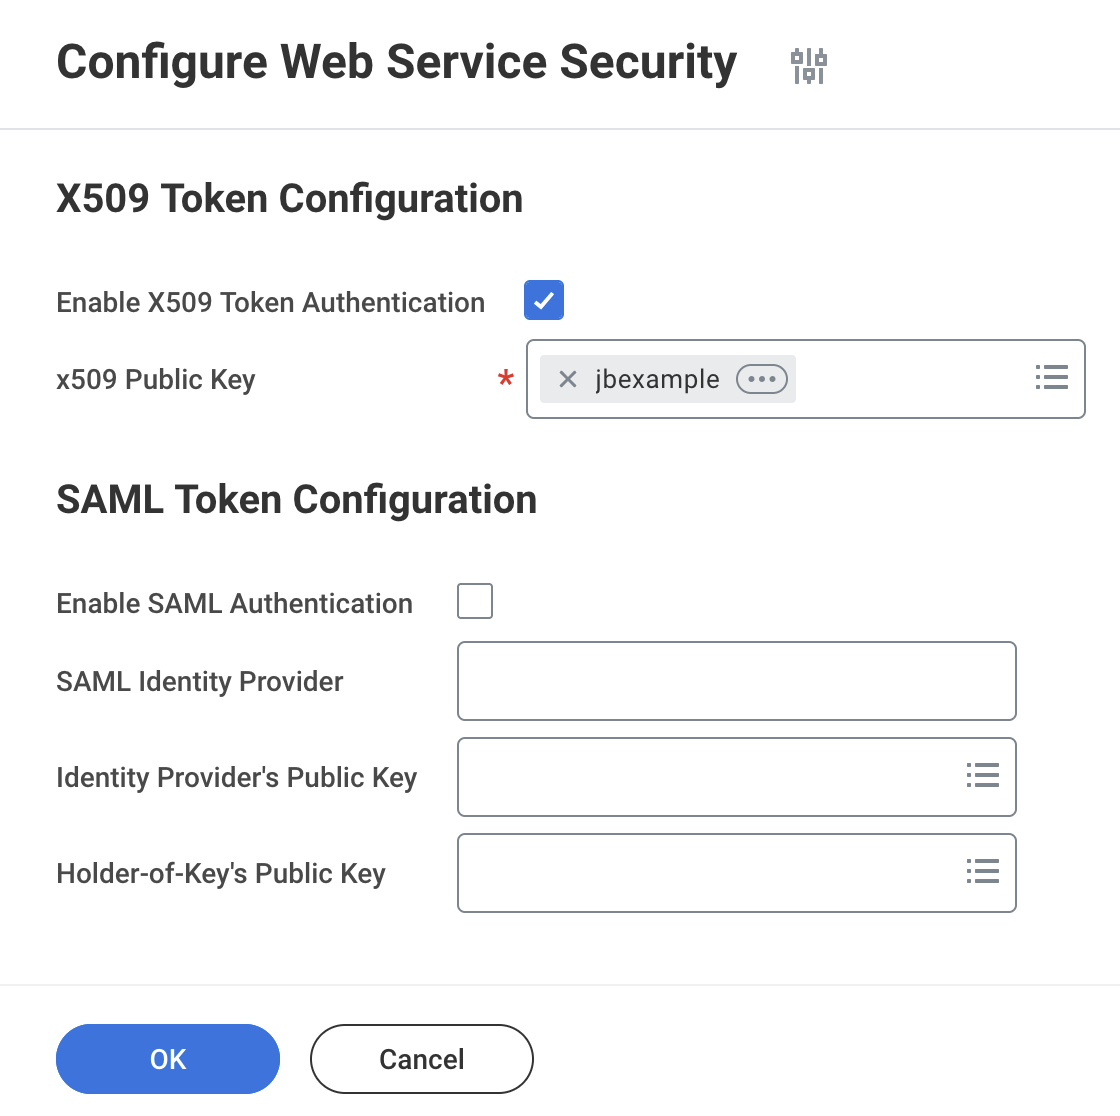
Leave all remaining fields blank and click OK.
Register an API client
To register an API client, open the Register API Client task in the Workday instance:
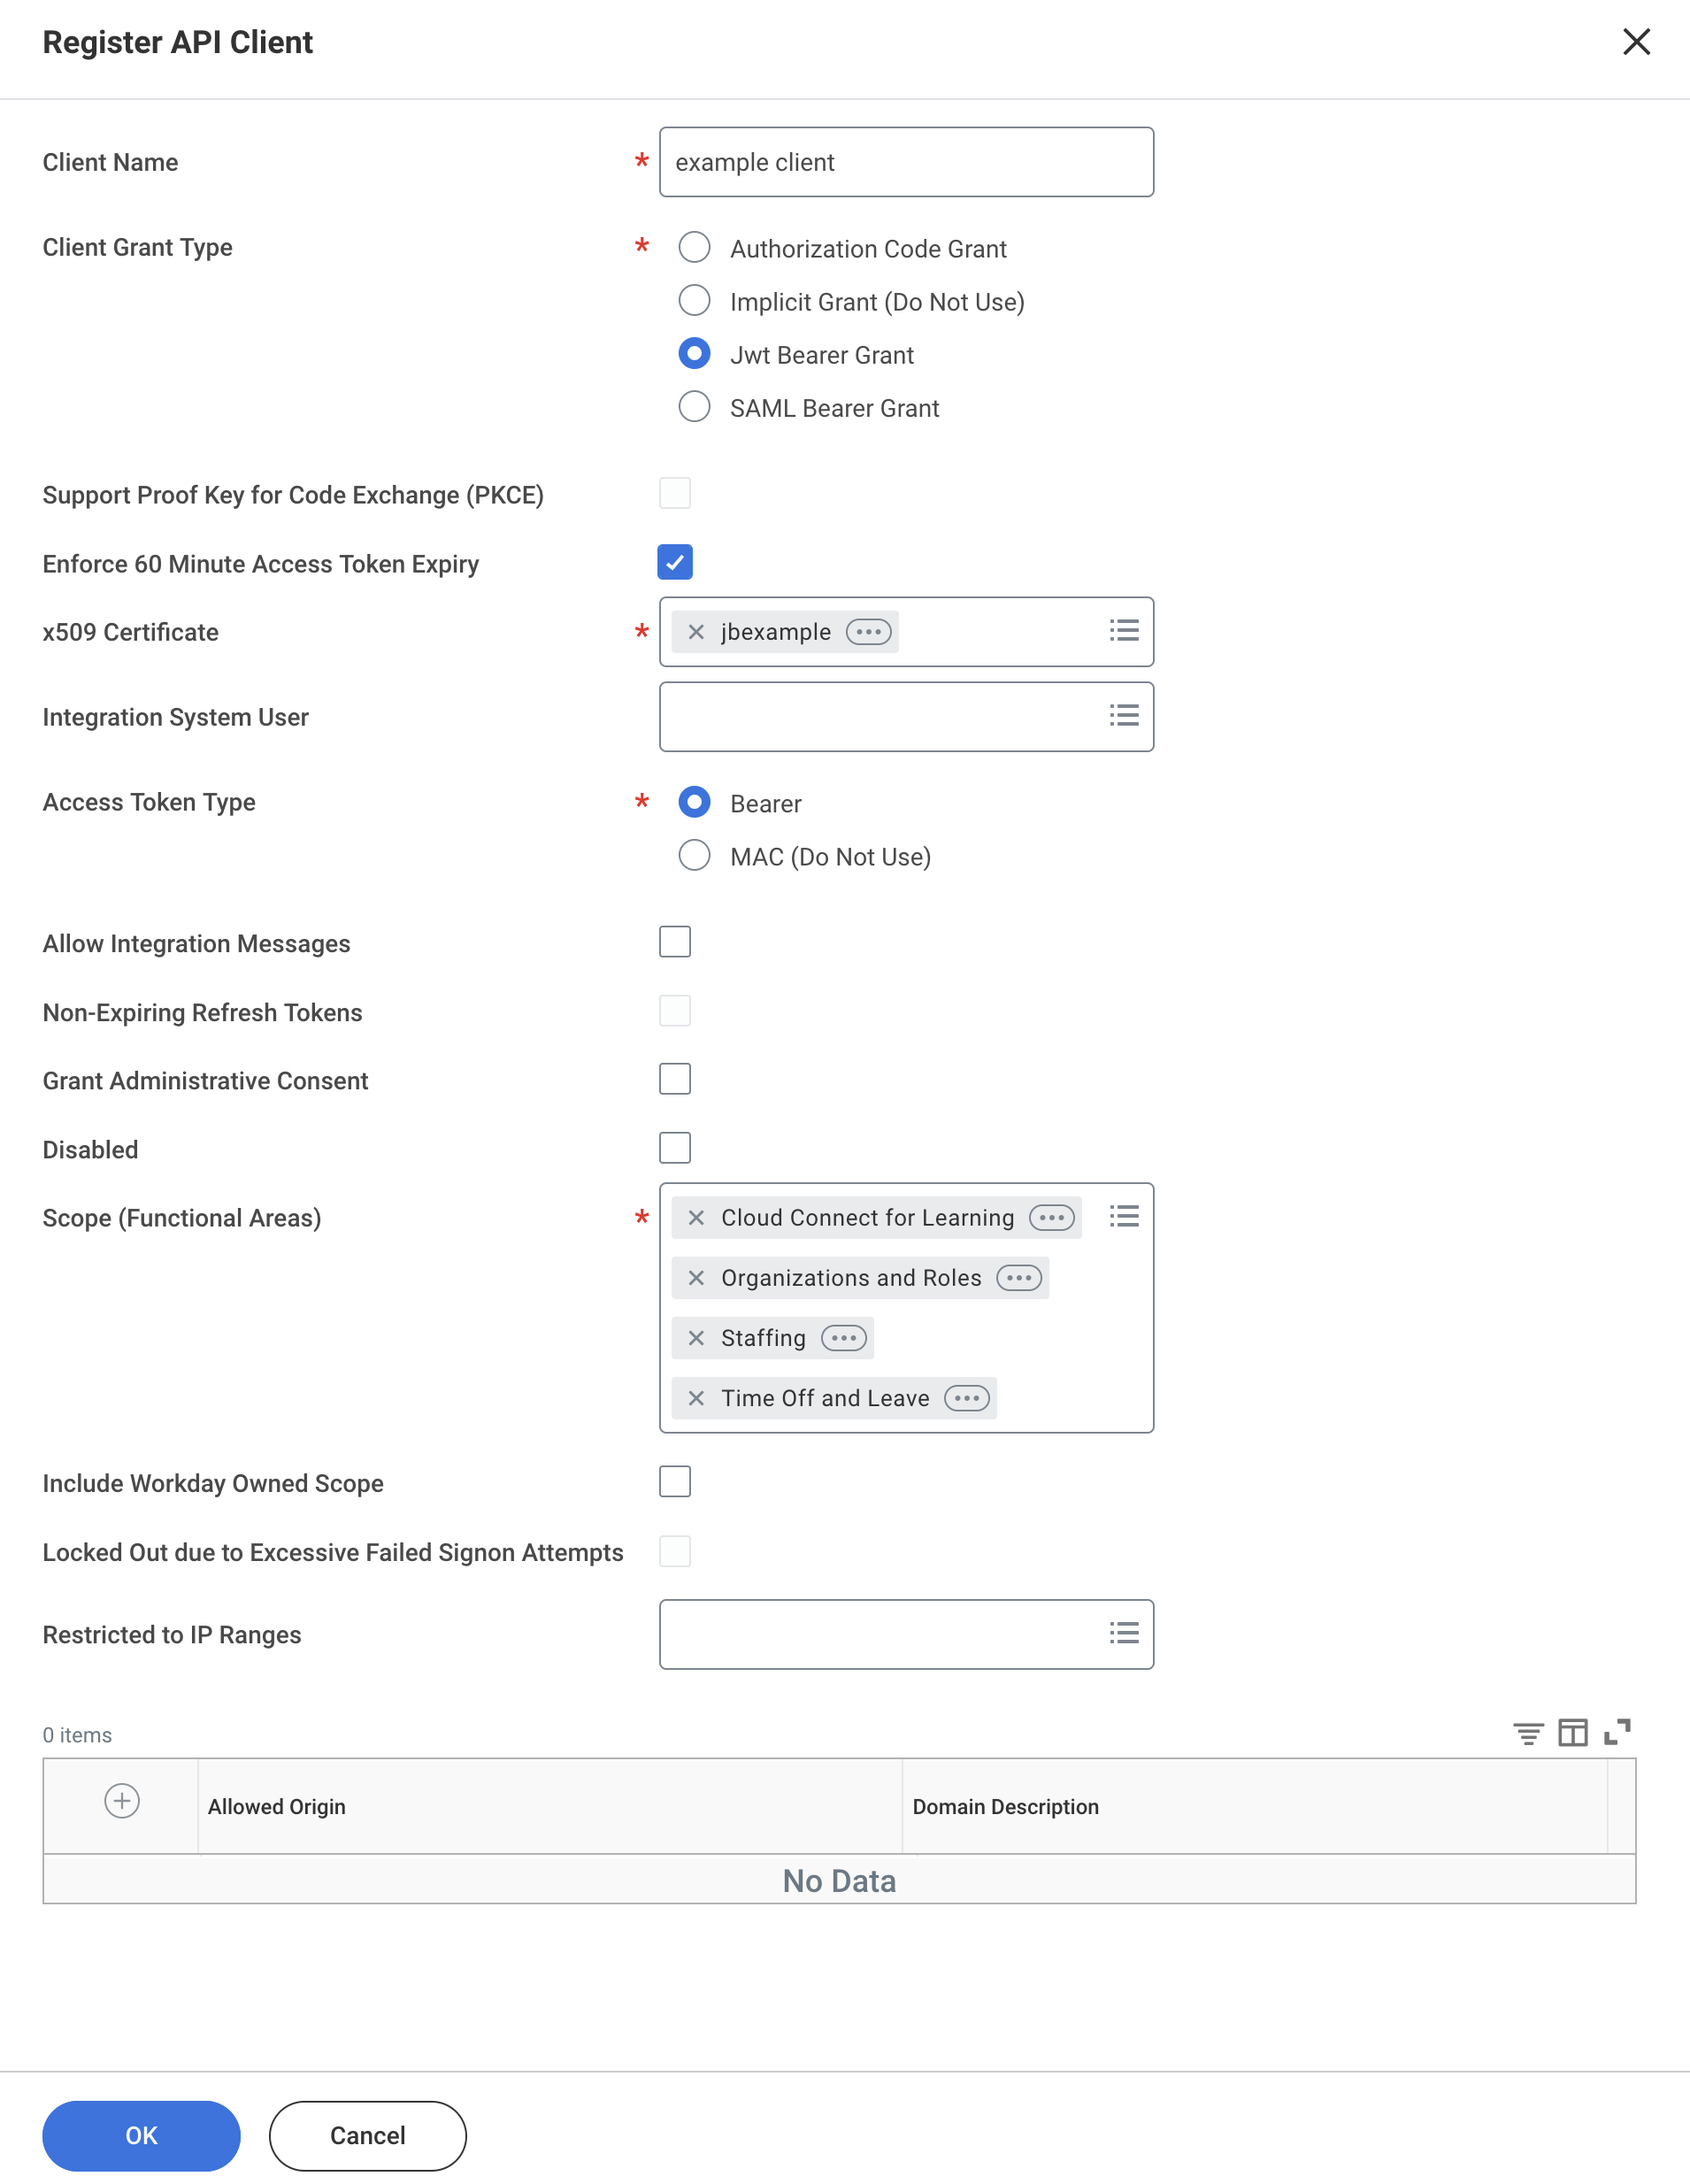
You can access this task by using the search bar along the Workday instance's header.
Enter these values for the following required fields:
-
Client Name: Enter a name for your API client.
-
Client Grant Type: Select Jwt bearer Grant.
-
x509 Certificate: Enter the Name of the x509 public key (configured in step 5 of the previous section).
-
Access Token Type: Select Bearer.
-
Scope (Functional Areas): Select the following scopes: Integration, System, and Tenant Non-Configurable.
After clicking OK, Workday directs you to a page containing your API client credentials. Retain the Client ID to use in the connection configuration.
See Workday's documentation for information on registering an API client and enabling OAuth 2.0 (you must log in to Workday Community to access this page).