Capture data changes with table or file changes in Jitterbit Design Studio
Use case
When other patterns for change data capture are not feasible (Integration pattern for change data capture using timestamp based queries, Integration pattern for change data capture using source field values, Integration pattern for change data capture using file sources, Integration pattern: change data capture - real-time/event-driven), this pattern may apply.
This pattern applies in cases where the source does not have a timestamp, cannot be changed to provide a field to be used to query, or cannot send changes.
This pattern assumes that the source and target records can be compared, and the differences can be isolated. For example, assume a customer table in a source has 150 rows and the customer table in the target has 100 rows. The goal is to determine the rows in the source that are New (do not exist in the target), Different (same row and different data) and Missing (row does not exist in target). If New, then insert into the target. If Different, update the row in the target. If Missing, delete from the target.
The Jitterbit Diff function documentation has detailed explanations of the different Diff functions: Diff functions.
A frequent use case of this pattern is that a process is needed to retrieve a change in a database table from one period to the next.
Warning
Diff functions can be used only on a single private agent as diff snapshots are not shared. Do not use in an agent group with more than one agent. They are not supported with cloud agents.
Example 1: Database to database comparison
In this example, the customer has a database that underpinned a transactional system, and wanted to synchronize certain business objects with an external data store for audit purposes.
The basic steps are:
- Initialize the Diff and add records to the snapshot on disk. If this is not the first time the process is run, then this will select the new records.
- Pass new records to the transform and update the target database.
- Process the updates (changes since the last time the process was run)
- Pass to the transform and update the target database
- Process the deletes
- Pass to the transform and update the target database
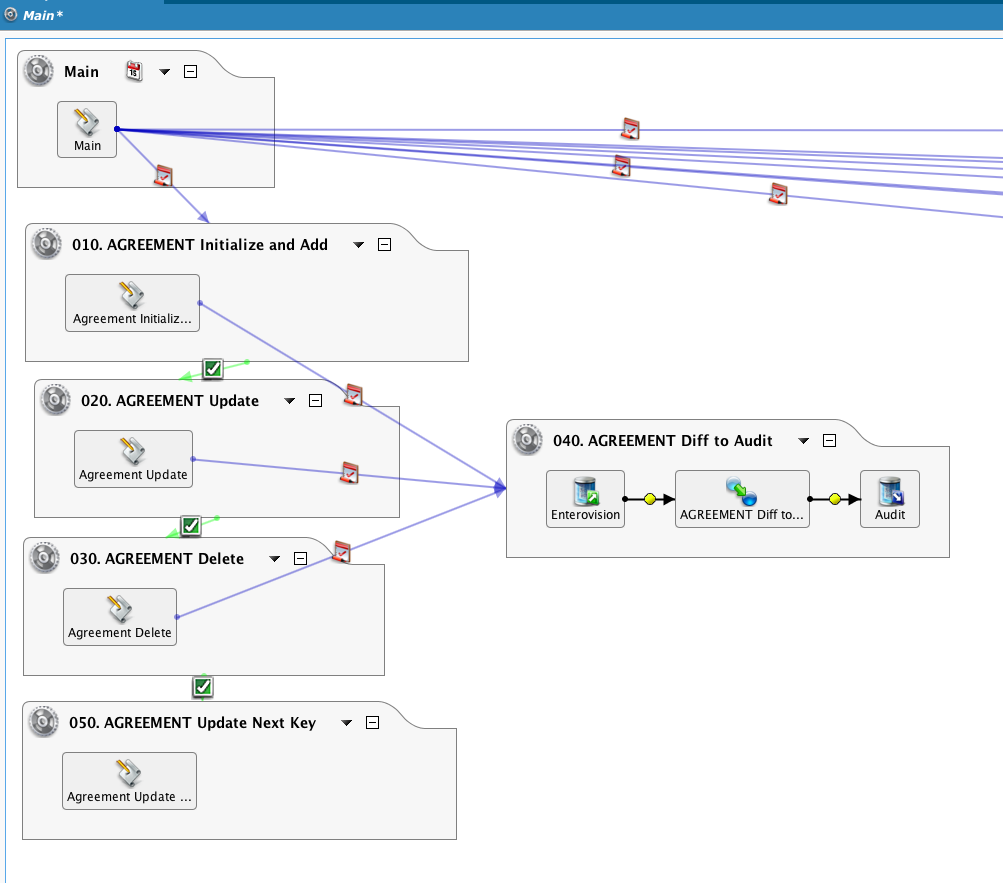
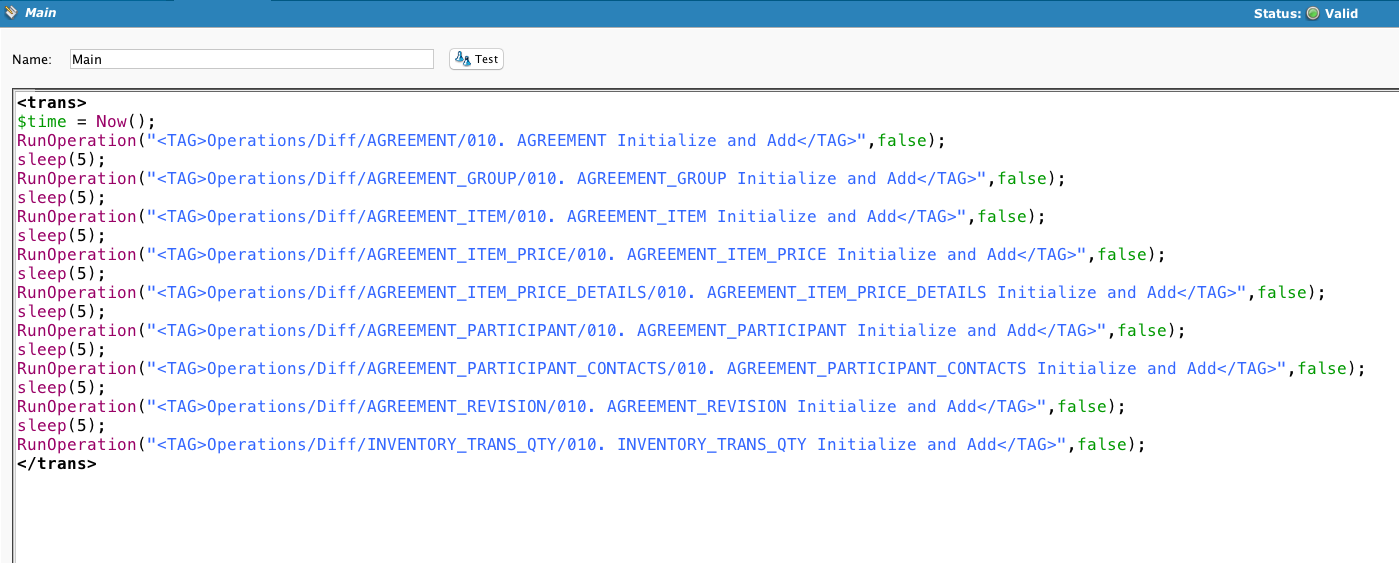
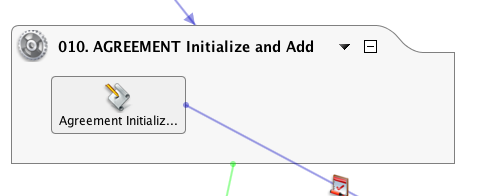
The Main operation drives a number of chained operations, selecting just one table as an example.
By passing a 'false' argument, the RunOperation() functions (see Formula builder general functions) will execute asynchronously:
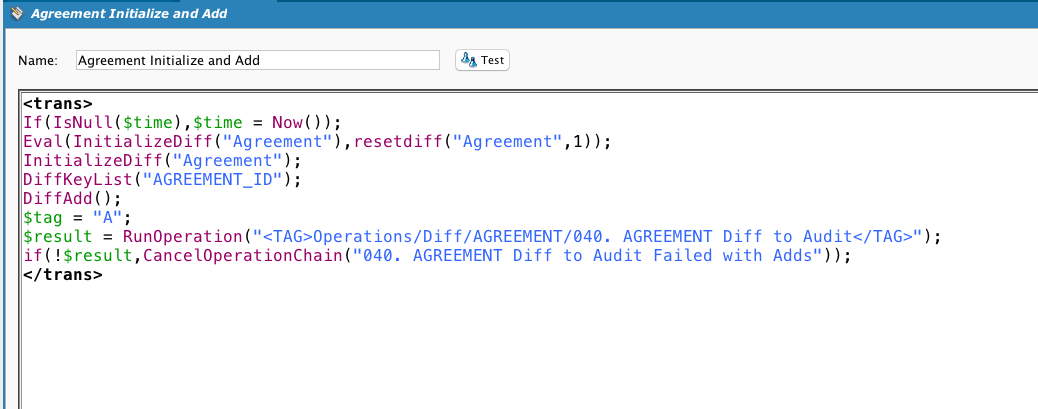
InitializeDiff is called and evaluated. If it fails, then ResetDiff is called.
DiffKeyList sets the unique identifier of the record.
If this is the first time being run, then all the records in the source will be added to the snapshot. Otherwise, it will select the new records.
If there is a failure, then the operation chain is cancelled.
This is the transformation used by the operation. Note that while there is a DB source, if the operation call is preceded by a Diff call, the source of the operation is not used. If a DiffUpdate is called, then this operation is called and we get the output of the DiffUpdate function:
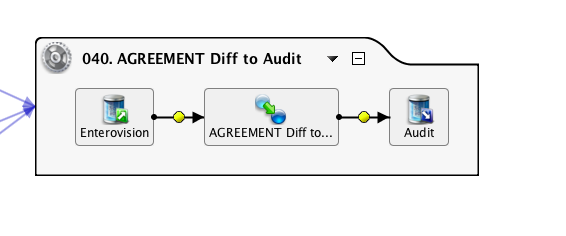
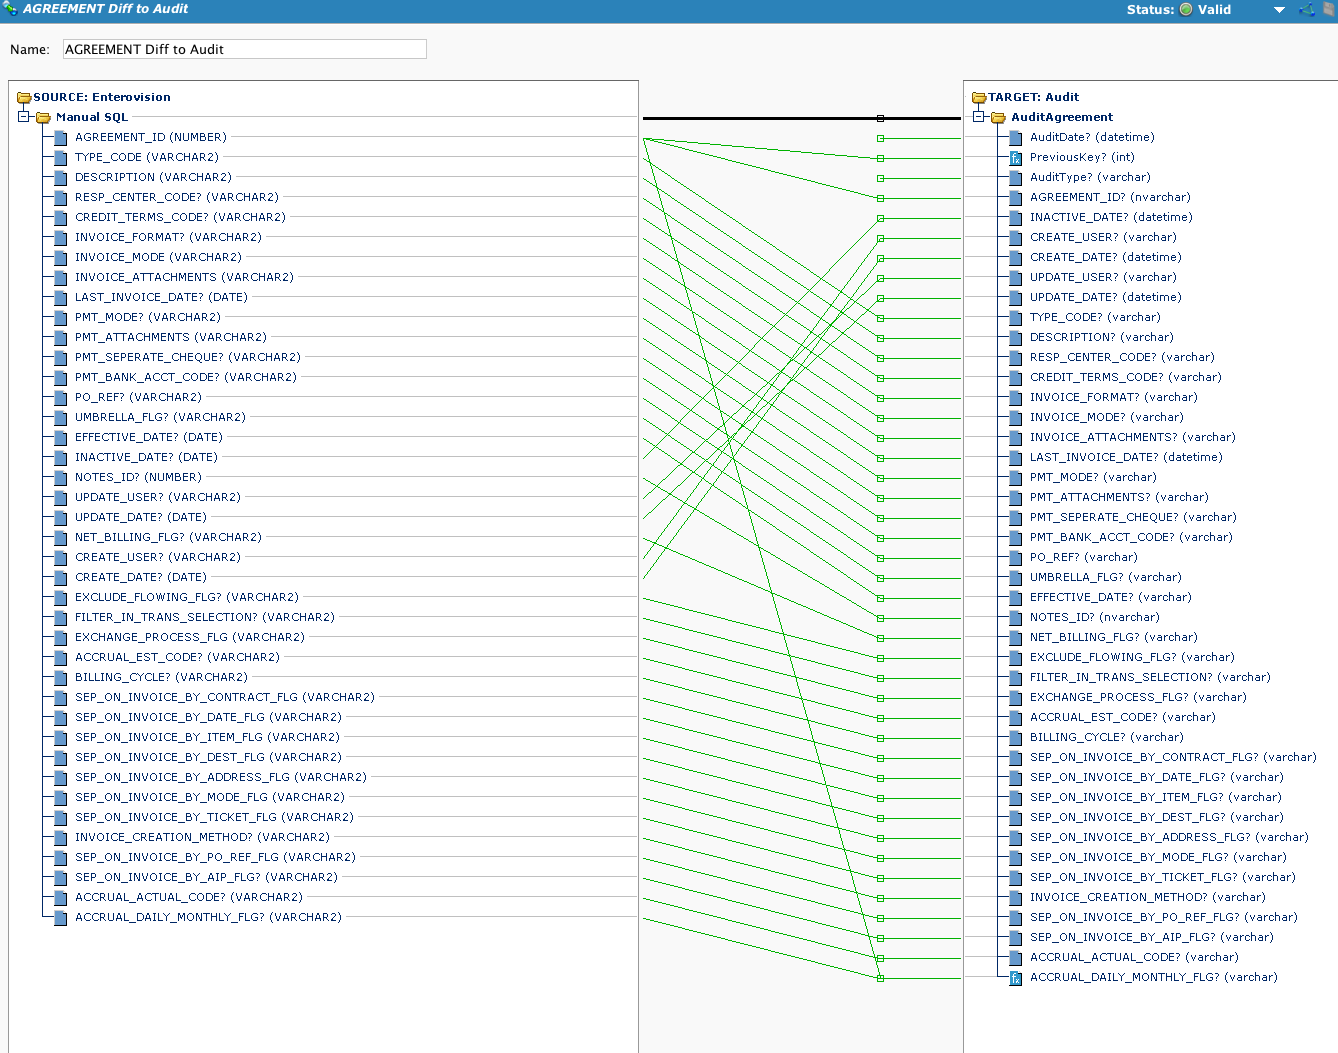
Calls DiffUpdate. Note the use of a global variable tag to indicate to the target what kind of action was performed.
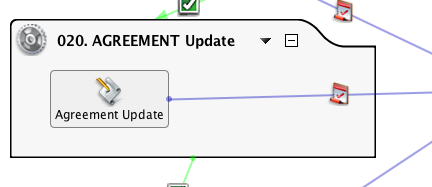
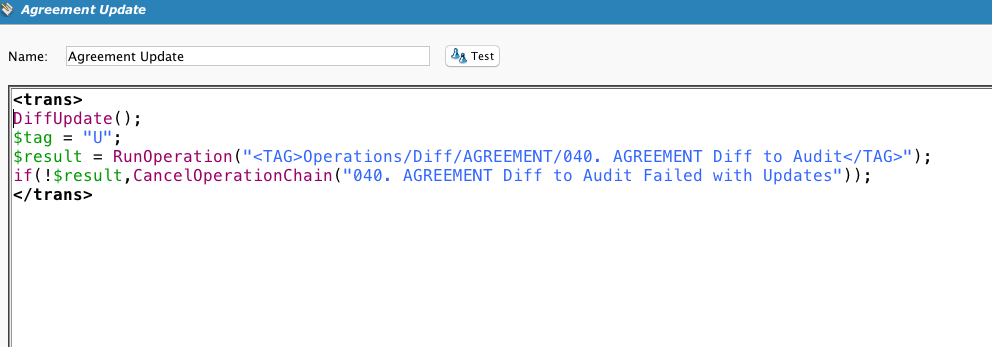
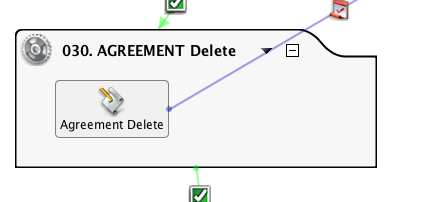

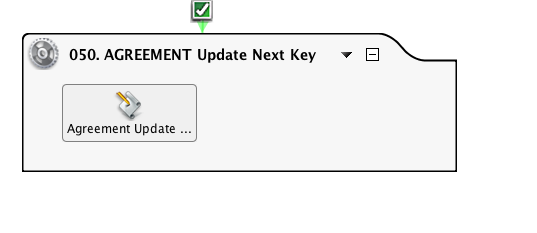
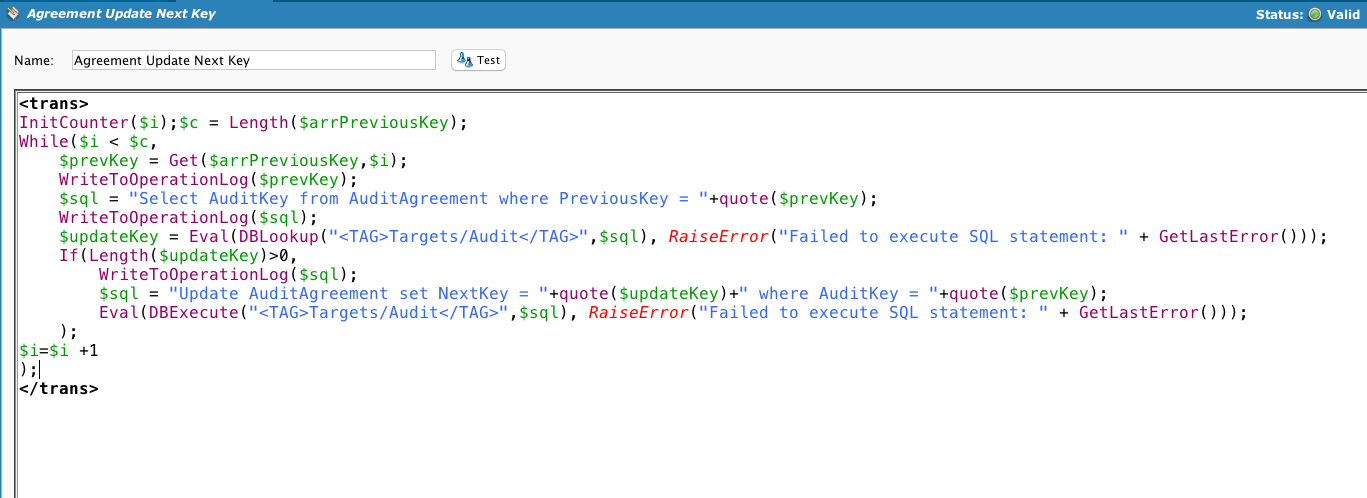
Showing this script for the sake of completeness. The customer wanted to store a record of the new and changed rows, not synchronize two data stores. So the Diff processes incorporated a method of generating unique keys that will show the changes to the same record over time.
Example 2: Organization to organization comparison
This example compares two Salesforce objects simultaneously.
In general, the Diff steps are:
- Clear out the old Diff file (ResetDiff). We are not tracking changes over time. We are tracking differences between source and target files as of this point in time.
- Create the Diff (InitializeDiff). This assigns it a unique name to be used as the key to the Diff directory that will be created on the private agent server disk. The object name is used as the Diff name.
- Set the key field (DiffKeyList). This will tell Diff which field in the row is the key field, and will be used to compare specific rows in the new Diff file against rows in the old Diff file.
- Populate the Diff (DiffAdd) from the target customer table (in this case a csv file created by querying the target customer table). The rows from the "source" (in this case the csv file created by querying the target customer table) are read into the Diff file. The behavior is different if the Diff file is empty, that is, if this is the first time the Diff is created.
- Save the Diff (DiffComplete). At this point, there is a snapshot of the target customer table on the private agent server disk.
- Start the compare of the source (in this case a csv file created by querying the source customer table) to the target (a csv file created by querying the target customer table), beginning with reading the records in the source csv file (DiffAdd). So while we are using the same DiffAdd function as above, it behaves differently since there is an existing Diff file. This time it compares the two files and outputs the new rows based on the field established by the DiffKeyList
- Compare based on changes (DiffUpdate). Diff hashes the individual records in both the old and the new files, and will identify changed records based on the same key but different hashes. This will output the changed rows.
- Save the Diff (DiffComplete).
- Delete the Diff (ResetDiff).
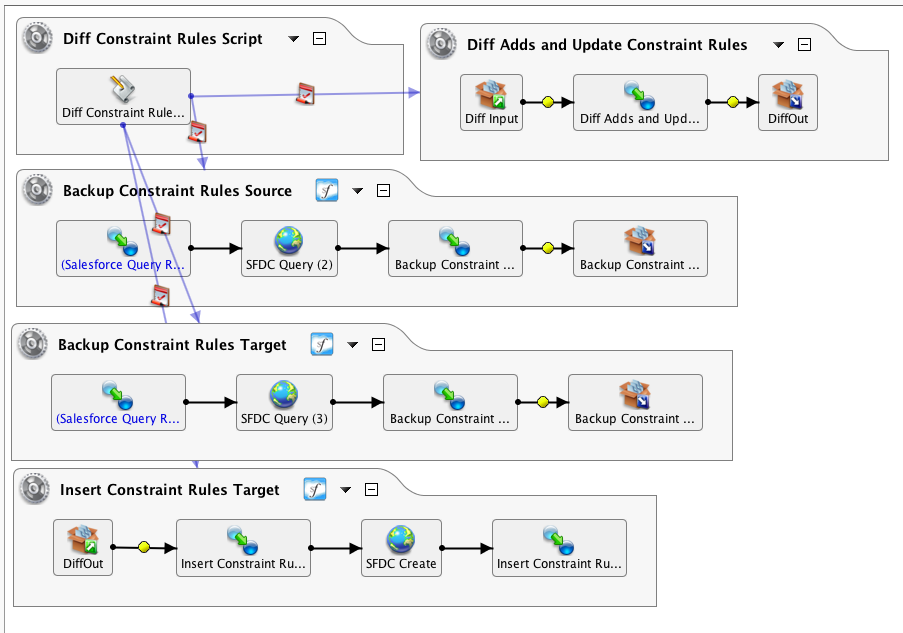
This example has two Salesforce organizations with identical objects and fields. The source organization contains data that must be either added or updated into the target organization. Due to the use of triggers and updates, simply querying the source based on an object timestamp is not workable. Doing a full copy, by querying the entire source and upserting into the target is a viable method, but for very large datasets can be very time-consuming. The preference here was to do a migration of the differences between the source and target organizations by using the Diff() functions.
Since Diff can only work with databases or CSV files, the source and target queries are converted into that format:
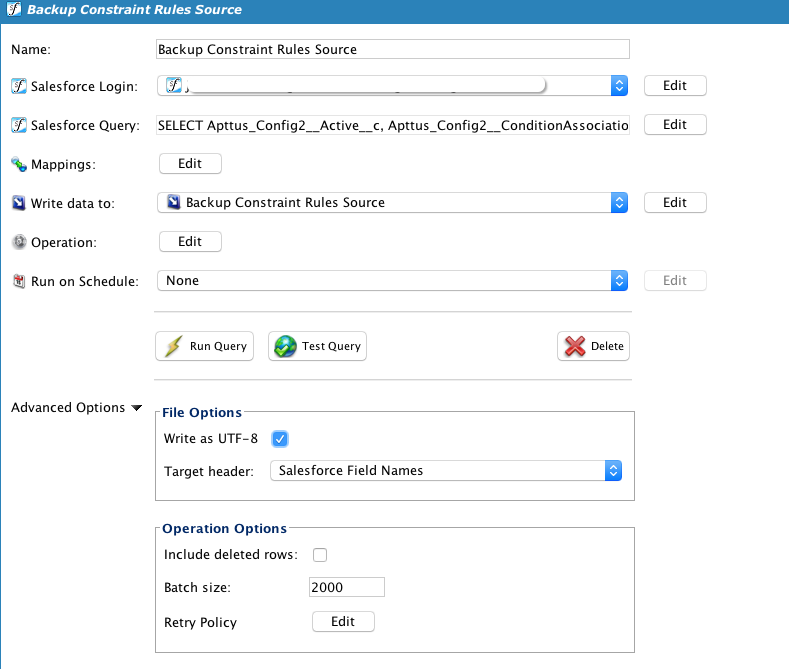
This queries the target, and there is a similar operation that queries the source.
Note that the query is limited to business data, excluding system data like LastModifiedDate which will be different from the source and target, as well as record IDs. Also, headers are selected as they are needed to assist the user in viewing the data. The Backup Target is identical, except for the salesforce organization.
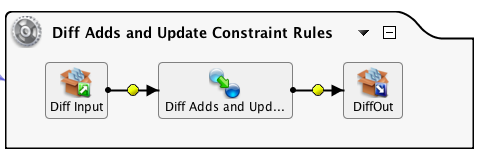
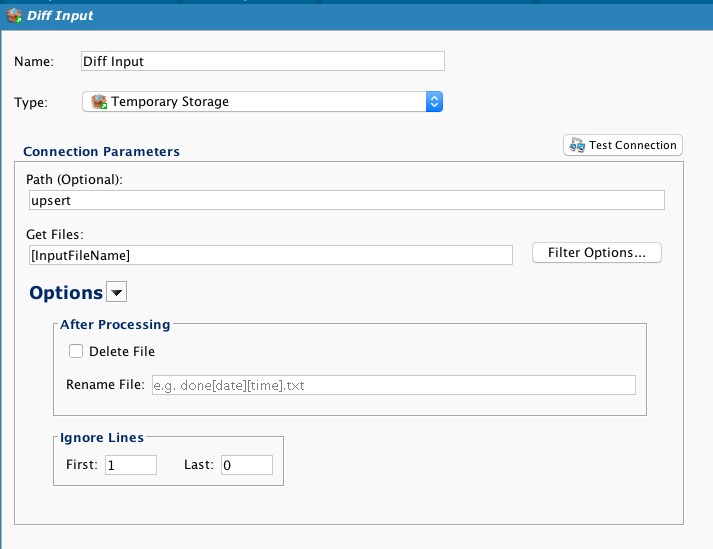
A temporary storage source is used, where a global variable is used for the file name, and the first line is ignored.
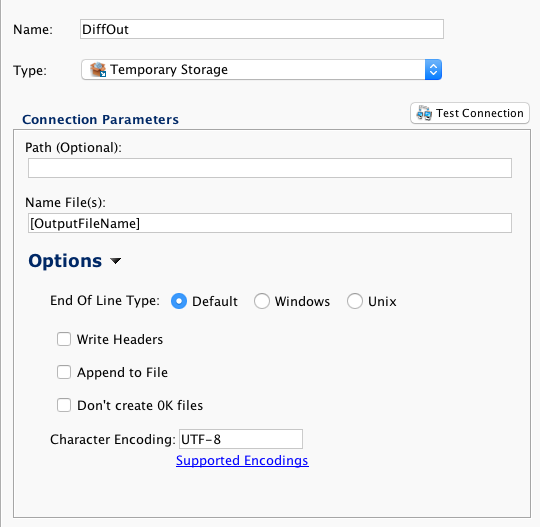
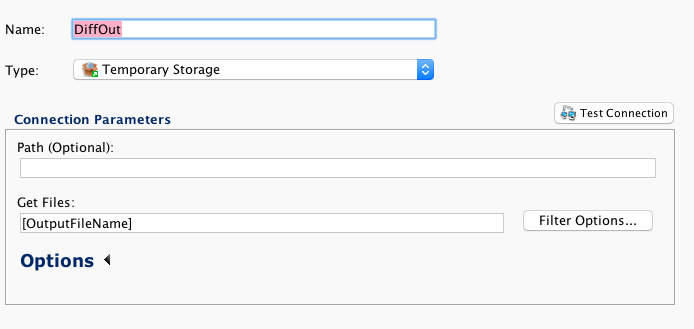
The target is a temporary storage file. This can be a FTP site or a network file share. Again, a global variable is used to dynamically select the file name.
This example is using a standard Apttus object. This file format will be used repeatedly in the chain of operations. In this case, the source and target objects use an external ID called 'Jitterbit_Key' to associate records in the different organizations. Diff will use this to identify the new rows as well as the updated rows.
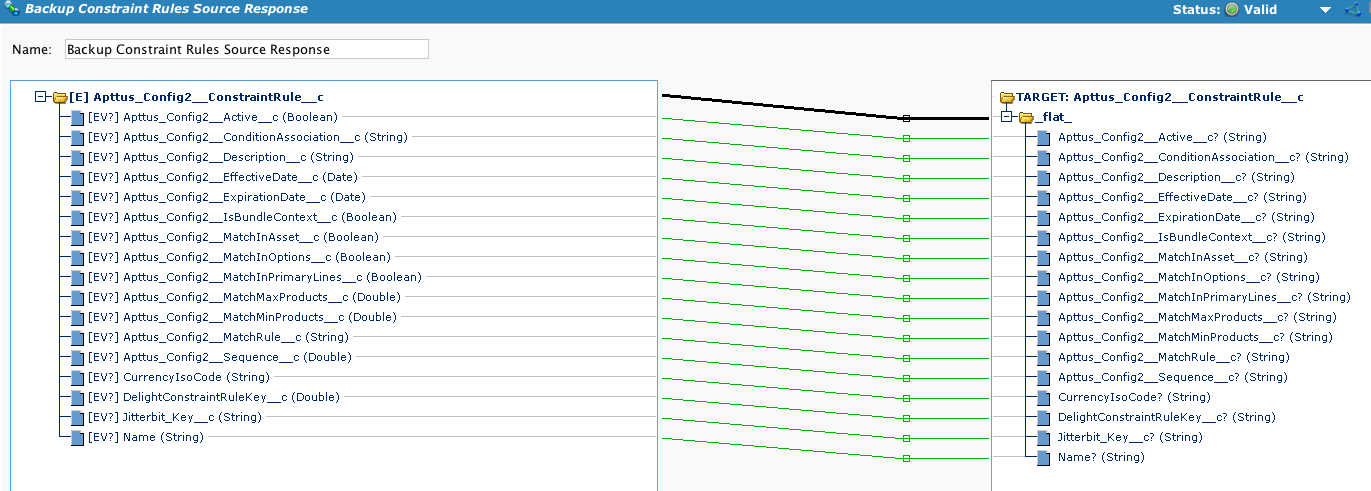
This will perform the insert of data as per the output of the Diff file.

Again, the use of a global variable to dynamically select a file name:
Reusing the file format, which is now mapped to the Apttus object.

Important Notes:
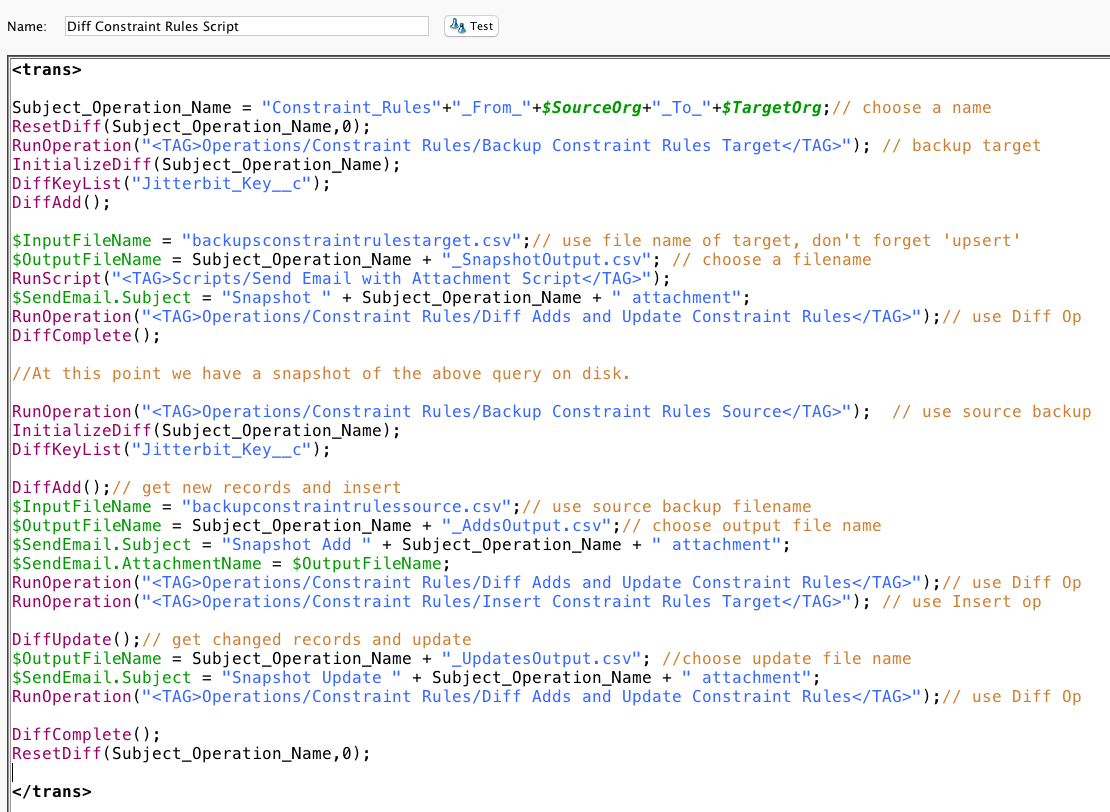
Subject_Operation_Name is a local variable and is used to hold a string that is used repeatedly.
Best practice
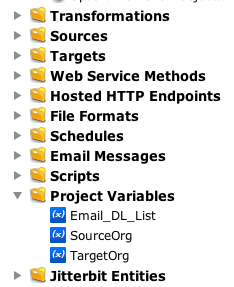
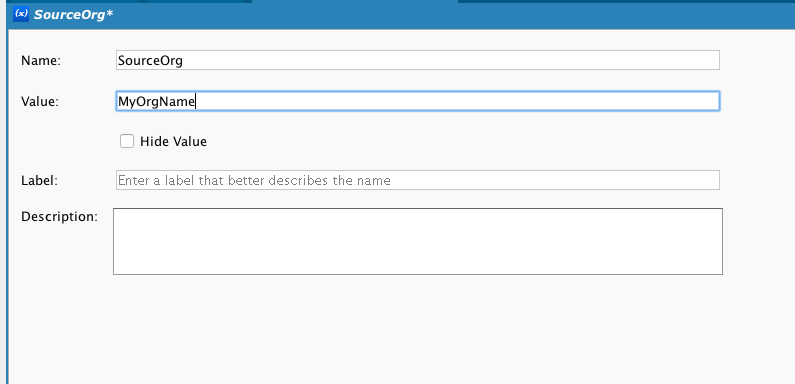
SourceOrg and TargetOrg are Jitterbit project variables that hold the organization name. A project variable is a value that is available to all Jitterbit objects that can work with a variable. Note that the formatting in the script editor is green and in italics:
Project variables are defined in the Jitterbit Design Studio:
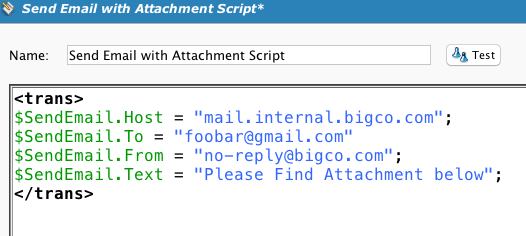
Another script is called, which enables the capture of the output and adds it as an attachment to an email. This requires the use of a plug-in Send email with attachment in the target. (See update below).
The Diff Add and Update operation is used repeatedly since the sources and targets use a variable ("$OutputFile") to dynamically select files to process. This greatly enables reusing operations.
Updated method using email targets
Current versions of Harmony include email targets; they are superior for handling email attachments as they do not require use of a plug-in.
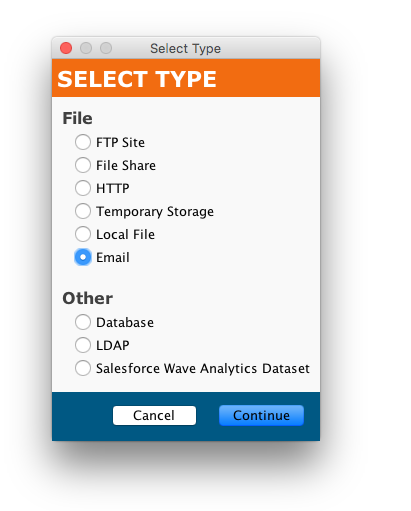
First, create an Email target:
Second, create an email and set the attachment size limit:
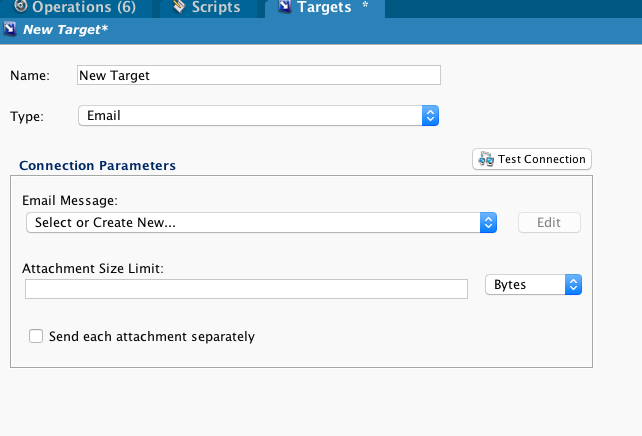
You can now use this email target to send the captured output.