Connector Store in Wevo iPaaS
The Connector Store provides access to all available connectors. Connectors are tools that connect to specific systems, such as databases, ERP systems, marketplace platforms, and SaaS services. These tools establish connections with their target systems to enable integration.
Overview
To access the connector catalog, click Builder > Connector Store in the platform menu:
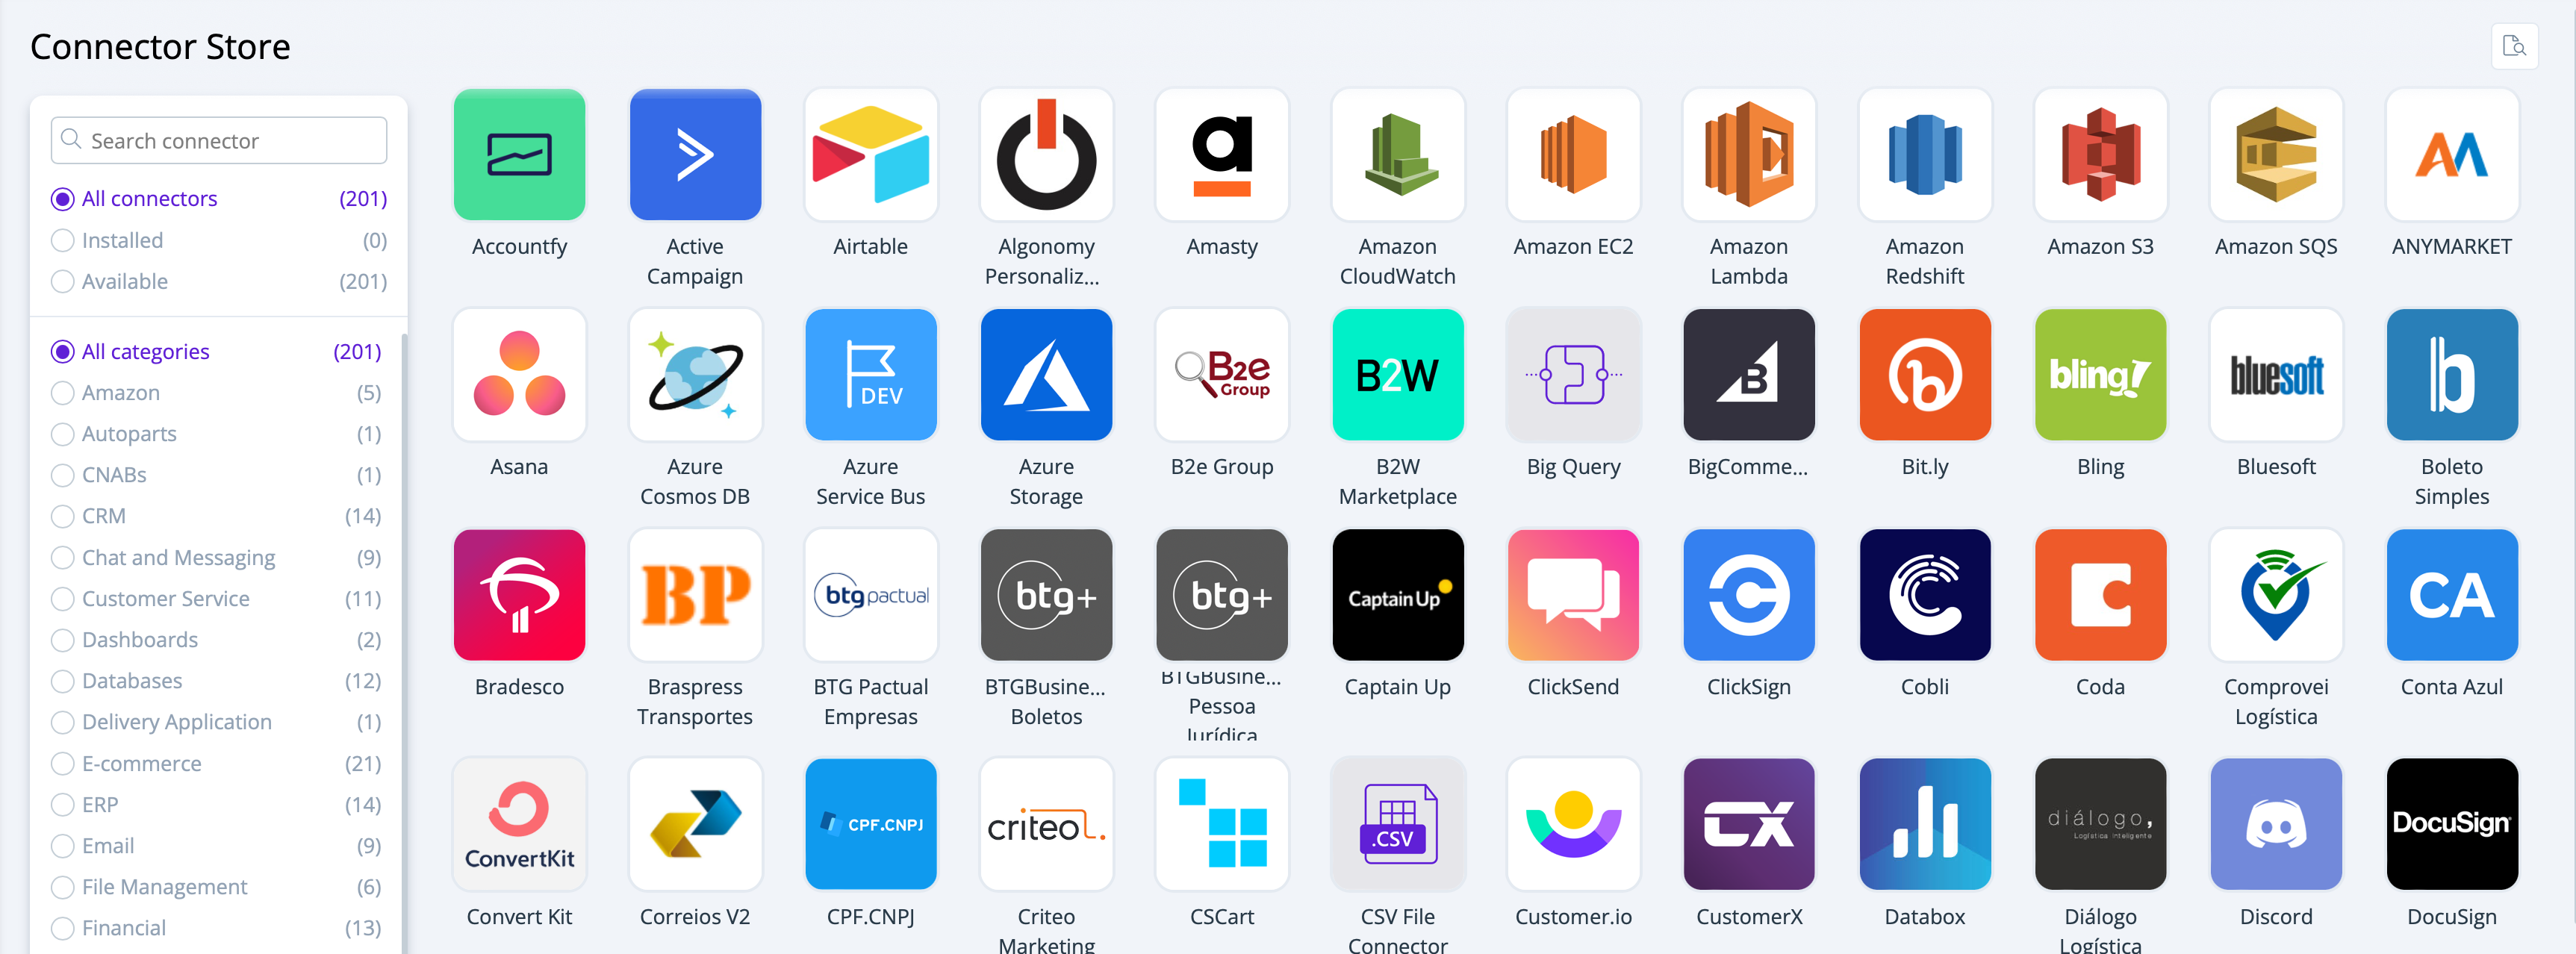
The Connector Store menu provides the following options:
-
Search connector: Search for a connector by name.
-
Installed: Displays only the connectors that are already installed in your environment.
-
Available: Displays the complete catalog of connectors that are available for installation.
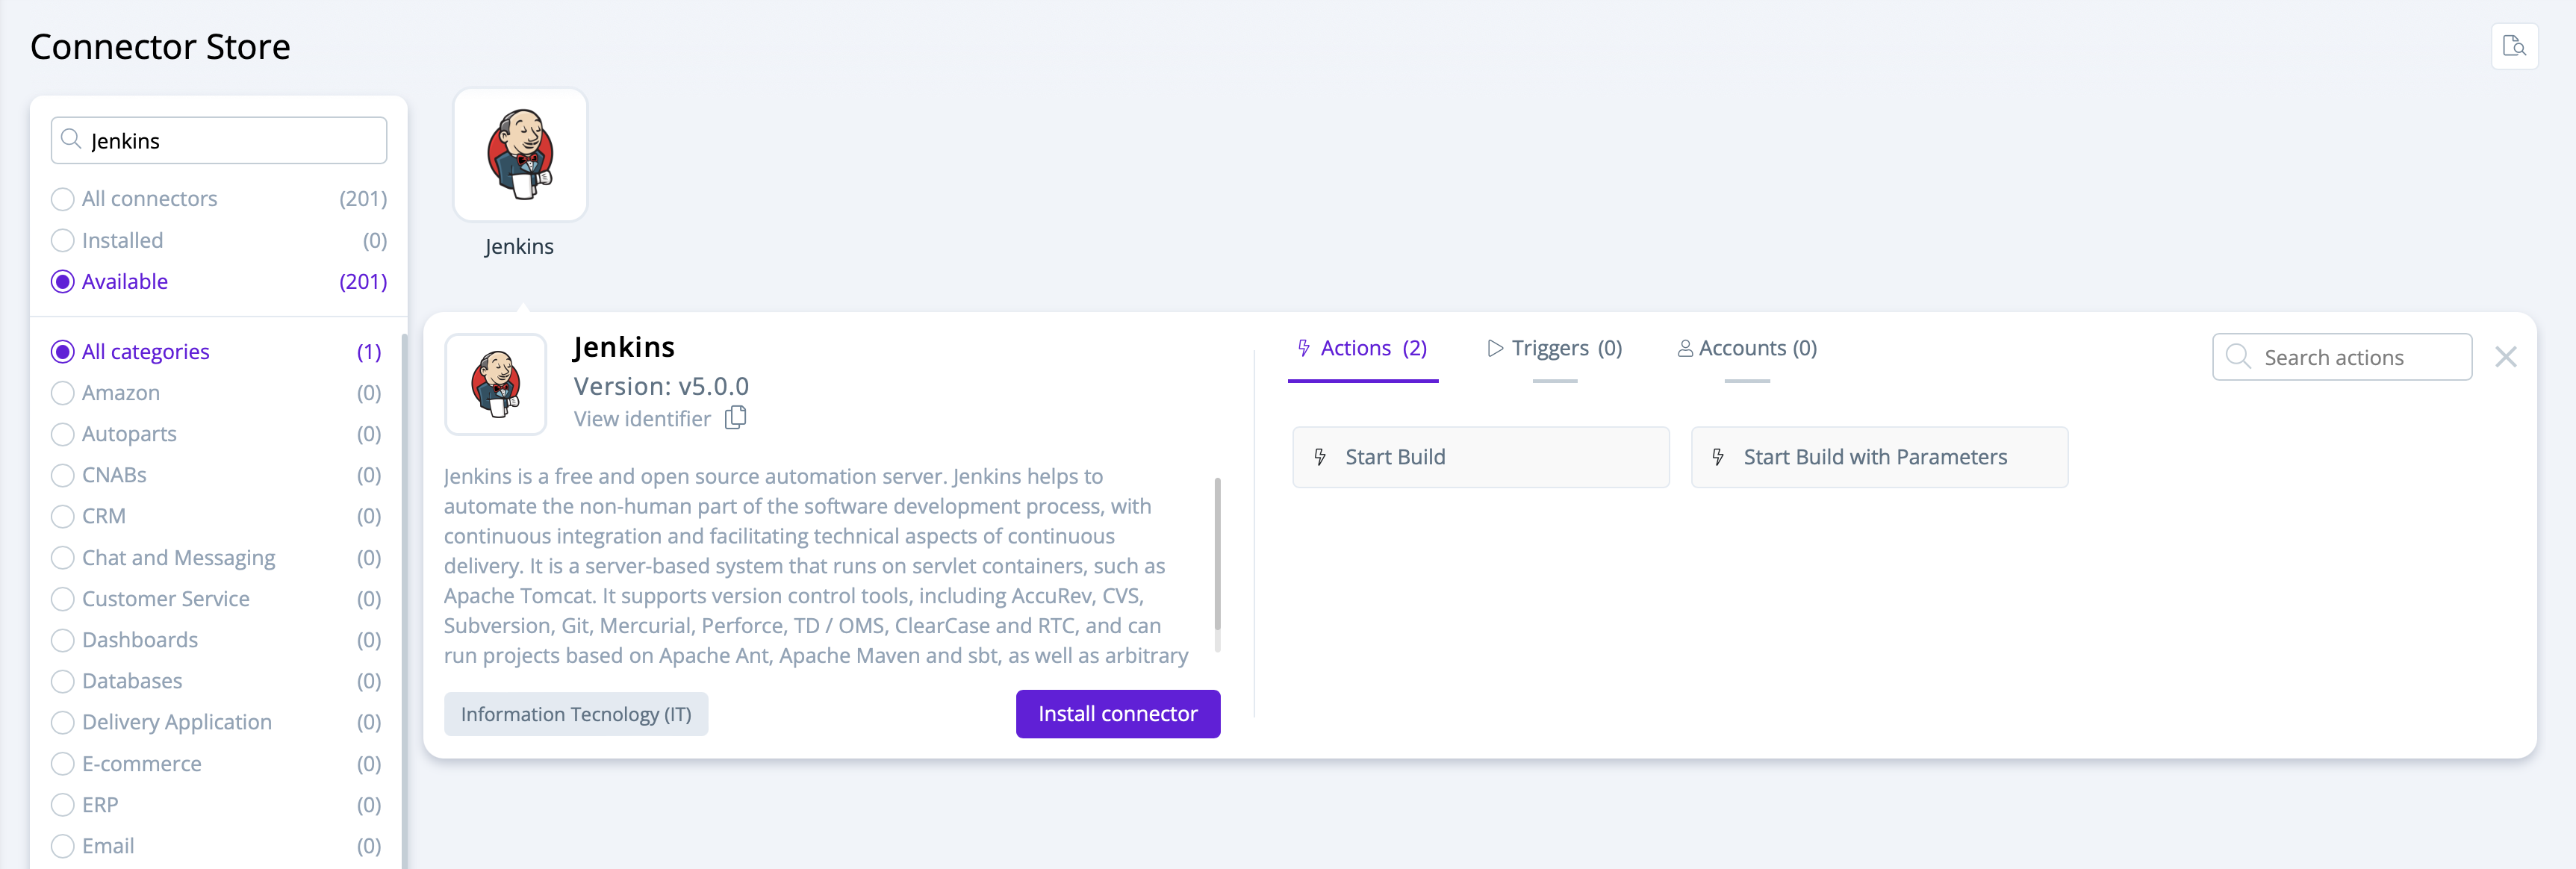
Install a connector
To install a connector, select the Available filter, locate the connector that you want, and click Install Connector.
- Account name: Enter a name to identify the account.
-
Account parameters: Enter the endpoint's authentication credentials and connection settings that are required for the connector to access the target system. Account parameters might include regions, access keys, authentication tokens, usernames, and passwords.
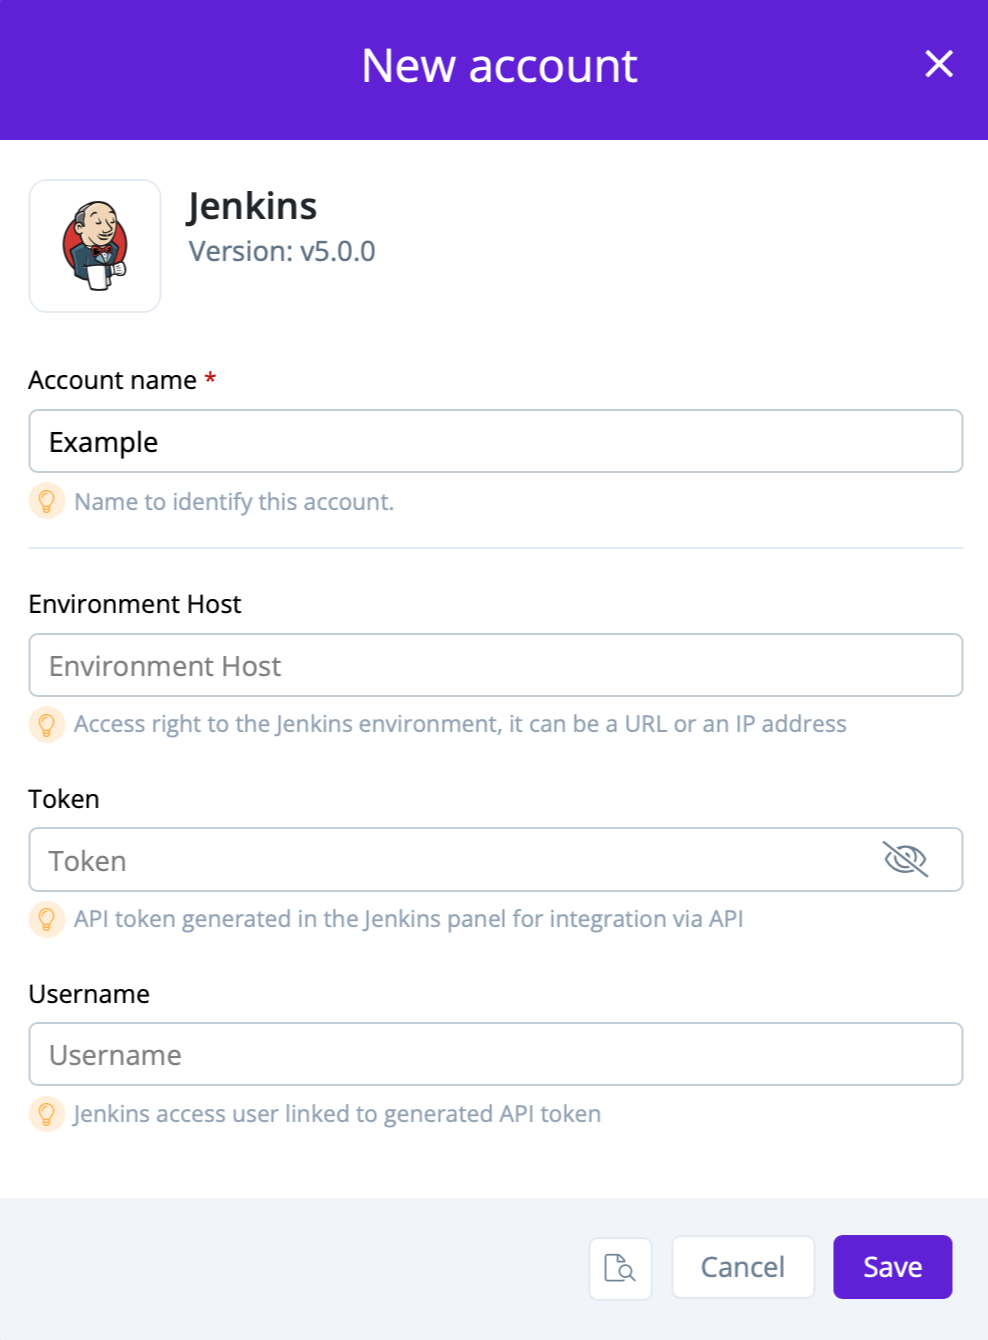
Account parameters are described next to a lightbulb icon directly under each field.
Note
You can create multiple accounts for the same connector with different parameters by clicking Create New Account after selecting the connector.
After you save your changes, the connector appears in the Installed filter.
On-premise agent connections
Some connectors need to communicate with internal systems that are not publicly accessible. The on-premise agent enables secure communication between Wevo iPaaS and your internal services through a VPN.
Before you configure a connector to use an on-premise agent, complete the following prerequisites:
-
Have an on-premise agent installed and running in your environment.
-
Register applications on the agent (see Configure a new application on an on-premise agent).
Configure an on-premise agent for a connector
To configure a connector to use an on-premise agent, complete the following steps:
-
Follow the standard connector installation process.
-
After you enter the required account parameters, locate the On-Premise Agent section in the account configuration screen.
-
Select the agent and application that you previously registered from the dropdown menus.
-
(Optional.) Enable Configure Host entry to define how requests are routed. Complete the following fields:
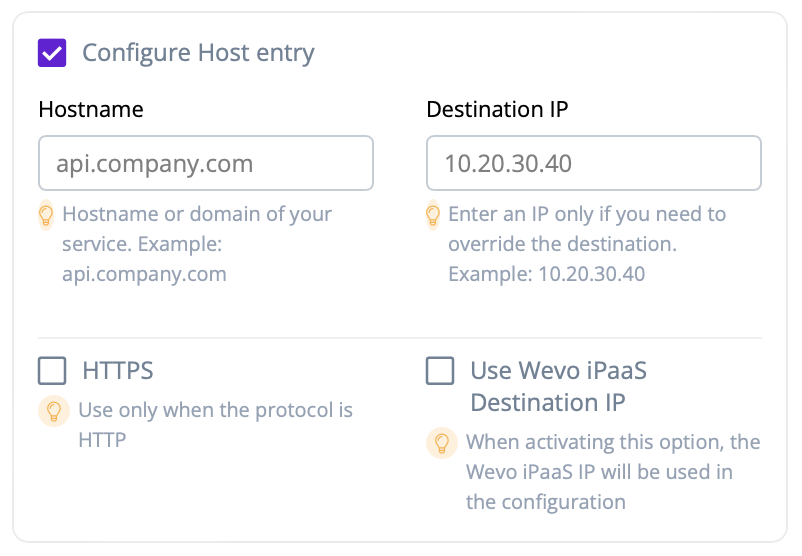
- Hostname: Enter the hostname or domain of your service (for example,
api.company.com). - Destination IP: Enter an IP address for the target system, or select Use Wevo iPaaS Destination IP to use the platform's gateway IP address.
- HTTPS: Select this option only when the protocol is HTTP.
The host entry configuration ensures that applications using this connector account can communicate correctly with internal or external services through the on-premise agent.
- Hostname: Enter the hostname or domain of your service (for example,
-
Complete the remaining account parameters and click Save.
Actions
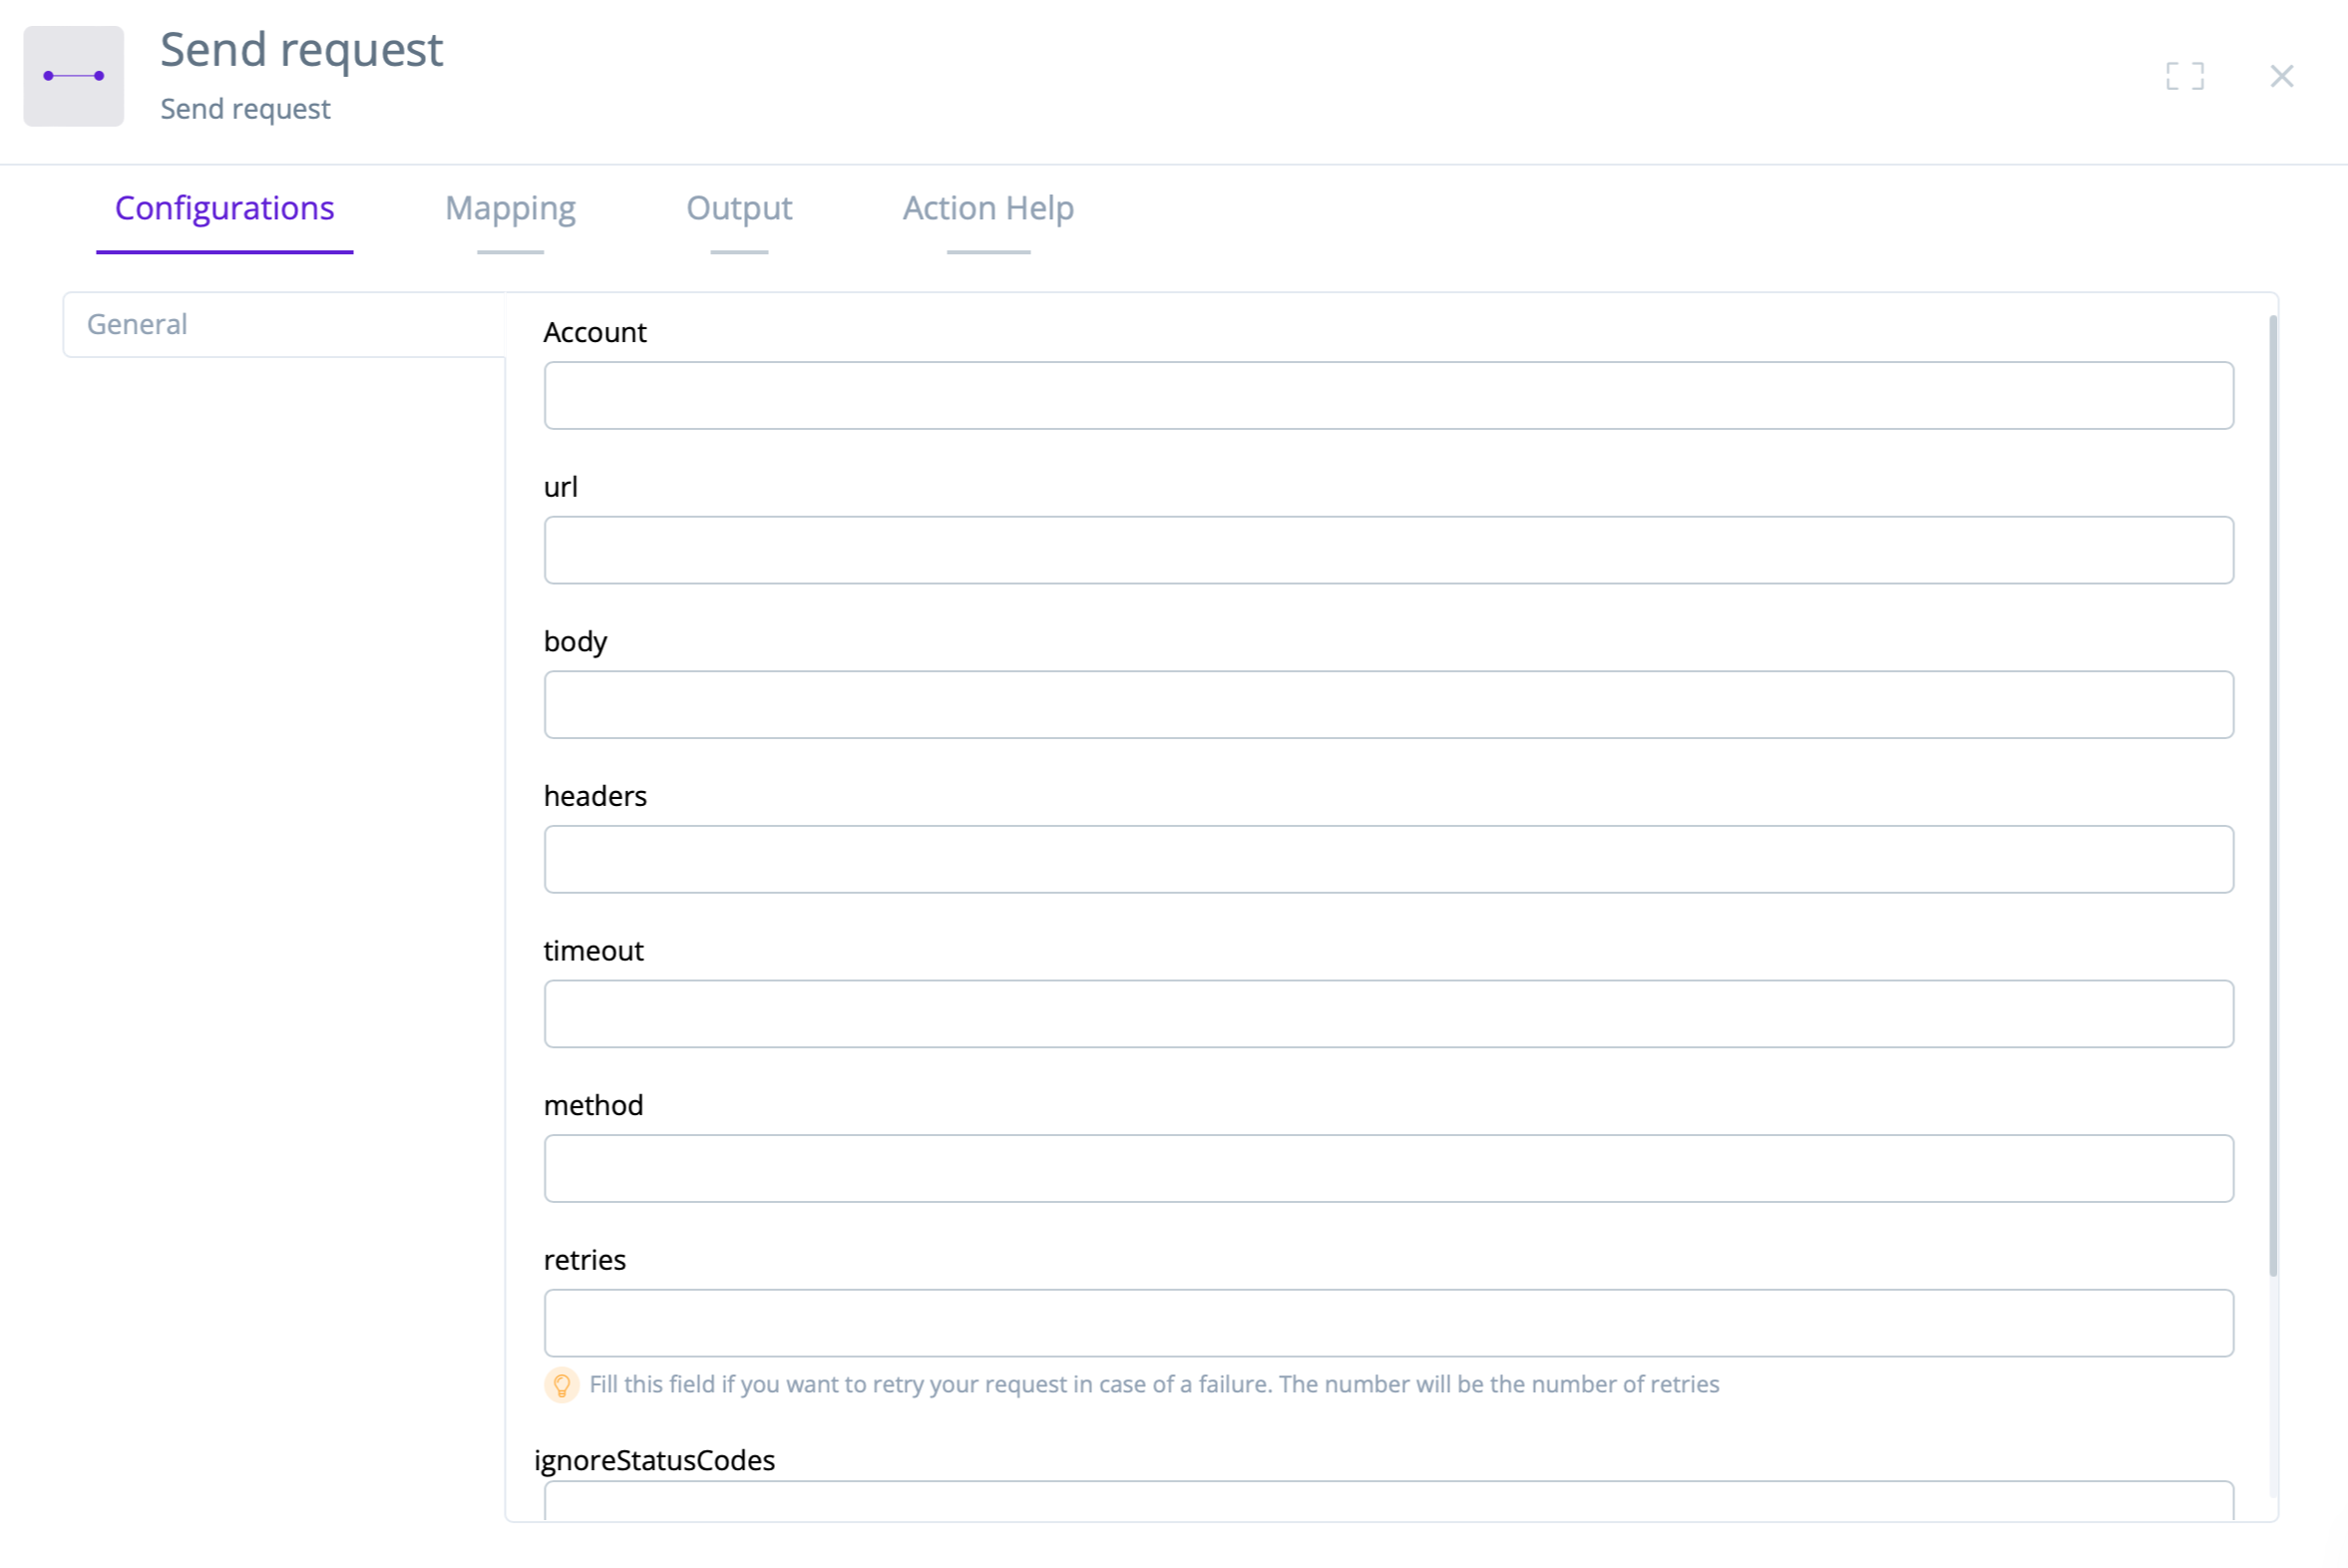
Each connector provides actions that perform operations on its endpoint, such as creating, reading, deleting, updating, or querying data.
Action parameters
Action parameters define the inputs and data structure for each action. You can preview parameters in the Connector Store before configuring them in your flows.
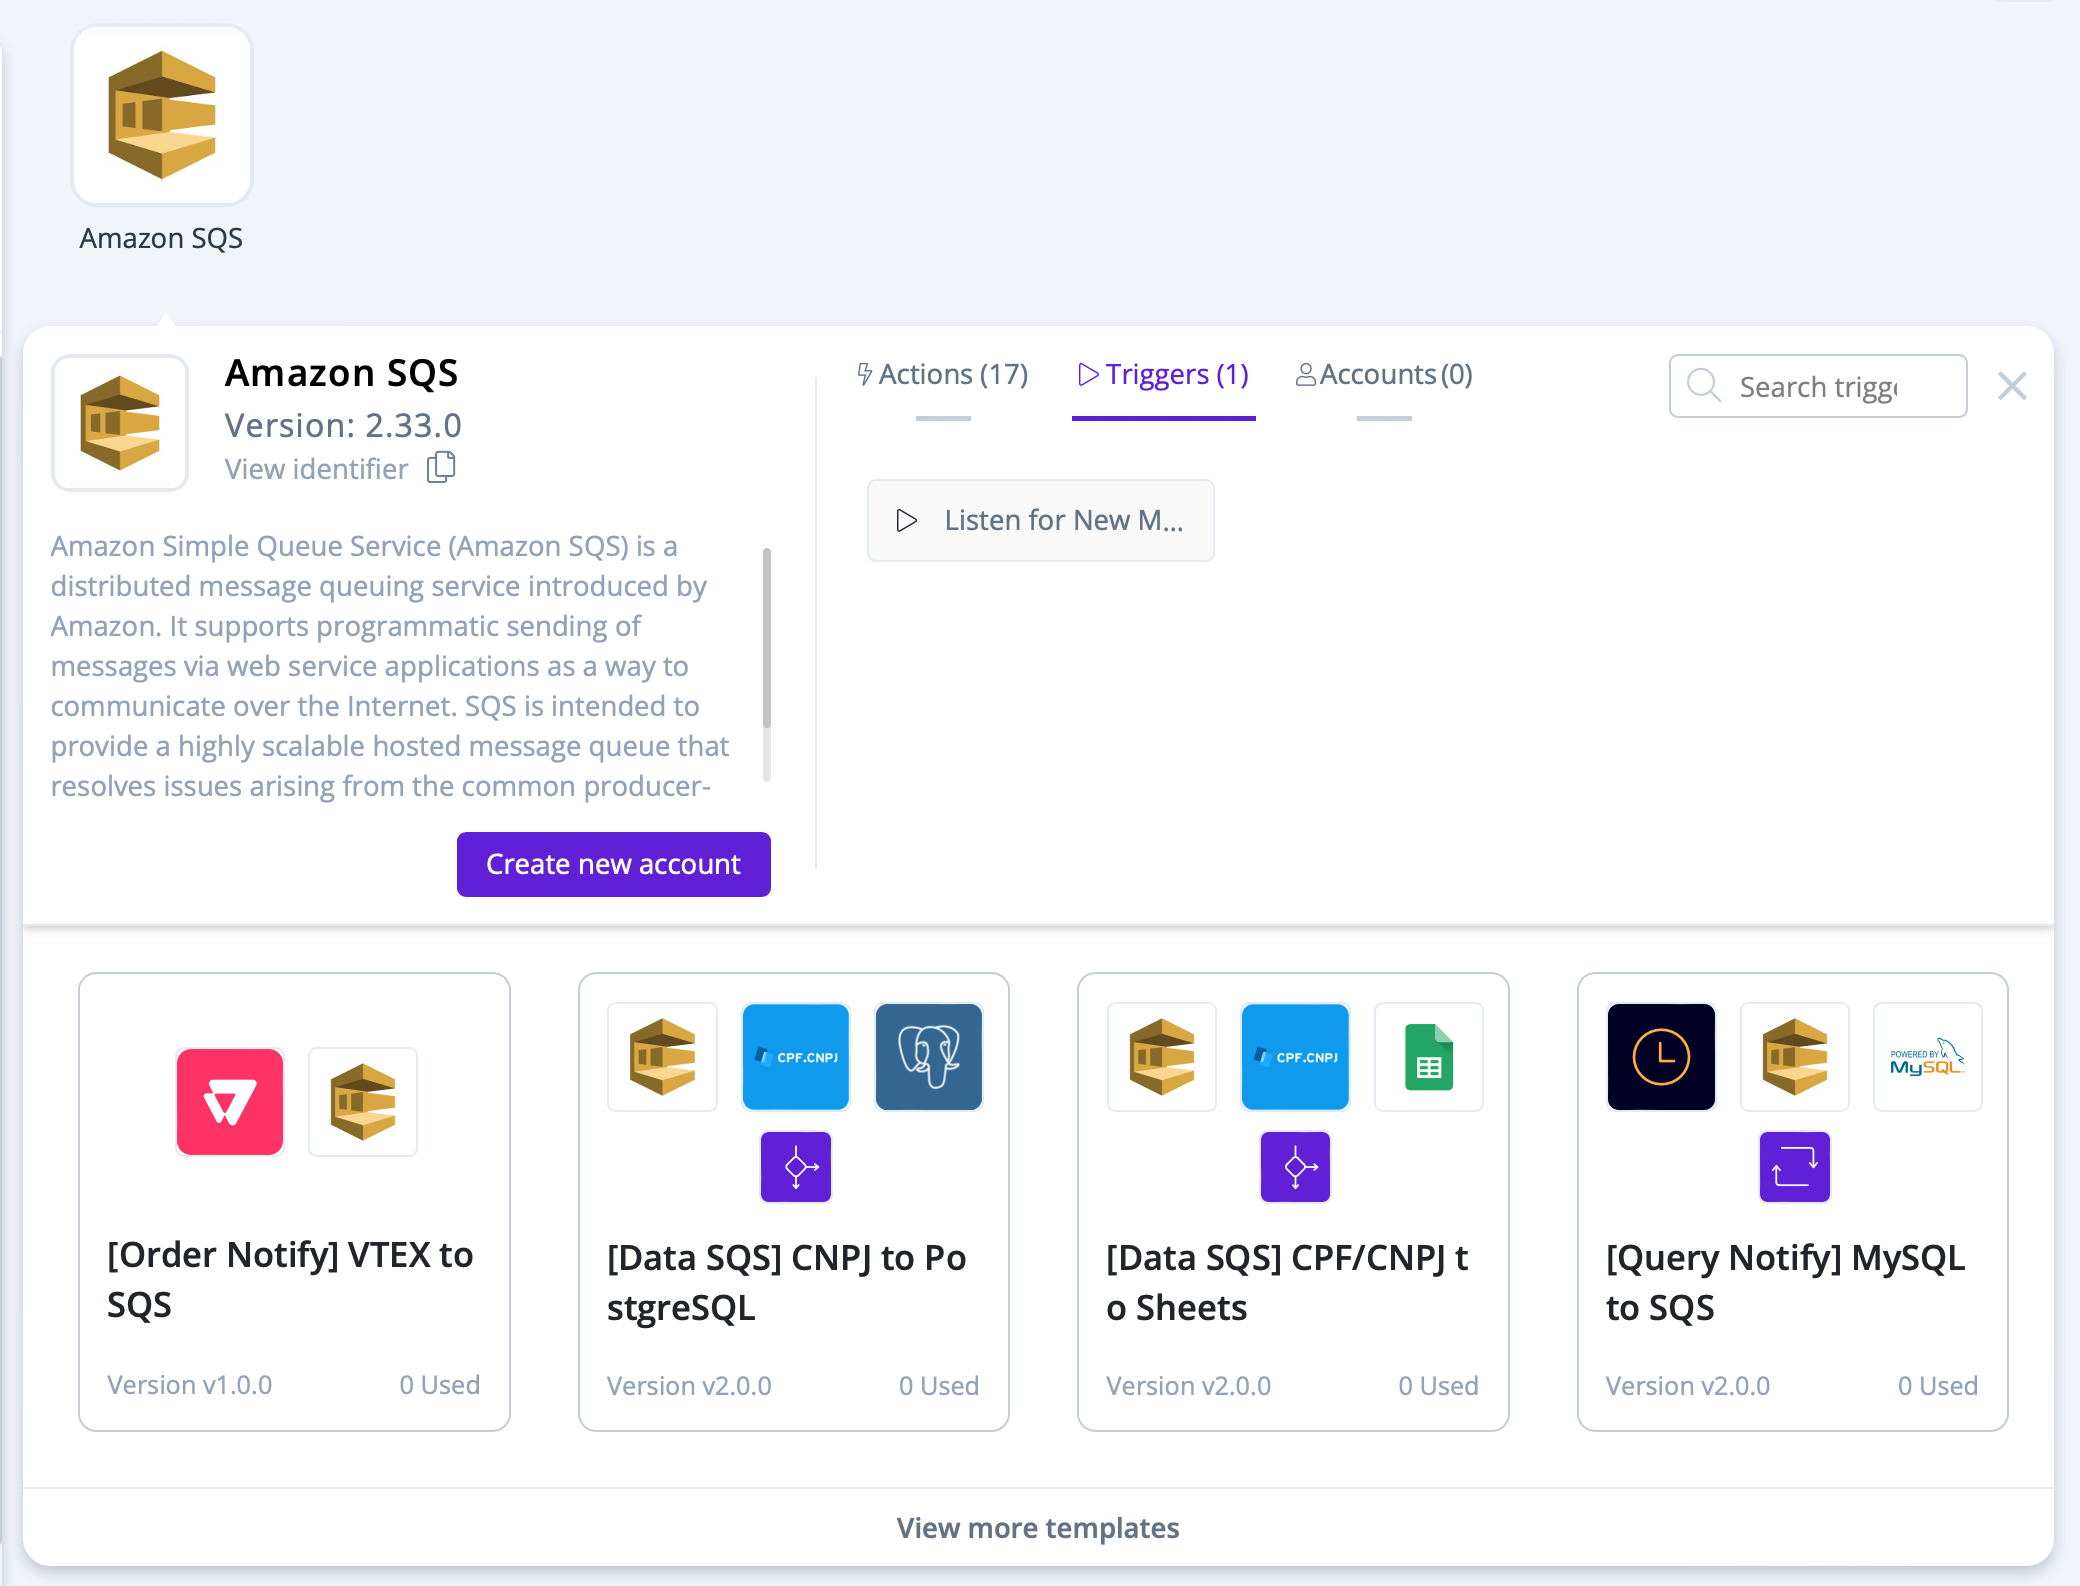
Event triggers
Event triggers start integration flows automatically when specific events occur in your connected systems. To view available triggers for a connector, select the connector and click the Triggers tab: