Prerequisites for the Microsoft Azure Files connector in Jitterbit Studio
Introduction
To use the Microsoft Azure Files connector, you must have credentials for an Azure storage account.
This document describes obtaining the credentials for the Microsoft Entra ID, shared access signature (SAS) token, and access key authentication types.
Important
Prior to following the steps outlined on this page, you must have an Azure storage account. For information on creating a storage account, see Microsoft's documentation.
Microsoft Entra ID
This section describes how to configure an Azure storage account with Microsoft Entra ID authentication and obtain the required credentials for connection configuration.
Create an app
Follow these steps to create an app registration to use for authenticating your Azure storage account:
- Log in to the Microsoft Azure portal.
- In the left-hand navigation pane, select Microsoft Entra ID, then App registrations.
- Click New registration.
-
Enter a name for the application. The remaining fields can be left as their default:
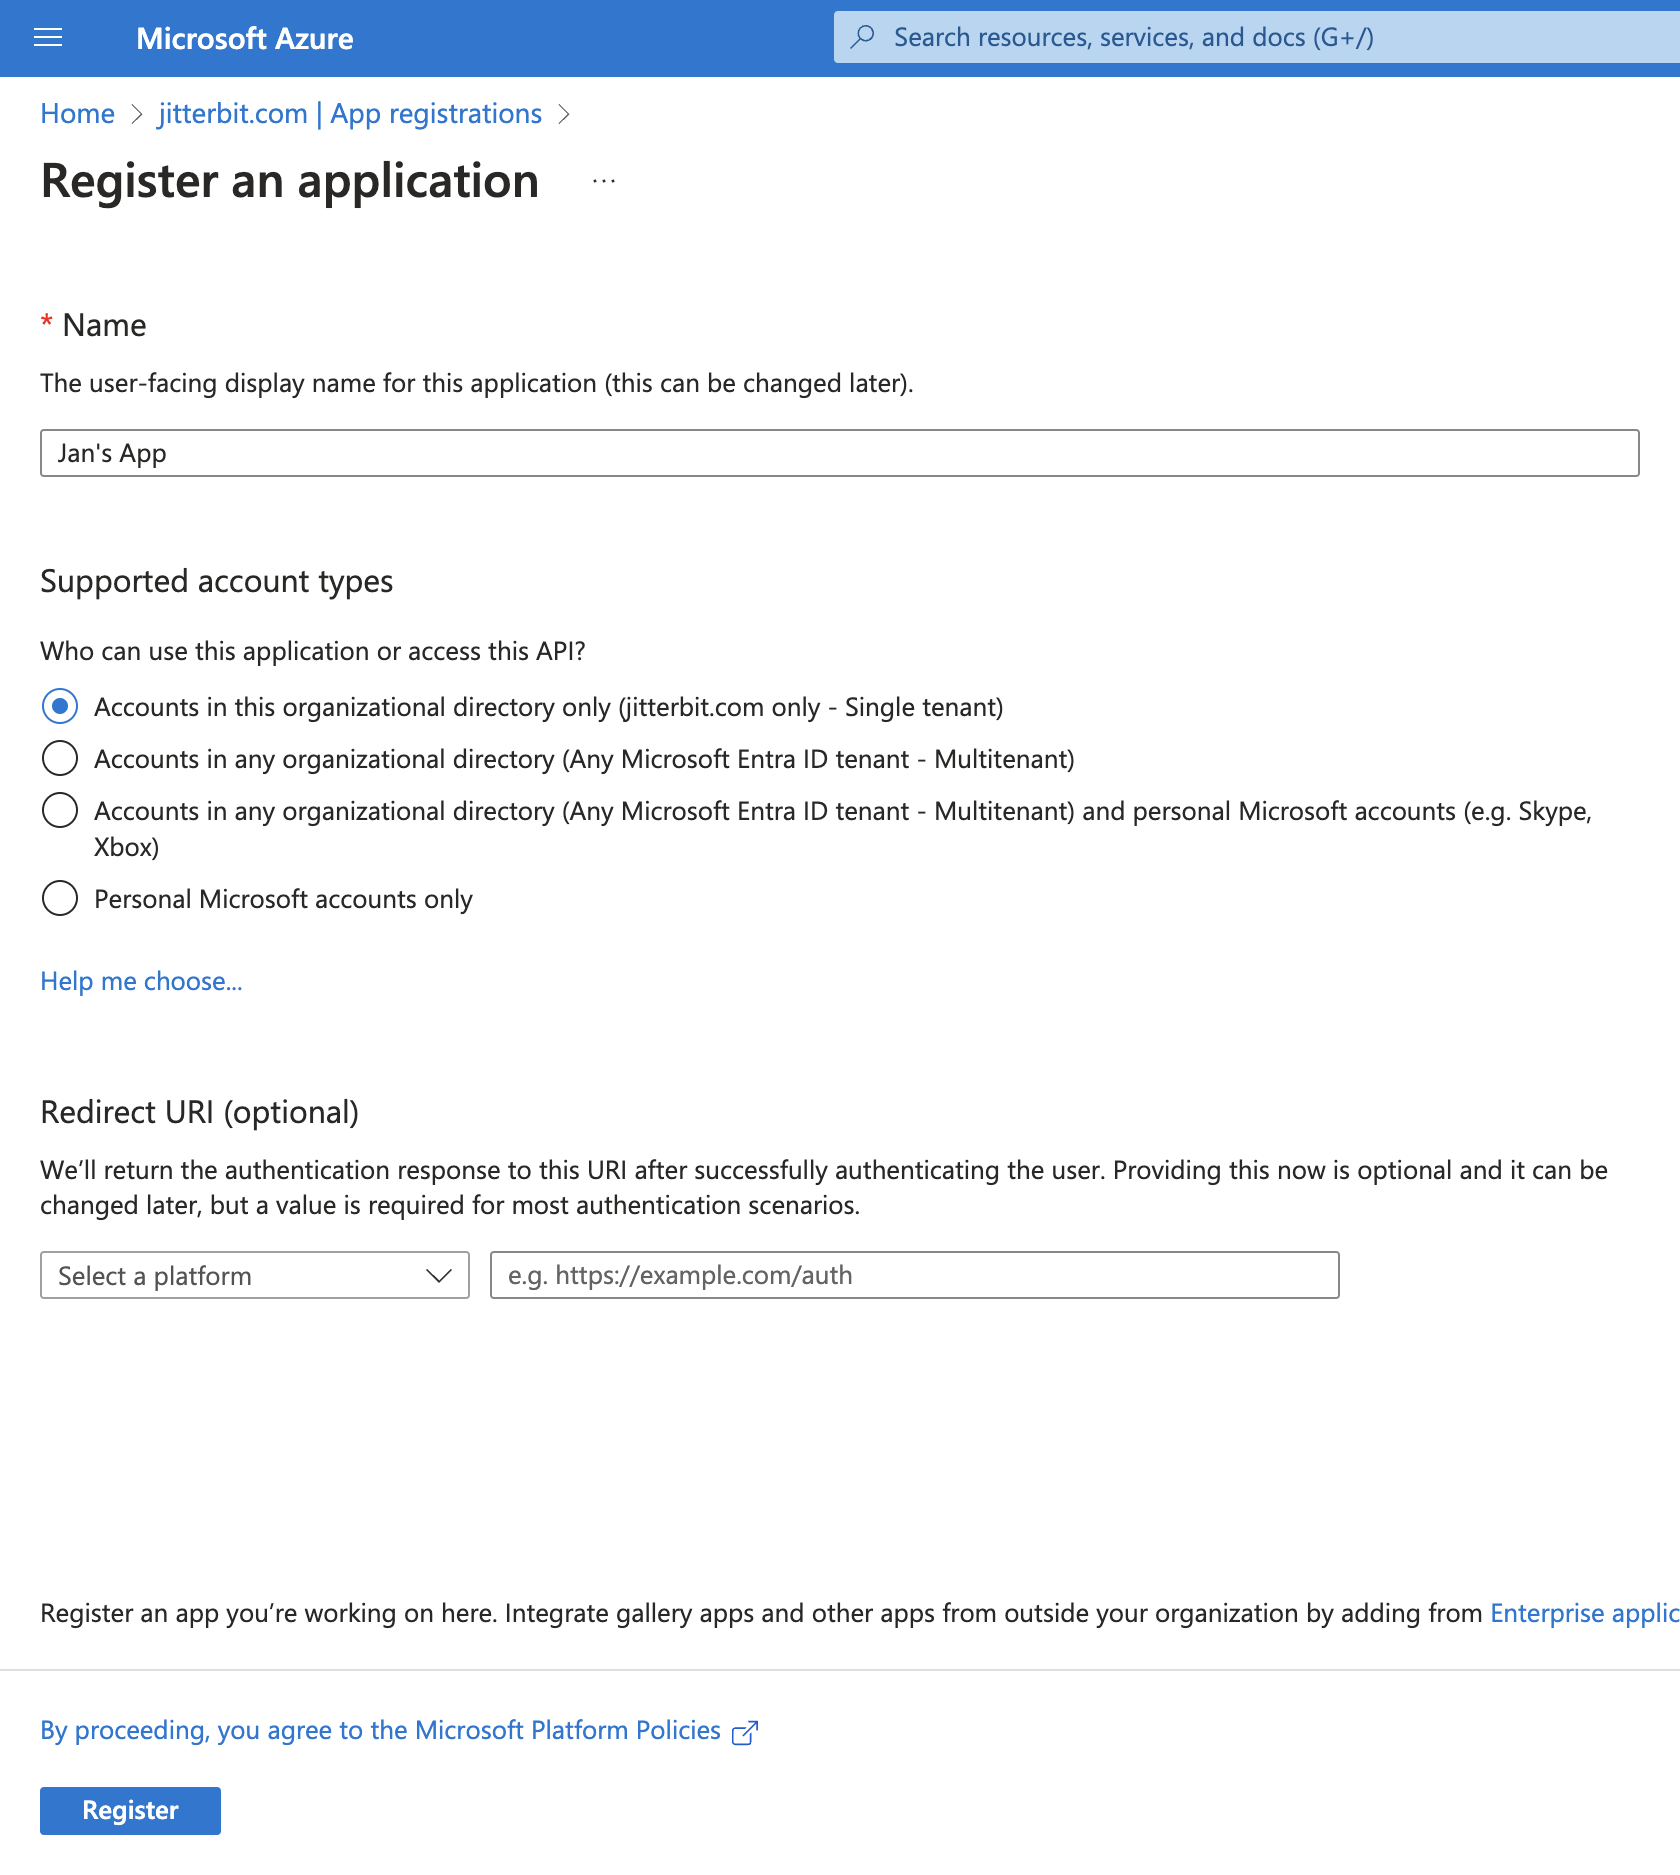
-
Click Register to complete the app registration. You are then directed to the app's Overview page:
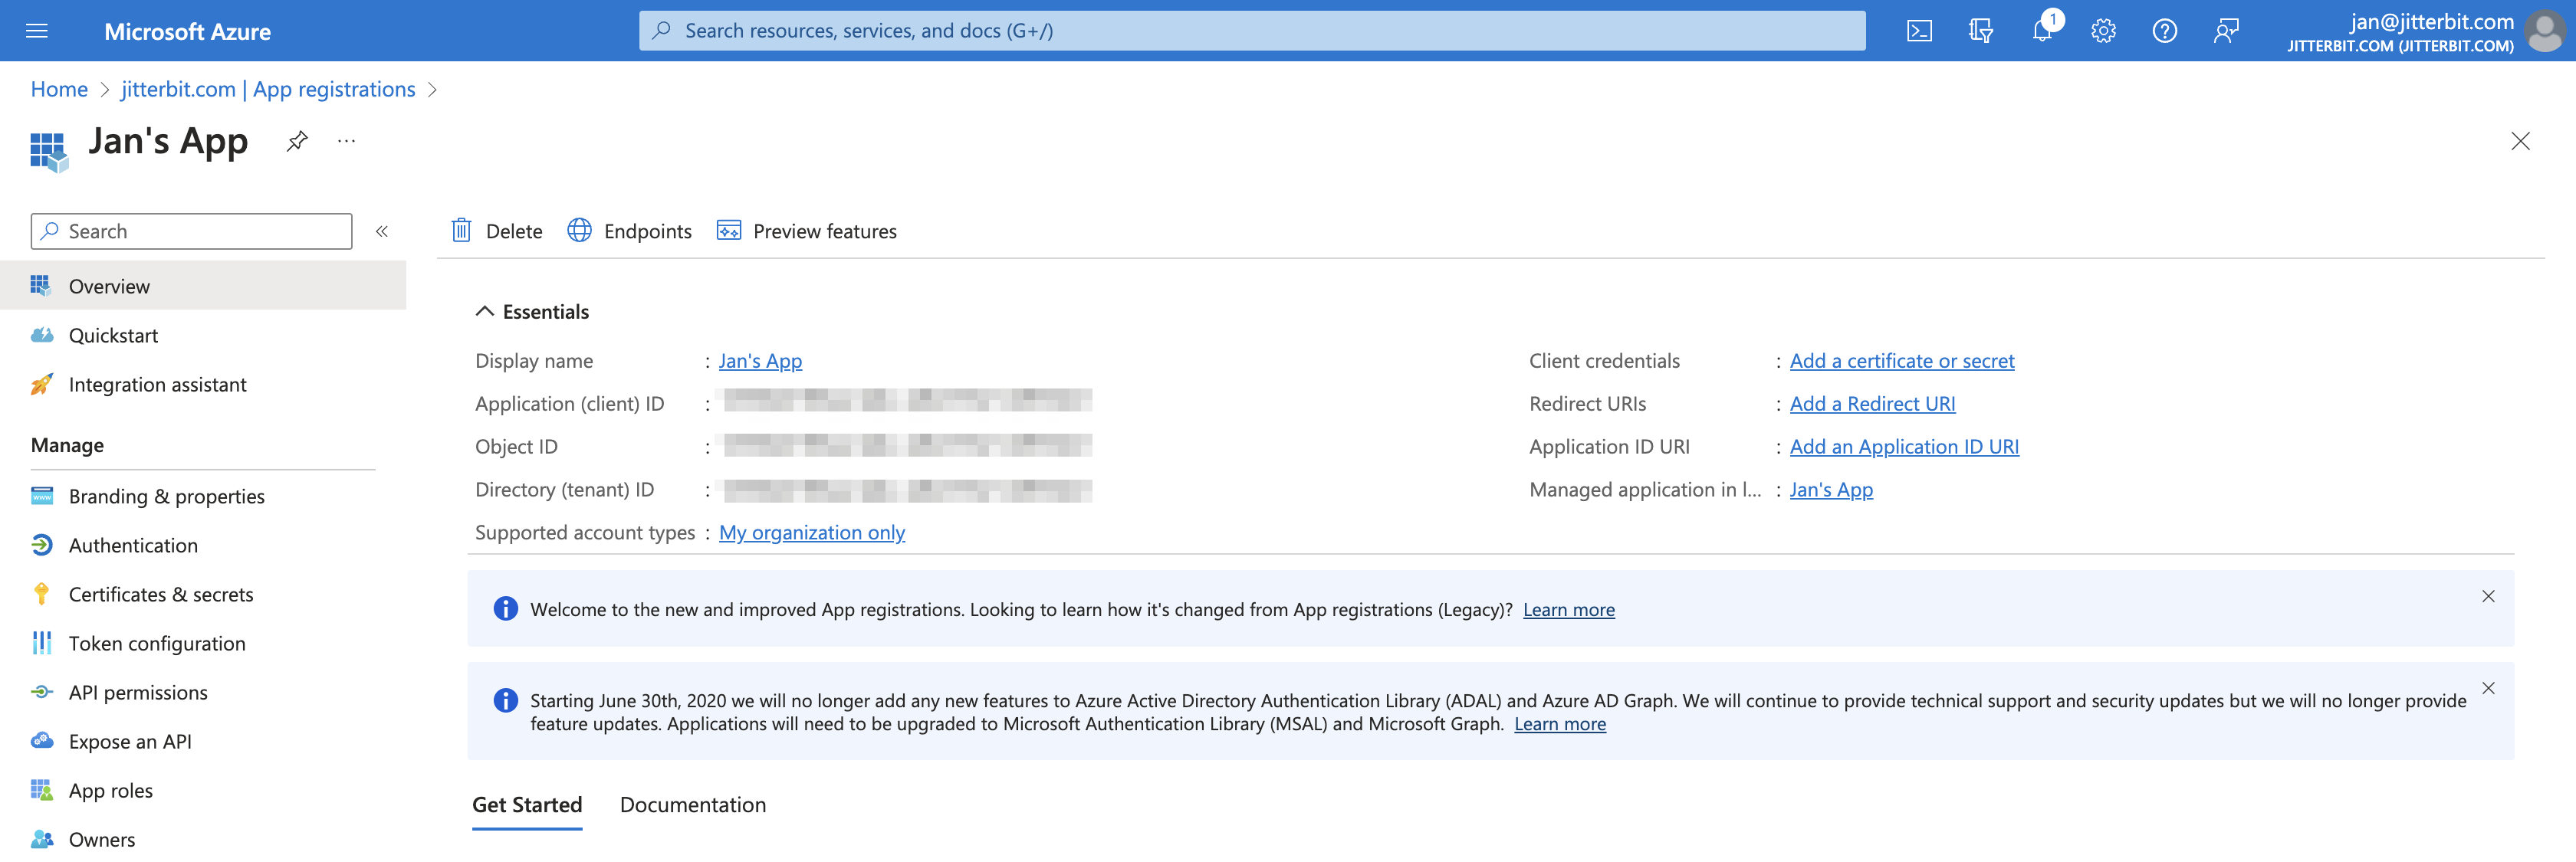
Important
Retain the app registration's Application (client) ID and Directory (tenant) ID to use as the Client ID and Tenant ID when configuring a connection.
-
From the app registration's Overview page, click Add a certificate or secret. On the Certificates & secrets page, select the Client secrets tab and then click New client secret. Enter a name for the client secret and select an expiration time. After clicking Add, the client secret's details are displayed.
Important
Retain the client secret's Value to use as the Client secret when configuring a connection.
-
Once steps 1 - 6 are completed, you should have the following credentials from your app registration to be used during connection configuration:
Microsoft Entra ID credential Connection field The app registration's Application (client) ID (step 5) Client ID The app registration's Directory (tenant) ID (step 5) Tenant ID The Value of the app registration's client secret (step 6) Client secret
Add the app registration to the Storage File Data Privileged Contributor role
Follow these steps to add the app registration to the Storage File Data Privileged Contributor role for your Azure storage account:
-
Navigate to the Azure storage account and go to its Access control (IAM) page, select the Role assignments tab, and then click Add > Role assignments.
-
On the Add role assignments panel, select Storage File Data Privileged Contributor as the Role, and select the app registration created in the previous section.
-
Click Save.
Shared access signature (SAS)
This section describes how to obtain an account-level SAS token (to be used during connection configuration) for your Azure storage account.
-
From the Azure storage account's overview section, navigate to Shared access signature under Security + Networking in the left-hand navigation pane.
-
Configure the account-level SAS token:
-
Allowed services: Select File.
-
Allowed resource types: Select Service, Container, and Object.
-
Allowed permissions: Select the permissions based on the activities you intend to use. At minimum you should have Read and List selected.
Adjust the additional settings as necessary based on your use case.
-
-
Click Generate SAS and connection string. Retain the SAS token for use during connection configuration.
Access keys
This section describes how to obtain an access key (to be used during connection configuration) for your Azure storage account.
-
From the Azure storage account's overview section, navigate to Access keys under Security + Networking in the left-hand navigation pane.
-
Retain either key1 or key2's Key for use during connection configuration.