Guide to getting started with Jitterbit EDI
Introduction
This guide shows you how to set up Jitterbit EDI to process an X12 850 4010 transaction. (You can use another document or standard, but the settings are different.)
Tip
If you are unfamiliar with with EDI, this guide should help you with some of the nuances associated with EDI and the Jitterbit EDI solution. However, if you have worked with EDI before, you may want to jump directly to the Setup section, which focuses on the Jitterbit EDI solution setup.
This guide takes you through the following tasks:
- Gather information
- Generate an ISA ID and add a partner
- Create one or more workflows
- Configure EDI settings
- Prepare an EDI file
- Configure communications
- Verify
- Integrate EDI
1. Gather information
You should coordinate with each of your trading partners to schedule testing and obtain their implementation guides, communication preferences, and test files.
Tip
It's not always possible to get everything you need. Be willing to adapt and improvise.
These are the most important things you'll need:
-
Your trading partner's EDI implementation guide.
-
Your trading partner's FTP connection information. (AS2 and VAN connections are not covered in this guide. If you need to use these, see Communication settings, or contact Jitterbit support or your Customer Success Manager (CSM).)
What is an EDI implementation guide?
An EDI implementation guide is a document that gives detailed instructions on how to set up and use Electronic Data Interchange (EDI) for exchanging business documents between trading partners. It specifies the format, structure, and protocols to be used, and gives any business rules, guidelines, and technical specifications that must be followed. These guides are critical for ensuring that both parties can successfully communicate and exchange data electronically in a standardized and efficient manner.
2. Generate an ISA ID and add a partner
Out of the box, there are no partners set up in Jitterbit EDI. The first time you add one, you are prompted to generate an ISA ID.
What is an ISA ID?
An ISA ID serves to identify the sender or receiver of an EDI transaction. Each transaction includes an ISA ID for both the sender and the receiver, accompanied by a qualifier code, that provides additional information.
To add your first partner and generate your ISA ID, follow these steps:
-
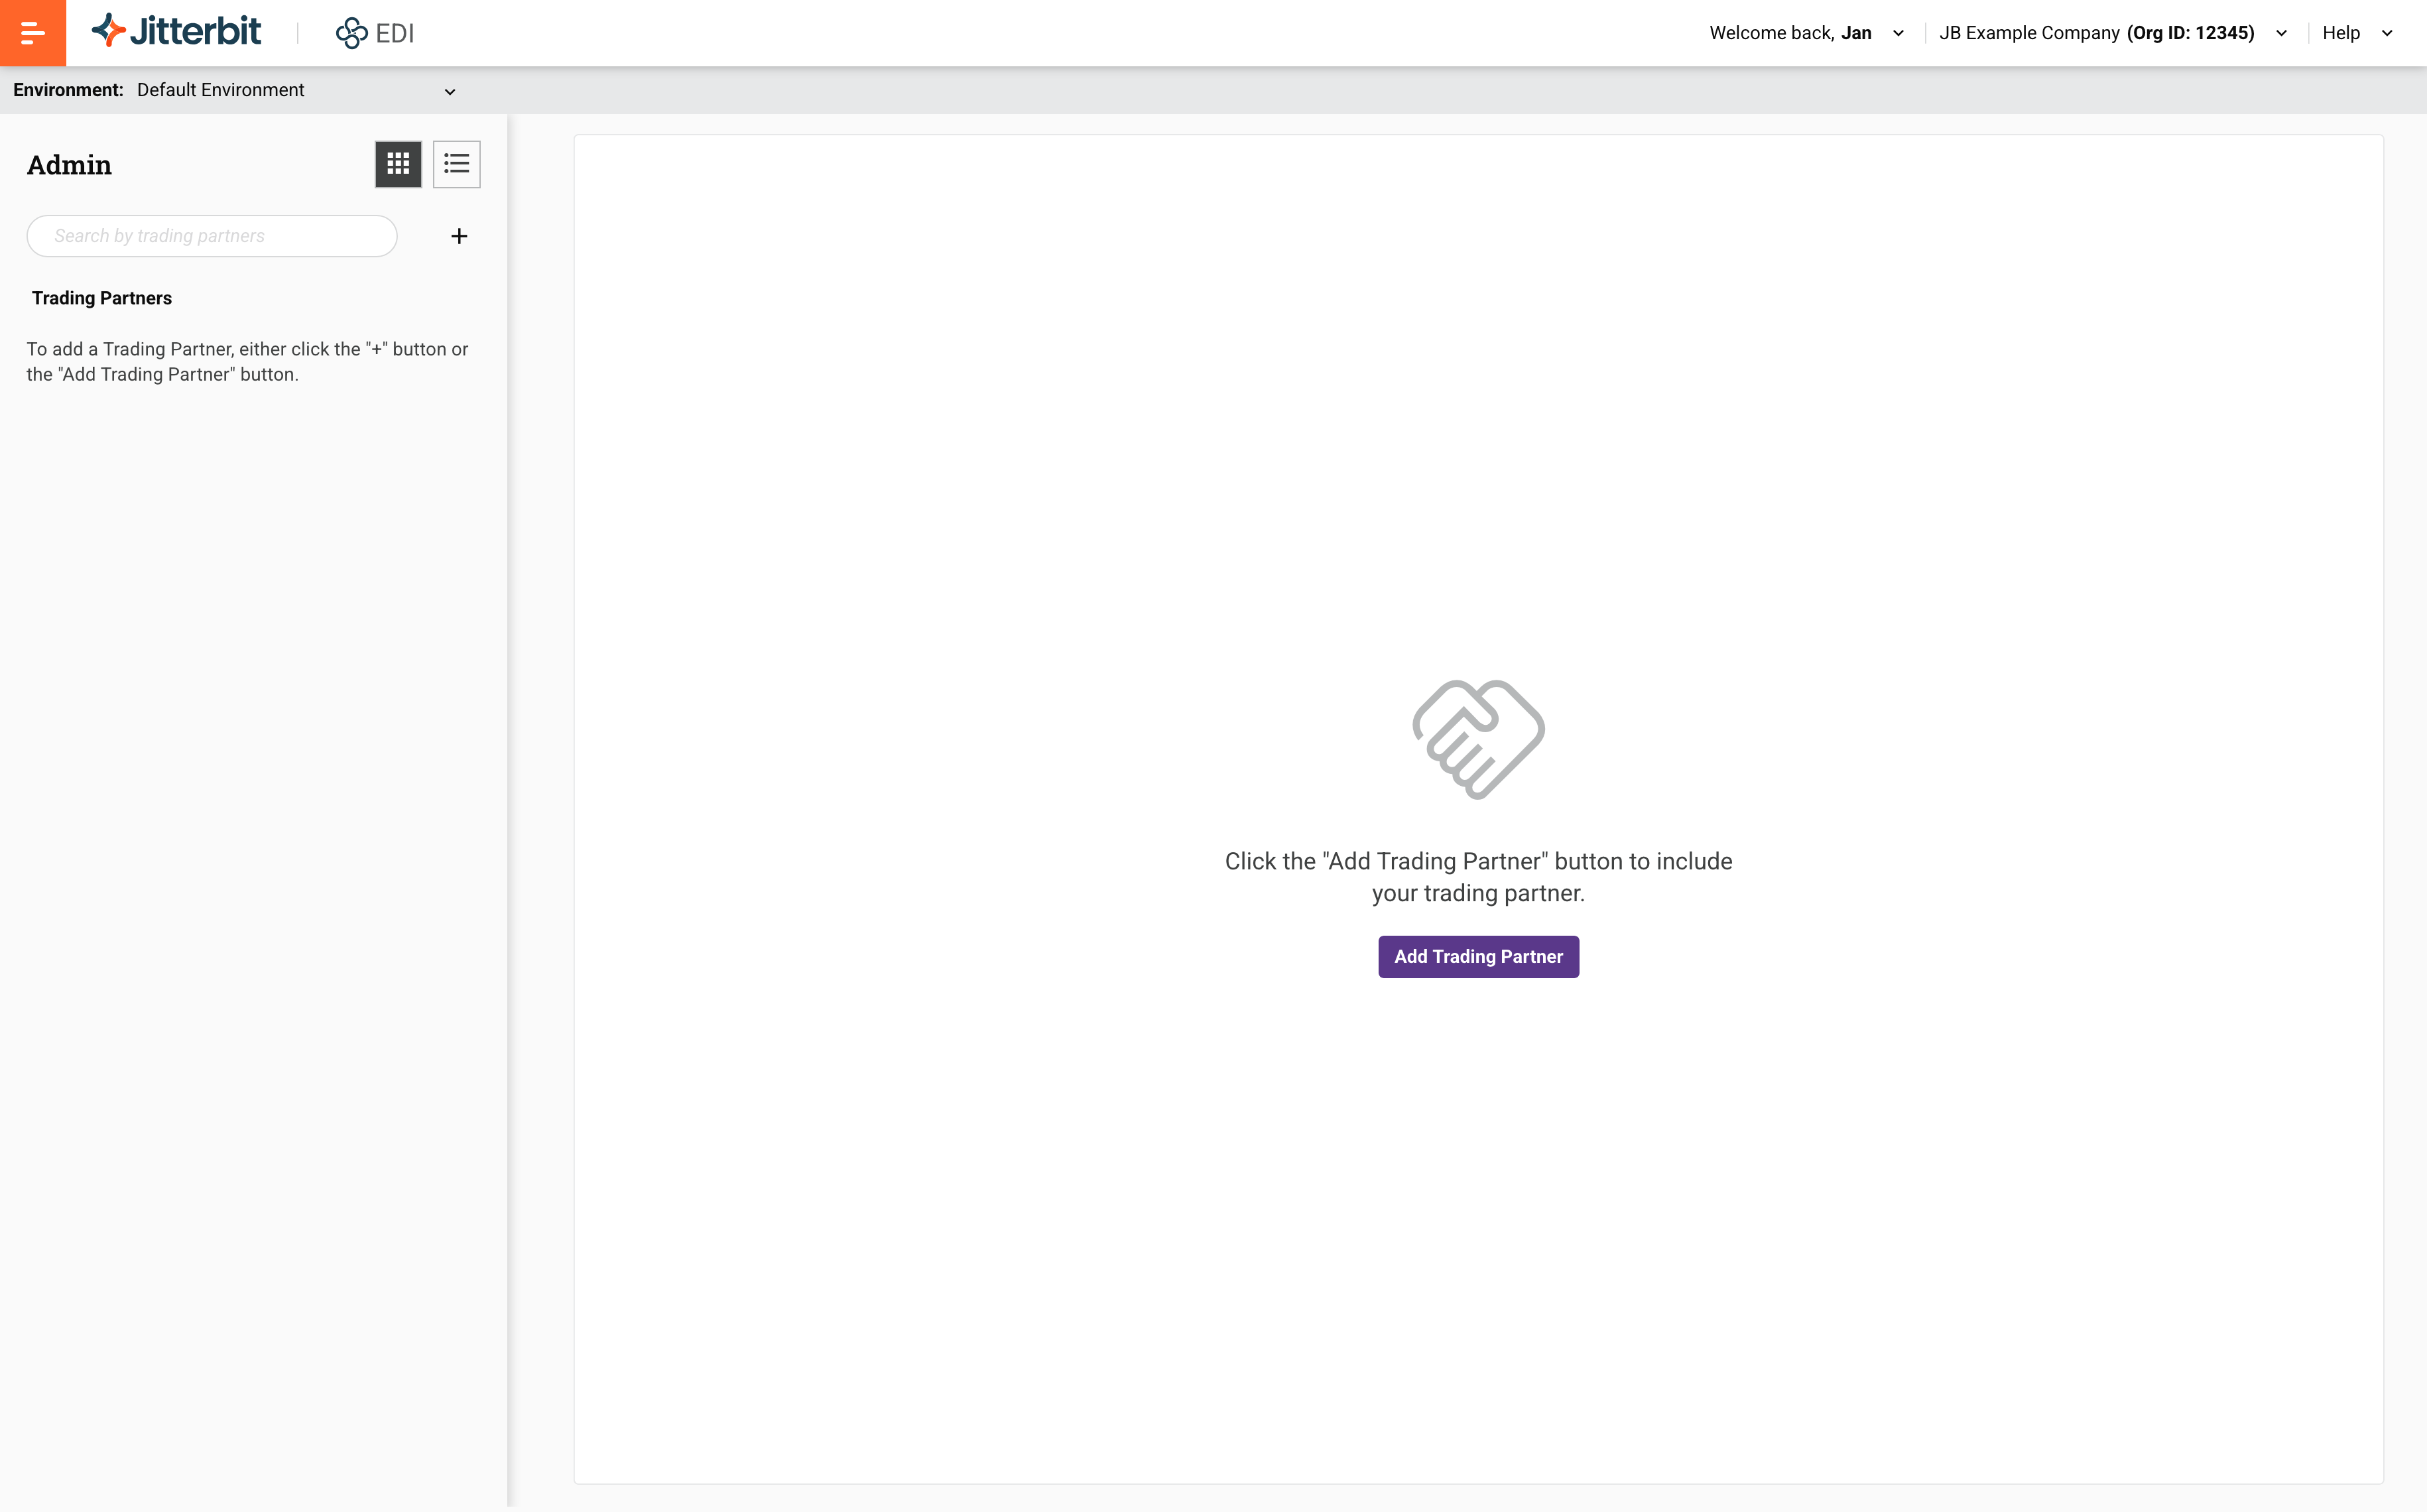
Select EDI > Trading Partners from the Harmony portal menu. The Trading partners page opens:
-
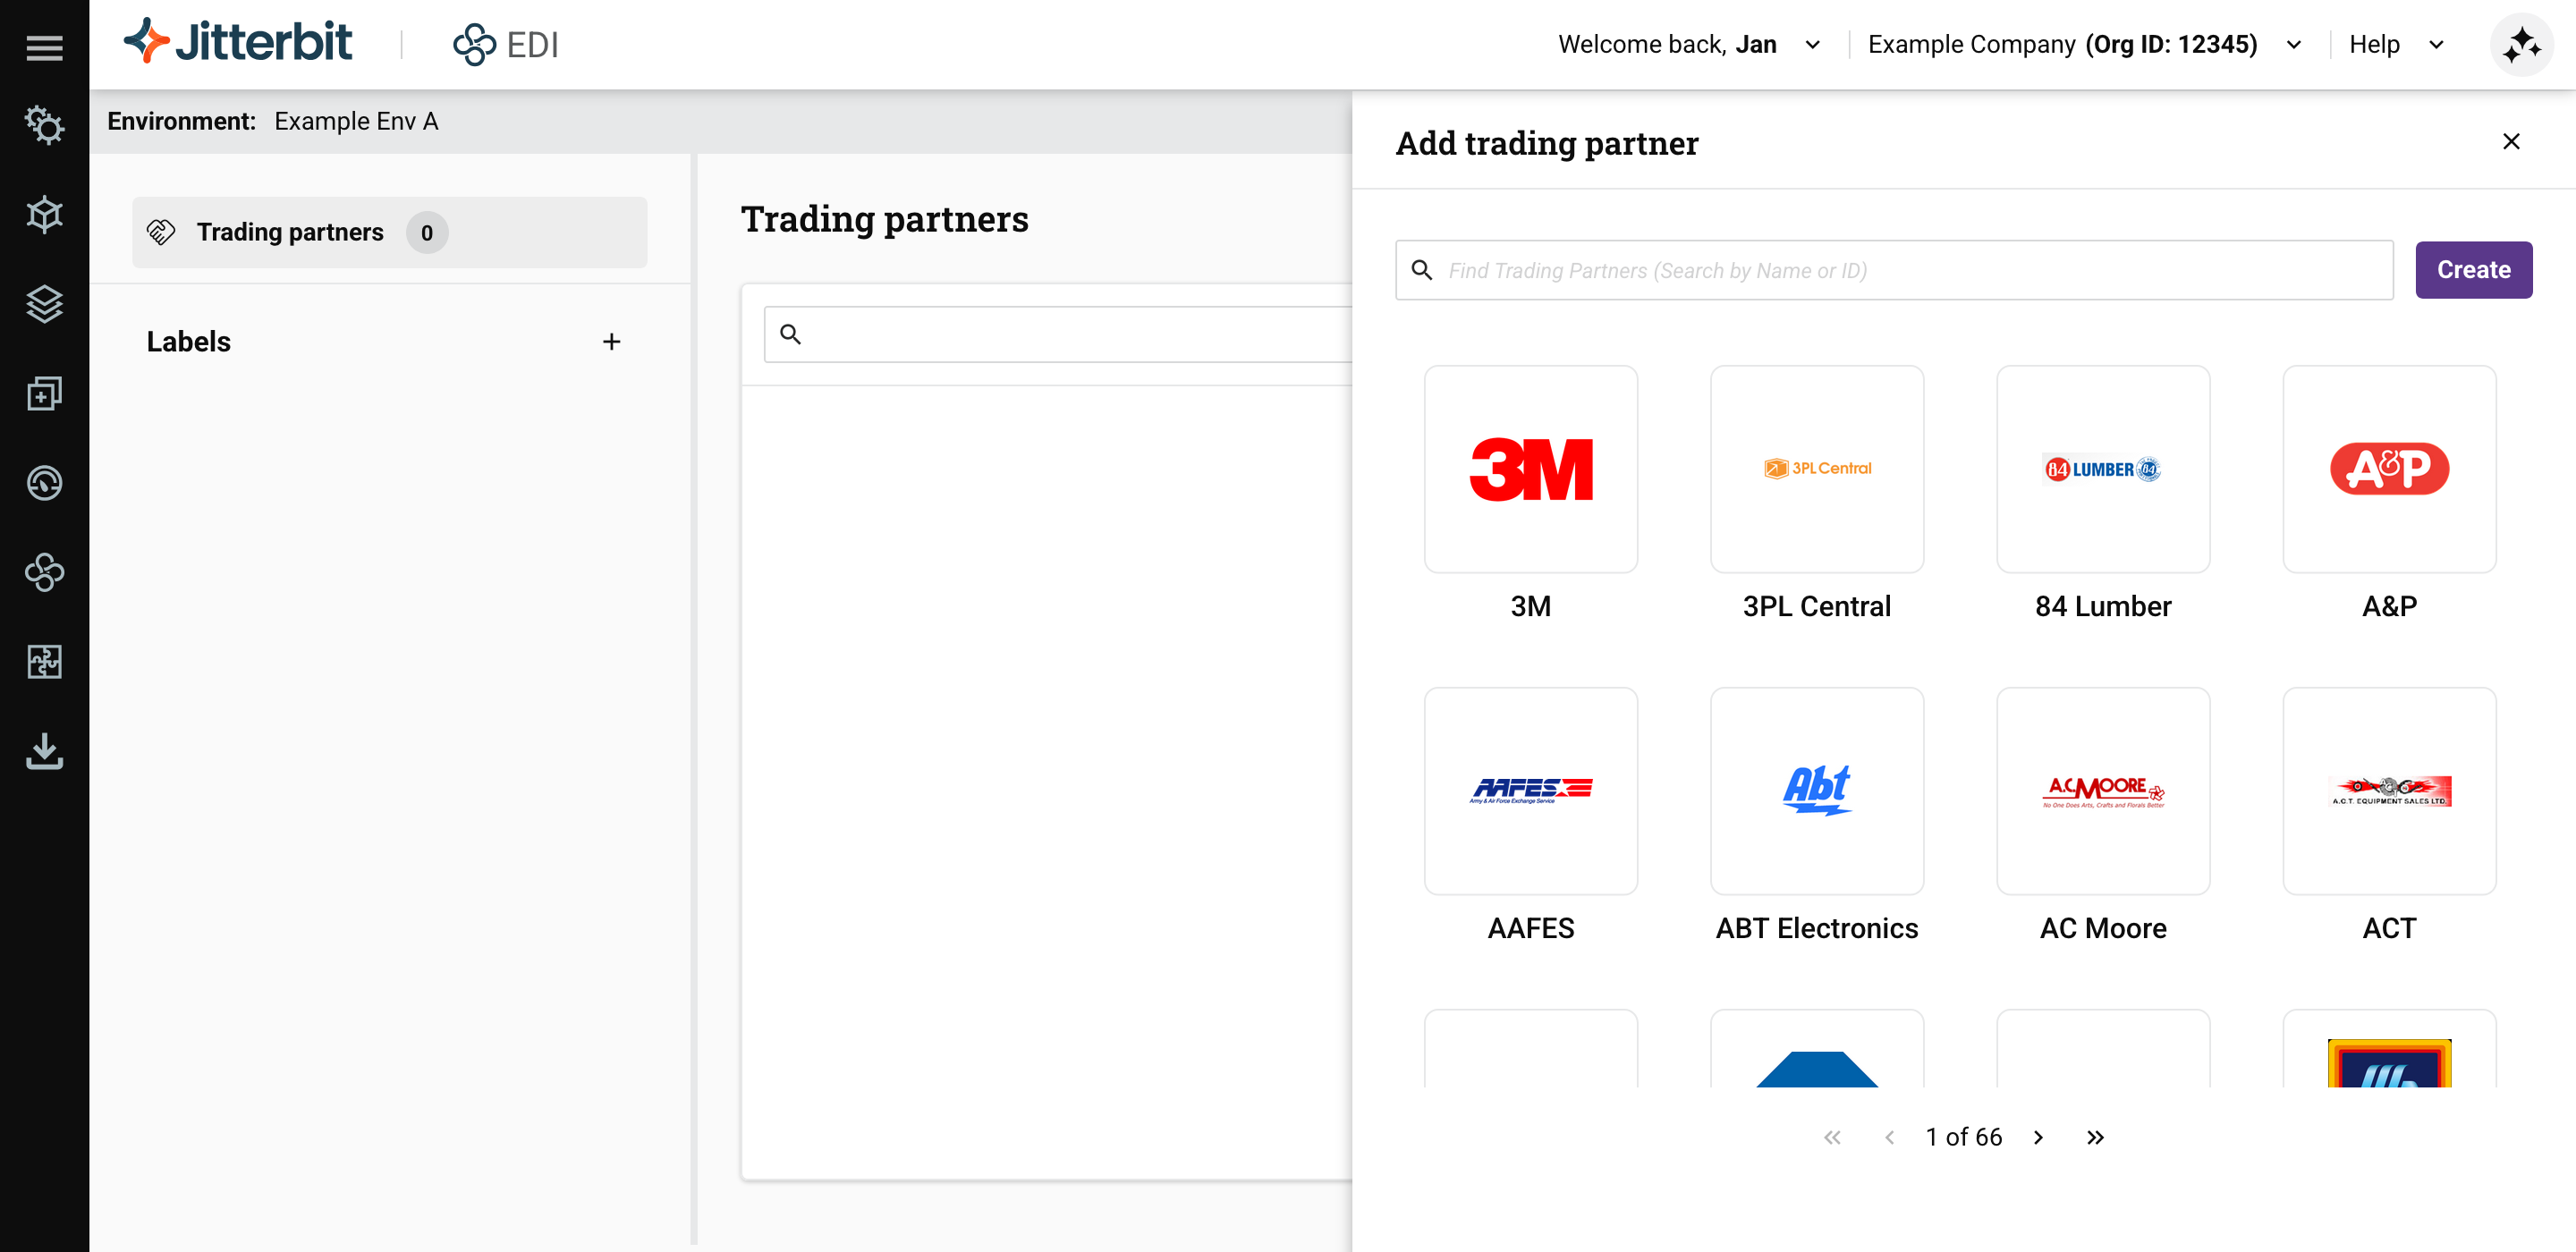
Click the New partner button. The Add trading partner drawer opens:
-
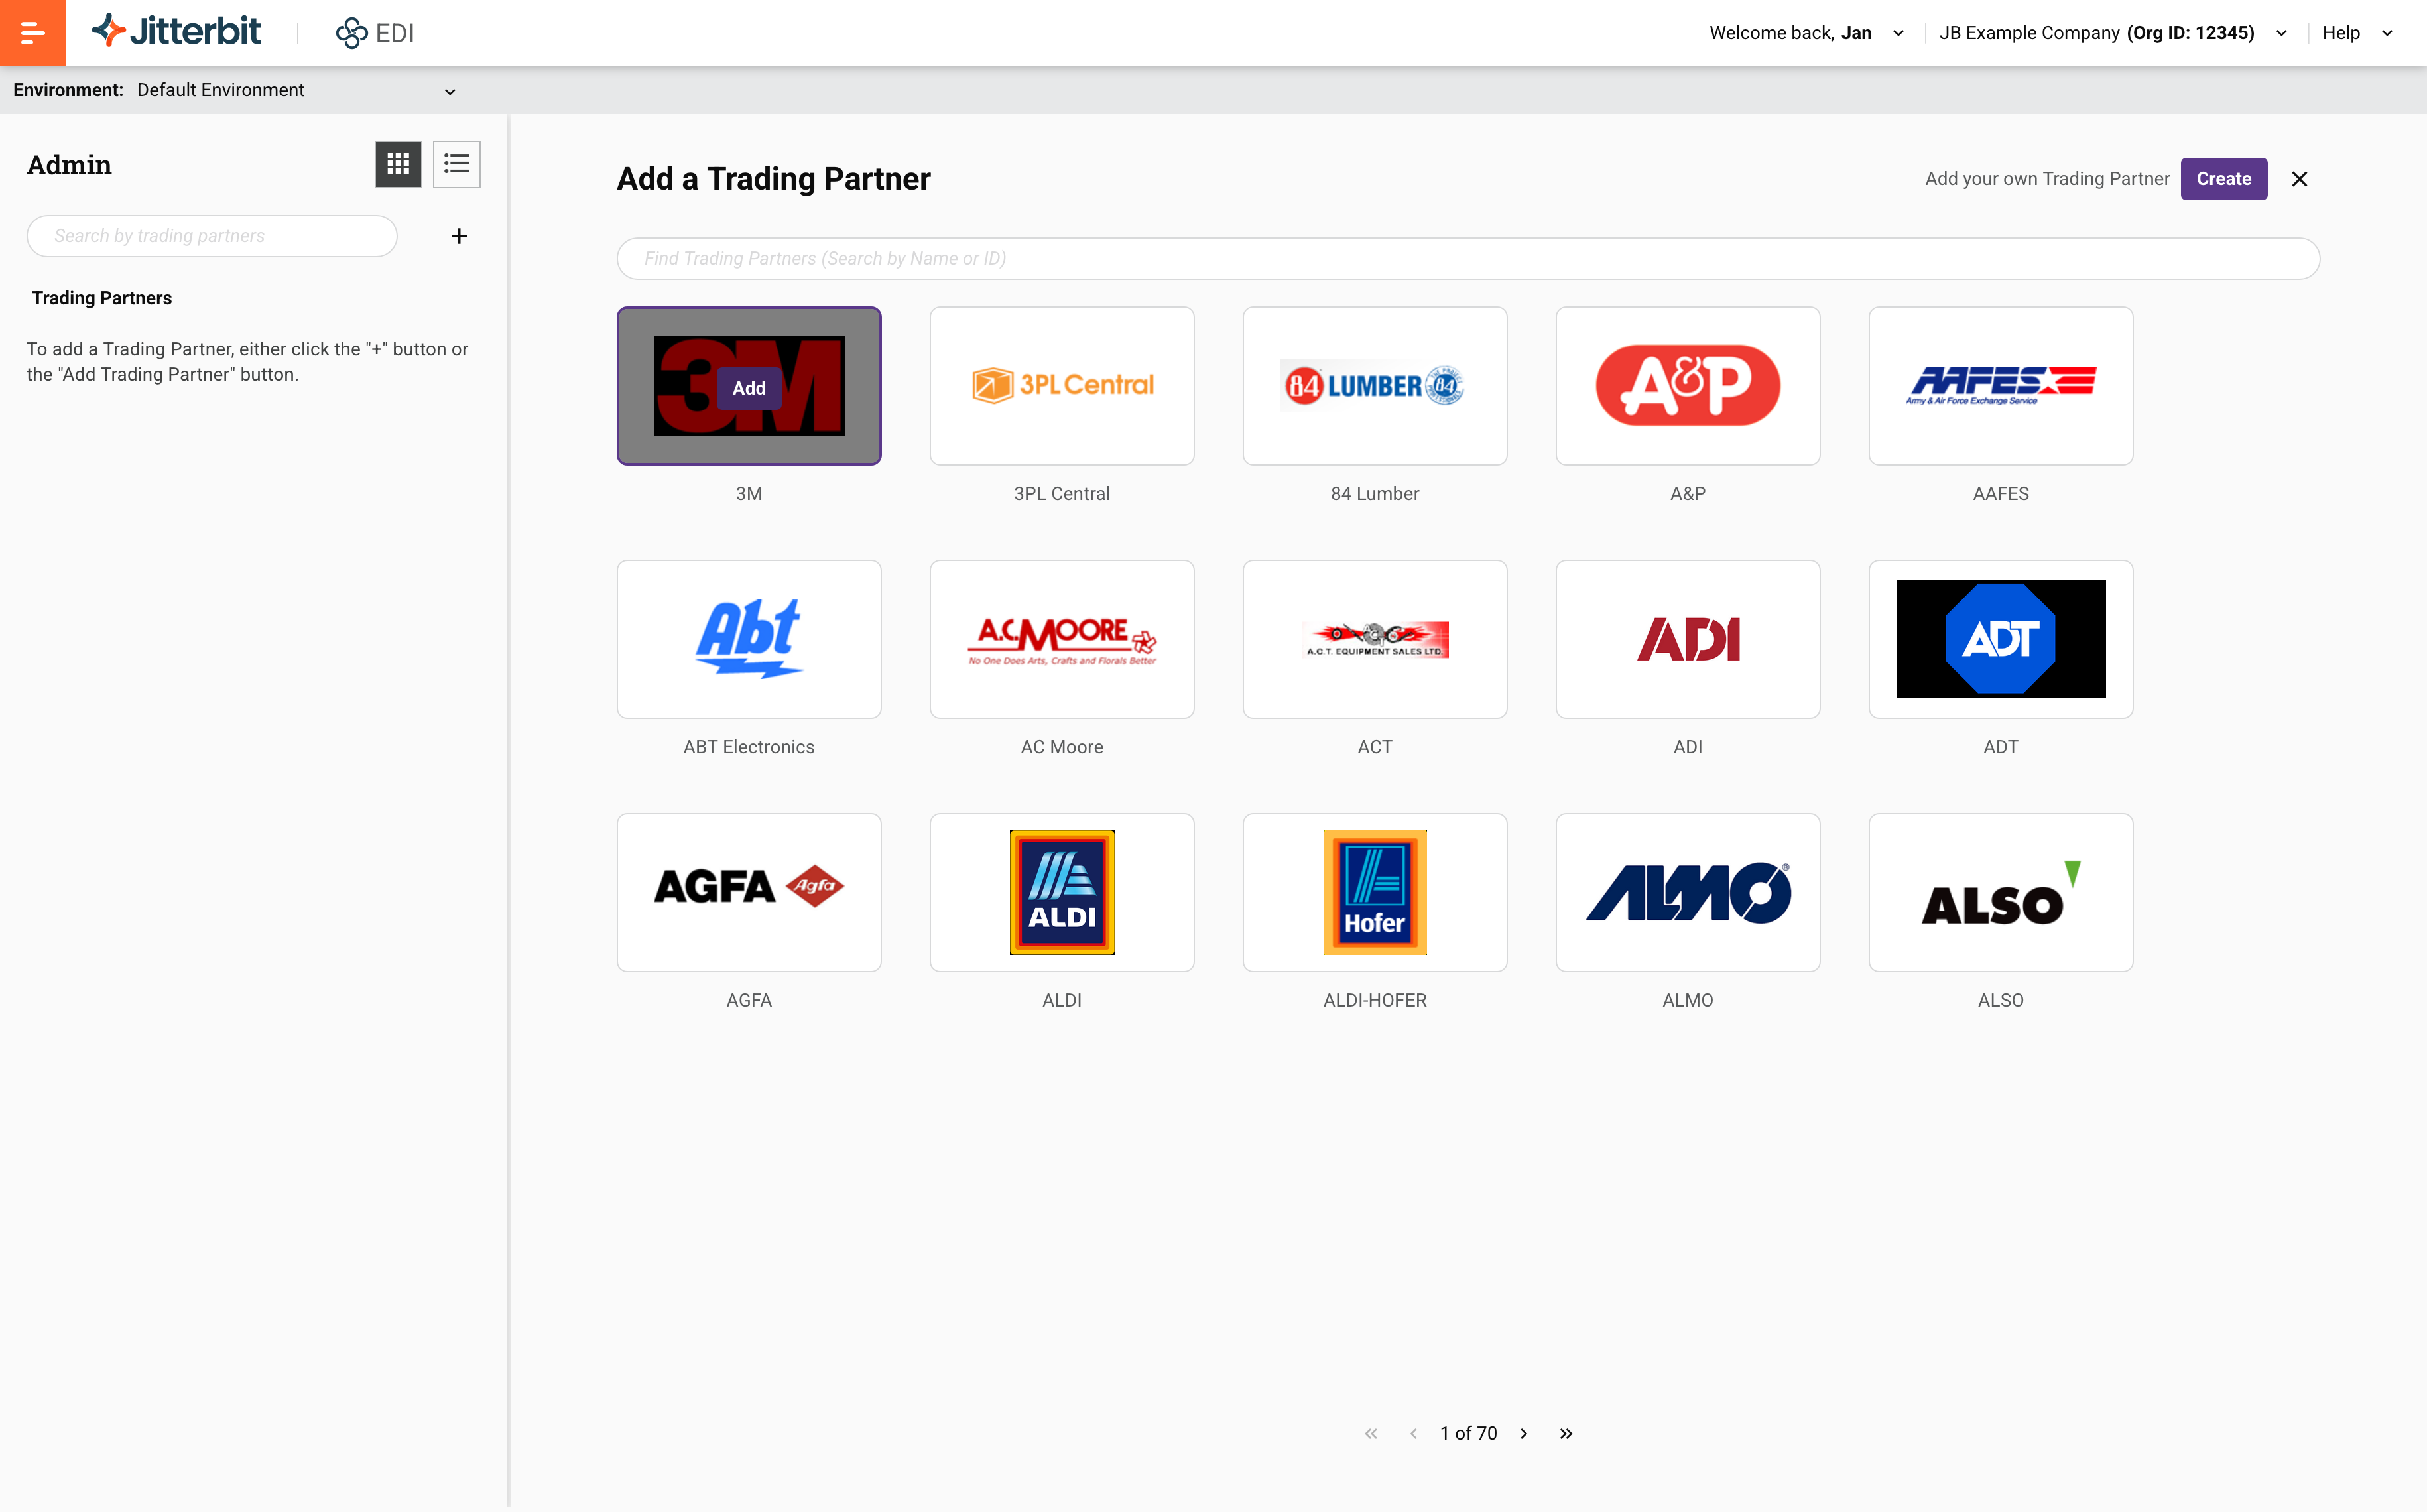
This page lists over 1000 partners ready to be added to your environment. To search for the one you want, enter the partner's name or ID into the search bar. (If the partner you want doesn't exist in the system, you must create it yourself.)
-
When you find the partner you want, hover on it, then click its Add button:
-
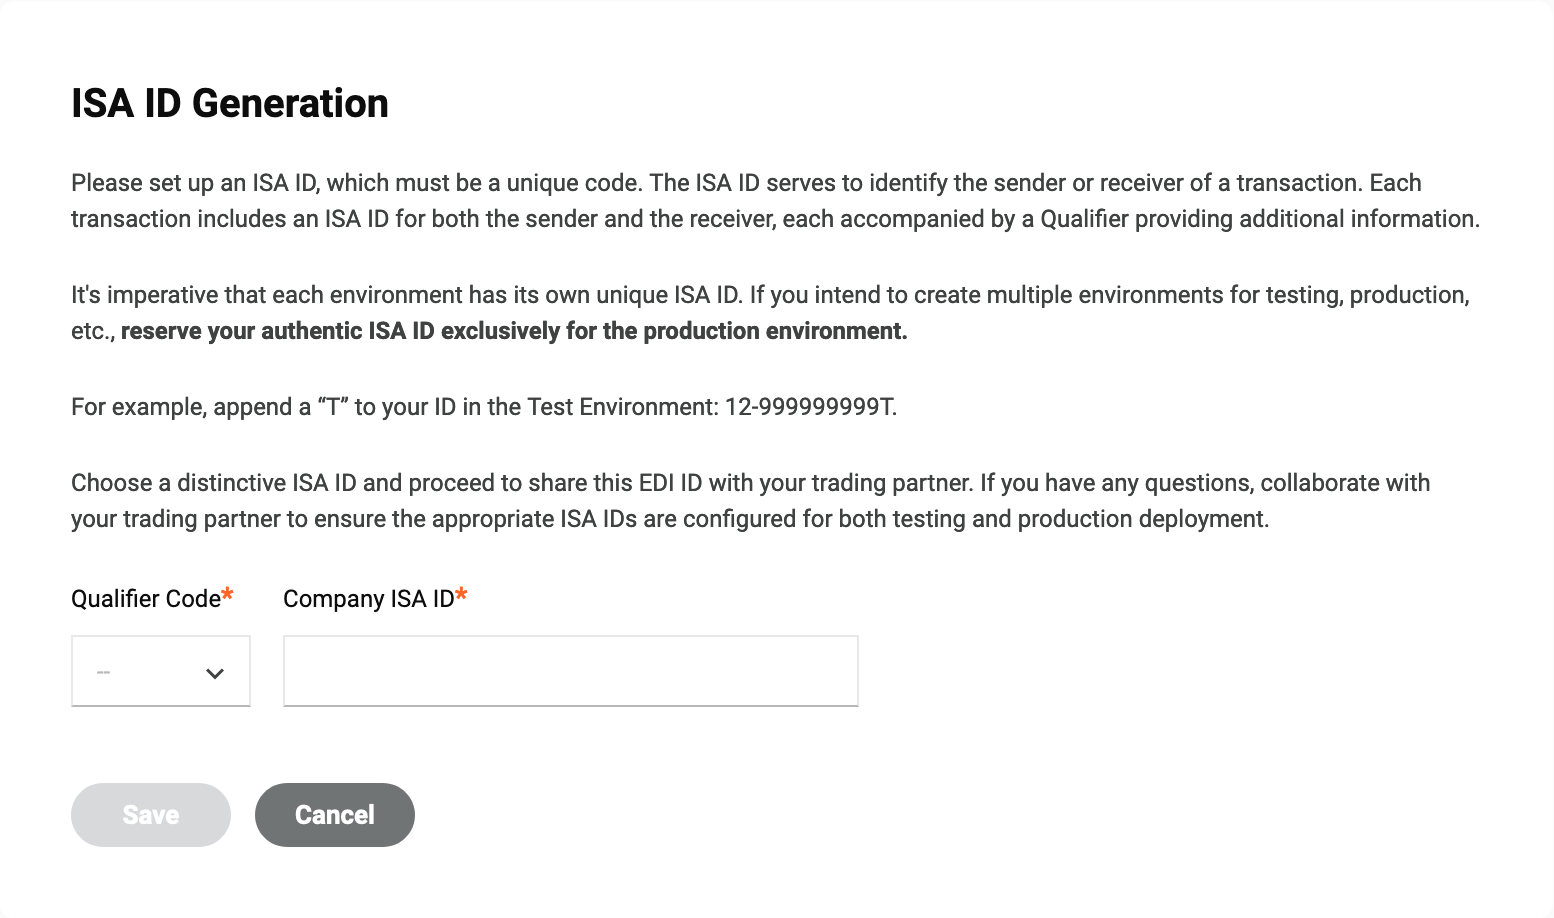
As this is your first time setting up Jitterbit EDI in the selected environment, the following screen opens:
Tip
You won't see this again unless you set up Jitterbit EDI in a new environment.
-
Select your organization's qualifier code, and enter your company ISA ID.
Important
Do not use your production ID in a QA or test environment.
-
When you're sure of your codes, click the Save button.
-
To close the Add trading partner drawer, click the Close icon.
-
Select the new partner to open the drawer with the Manage workflows tab selected:
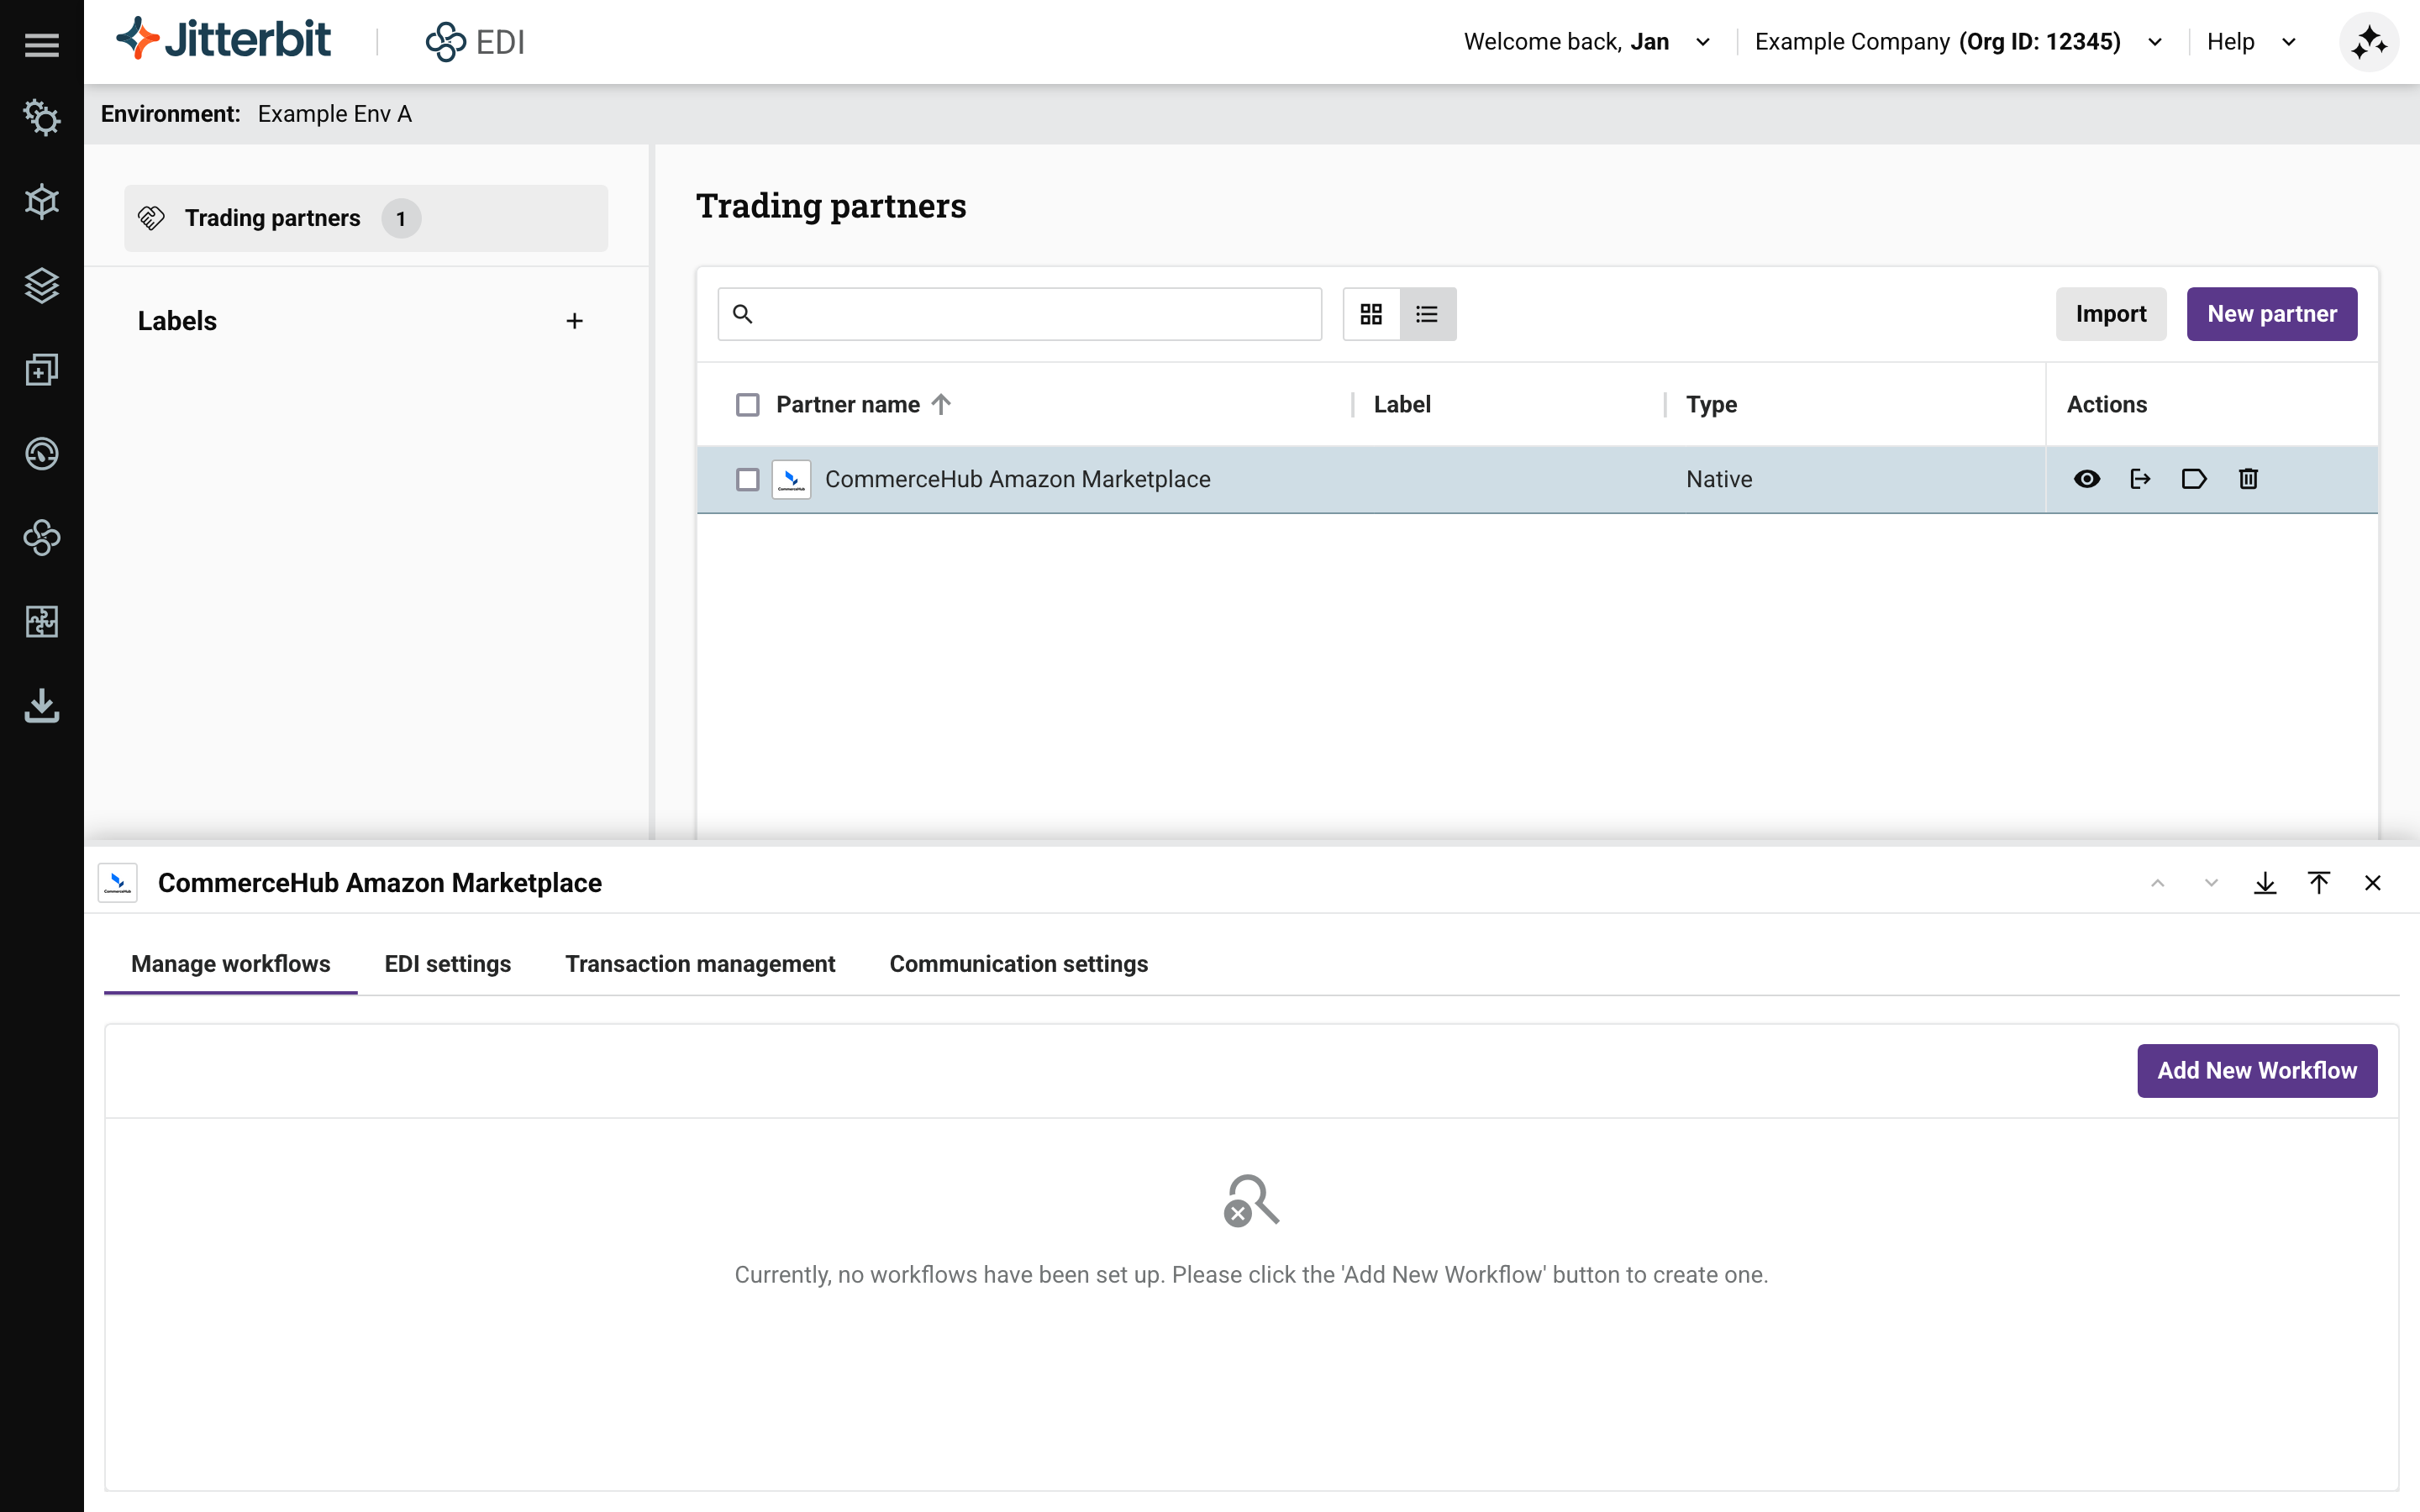
3. Create one or more workflows
Once a partner is added, you can define (at least one, but usually many) workflows for the partner.
What is a workflow?
A workflow defines the type of document sent to or received from a partner, and how its processed. You'll need a workflow for each distinct document type and direction (to or from the partner, denoted as Inbound or Outbound).
To create a workflow, follow these steps:
-
With the new partner selected, click the Add New Workflow button. An empty row is added to the list of workflows, with Map processing set to EDIXml by default:
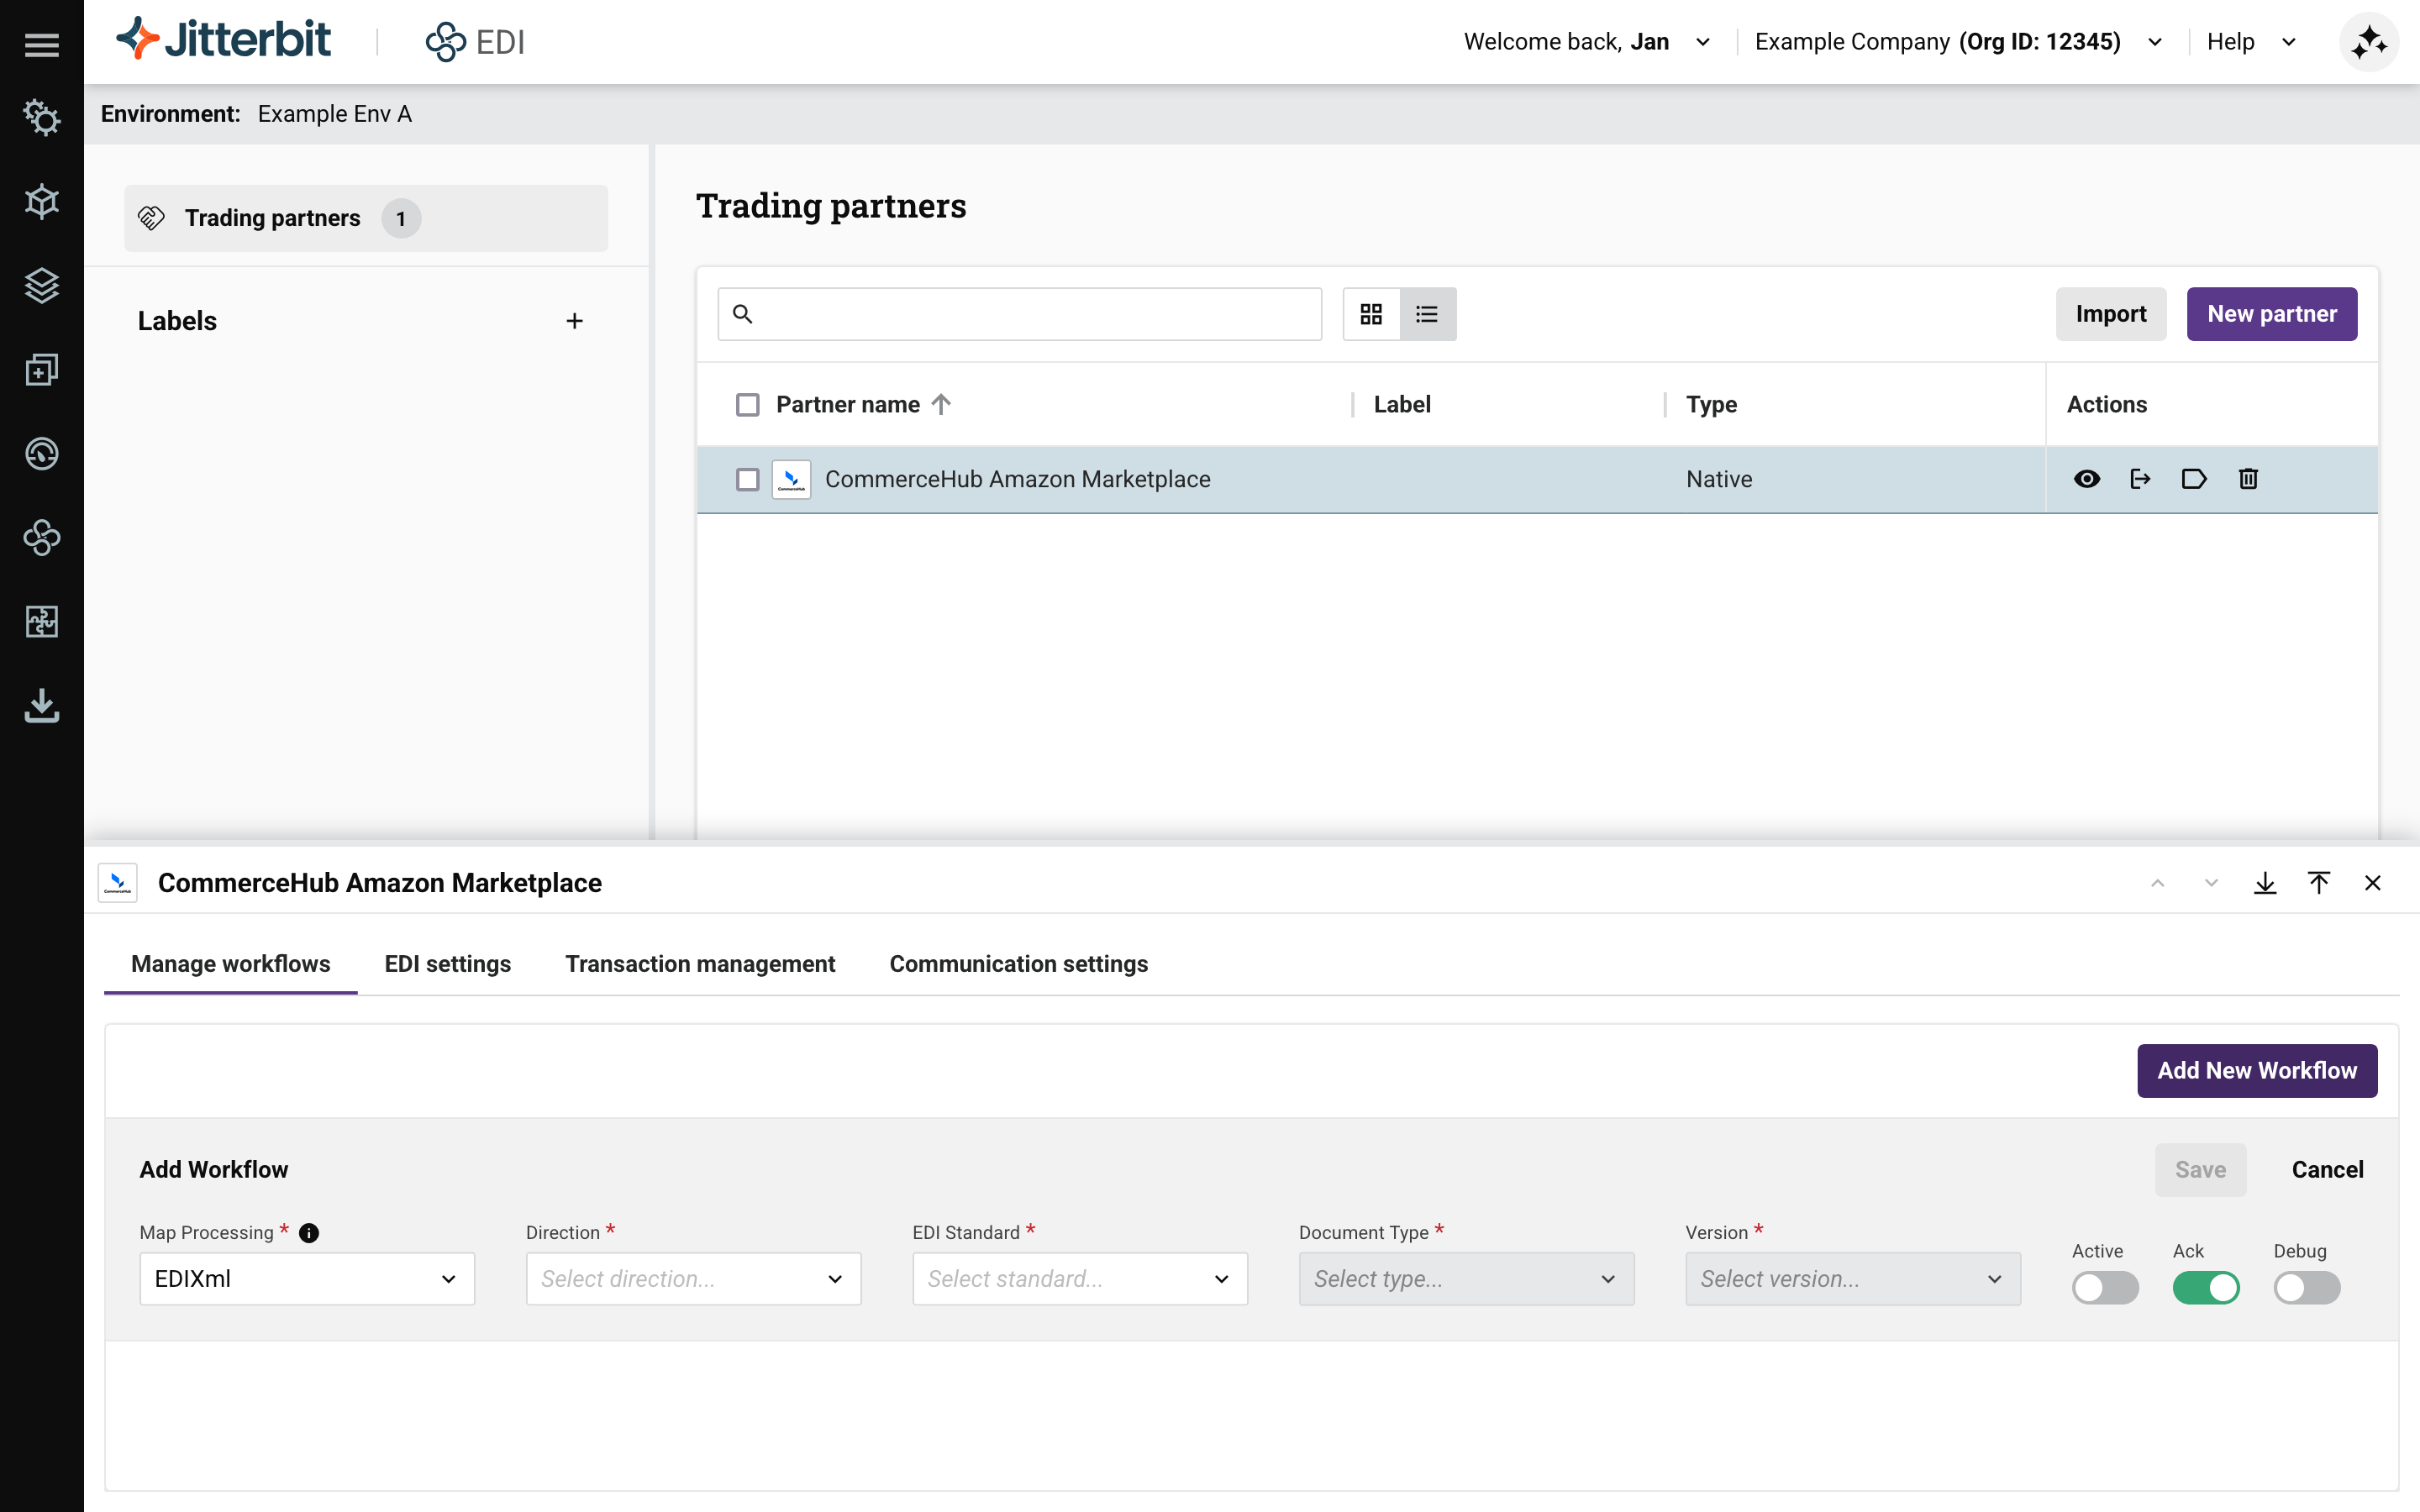
-
Set the following fields:
-
Direction: Inbound. (Confirm this with the implementation guide or with your trading partner.)
Tip
When the direction is Outbound, there's also a Validation switch. If you turn this on, the format of the document is checked before sending.
-
EDI Standard: X12
-
Document type: 850 (Note: For this setup use X12 as your EDI standard and refer to your the implementation guide or ask your trading partner for the qualifier and ISA ID.)
-
Version: 4010
-
Active: On
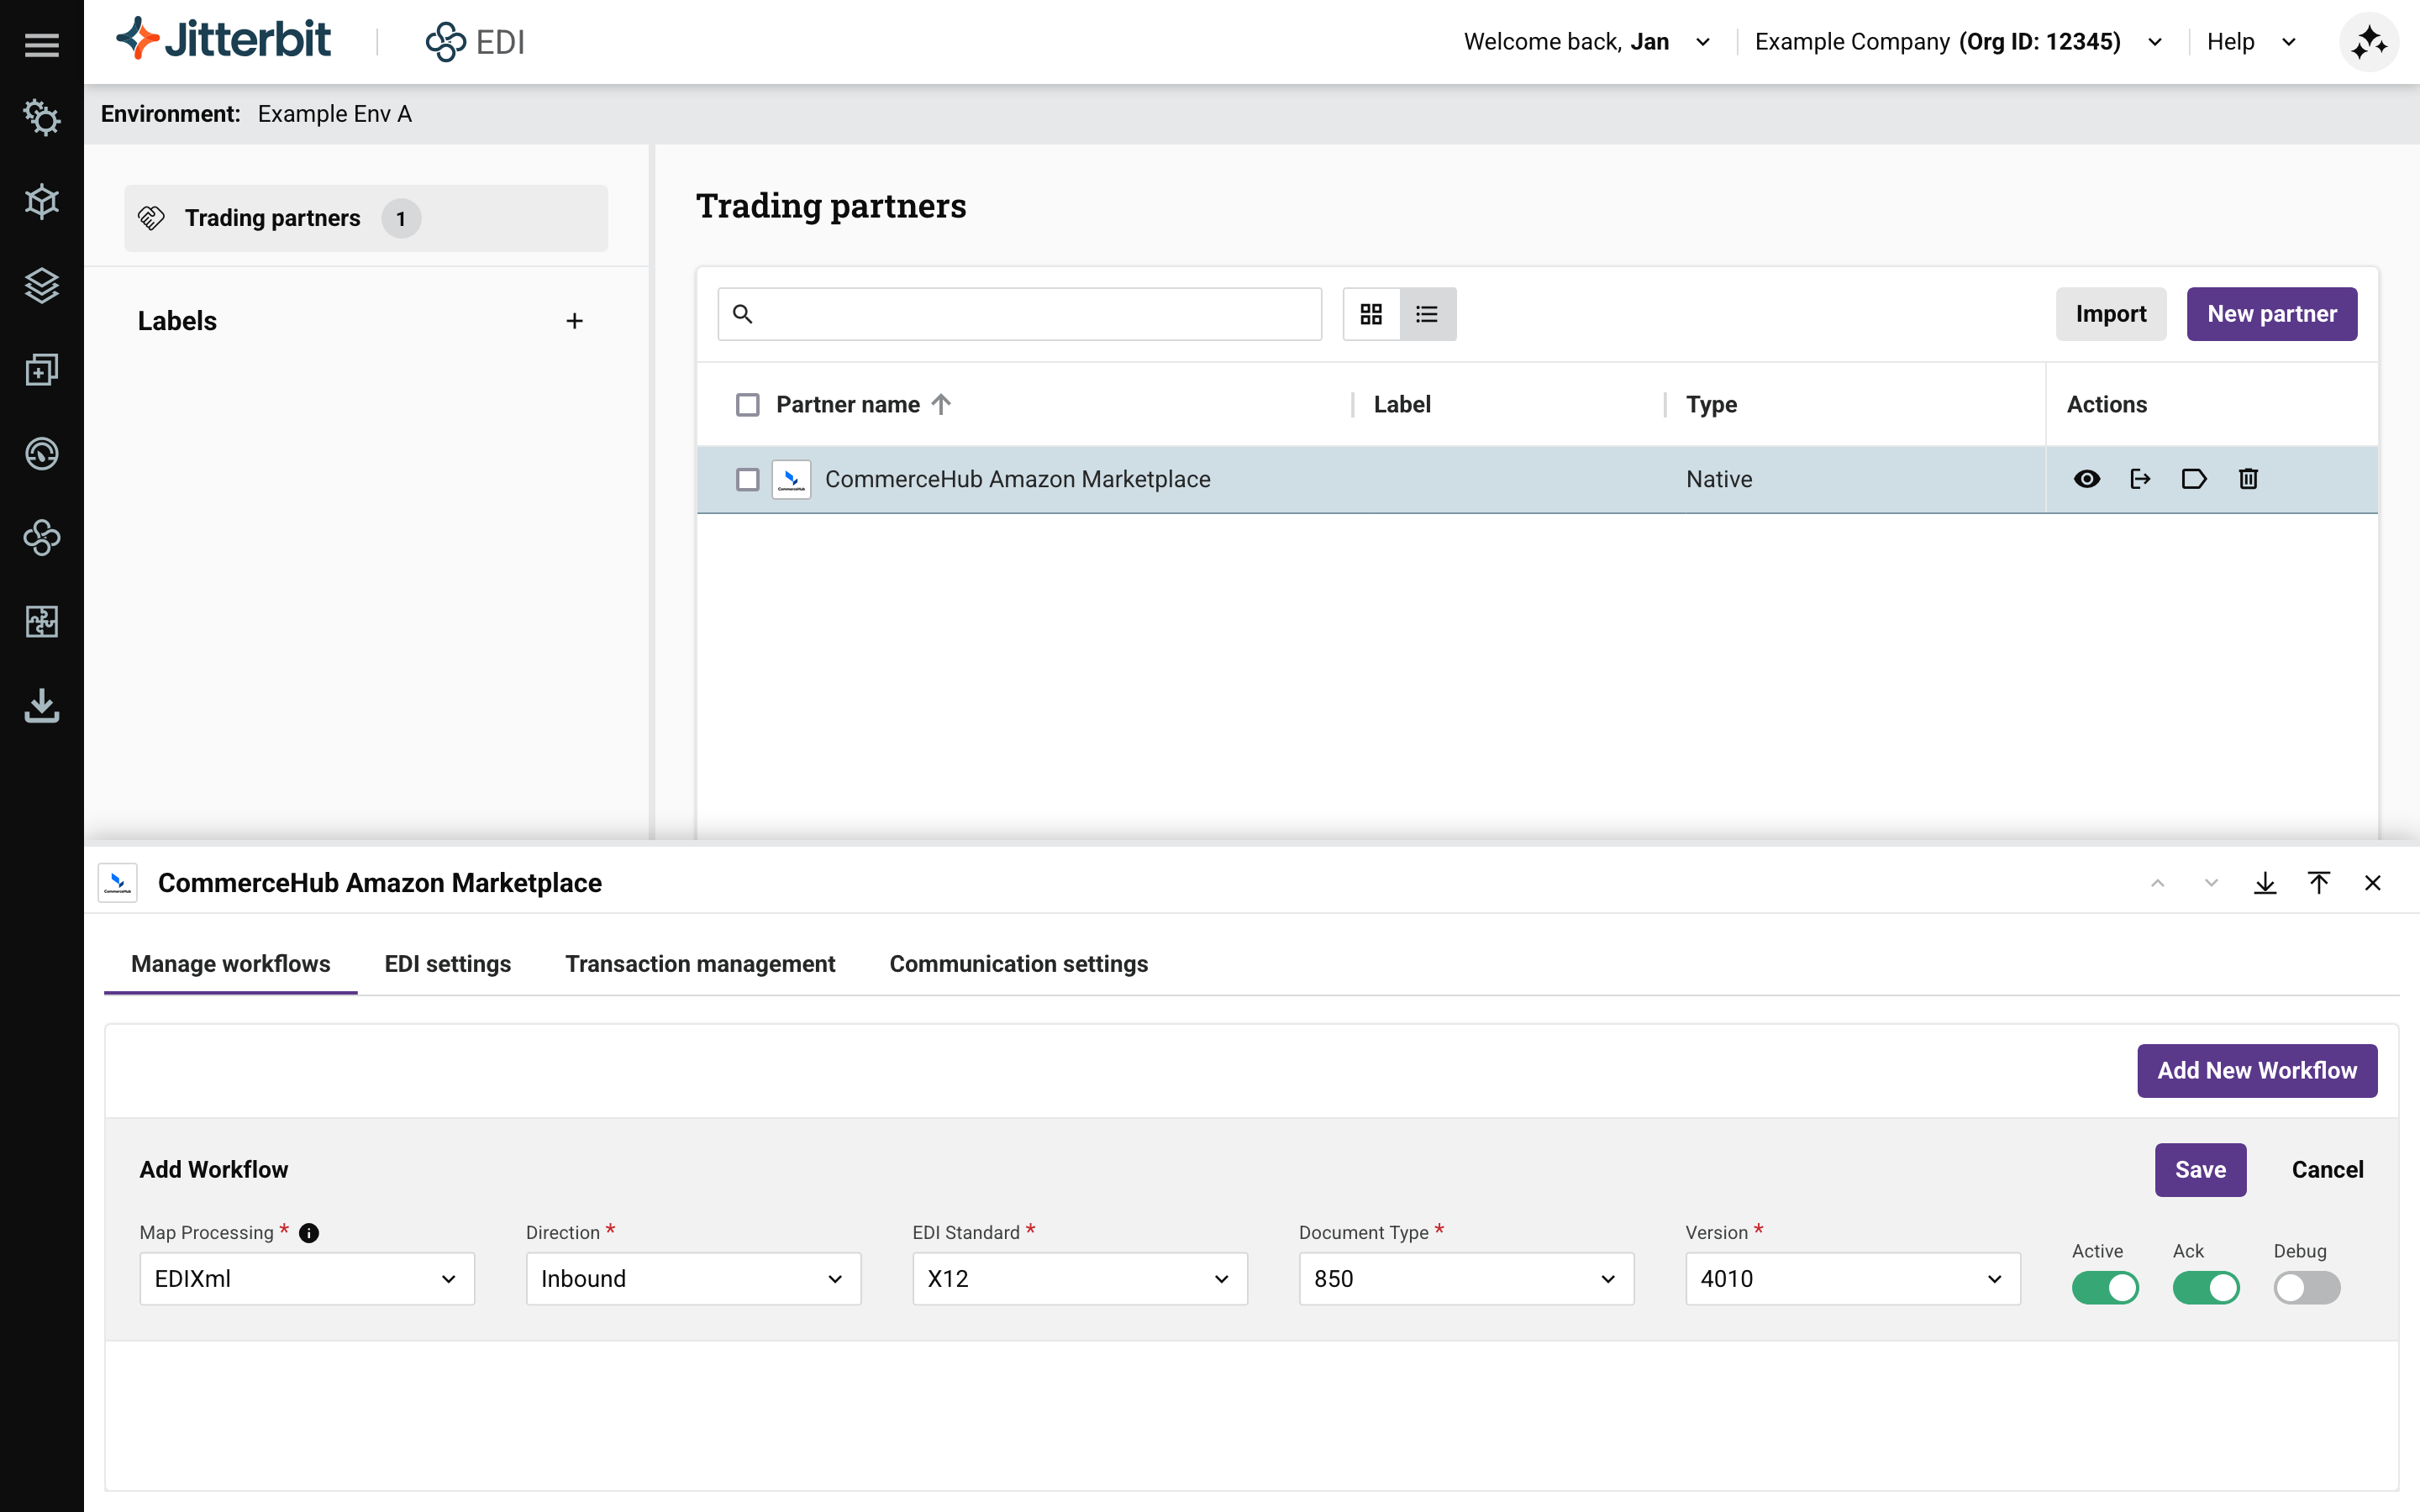
-
-
Click the Save button.
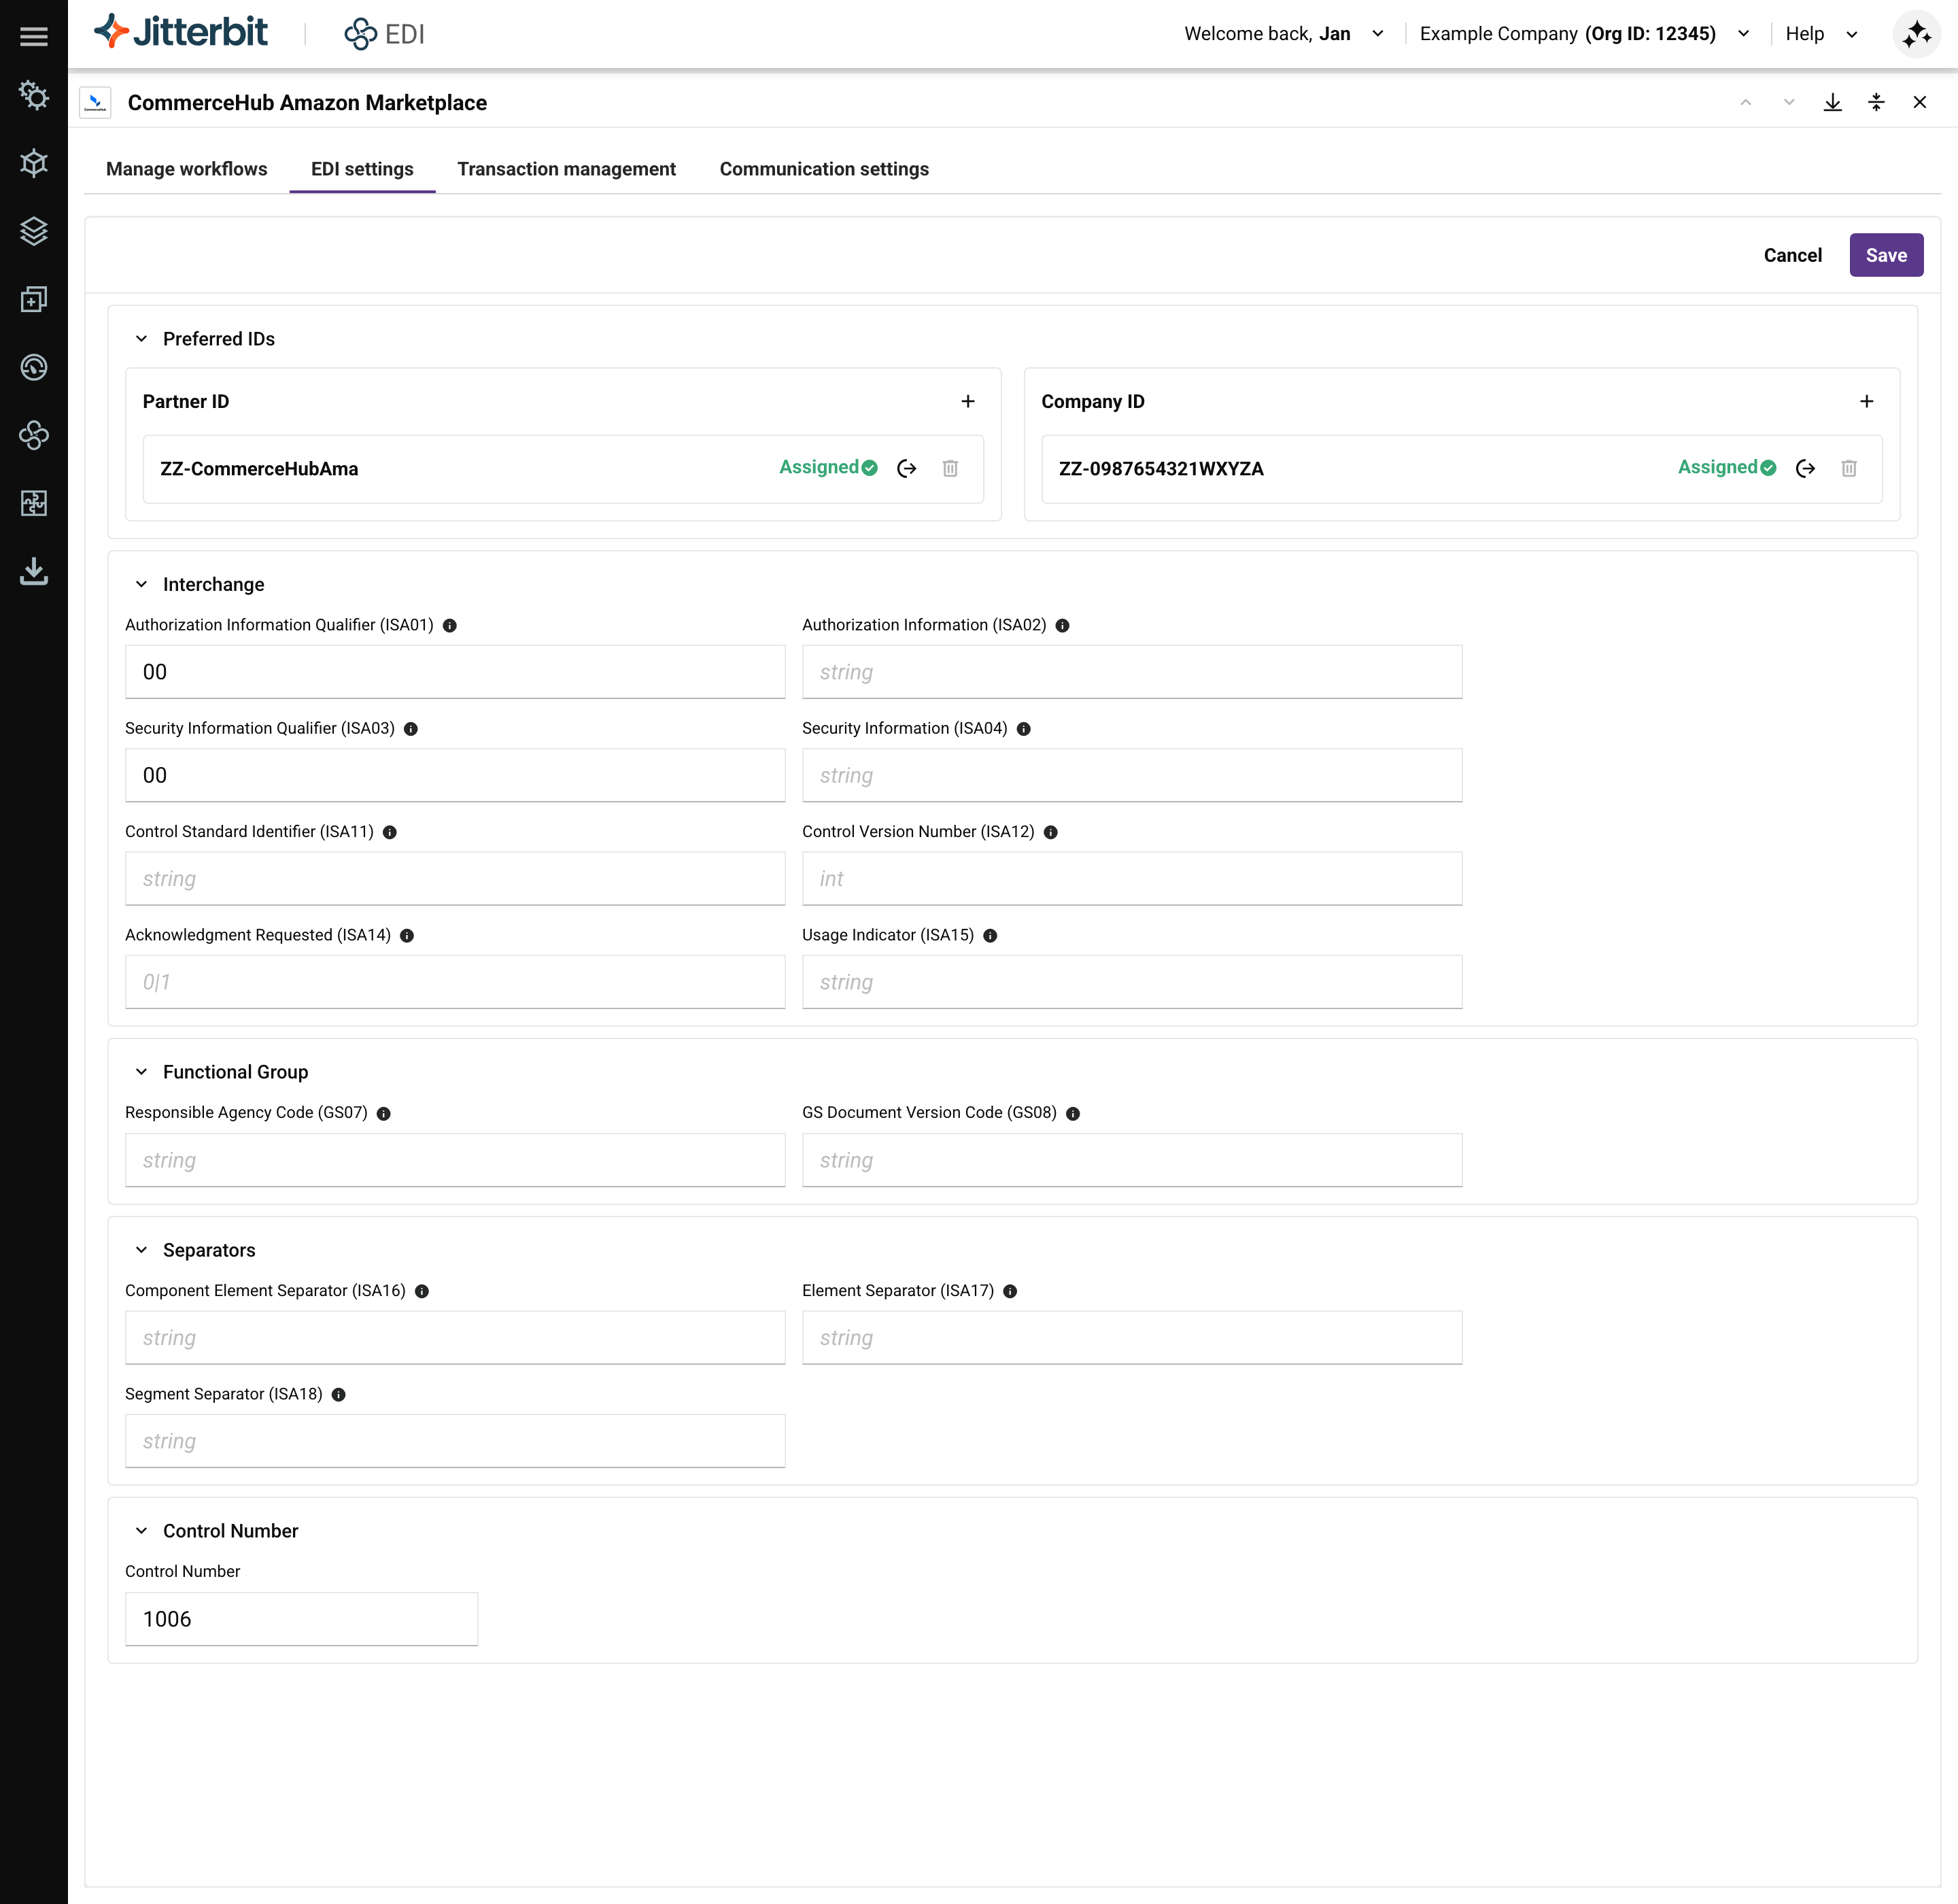
4. Configure EDI settings
When you add a workflow, the EDI settings tab shows fields applicable to whatever setting you used for EDI Standard (X12 in this case) for the first workflow listed in the Manage workflows tab. (Until you create your first workflow, the EDI settings tab is empty.) These fields are the EDI envelope settings, used for processing outbound EDI documents.
What are EDI envelope settings?
Envelope settings are used to structure and transmit electronic documents between trading partners. These settings define how data is packaged, addressed, and routed in an EDI transmission, ensuring that the documents are properly identified and processed by the recipient's system. The EDI envelope typically includes information about the sender, recipient, message type, and routing instructions.
To configure the EDI envelope settings, follow these steps (refer to your partner's implementation guide for guidance on values, and the EDI envelopes reference section for details of each field):
-
With the new partner selected, select the EDI settings tab, then click the Expand icon to expand the drawer.
-
Open each section in the expanded drawer, then check or change the values according to the details in the partner's EDI implementation guide:
-
Click the Save button.
Good to know
These settings make it unnecessary to provide this information directly in Studio transformations involving outbound EDI transactions.
5. Prepare an EDI file
For this step, you'll need to get a test file from your trading partner. If can't get one, use the sample 850 4010, but make sure to change the file's IDs to match your EDI settings.
This example explains how to create the proper header for your test file. The Partner ID and the Company ID are in the Preferred IDs section of the EDI settings tab:

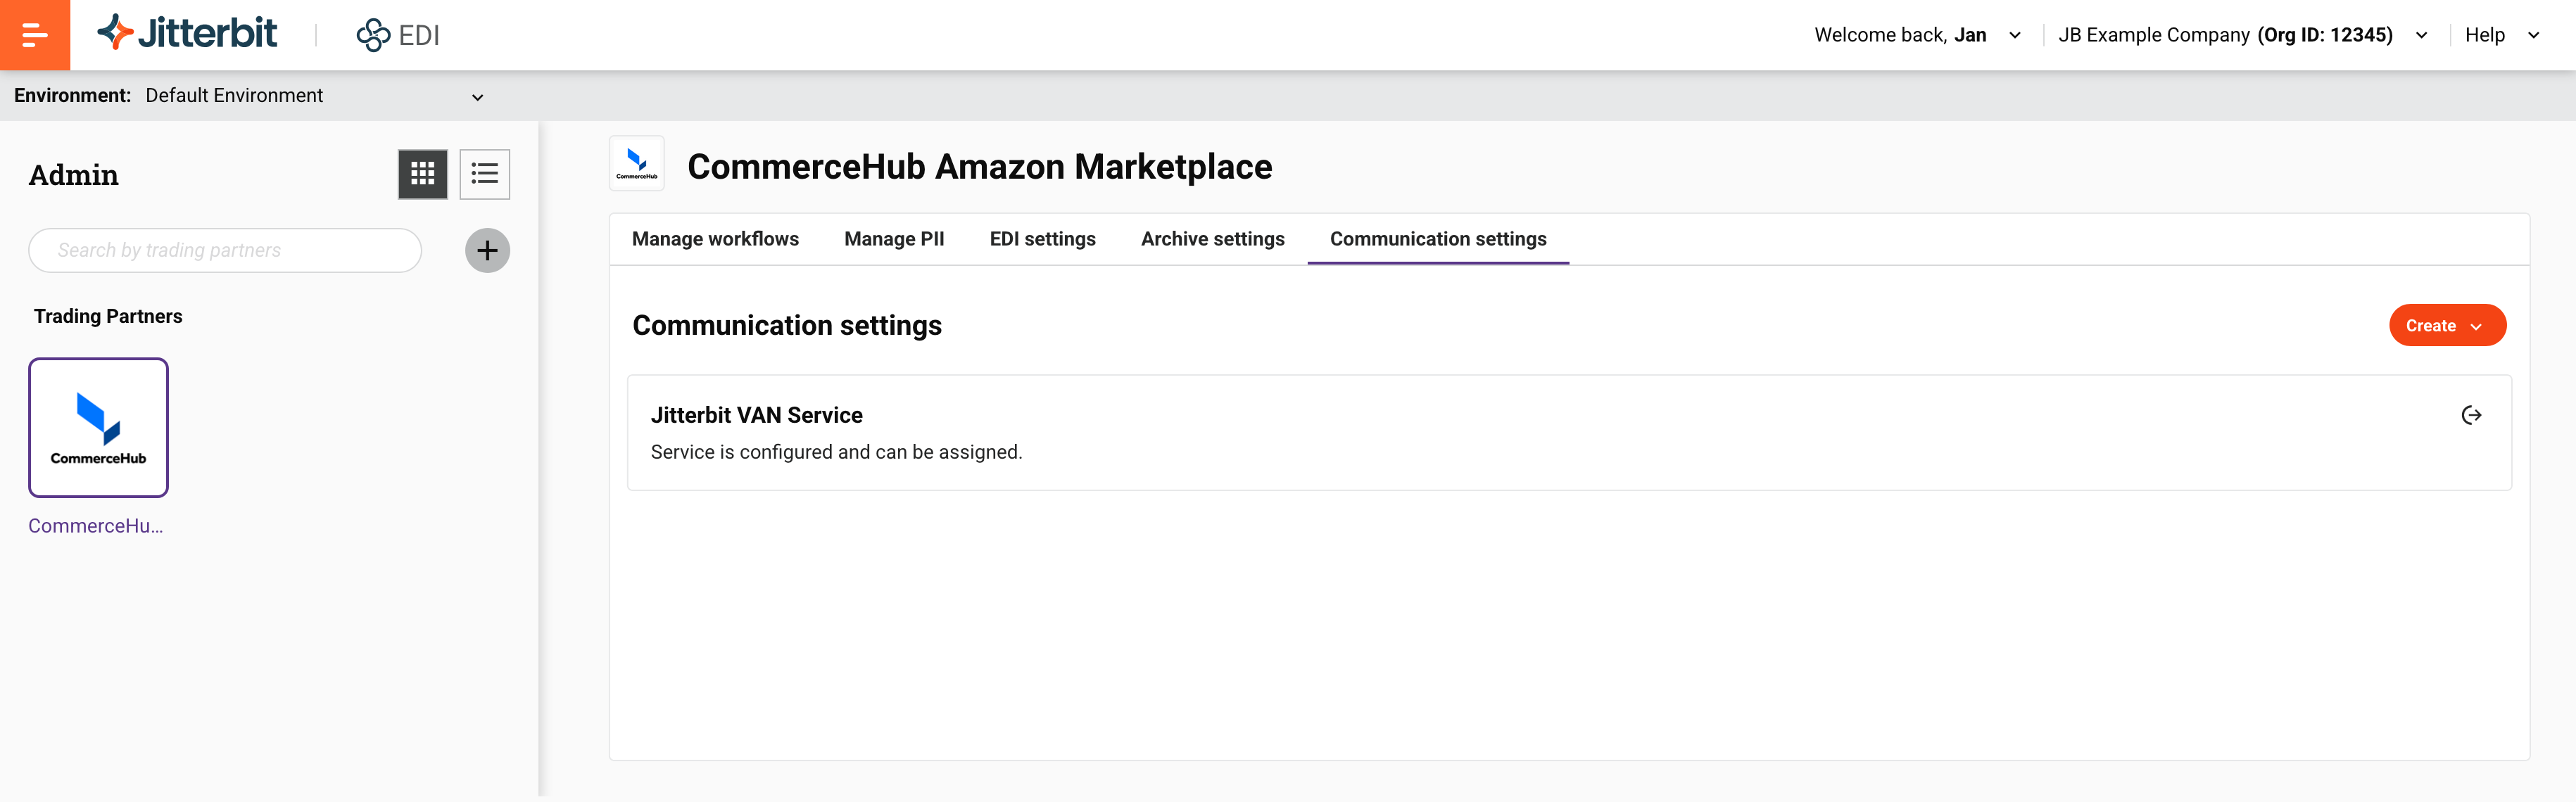
6. Configure communications
Your partner's implementation guide should describe how to send and receive files with the partner. Jitterbit EDI supports communications with FTP (File Transfer Protocol), AS2 (Applicability Statement 2), or using Jitterbit's own VAN (Value-Added Network).
Tip
You can only use one communication method with a partner, but connections can be reused with other partners.
Follow these steps to set up an FTP connection:
-
With the new partner selected, select the Communications settings tab:
-
Click the Expand icon to expand the drawer.
-
Click the Create button, then select FTP connection. The Create a new FTP connection panel appears:

-
Enter values for the following fields:

- Name: A name for the connection.
- Login: The username for the FTP server.
- Password: The password for the FTP server. Leave blank if no password has been set.
- Address: The IP address or host name of the FTP server.
- Port: The port number. (Your firewall must allow traffic on the port.)
- Protocol: Select FTP.
- Security: Select the security type, one of Explicit, Implicit, or None.
- Mode: Select the FTP mode, Active or Passive.
-
Turn on the Active switch.
-
Expand the Additional Options tab, then turn on the Download active switch.
-
Expand the Automation tab.
-
In the Automation tab, open the Frequency menu, then select 15 minutes.
-
In the Automation tab, click the calendar icon in the Next run field, then select a date and time for the connection to run.
-
In your FTP server's root folder, create two subfolders,
DownloadandUpload. If you are using the test file in this setup guide, or a test file from your trading partner, place it in theDownloadfolder.
Tip
The FTP server being configured is typically hosted by the trading partner. If they have test data ready, you can set up a direct FTP connection with them, outside of Jitterbit EDI.
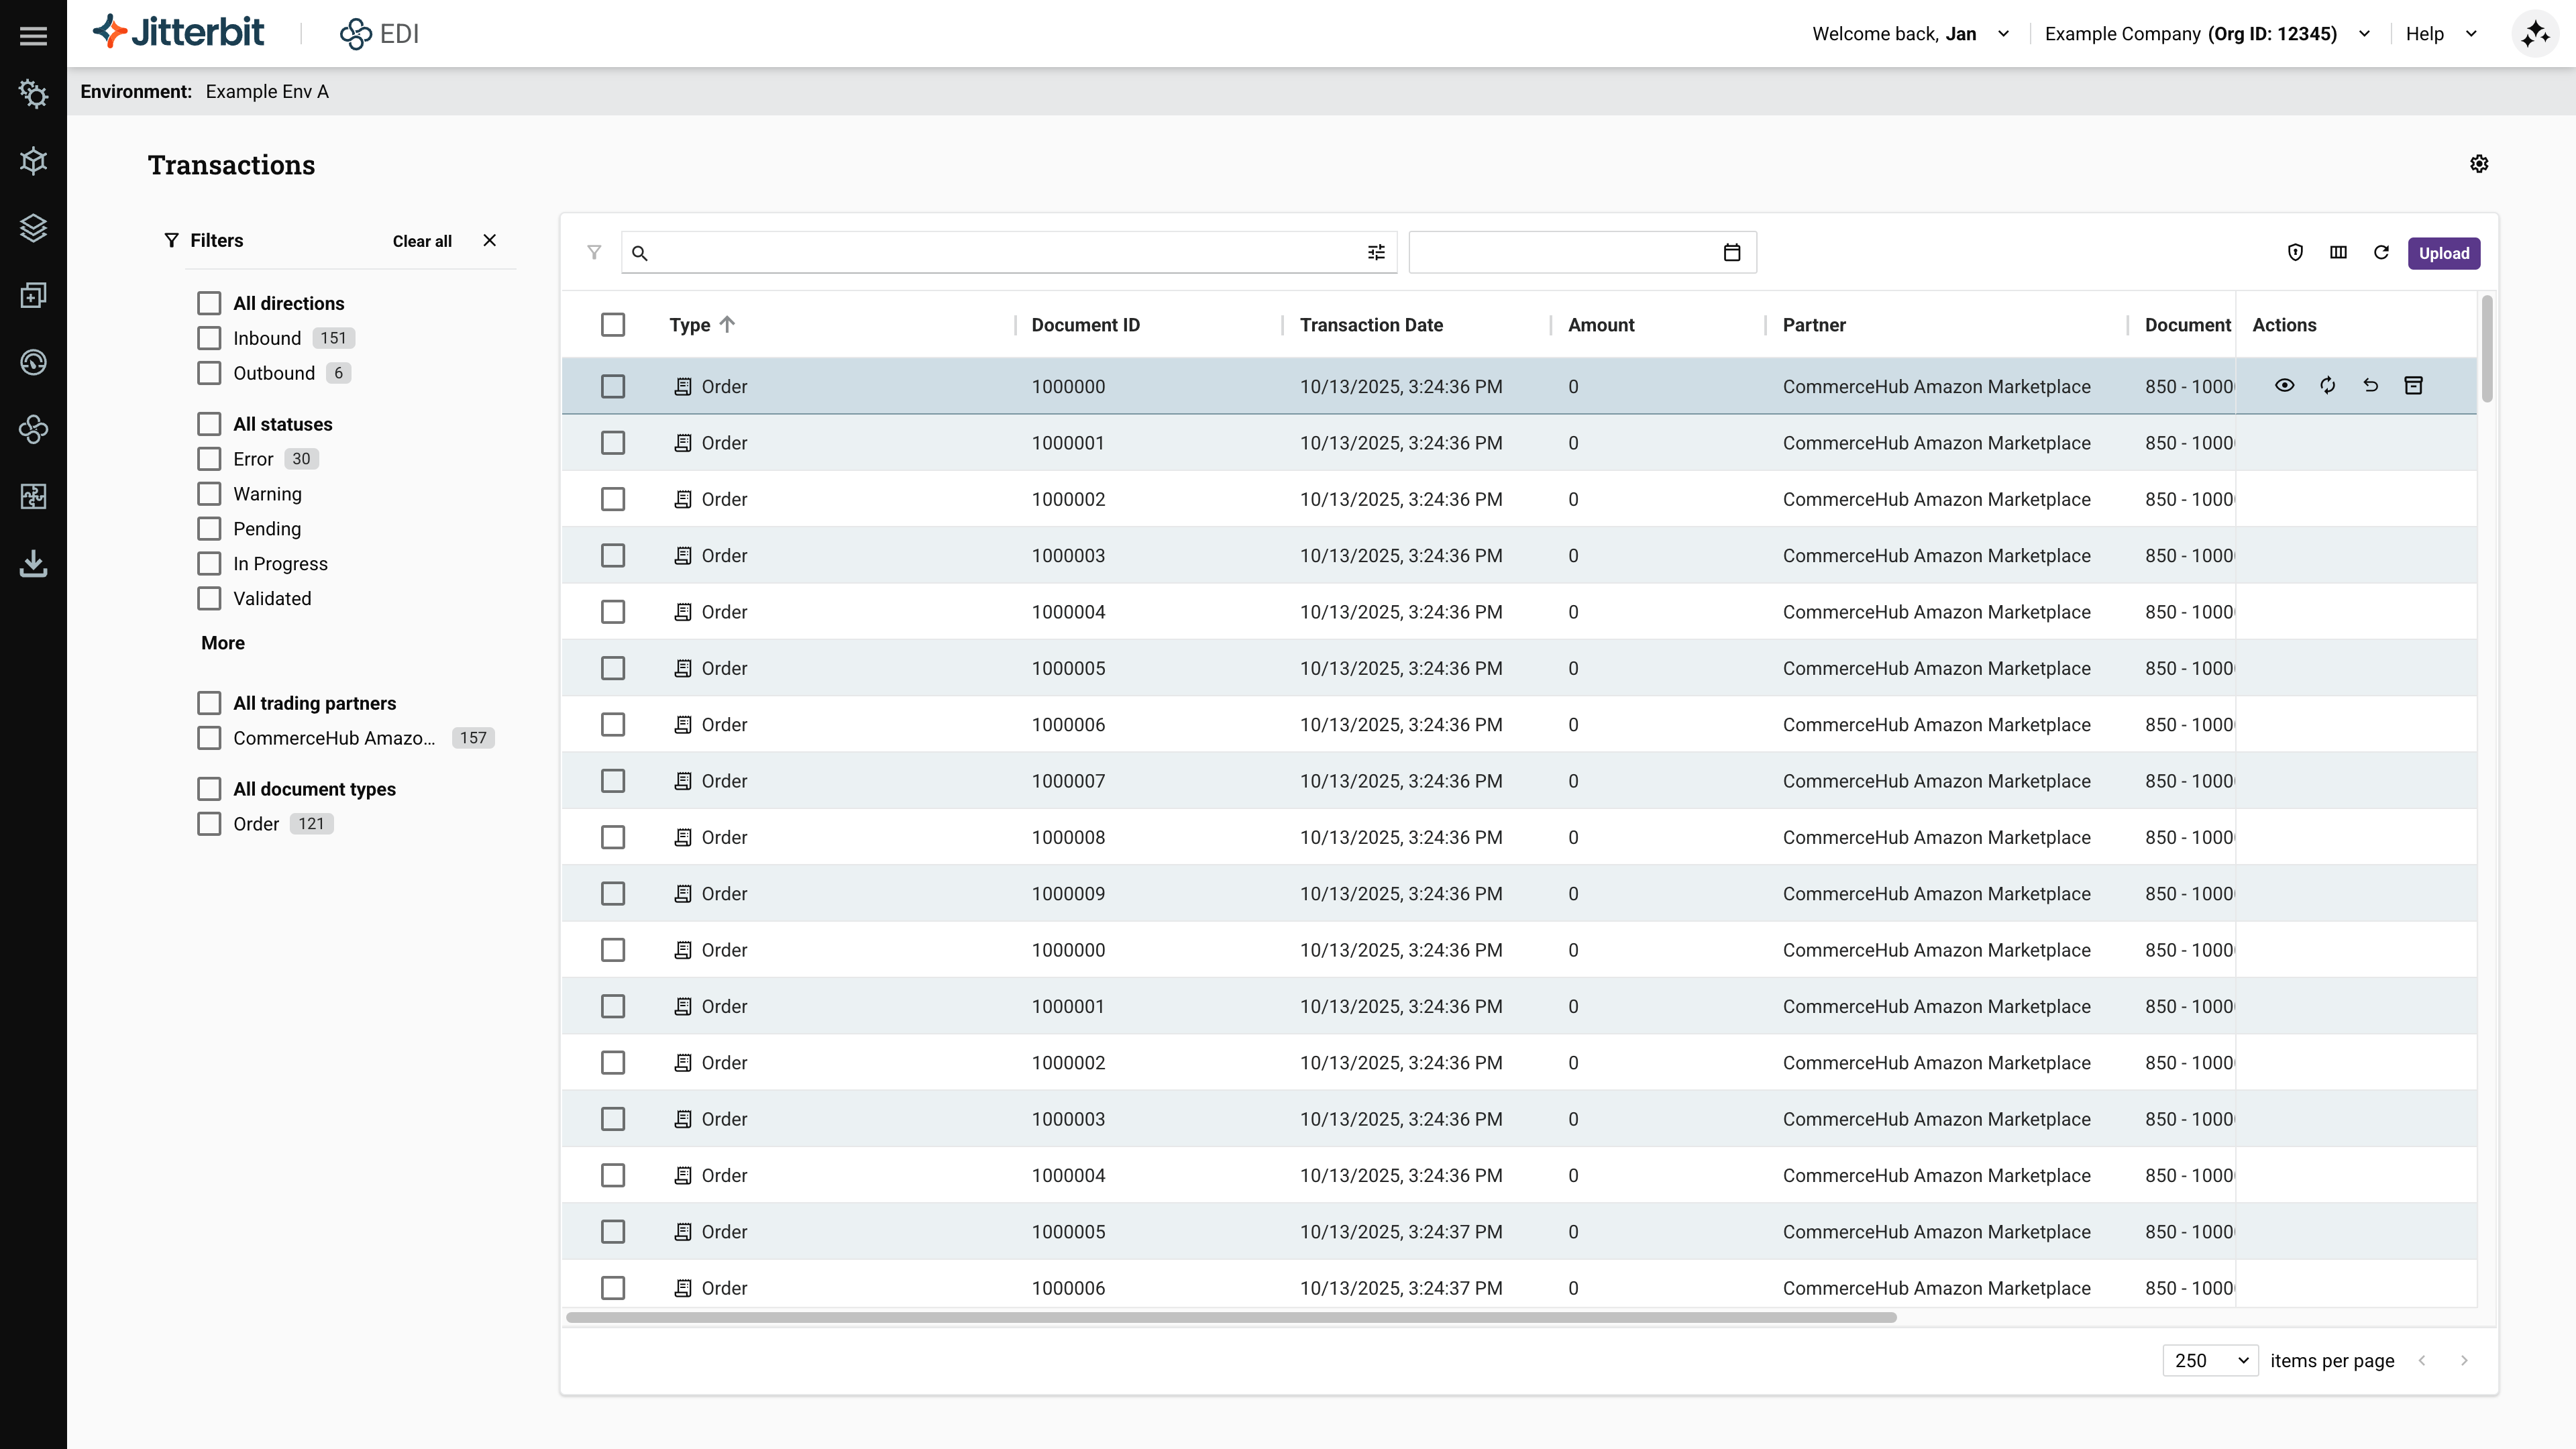
7. Verify
To check that your document was sent and the test transaction was successfully processed, look for it on the Transactions page:
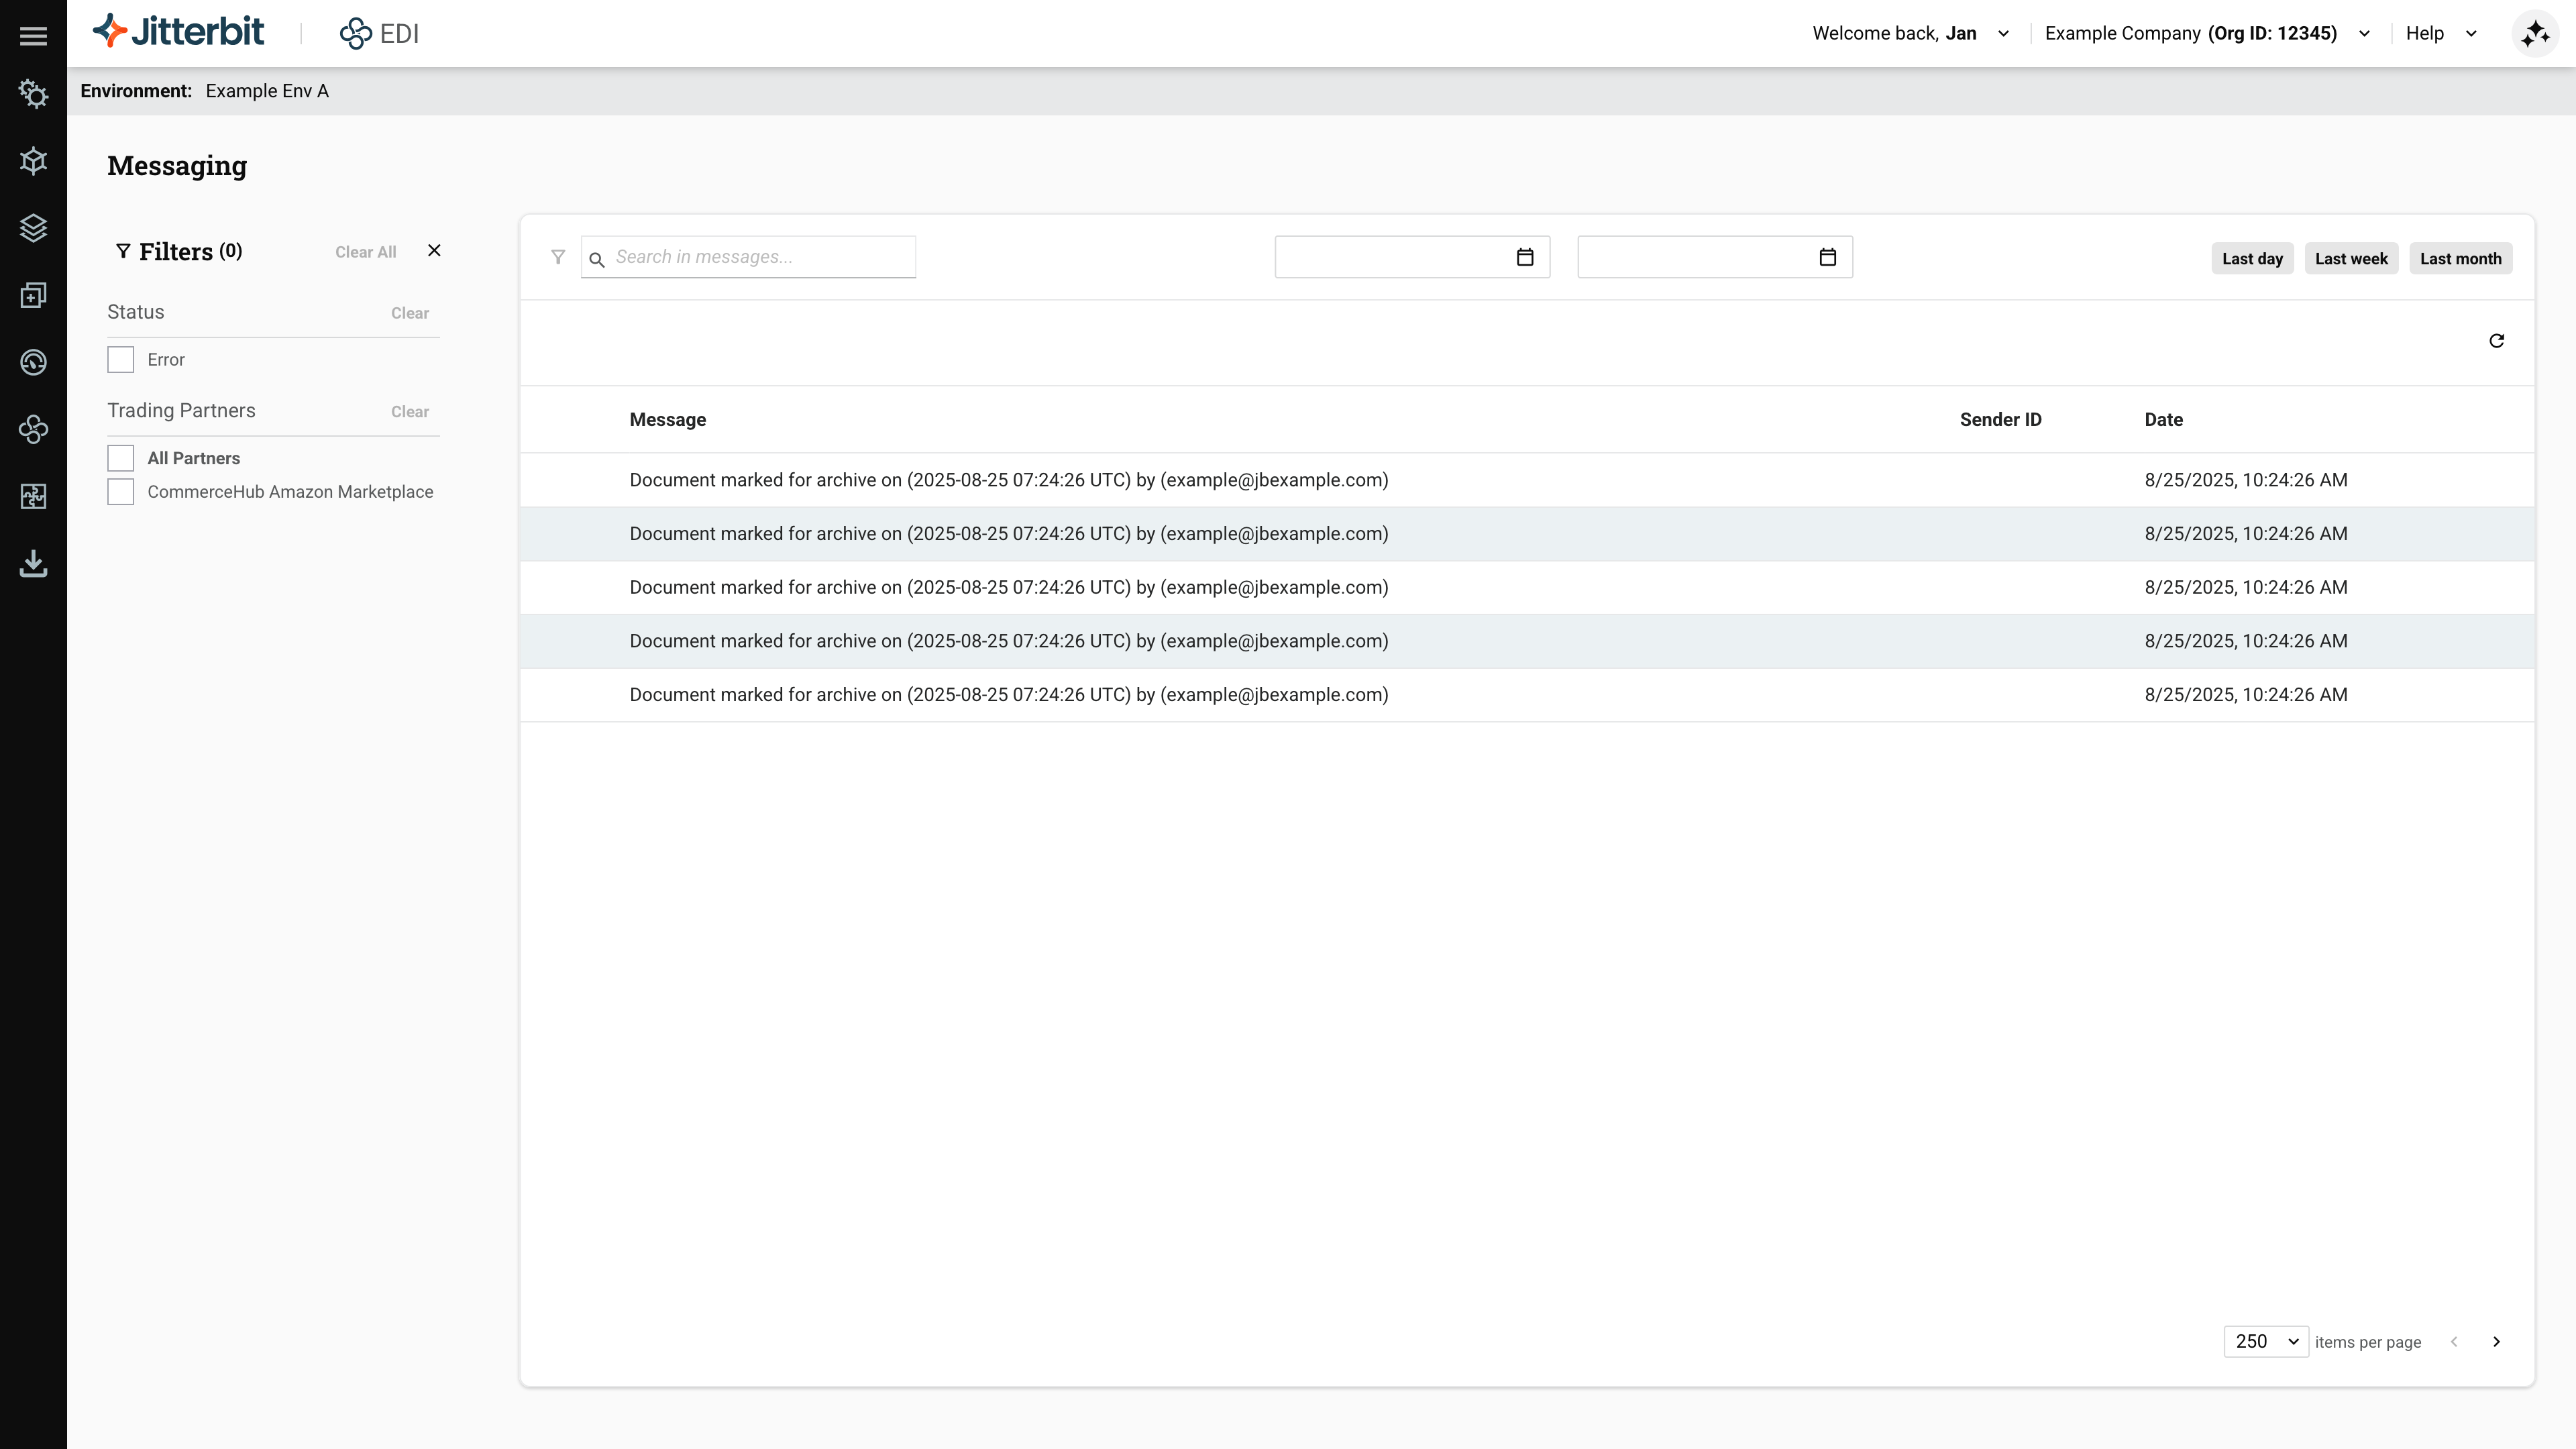
If you don’t see it, open the Messaging page, where you should see the transaction and the reason for its failure:
8. Integrate
Once Jitterbit EDI is successfully communicating with partners and processing documents, you can use Studio to automate the other processes you may need to do after sending or receiving an EDI document.
To create an EDI integration project, follow these steps:
-
Create an access token for EDI, selecting the same environment used for your Jitterbit EDI configurations.
-
Select Studio > Projects from the Harmony portal menu.
-
Click the New Project button.
-
Enter a project name, select the same environment used for your Jitterbit EDI configurations, then click the Start designing button.
-
In the open project's design component palette search bar, enter EDI for Cloud v2, then select the found connector.
-
In the EDI for Cloud v2 endpoint configuration, enter the access token, the click the Save Changes button.
-
In the design component palette under Available endpoints, click the Jitterbit EDI V2 endpoint, then drag and drop the Get Document activity to an operation on the design canvas.
-
Configure the Get Document activity:
-
In step 1, select the trading partner, then click the Next button.
-
In step 2, select the document, then click the Next button.
-
In step 3, check the data schema, then click the Finished button.
-