Microsoft Entra ID 2-legged OAuth 2.0 API security profile in Jitterbit API Manager
Introduction
Important
Microsoft Entra ID was previously known as Microsoft Azure AD.
This page explains how to use Microsoft Entra ID 2-legged OAuth 2.0 with a Jitterbit custom API, OData API, or proxy API. For 3-legged OAuth, see Microsoft Entra ID 3-legged OAuth 2.0 API security profile.
Within a security profile, you can configure Microsoft Entra ID (Azure AD) as an OAuth 2.0 identity provider to provide API consumers access to an API using Microsoft Entra ID authentication.
For additional information, see Microsoft's Configure an OpenID Connect OAuth application from Microsoft Entra app gallery documentation.
Azure AD Graph deprecation
The Azure AD Graph API is deprecated. Microsoft will fully retire it on June 30, 2025.
If you previously configured your app registration with Azure AD Graph, you must migrate the app registration to Microsoft Graph before February 1, 2025. App registrations that are not migrated by February 1, 2025 will receive an error when making requests.
After you migrate the app registration to Microsoft Graph, you must update the app manifest. Follow the instructions in step 12 under Grant API permissions to Harmony.
Prerequisites
You need Microsoft Entra ID P1 edition to set up and use Microsoft Entra ID as an identity provider.
1. Configure Microsoft Entra ID as an identity provider
Follow these steps to configure an OAuth 2.0 application in the Microsoft Azure portal. You need to get the client ID, client secret, and directory ID for configuring Microsoft Entra ID as an identity provider in a security profile.
-
Log in to the Microsoft Azure portal.
-
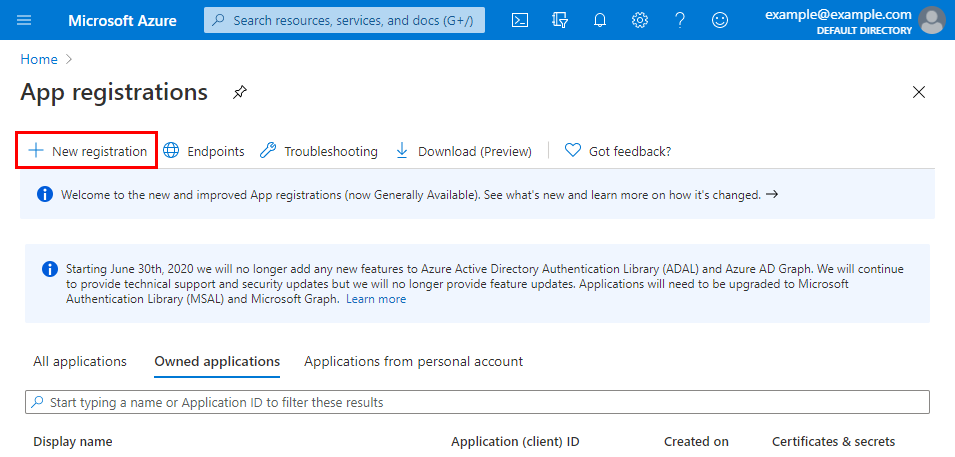
Go to App registrations and click New registration:
-
On the Register an application screen, enter these details:
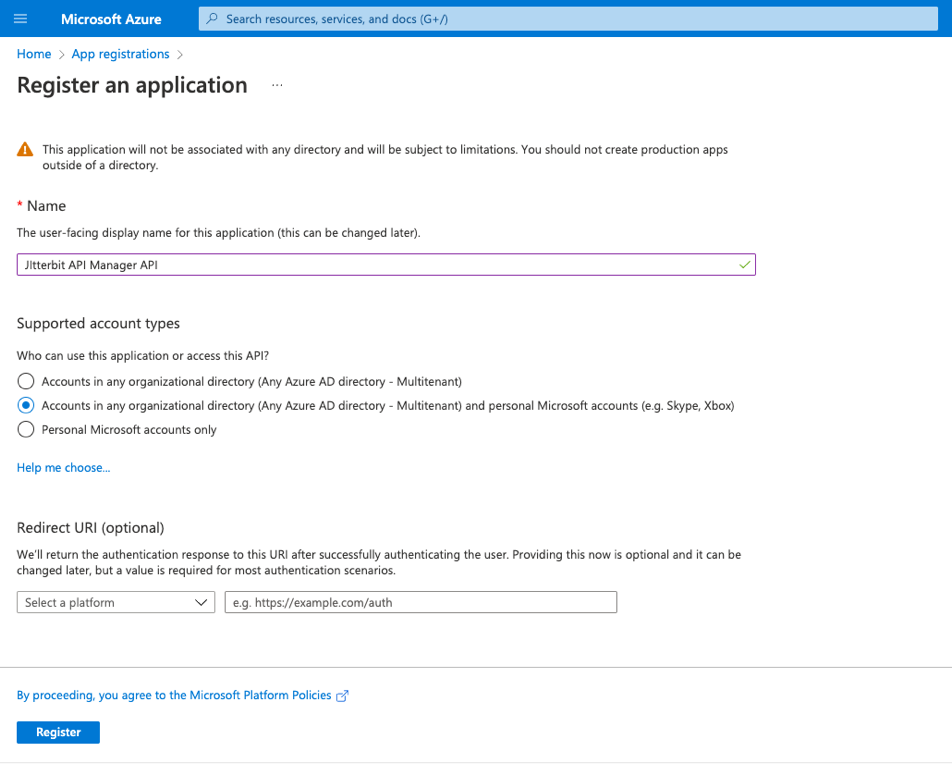
- Name: Enter a name, such as Jitterbit API Manager APIs.
- Supported account types: Select the appropriate option for your environment.
-
After you click Register, the Overview screen shows the Application (client) ID and Directory (tenant) ID. Save these values. You need them later:

-
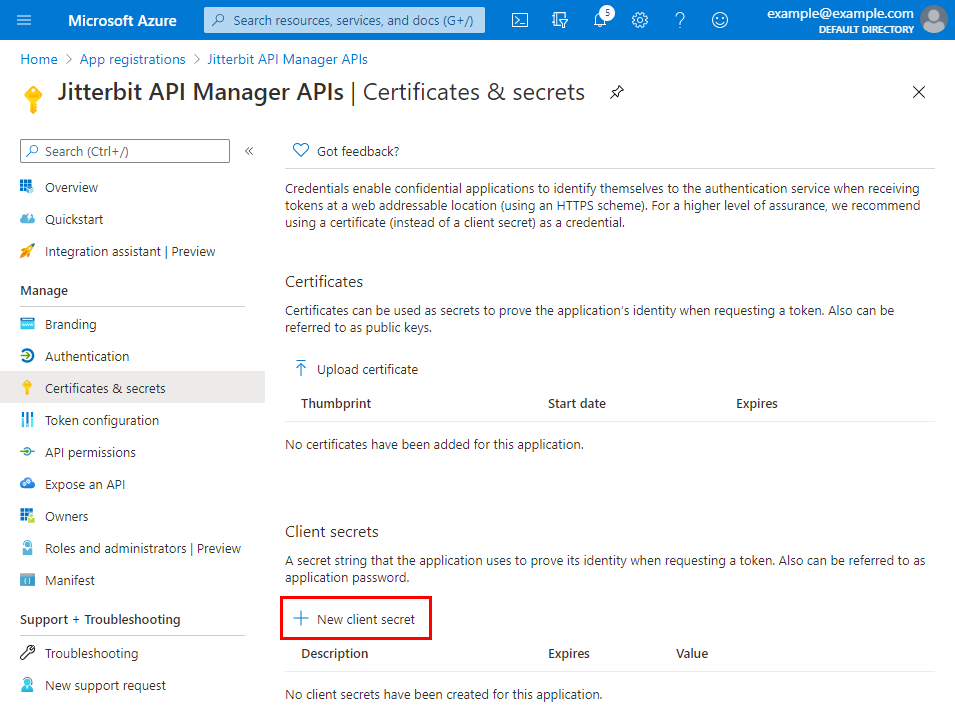
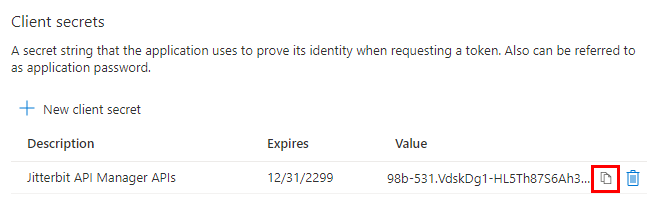
Under Manage on the left, select Certificates & secrets. Under Client secrets, click New client secret:
-
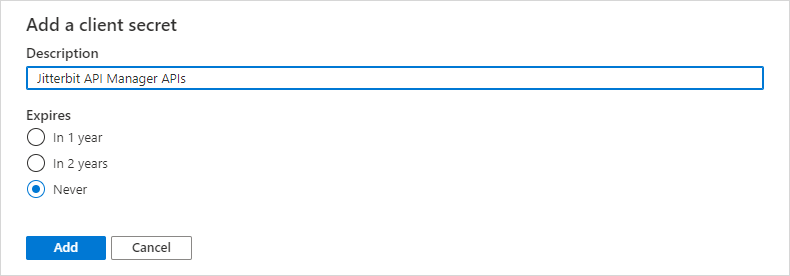
Enter a Description and set the secret to Never expire. Then click Add:
-
Click the Copy to clipboard icon to save the client secret. Save this value, as you will need it later:
2. Grant API permissions to Harmony
Follow these steps to grant Harmony permissions to use the Microsoft Entra ID APIs with the OAuth 2.0 application that you created in Configure Microsoft Entra ID as an identity provider. If you're continuing from the previous section, start at step 3.
-
Log in to the Microsoft Azure portal.
-
In the Microsoft Azure portal, go to App registrations. Select the OAuth 2.0 application that you created in Configure Microsoft Entra ID as an identity provider. In the example, this is called Jitterbit API Manager APIs.
-
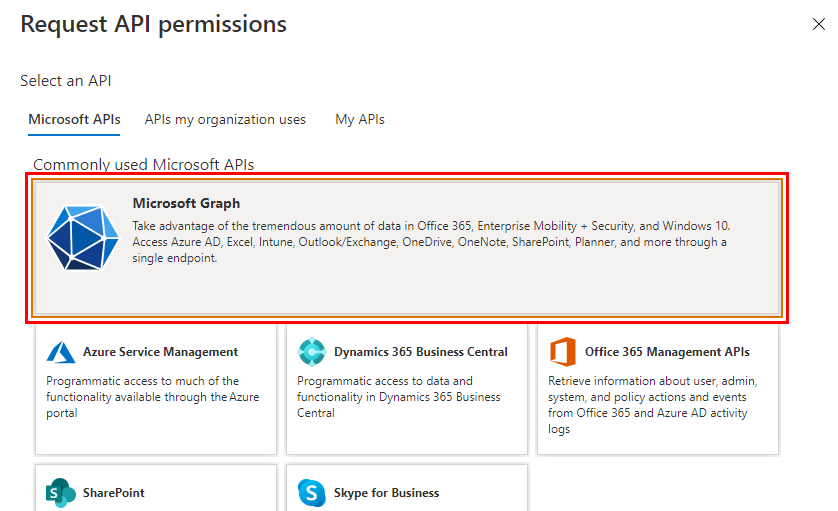
Under Manage, select API permissions. Then click Add a permission:

-
Under Microsoft APIs, select Microsoft Graph:
-
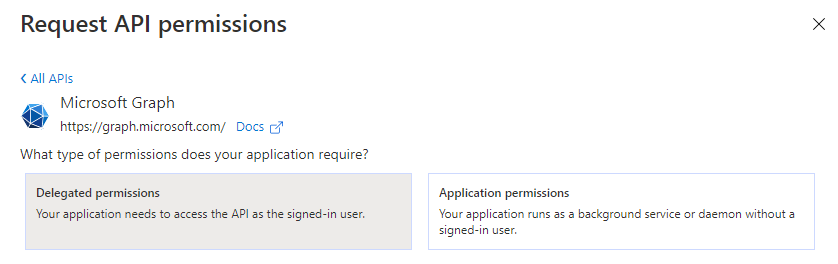
Select Delegated permissions:
-
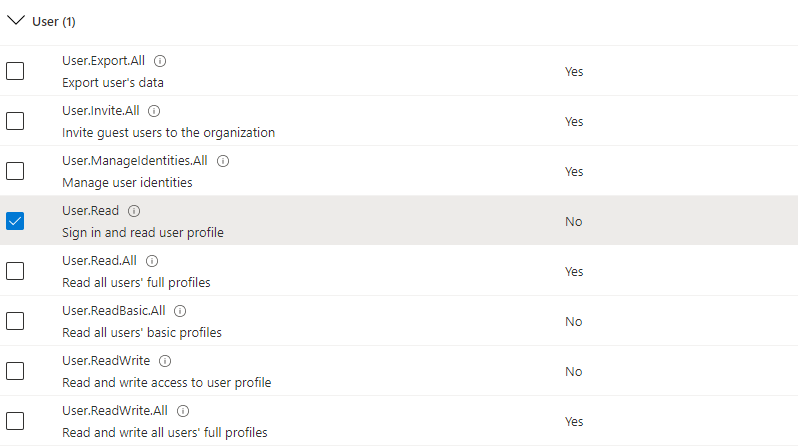
Under Select permissions, select these permissions:
-
OpenId permissions: Select offline_access, openid, and profile.

-
- User: Select User.Read.
-
-
At the bottom of the Request API permissions screen, click Add permissions.
-
You return to the API permissions screen for the application. Under Configured permissions, click Grant admin consent for \<Directory>.
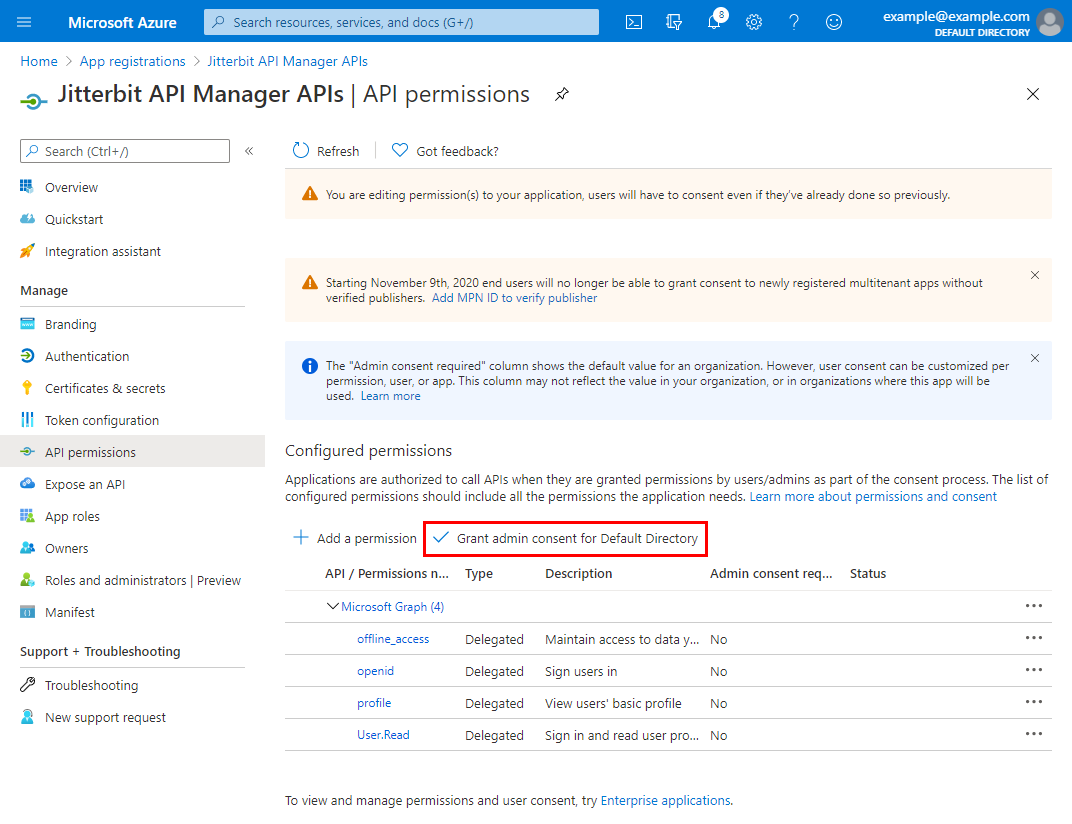
-
Confirm the dialog to grant consent:

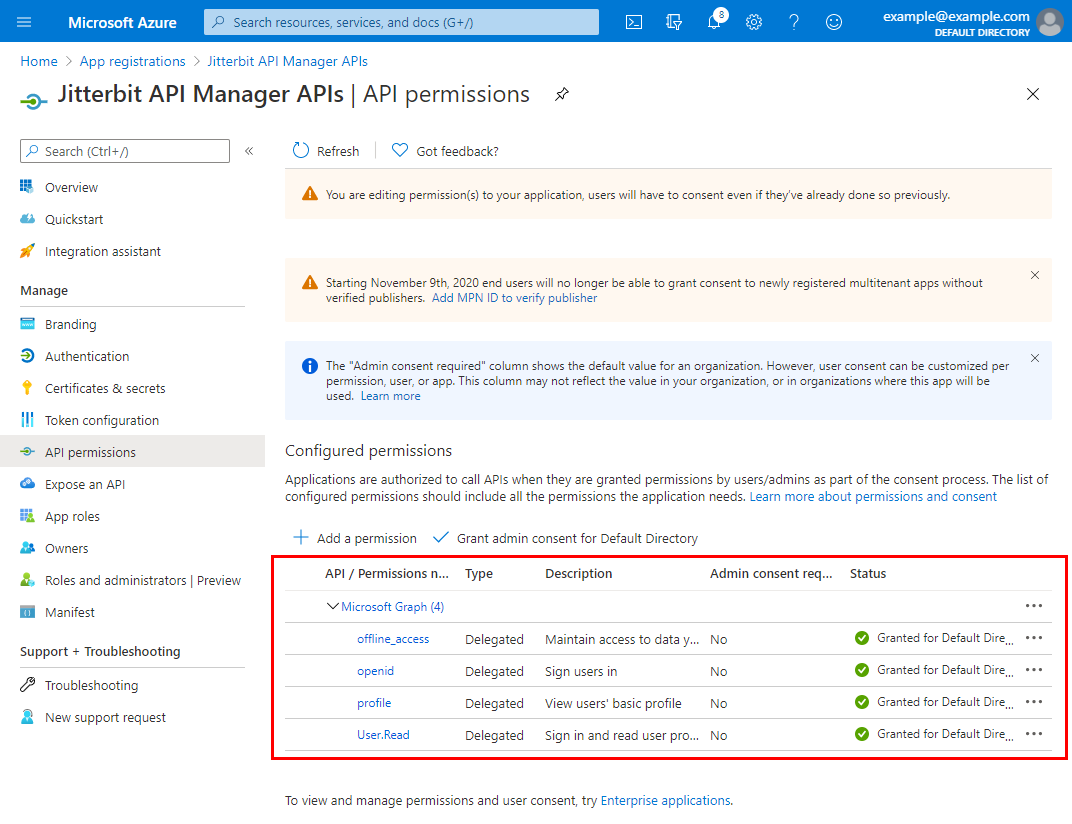
-
Under Configured permissions, the Status column shows that consent is granted for each added permission:
-
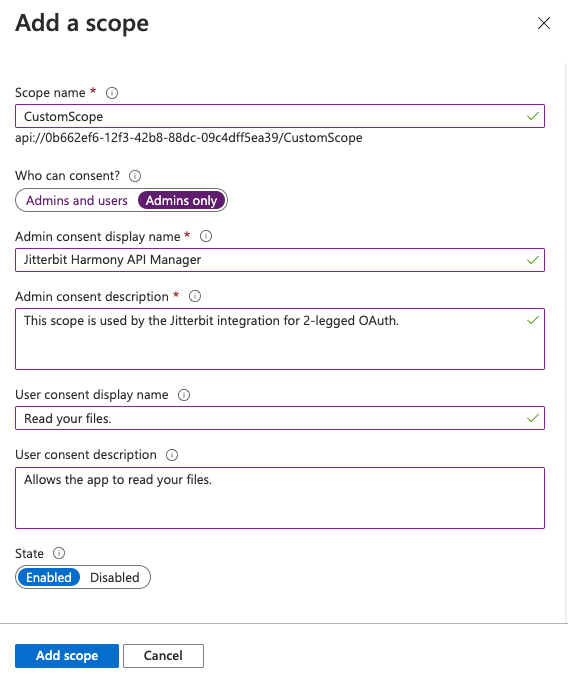
Follow these additional steps to create a custom scope:
- Navigate to Expose an API and click Add a scope.
-
In the Add a scope dialog, enter a Scope name, Admin consent display name, Admin consent description, and complete the optional fields as desired. Click Add scope:
-
Under the Manage category on the left, select Manifest. Ensure that
requestedAccessTokenVersionis set to2and click Save:
Note
Your authentication token will not validate if
requestedAccessTokenVersionis not set to2.
3. Configure a security profile in API Manager
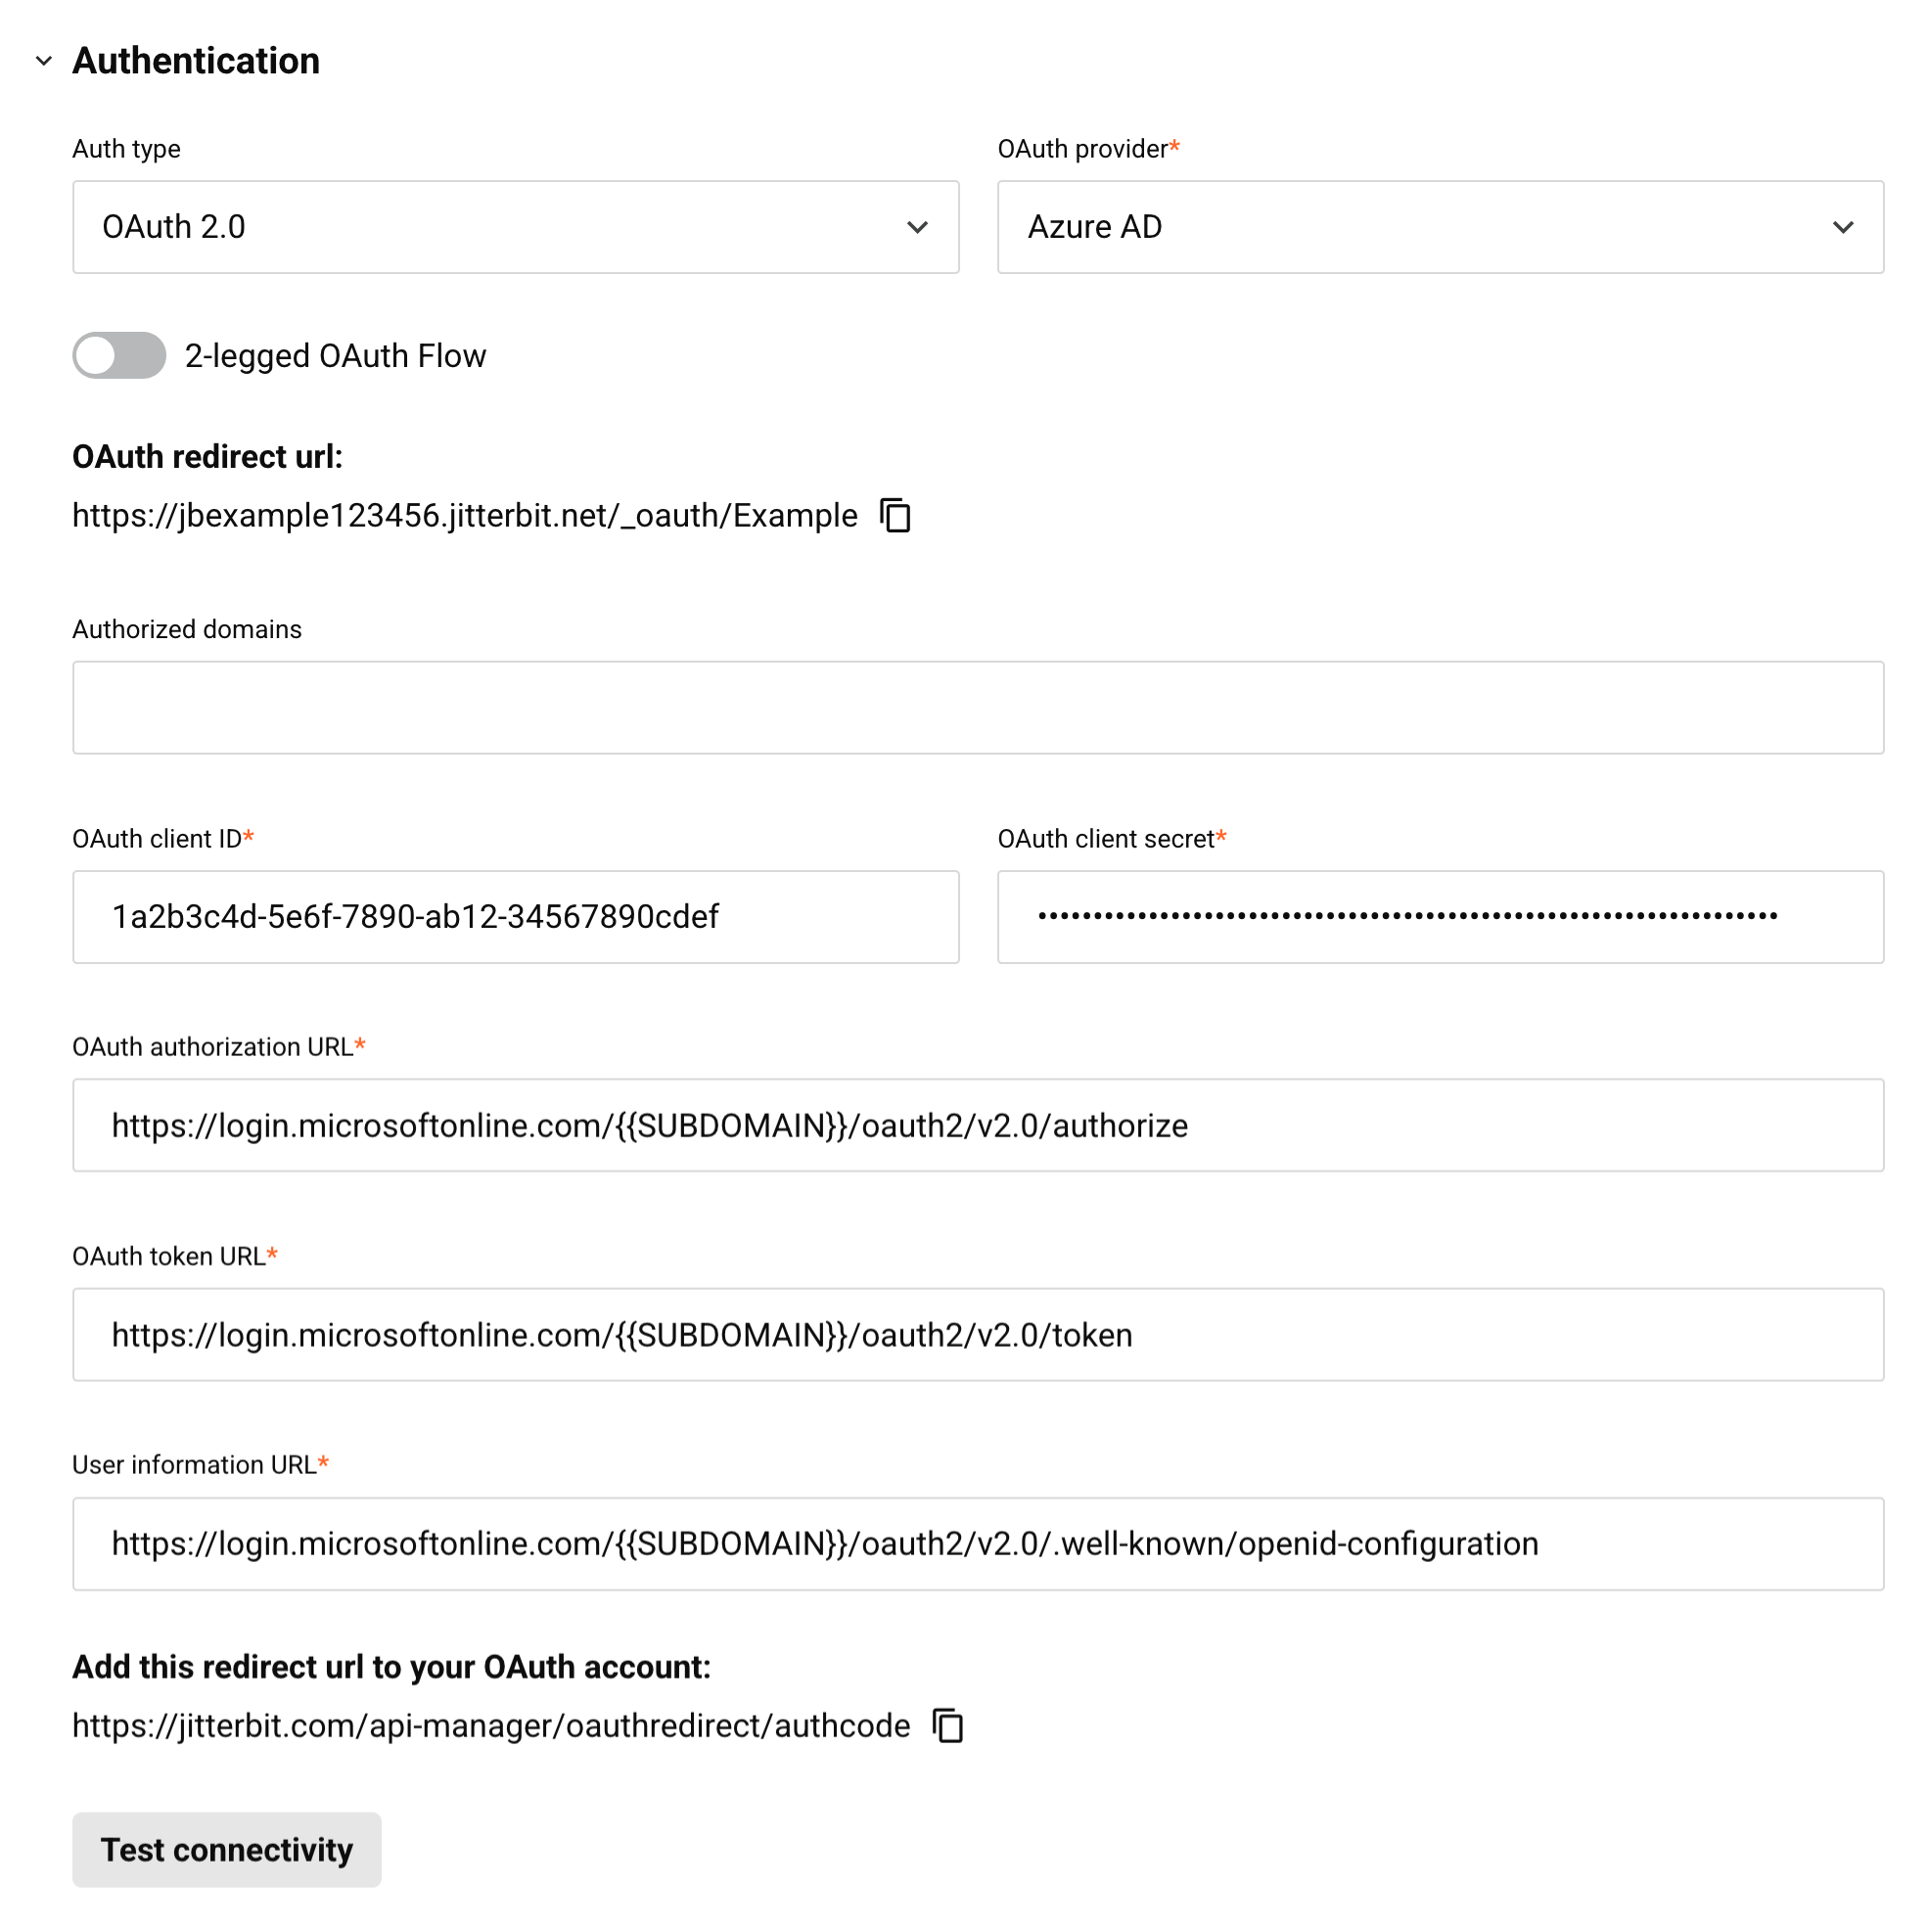
Configure these fields for a security profile:
Note
The Profile name must not contain any spaces. If the Profile name contains spaces, you will receive an error when attempting to access an API using that security profile. Microsoft Entra ID returns an error similar to this:
The reply URL specified in the request does not match the reply URLs configured for the application.
-
Auth type: Select OAuth 2.0.
-
OAuth provider: Select Azure AD.
-
2-legged OAuth Flow: Use the toggle to enable this field.
-
OAuth scope: Enter the client ID and scope in this format:
<client_id>/.default. -
Authorized domains: Leave this field empty.
-
OAuth client ID: Optionally enter the client ID from step 1 for testing.
-
OAuth client secret: Optionally enter the client secret from step 1 for testing.
-
Openid discovery URL: Replace
{{ SUBDOMAIN }}with the Directory ID from step 1. -
Audience: Enter the client ID obtained above in step 1.
-
OAuth authorization URL: Replace
{{ SUBDOMAIN }}with the Directory ID from step 1. -
OAuth token URL: Replace
{{ SUBDOMAIN }}with the Directory ID from step 1. -
User information URL: Replace
{{ SUBDOMAIN }}with the Directory ID from step 1. -
Test connectivity: Click to validate the authentication token.
4. Assign the security profile in API Manager
To use the security profile with an API, follow the instructions for configuring a custom API, OData API, or proxy API and select the security profile configured with Microsoft Entra ID OAuth 2.0 authentication.
5. Access the API with Microsoft Entra ID authentication
Once you have saved and published a custom API, OData API, or proxy API, its API is accessible by URL in the application calling the API using the configured authentication method.
Using 2-legged OAuth 2.0 is a two-step process:
- Generate an OAuth token either by passing the Azure client ID and client secret obtained above in step 1 in an RFC6749 Client Credentials Access Token Request to the new 2-legged OAuth Token URL link displayed on the Security Profiles page or by obtaining the OAuth token directly from Microsoft Entra ID.
- Send the OAuth token in the API header using the "bearer" token type defined in RFC6750.
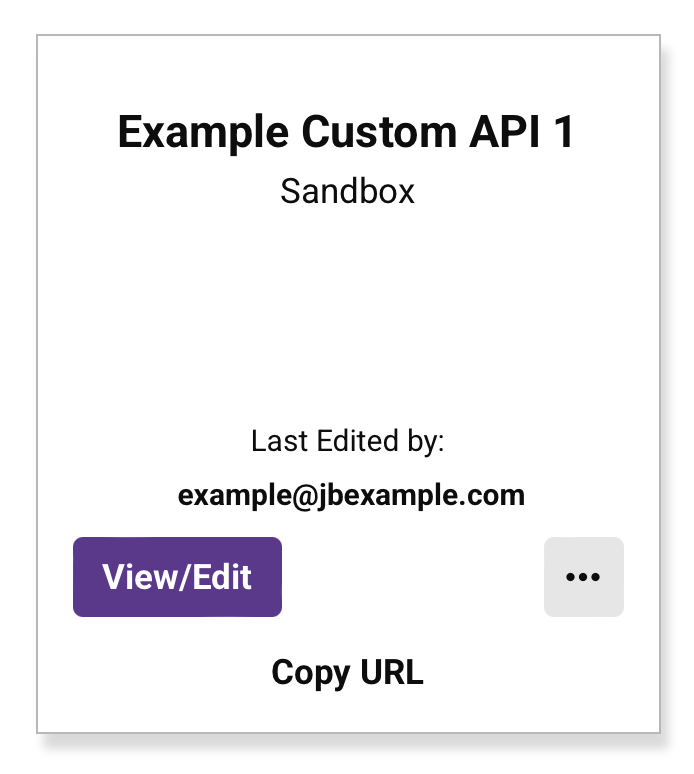
To consume the API, use the link to Copy URL and use it within the calling application:
If the API supports GET, you can also paste the URL into a web browser to consume the API manually.
When 2-legged OAuth Flow is being used, the API gateway fetches the access token and authentication takes place automatically.
If the authentication is successful, the expected payload is displayed in the web browser.