Mapeie manualmente objetos de origem em transformações no Jitterbit Studio
Introdução
Você pode mapear manualmente objetos de origem para um campo de destino. Quando você mapeia um objeto de origem, seu caminho de referência é inserido em um script no campo de destino. Para mapeamento automático de um objeto de origem para um campo de destino, veja Mapear estruturas idênticas.
Mapear para um campo de destino
Os campos de origem podem ser mapeados manualmente arrastando e soltando, clicando duas vezes ou inserindo manualmente o caminho de referência do objeto de origem:
-
Arrastar e soltar: No painel Fonte à esquerda ou na aba Objetos de Origem na paleta de componentes de script, arraste um objeto de origem para um campo de destino apropriado.
-
Clique duas vezes: Clique duas vezes no objeto de origem na aba Objetos de Origem para inserir a referência do objeto na localização do seu cursor dentro do script.
-
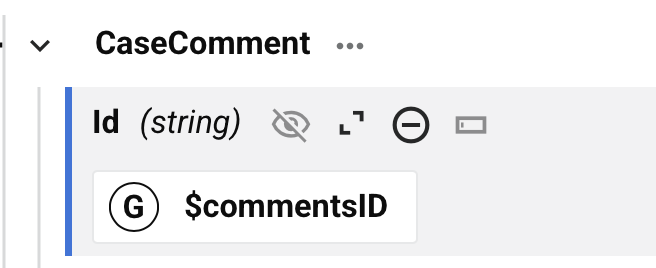
Inserção manual: Passe o mouse sobre o campo de destino e clique em Expandir ou Adicionar valor personalizado para abrir a área de script editável para o campo de destino:

Mapear para um campo com um mapeamento existente
Ao arrastar e soltar um objeto de origem em um campo de destino que já possui um mapeamento, você é apresentado com a opção de copiar a referência do objeto de origem para sua área de transferência, para que você possa colar essa referência manualmente na lógica do script:
Texto do diálogo
Adicionar Campo de Origem ao Script
Este campo de destino já possui um script. A referência do campo de origem deve ser adicionada usando o editor de script. Cole-a no script a partir da sua área de transferência ou arraste-a para o script a partir da paleta de componentes.
Ao clicar em Continuar, o campo de destino se expande com uma área de script editável para que você cole a referência do objeto de origem. Para mapeamentos que contêm várias referências, é necessário adicionar lógica de script para tornar o script válido.
Ao adicionar referências de objeto de origem adicionais, a caixa de diálogo para copiar uma referência de campo de origem não é apresentada. No entanto, você pode adicionar vários caminhos de referência de origem na área de script editável arrastando e soltando ou inserindo manualmente as referências.