Gerenciar regras no Jitterbit App Builder
Introdução
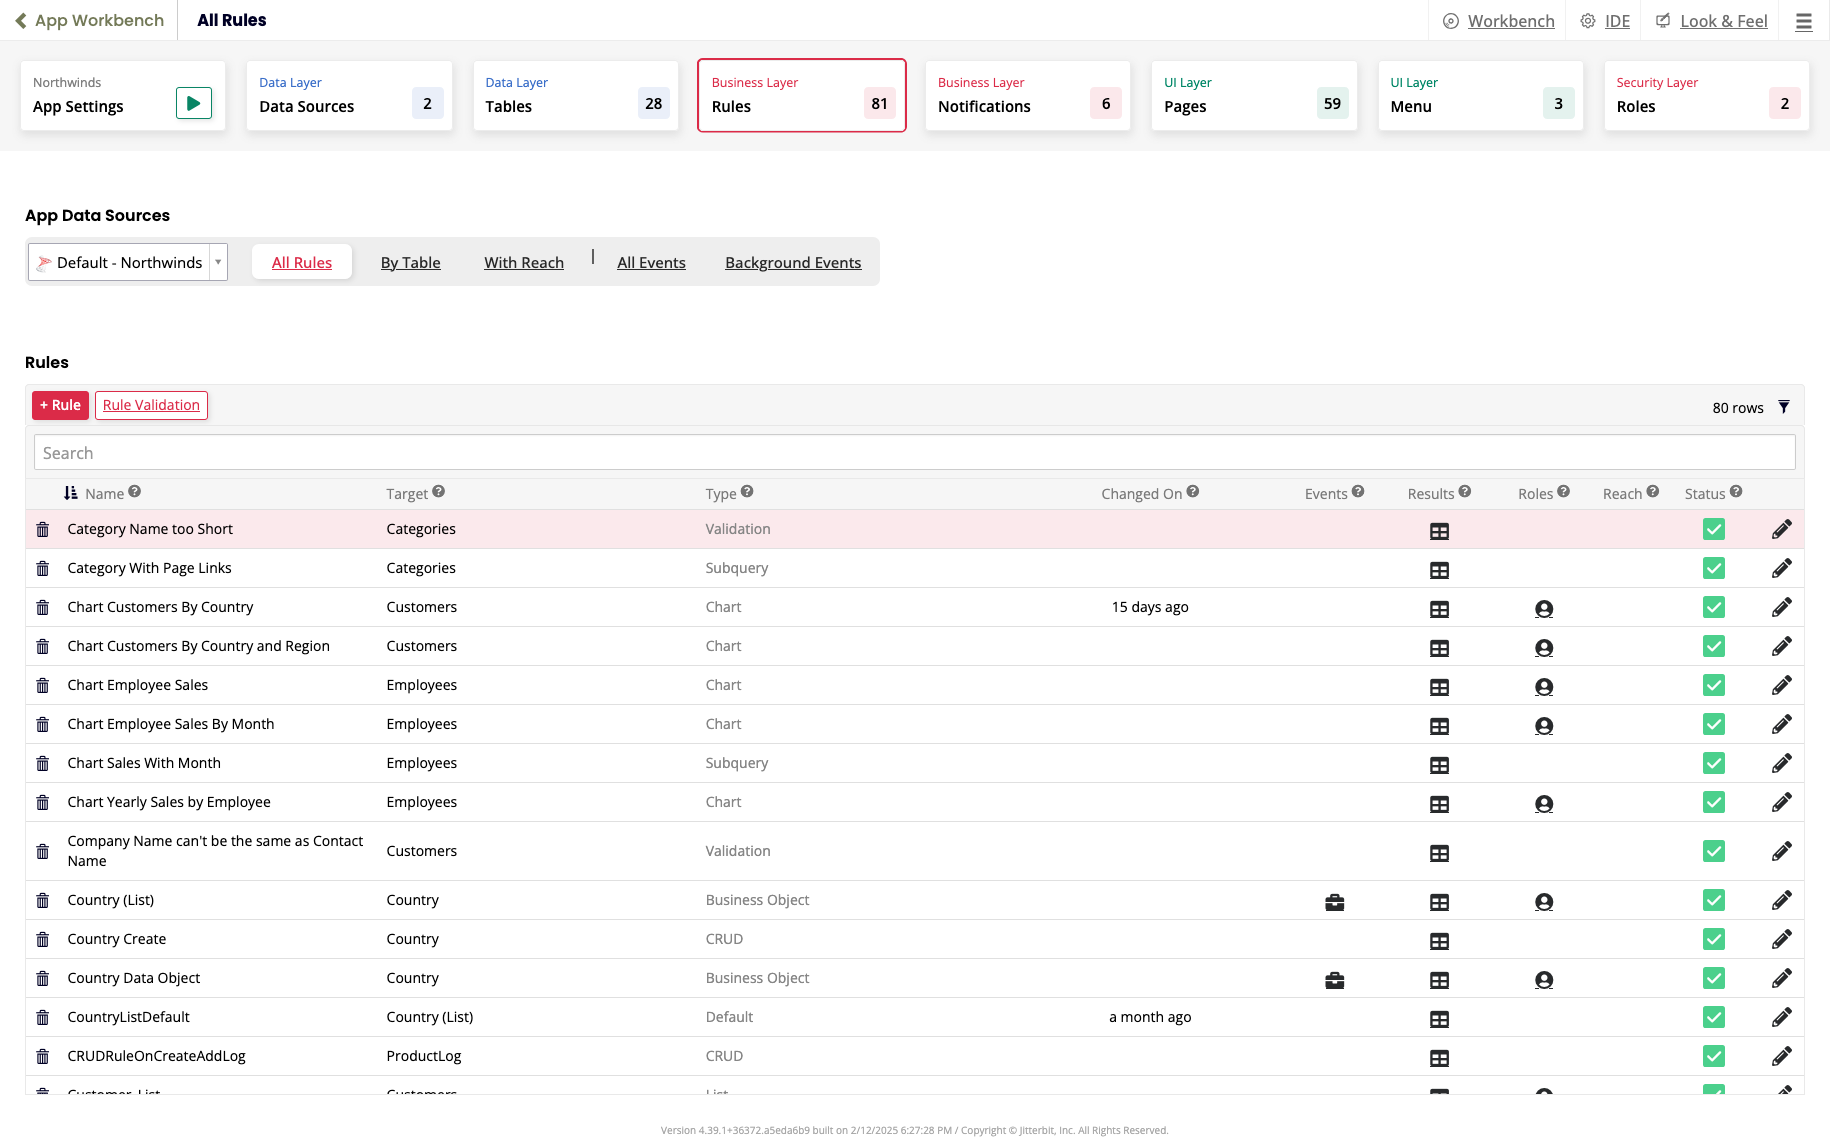
As regras são gerenciadas na página Regras. Para abri-la, selecione App Workbench > Regras:
A partir daqui, você pode fazer o seguinte:
Ver regras
Quando você abre a página Regras, a aba Todas as Regras é selecionada por padrão. Isso mostra todas as regras para o aplicativo atual e a fonte de dados do aplicativo selecionado. As outras abas são as seguintes:
- Por Tabela: Ver ou criar regras com base nas tabelas da fonte de dados selecionada.
- Com Alcance: Ver regras com base nas regras de alcance para as tabelas da fonte de dados selecionada.
As duas próximas abas enfatizam a estreita relação entre regras e eventos:
- Todos os Eventos: Mostrar todos os eventos para o aplicativo atual.
- Eventos em Segundo Plano: Mostrar todos os eventos em segundo plano para o aplicativo atual.
Dica
Quando você tiver um grande número de regras em seu aplicativo, use a barra de pesquisa para procurar regras, clique no ícone Aplicar Filtro para filtrar o conteúdo da tabela ou clique em um cabeçalho de coluna Nome, Alvo, Tipo ou Alterado Em para classificar a tabela por essa coluna.
Criar uma regra
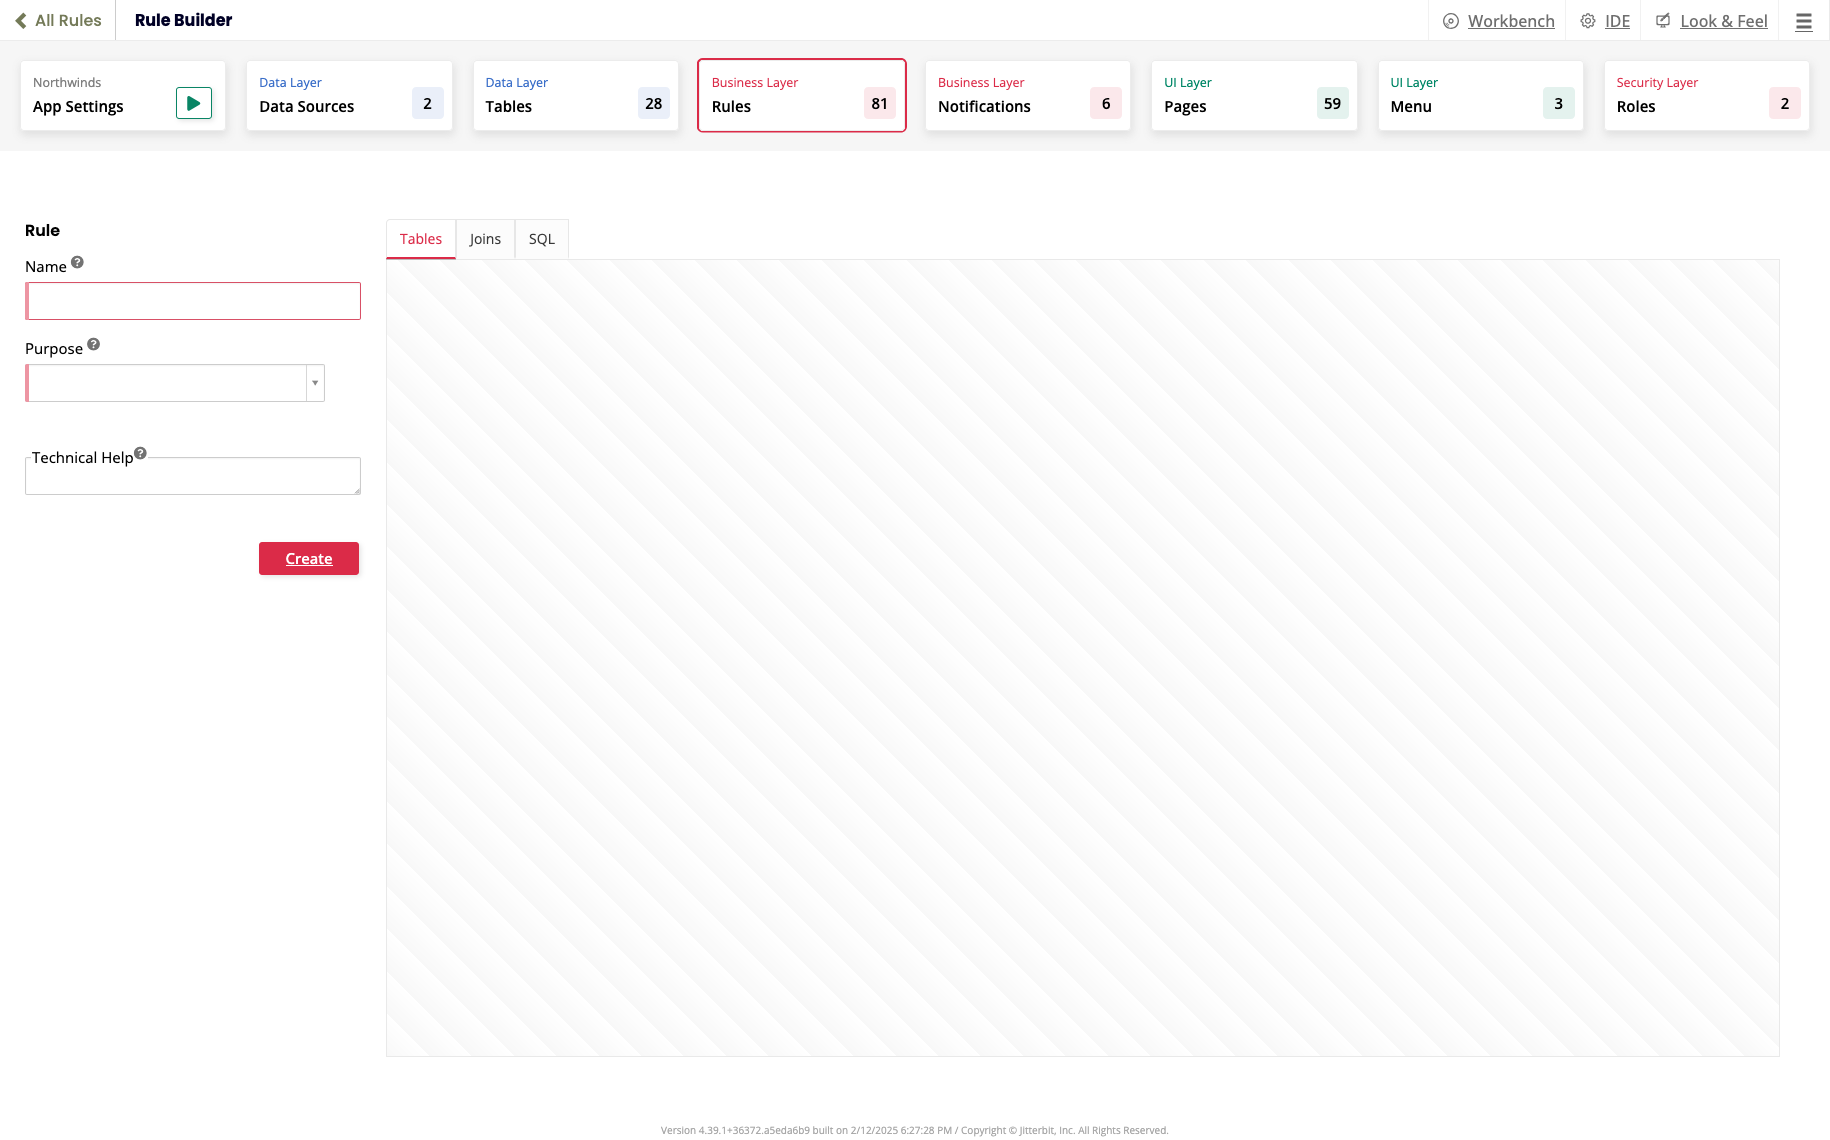
Para criar uma regra, clique no botão + Regra na seção Regras. Isso abre a página Construtor de Regras:
Para continuar, siga estas etapas:
- No campo Nome, insira um nome para sua regra.
- (Opcional) No campo Ajuda Técnica, insira uma descrição para a regra. Este texto é visível apenas para desenvolvedores de aplicativos.
-
Clique no menu Finalidade, em seguida, selecione uma das opções de finalidade. Dependendo da sua escolha, configurações adicionais são exibidas. As opções disponíveis estão mostradas na tabela a seguir:
Categoria Finalidade Fonte de Dados Fonte de Dados de Destino Alvo Camada de Destino Ação Tipo de Gráfico Método de Entrega Básico Objeto de Negócio CRUD Validação Visibilidade Relatório Calendário Gráfico Gantt Mapa Gráfico de Rede Relatório Pivot Caso Excepcional Chamada de API Notificação Padrão Lista Migração Alcance Subconsulta Webhook Validação XP XP CRUD -
Clique no botão Criar.
- Use o construtor de regras visual para adicionar as tabelas e colunas necessárias para sua regra.
- Quando terminar, clique no botão Validar para verificar a regra.
Editar uma regra
Para editar uma regra, siga estas etapas:
- Clique no ícone Editar ao lado da regra que você deseja editar. A página Construtor de Regras será aberta.
- Edite a regra. O layout e os controles são os mesmos que ao criar uma regra. As alterações na regra são efetivas imediatamente.
- (Opcional) Clique no botão Validar para verificar a regra antes de fechar a página.
Construtor de regras visual
Quando você cria ou edita uma regra, a página Construtor de Regras se divide em duas regiões: uma onde você define o nome e o propósito da regra; a outra, composta por um conjunto de abas, onde você define a própria regra. A aba padrão é a aba Tabelas (também conhecida como Construtor de Regras Visual).
A aba Tabelas é uma tela onde você interage com representações gráficas das tabelas, colunas, junções e outras regras que formam a regra em que você está trabalhando. Dependendo do propósito da regra, uma tabela pode ser adicionada automaticamente à tela.
Você pode interagir com as imagens na tela das seguintes maneiras:
- Clique e segure o rótulo de uma tabela para movê-la pela tela.
- Use os controles de visualização e para aumentar ou diminuir o zoom da visualização da tela.
- Arraste e solte colunas de uma tabela para outra para criar junções. Estas aparecem na aba Junções.
- Clique no botão + Tabelas para adicionar tabelas à regra.
- Clique no botão + Coluna para adicionar uma coluna à regra.
- Clique no ícone Remover para remover uma tabela da regra.
- Clique na barra de título da tabela para abrir uma página pop-up onde você pode fazer o seguinte:
- Definir a ordem da tabela na consulta.
- Selecionar uma tabela diferente.
- Definir o alias usado para referenciar a tabela nas consultas.
- Selecionar todas as colunas.
- Editar a tabela na página Definição da Tabela.
- Ver os resultados da consulta na tabela.
As abas restantes têm as seguintes funções:
- Aba Colunas: Uma lista de colunas usadas pela regra.
- Aba Onde: Uma lista de cláusulas SQL
whereusadas pela regra. - Junções: Uma lista de junções de tabelas usadas pela regra.
- SQL: A instrução SQL que forma a regra.
- Resultados: O resultado da execução da instrução SQL. Clique no ícone Salvar como CSV para baixar os resultados como um arquivo
.csv.
Excluir uma regra
Para excluir uma regra, clique no ícone Excluir ao lado da regra que você deseja excluir e, em seguida, clique no botão Prosseguir para confirmar.
Propósito da regra
O que uma regra pode fazer e como ela é configurada depende de seu propósito. Ao criar uma regra, você deve selecionar um dos seguintes propósitos. Esta seção descreve cada um deles.
Chamada de API
As regras de chamada de API definem como seu aplicativo interage com endpoints de API REST externos. Elas especificam os parâmetros e a estrutura para enviar solicitações a uma API e lidar com as respostas.
Um caso de uso principal para regras de chamada de API é gerenciar estruturas de dados JSON complexas e aninhadas. Essas estruturas são frequentemente encontradas ao lidar com entidades relacionadas (por exemplo, um cliente com vários endereços). Elas são tratadas através do recurso Drill Down:
-
Para dados com relacionamentos hierárquicos, você define regras de chamada de API separadas para cada nível da estrutura JSON. (Por exemplo, uma regra "raiz" pode lidar com os dados principais do cliente, enquanto uma sub-regra distinta gerenciaria o array aninhado de endereços.)
-
A configuração avançada Drill Downs é configurada na regra de chamada de API raiz. Essa configuração vincula às sub-regras relevantes que processam os dados aninhados.
-
O vínculo conecta dados entre a regra raiz e as sub-regras. Isso geralmente envolve o uso de um identificador comum (como um
CustomerID) para associar itens aninhados (endereços) com sua entidade pai (o cliente).
Essa abordagem modular permite que o App Builder processe e represente efetivamente dados de APIs que retornam objetos e arrays JSON complexos e de múltiplos níveis. O processo é desacoplado em duas etapas distintas:
-
Uma ação de chamada de API (que utiliza a configuração de regras de chamada de API) é adicionada a um evento. Sua única responsabilidade é construir e enviar a solicitação da API, definindo todos os parâmetros necessários.
-
Imediatamente após a ação de chamada de API no mesmo evento, uma ação padrão XP CRUD é executada. Essa ação subsequente processa os dados retornados pela chamada de API anterior, realizando operações como CRAM ou UPDATE.
Essa separação melhora a flexibilidade e permite controlar precisamente quando a chamada de API é feita e como seus resultados são tratados pela lógica de negócios subsequente e operações de dados dentro dos eventos do App Builder.
Objeto de negócios
Qualquer número de eventos de regra ou subconsultas, usados principalmente para construir a camada de UI de um aplicativo. Fonte e Lista são dois exemplos comuns de objetos de negócios:
-
Fonte: Mostra todas as linhas e colunas de uma tabela na camada de dados. Referencia uma tabela e não deve incluir filtros. Objetos de fonte são frequentemente usados quando é necessário criar uma expressão ou função sobre os dados subjacentes para apresentá-los na camada de UI do aplicativo.
-
Lista: Traduz o valor da chave primária ID em um valor de coluna de título amigável ao usuário. Objetos de lista podem ser usados quando se deseja exibir dados ao usuário final que podem não estar disponíveis na tabela. Objetos de lista frequentemente apresentam informações na forma de um menu suspenso que o usuário pode selecionar.
Calendário
Lógica de negócios para um calendário na camada de UI. Os atributos são definidos no nível da regra através dos seguintes valores de Tipo de Uso:
- Cor
- Descrição
- Fim
- Ordenar
- Início
Gráfico
Lógica de negócios para um gráfico na camada de UI. Os atributos são definidos no nível da regra através dos seguintes valores de Tipo de Uso:
- Categoria
- Cor
- Sinalizador
- Objeto de Opções JSON
- Ordenar
- Valor
CRUD
Atualizar, excluir ou inserir dados. A ação selecionada define como a regra impacta os registros da tabela de destino.
As regras CRUD são executadas na camada de lógica de negócios e fazem com que todas as ações e validações na tabela ou objeto que você está modificando sejam executadas. (Use uma regra XP CRUD quando quiser usar CRUD entre duas fontes de dados diferentes.)
Leitura adicional
Padrão
Use uma regra padrão para melhorar a experiência do usuário definindo valores padrão em campos nos níveis de dados, negócios ou UI. Um exemplo comum é definir um campo de data para um novo registro adicionado com a data de hoje.
Gantt
Lógica de negócios para um gráfico de Gantt na camada de UI. Os atributos são definidos no nível da regra através dos seguintes valores de Tipo de Uso:
- Cor
- Dependência
- Fim
- Objeto de Opções JSON
- Tarefa Pai
- Ordenar
- Início
- Tarefa
- Grupo de Tarefas
Lista
Preencha listas selecionadas na camada de UI. As regras de lista não têm ações ou validações associadas. Os atributos são definidos no nível da regra através dos seguintes valores de Tipo de Uso:
- Chave
- Título
- Subtítulo
Mapa
Lógica de negócios para um mapa na camada de UI. Os atributos são definidos no nível da regra através dos seguintes valores de Tipo de Uso:
- Categoria
- Cor
- Objeto de Opções JSON
- Valor
Migração
Uma regra de migração é executada quando uma versão é instalada em um novo servidor. Seu uso principal é para mover aplicativos do desenvolvimento para QA e do QA para ambientes de produção. As regras são adicionadas às etapas de gerenciamento de mudanças executadas ao publicar um LP em um novo ambiente. Quando uma regra de migração é executada, o App Builder tira uma captura da regra e a incorpora no conjunto de mudanças. A regra de migração é excluída após a execução.
Gráfico de rede
Lógica de negócios para um gráfico de rede na camada de UI.
Notificação
Envie uma mensagem para um usuário. As mensagens podem ser enviadas por email, notificações push, SMS (mensagens de texto) ou alertas no aplicativo App Builder. As notificações suportam anexos de arquivos de qualquer tipo.
Tabela Dinâmica
Exiba uma tabela de tabela dinâmica (conjunto de dados achatado). As regras de tabela dinâmica resumem dados relacionados que se estendem por várias linhas e os apresentam em uma única linha. Essa saída ajuda a chamar a atenção para informações úteis.
Alcance
Use uma regra de alcance para restringir o acesso de um usuário a dados em páginas sem restringir o acesso às próprias páginas.
Relatório
Use para configurar a lógica de negócios sem eventos associados. Este tipo de regra é destinado a diferentes requisitos de relatório na camada de UI (por exemplo, para um gráfico, painel de grade ou tabela dinâmica).
Subconsulta
As regras de subconsulta são regras que podem residir dentro de outras regras de negócios. As subconsultas por si só não são expostas à camada de UI do aplicativo e não suportam eventos de lógica de negócios. Elas são tipicamente usadas para ajustar dados, realizar lógica mais complexa ou para cálculos sobre dados.
Dica
Ao projetar subconsultas, mantenha a lógica o mais simples e achatada possível.
Validação
As regras de validação protegem a integridade dos dados. Por exemplo, você pode usá-las para impor lógica de negócios na entrada manual. Se uma regra CRUD for definida, as validações também são executadas quando essa regra CRUD é acionada. As mensagens de validação exibidas aos usuários são configuráveis e podem usar substituição dinâmica para melhorar a experiência do usuário.
Leitura adicional
Visibilidade
Determine o estado de um controle na camada de UI: quais controles estão ocultos, são obrigatórios ou estão disponíveis para edição. As regras de visibilidade simplificam o design da página e melhoram a experiência do usuário. (Essa regra só pode ser configurada para um painel de formulário.)
Webhook
Permite que um sistema separado invoque um evento de callback personalizado do App Builder. Um webhook é um callback HTTP definido pelo usuário que é tipicamente acionado por um evento. Se um webhook estiver sendo usado na forma de um email ou mensagem de texto, dependendo da resposta do usuário, o App Builder responde de acordo, invocando o evento especificado.
XP CRUD
Executa uma regra CRUD em fontes de dados. Regras do tipo XP são projetadas para permitir que a lógica seja executada em diferentes fontes de dados.
XP validation
Executa uma regra de validação em fontes de dados. Regras do tipo XP são projetadas para permitir que a lógica seja executada em diferentes fontes de dados.
Additional settings
Quando você seleciona um propósito de regra, uma ou mais das seguintes configurações adicionais são exibidas.
Action
As opções de ação são as seguintes:
- Cram: Semelhante a inserir, mas não falha se uma chave primária já existir. Um novo registro é criado apenas se a PK não existir na fonte de dados. Registros de chave duplicada são ignorados.
- Delete: Exclui um registro existente na tabela de destino.
- Insert: Cria um novo registro na tabela de destino.
- Update: Modifica um registro existente na tabela de destino.
Chart Type
Para o propósito da regra de gráfico, os seguintes tipos de gráfico estão disponíveis:
- 3D Bar
- 3D Column
- 3D Donut
- 3D Pie
- Area
- Bar
- Bubble
- Column
- Funnel
- Line
- Marimekko
- Mixed
- Percentage Area
- Pie
- Pyramid
- Semi Circle Donut
- Spline
- Stacked Area
- Stacked Bar
- Stacked Column
Delivery Method
Os métodos de entrega para uma regra de notificação são os seguintes:
- App Builder Alert
- Push Notification
- Text Message
Source Data Source
A fonte de dados que aciona a regra.
Fonte de Dados de Destino
A fonte de dados de destino é a fonte de dados onde o destino está.
Destino
O destino é aquilo que é afetado pela regra.
Camada de Destino
As opções da camada de destino são as seguintes:
- Camada de Dados: Selecione para escolher um destino na camada de dados.
- Camada de Lógica: Selecione para escolher um destino na camada de lógica.