Conectar ao Jitterbit Harmony no Jitterbit App Builder
Introdução
Desde o App Builder 4.53, é possível usar um assistente para configurar uma conexão com o Jitterbit Harmony.
O assistente faz o seguinte:
-
Configura provedores de autenticação de usuário e fonte de dados para conectar à sua conta do Harmony. (Para ver isso, selecione IDE > Provedores de Segurança.)
-
Configura um servidor de dados do App Builder da categoria de banco de dados Jitterbit Harmony e tipo API Manager. (Para ver isso, selecione IDE > Servidores de Dados.)
-
Configura as configurações para as organizações e ambientes da sua conta do Harmony. Você pode ver e gerenciar isso na página IDE > Harmony.
Configurar uma conexão com o API Manager
Para configurar uma conexão com o Harmony, siga estas etapas:
-
Selecione IDE > Harmony.
-
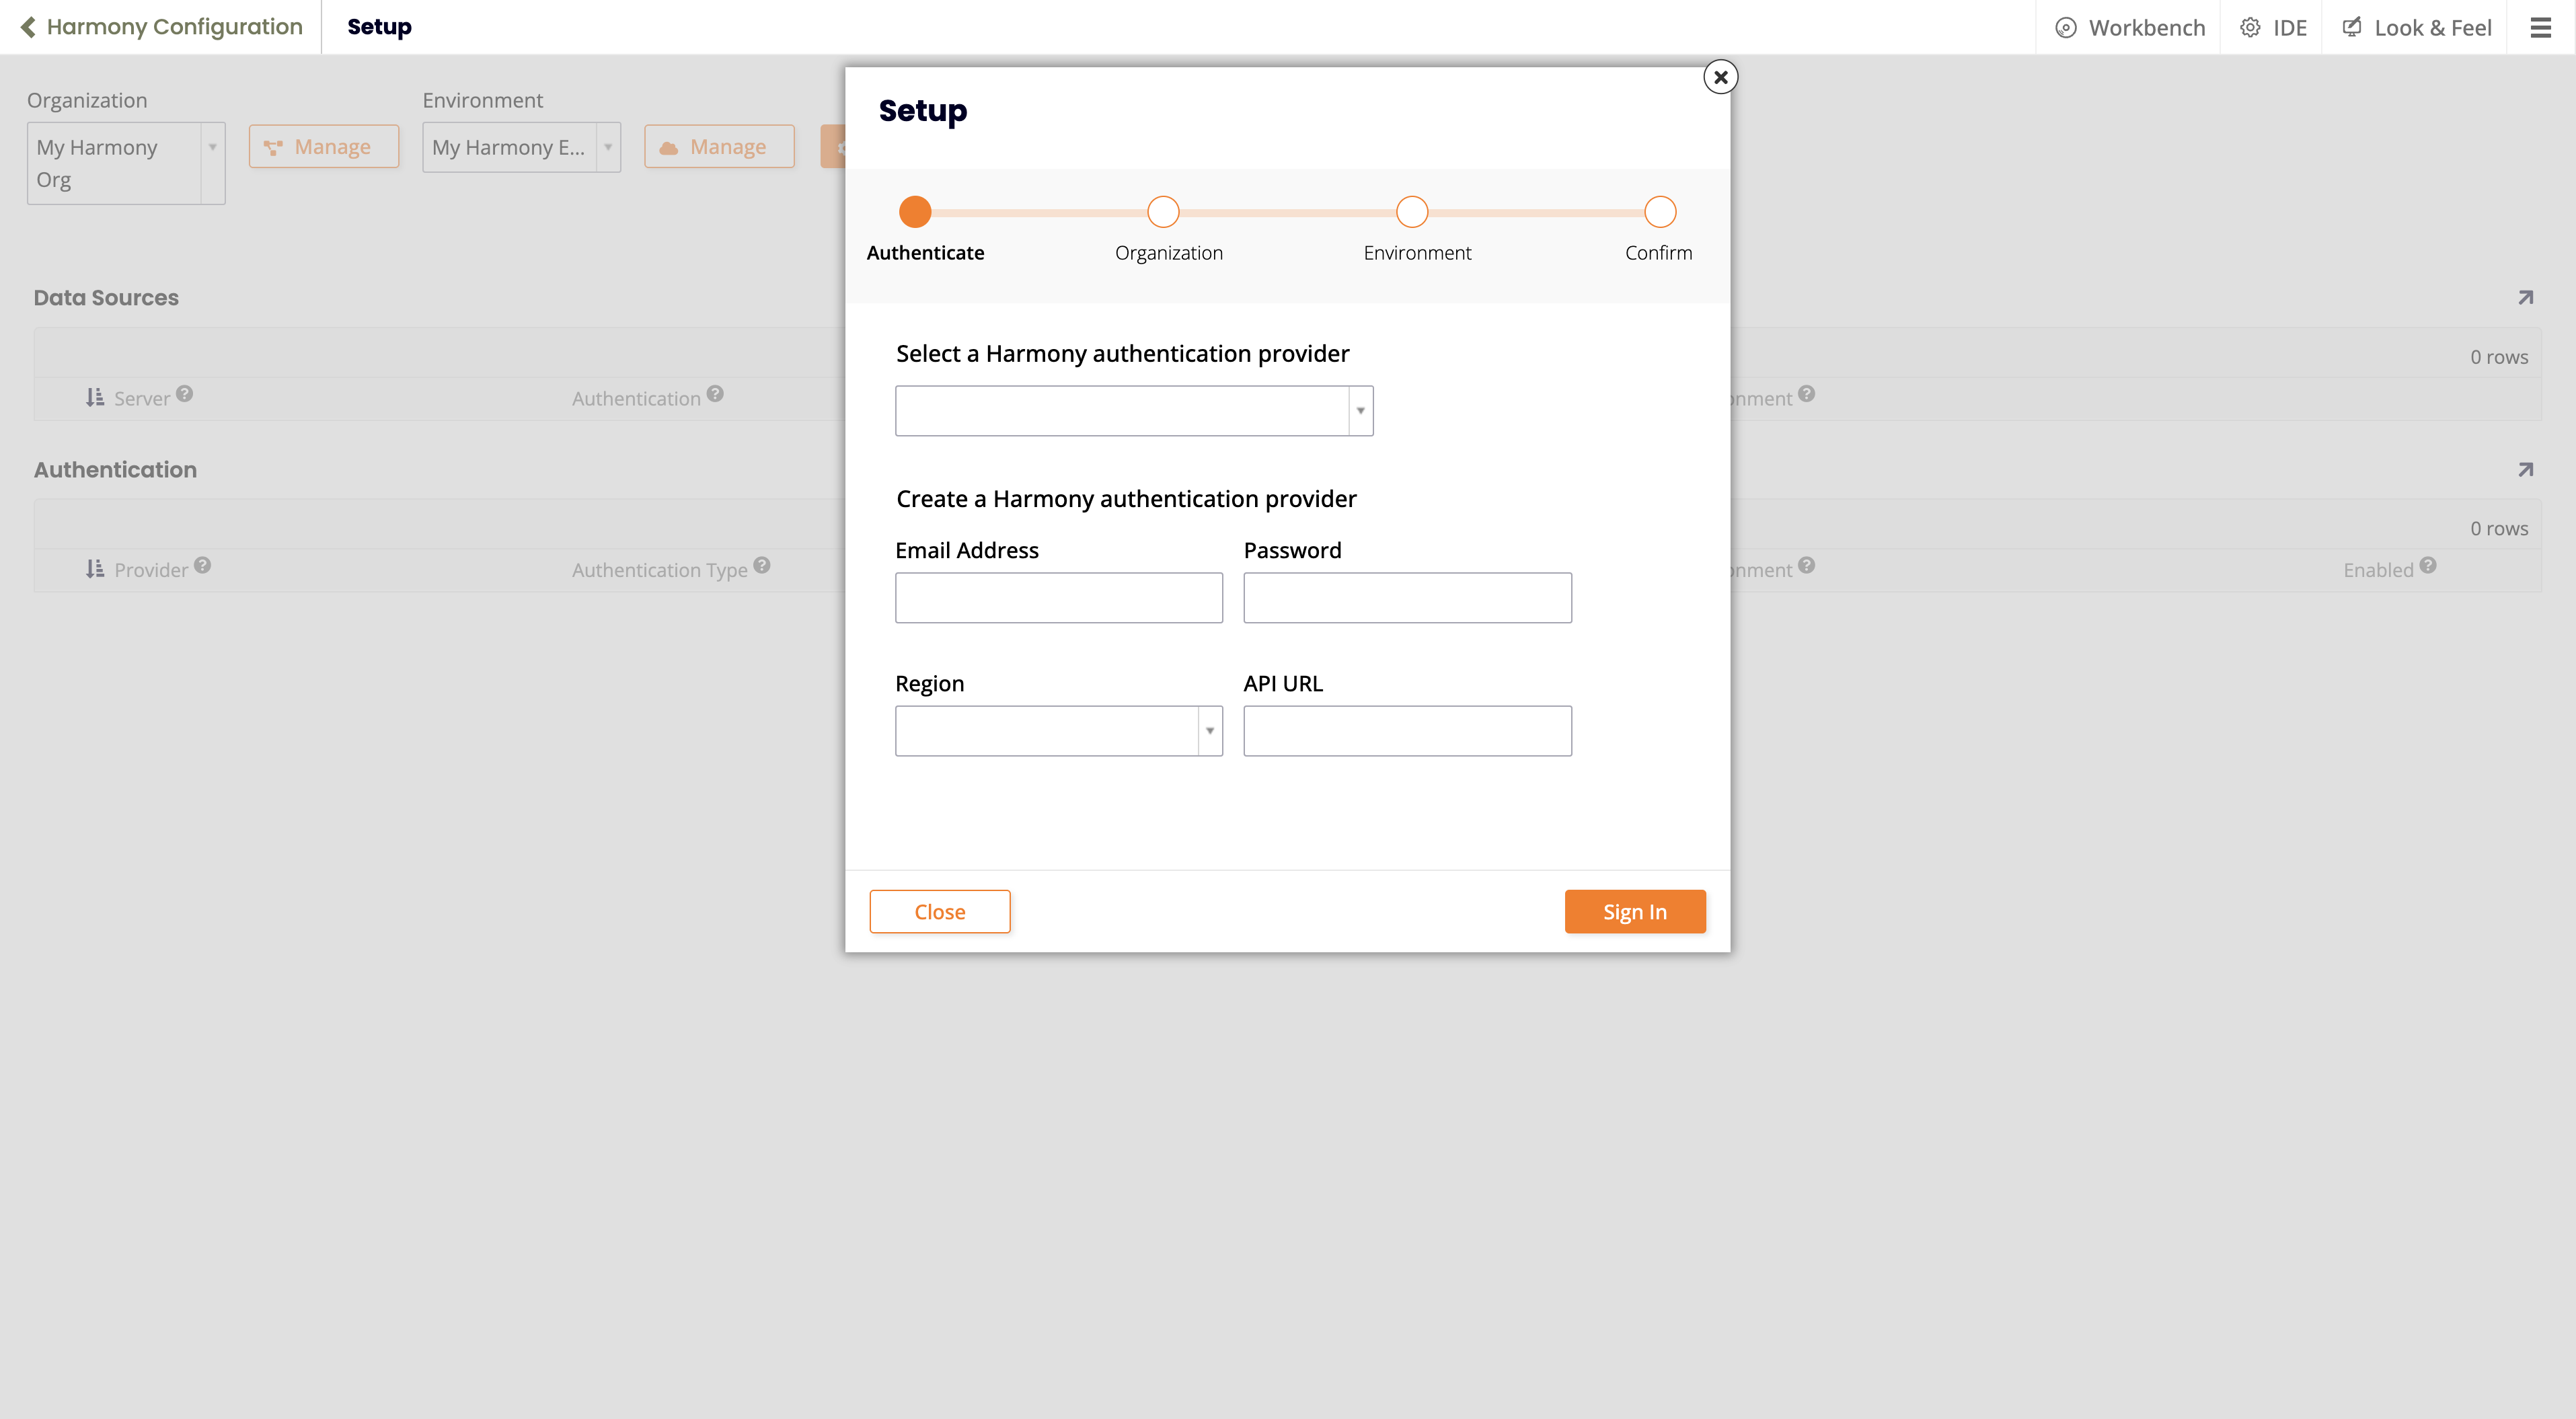
Clique no botão Configuração. O assistente de Configuração é aberto:
-
Se você já tiver um provedor de autenticação configurado, selecione-o usando o menu Selecionar um provedor de autenticação do Harmony.
Se não tiver, defina esses valores em Criar um provedor de autenticação do Harmony:
-
Endereço de Email: O nome de login da conta do Harmony.
-
Senha: A senha da conta do Harmony.
-
Defina valores para ou um dos seguintes:
-
Região: A região em que a conta está. Escolha entre estas opções:
- Ásia-Pacífico
- Europa, Oriente Médio e África
- América do Norte e América do Sul
-
URL da API: A URL base para o servidor do Harmony.
-
-
-
Clique no botão Entrar.
-
Se for bem-sucedido, a página Organizações do assistente mostrará uma lista de organizações disponíveis. Selecione uma e clique no botão Próximo.
-
Na página Ambiente do assistente, selecione o ambiente a ser usado e clique no botão Próximo.
-
Na página Confirmar, verifique os detalhes e clique no botão Finalizar.
-
A página Configuração do Harmony mostra as fontes de dados e provedores de autenticação adicionados:

Gerenciar organizações e ambientes do Harmony
Organizações
Para gerenciar organizações do Harmony, siga estas etapas:
-
Selecione IDE > Harmony.
-
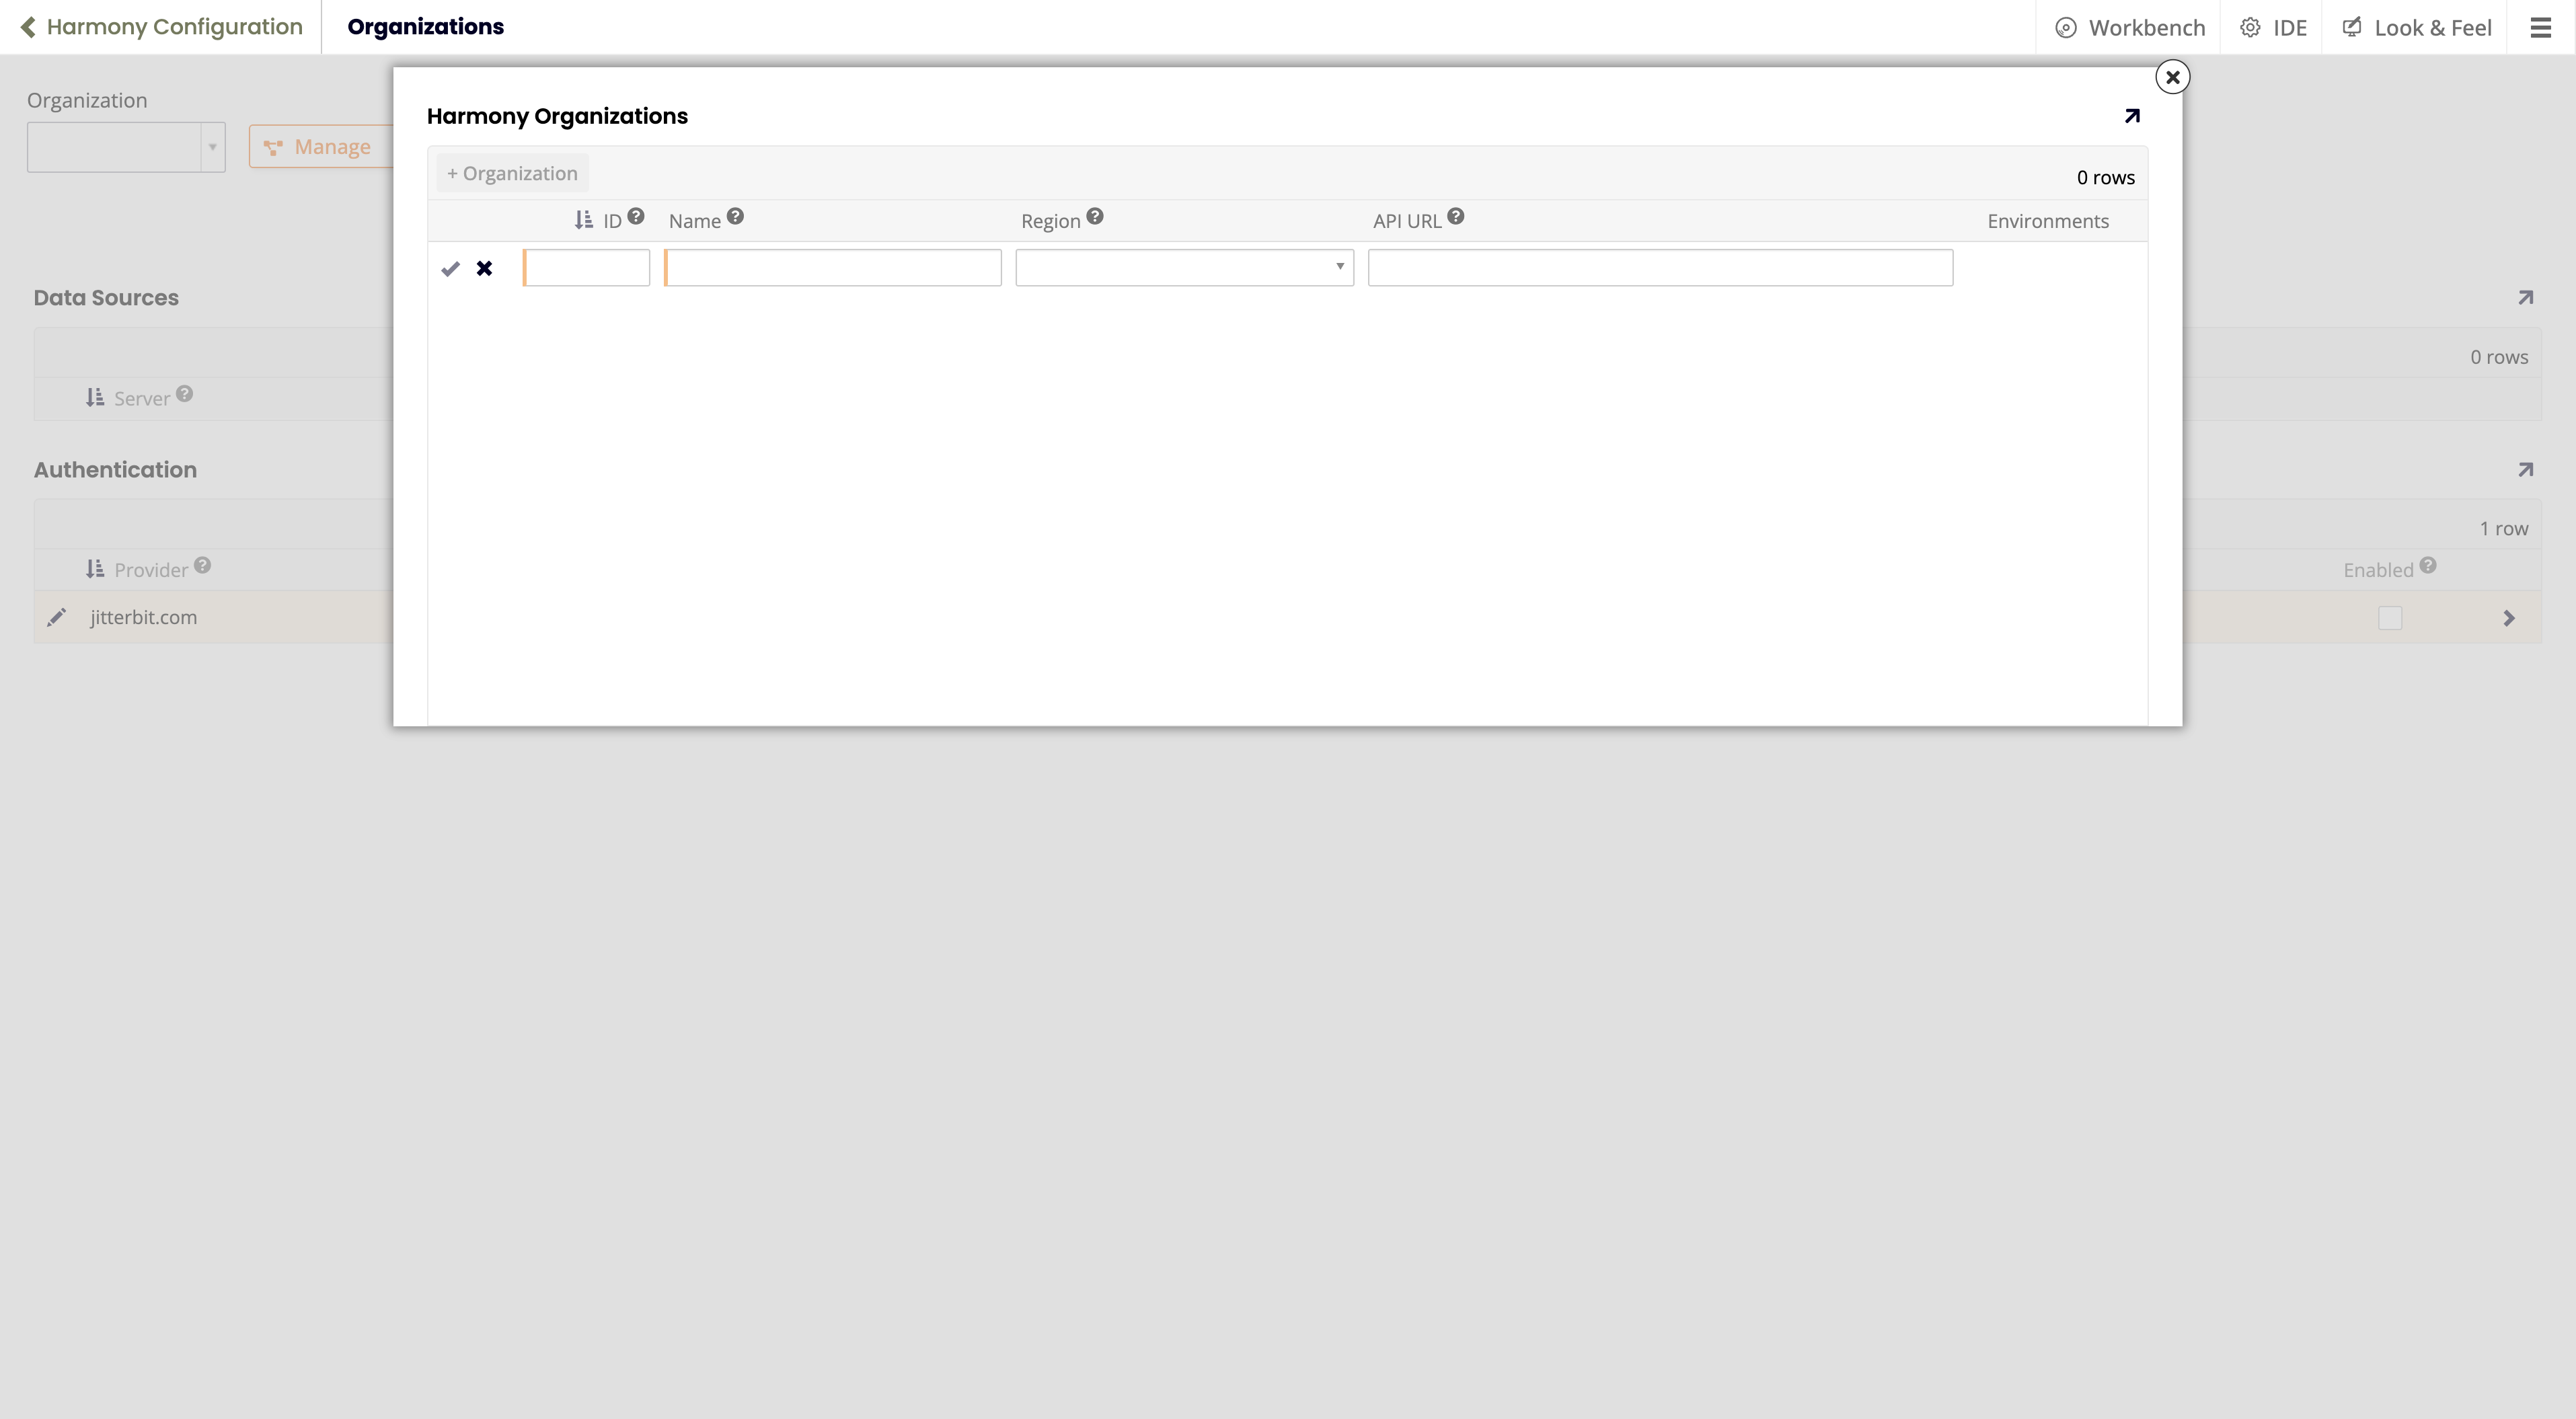
Clique no botão Gerenciar. A janela pop-up Organizações do Harmony se abre:
-
Existem duas possibilidades:
-
Se esta é sua primeira vez aqui, há uma linha vazia pronta para entrada.
-
Se já houver organizações configuradas, elas serão listadas. Para adicionar uma nova, clique no botão + Organização.
-
-
Na linha vazia, defina os valores para os seguintes campos:
-
ID: O ID da organização do Harmony.
-
Nome: Um nome para esta organização. (Pode ser diferente do nome usado no Harmony.)
-
Defina valores para um dos seguintes:
-
Região: A região em que a conta está. Escolha entre estas opções:
- Ásia-Pacífico
- Europa, Oriente Médio e África
- América do Norte e América do Sul
-
URL da API: A URL base para o servidor do Harmony.
-
-
-
Clique no ícone Salvar, e depois feche a janela pop-up.
Ambientes
Para gerenciar ambientes do Harmony, siga estas etapas:
-
Selecione IDE > Harmony.
-
Use o menu Organização para selecionar a organização em que o ambiente está.
-
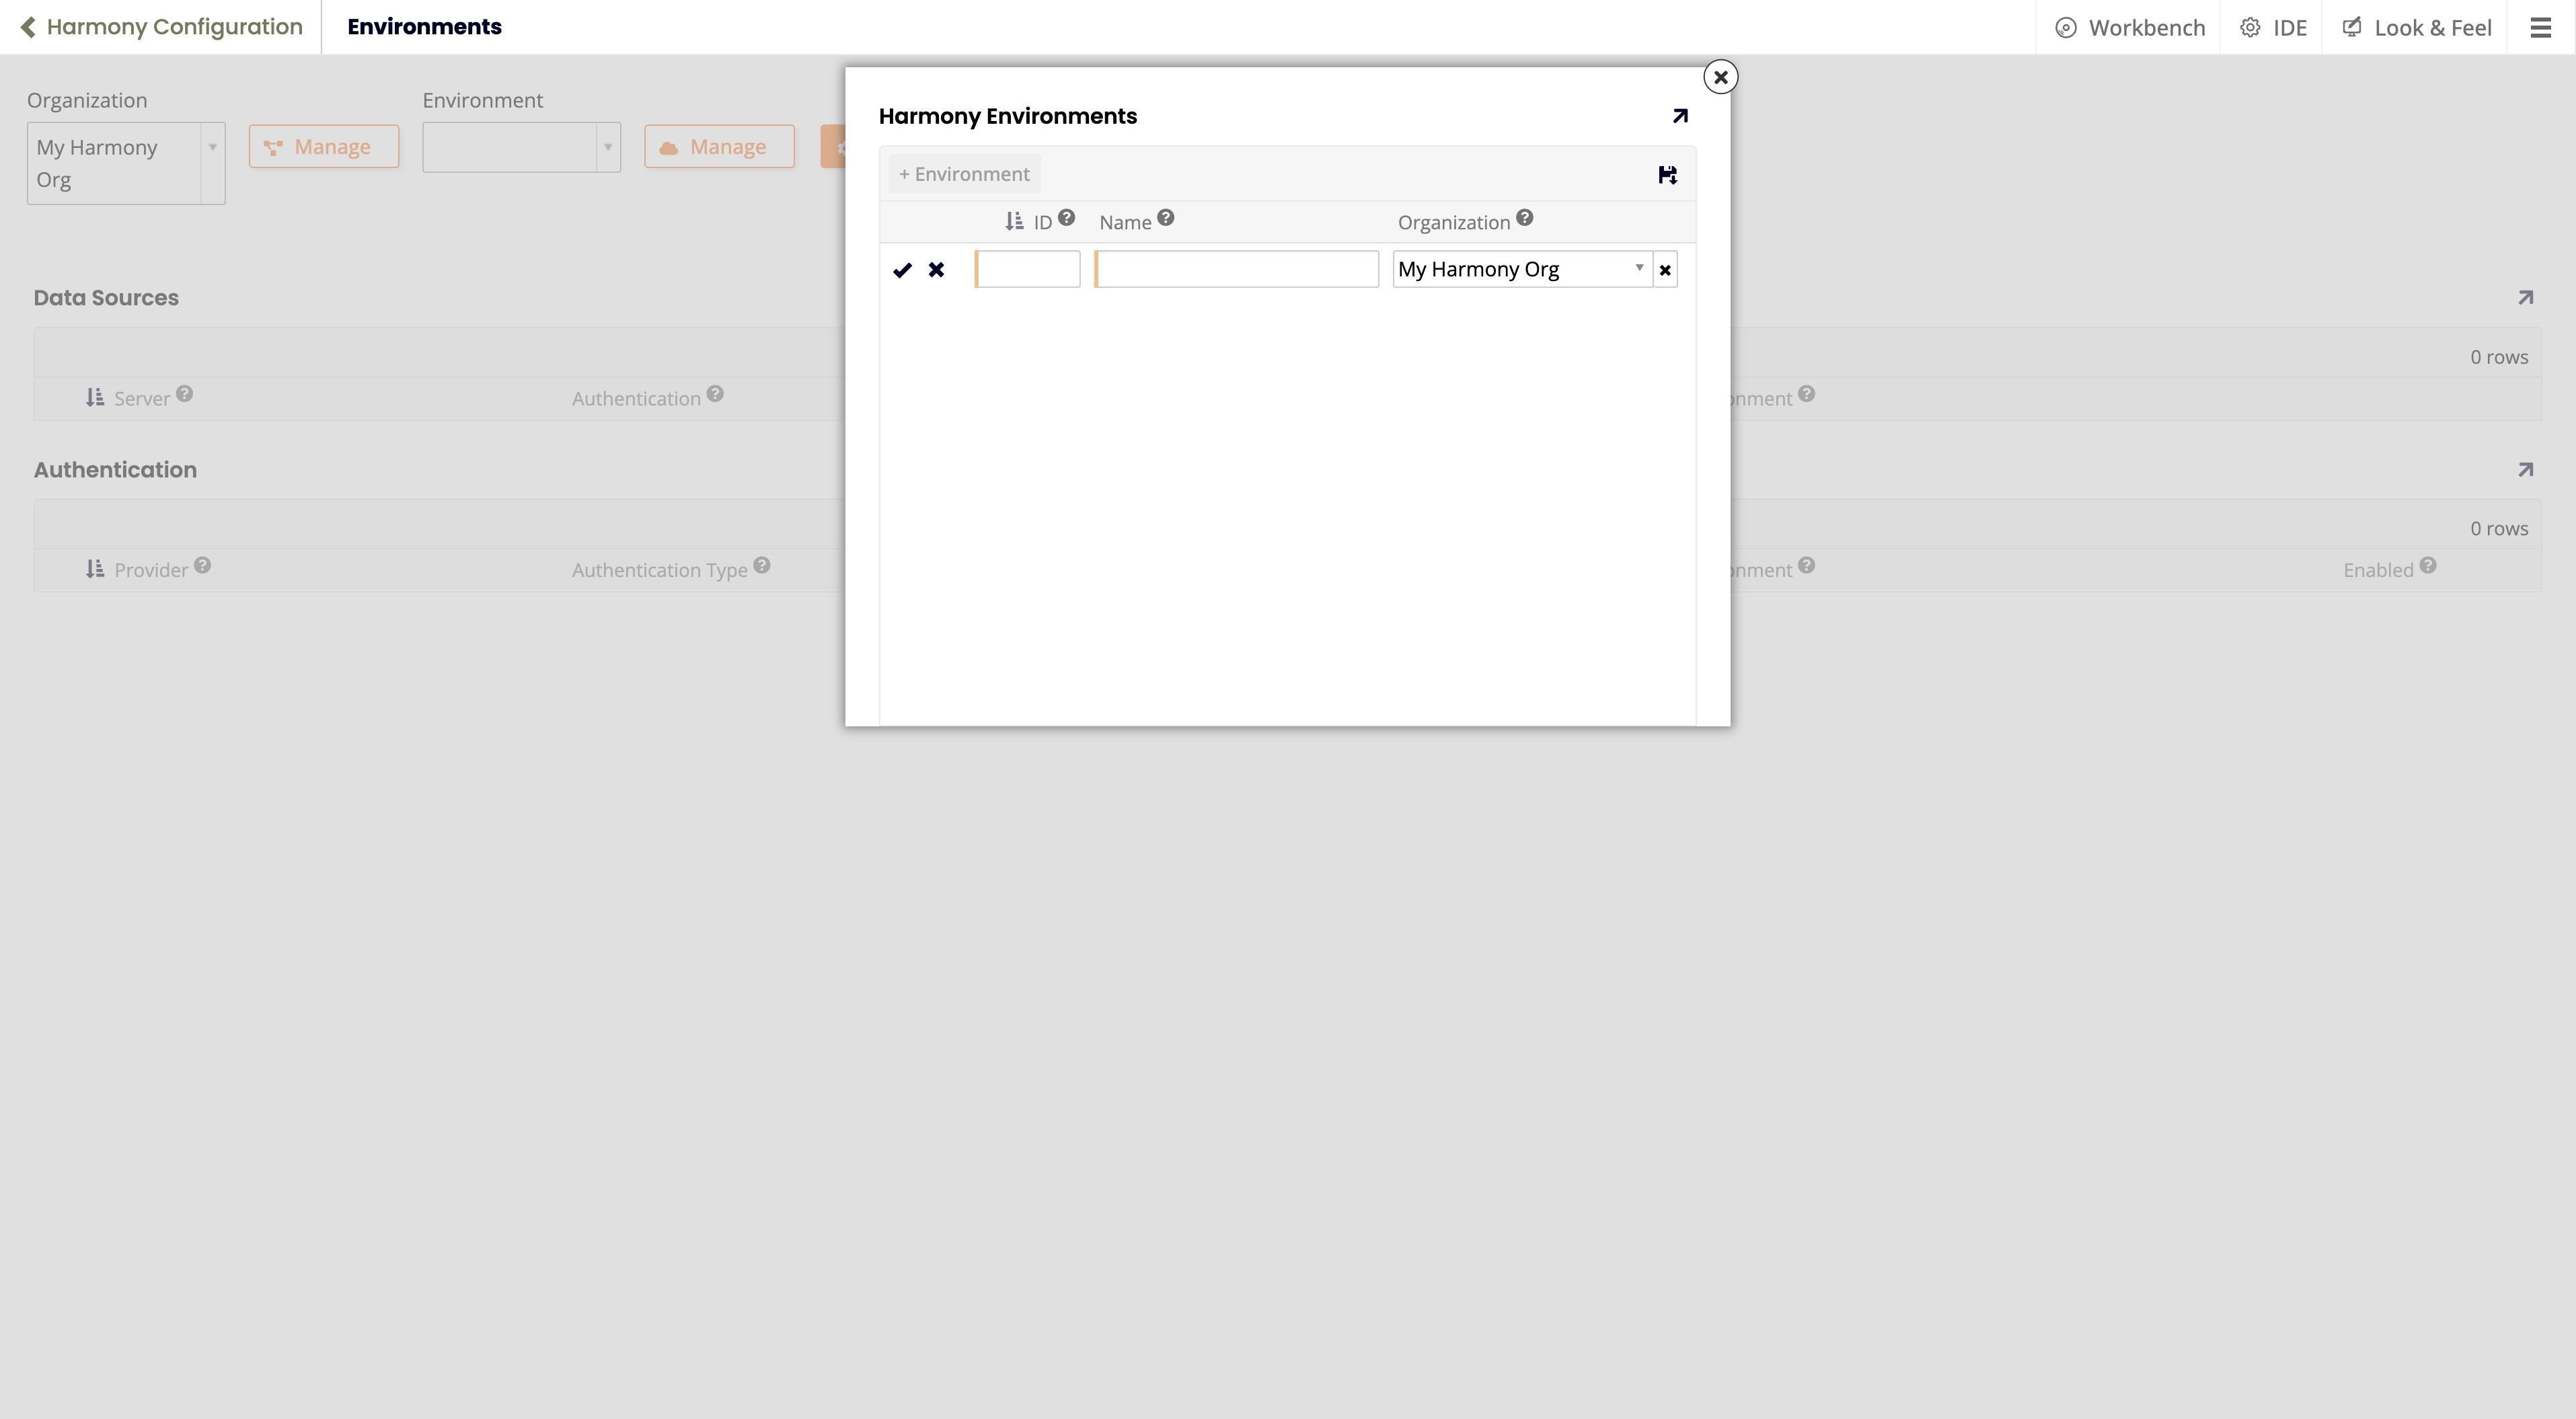
Clique no botão Gerenciar (ao lado do menu Ambiente). A janela pop-up Ambientes do Harmony se abre:
-
Existem duas possibilidades:
-
Se esta é a sua primeira vez aqui, há uma linha vazia pronta para entrada, com a configuração Organização pré-selecionada.
-
Se já houver ambientes configurados, eles serão listados. Para adicionar um novo, clique no botão + Ambiente.
-
-
Defina os valores para o seguinte:
-
ID: O ID do ambiente. Encontre isso na página Console de Gerenciamento > Ambientes.
-
Nome: Um nome para este ambiente. (Pode ser diferente do nome usado no Harmony.)
-
Organização: A organização em que o ambiente está.
-
-
Clique no ícone Salvar, e depois feche o popup.