Connect to a Jitterbit MCP server using the MCP Client connector
Introduction
The MCP Client connector in Studio can connect to any Model Context Protocol server, including a server you create and publish in Jitterbit MCP. This guide walks through gathering the values a Jitterbit MCP server provides, and using them to configure an MCP Client connection.
For a complete walkthrough of building an LLM tool-calling agent against an MCP server, including tool discovery, invocation, and the LLM request loop, see Connect to an MCP server using the MCP Client connector.
Prerequisites
-
A published MCP server in Jitterbit MCP, with at least one tool configured.
-
An MCP authentication token created for that server.
Get the server URL and authentication token
-
On the MCP Servers page, click the row of the server you want to connect to, to open the Server details drawer.
-
On the Server tab, click the copy icon next to Server URL to copy the value to your clipboard.
-
On the Auth Tokens tab, click New Token, configure the token's fields, then click the confirm icon to create it.
Warning
The complete token value is displayed only once, immediately after the token is created. Copy it and store it securely before continuing.
Configure the MCP Client connection
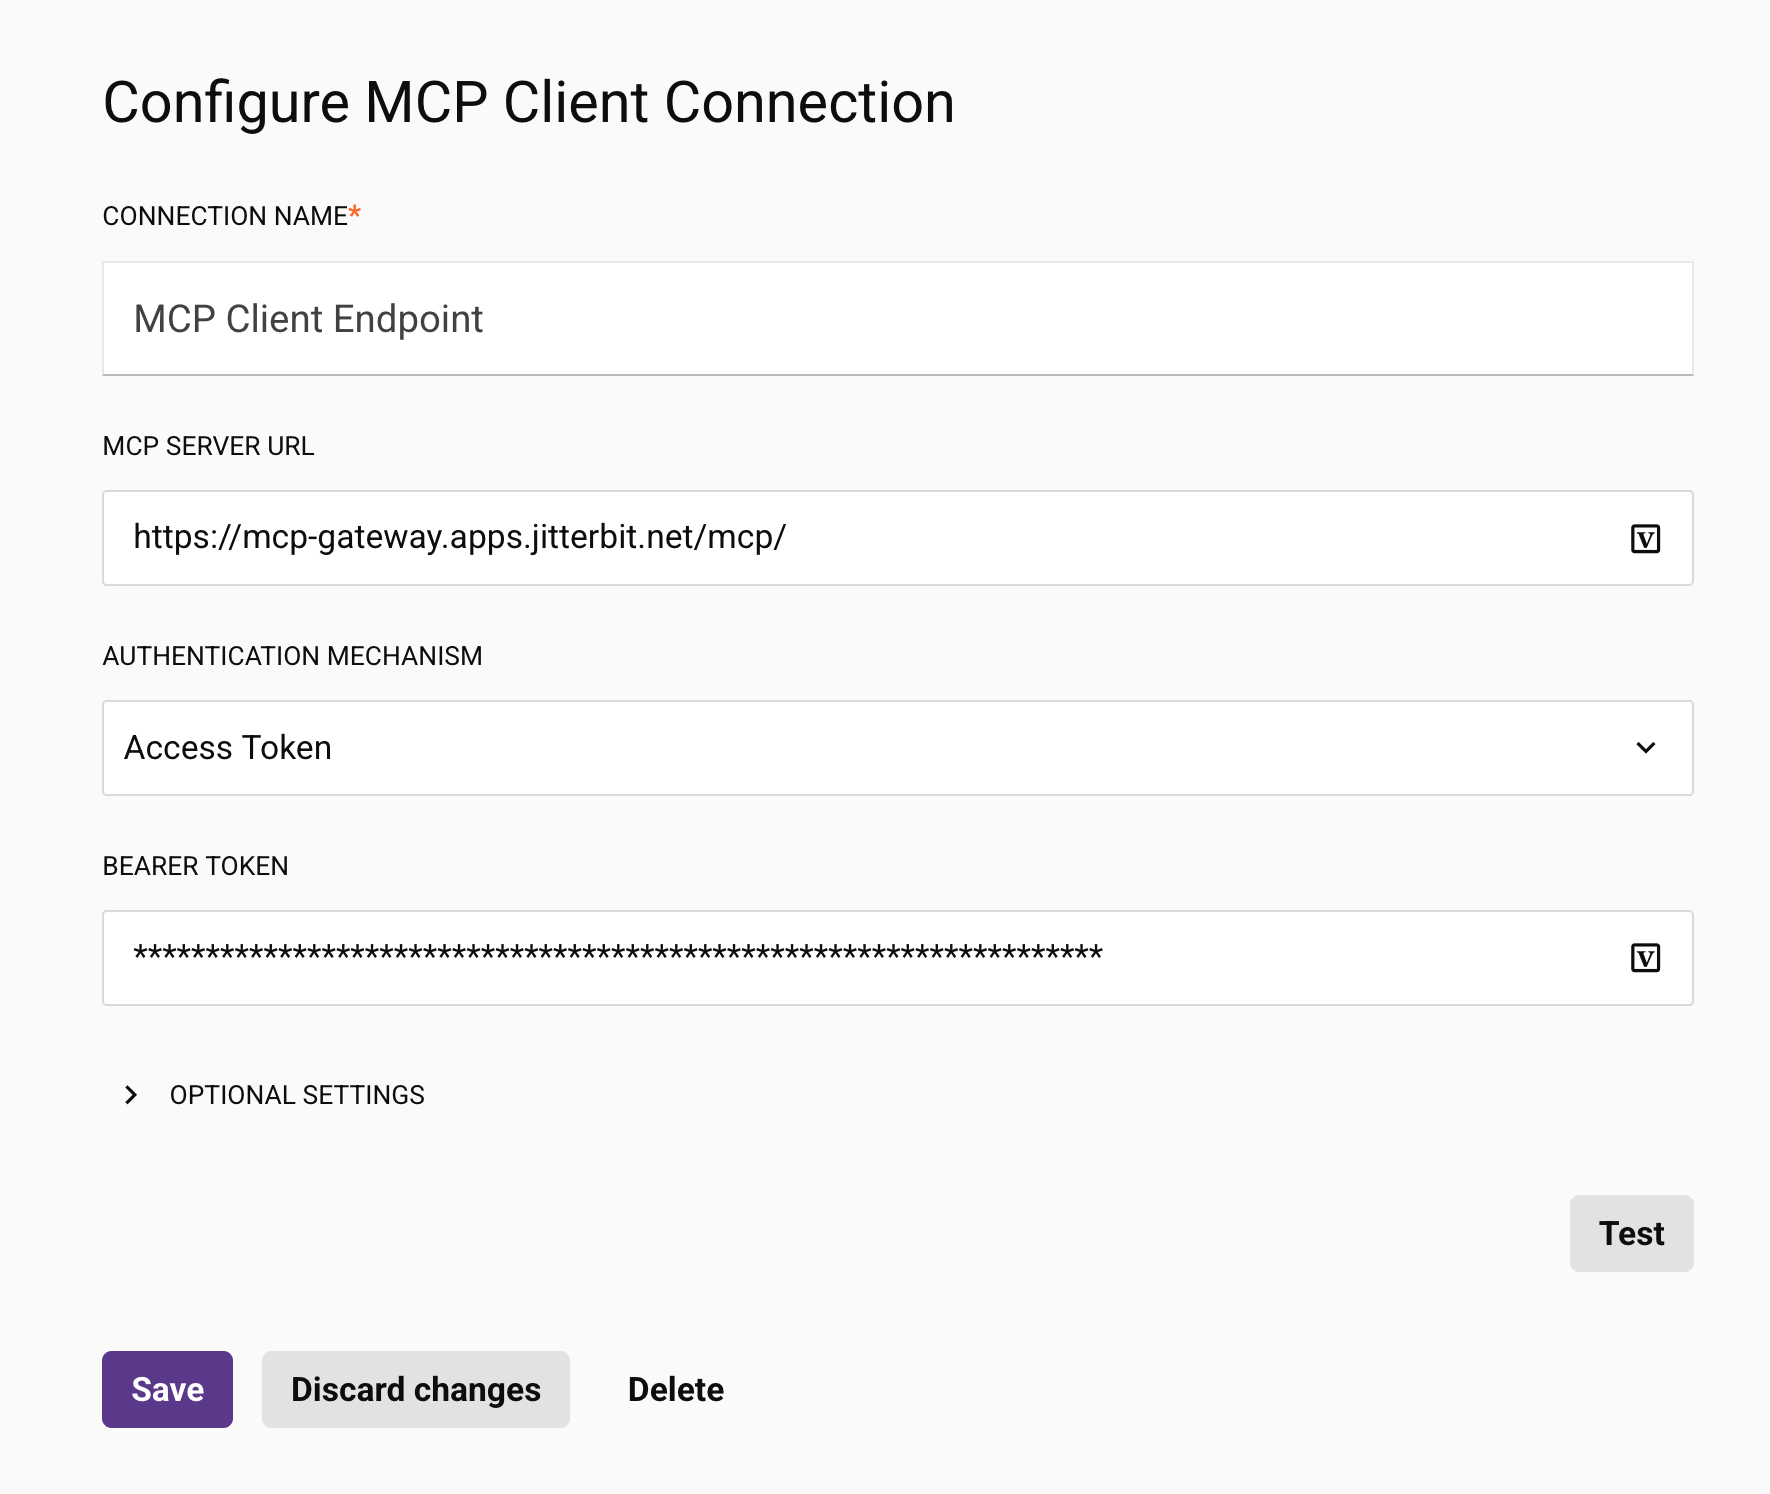
In Studio, create or edit an MCP Client connection:
-
MCP server URL: Set to the Server URL value you copied from the MCP Servers page.
-
Authentication mechanism: Set to Access Token.
-
Bearer token: Set to the MCP authentication token you copied from the Auth Tokens tab.
Click Test to verify the connection.
Next steps
Add a List Tools activity to see the tools available on the server, then use an Invoke Tools activity to call one of them.