Introducción a App Builder - Lección 1: Crear una aplicación
Esta es la primera lección de la serie de tutoriales Introducción a App Builder, en la que aprenderás conceptos y desarrollarás habilidades con App Builder construyendo una aplicación de cumplimiento de pedidos llamada Northwinds.
Requisitos previos
Esta serie de tutoriales requiere acceso a una instancia de App Builder 4.48 con la base de datos Northwinds ya instalada. Hay dos formas de obtener una:
-
Solicitar una instancia de capacitación con la base de datos Northwinds preinstalada, o
-
Descargar e instalar un paquete de lanzamiento que contenga la base de datos Northwinds en tu propia instancia.
Solicitar una instancia de capacitación
Para obtener acceso temporal a una instancia de App Builder que ya tenga la base de datos Northwinds como fuente de datos existente, contacta al Equipo de Capacitación de Jitterbit.
Descargar e instalar Northwinds
Para usar tu propia instancia de App Builder para este tutorial, sigue estos pasos para descargar e instalar la base de datos Northwinds en ella:
-
Descargar el paquete de lanzamiento
Usa los enlaces a continuación para descargar el paquete de lanzamiento correcto para uno de estos dos tipos de base de datos:Tipo de base de datos Enlace de descarga PostgreSQL Northwinds PostgreSQL Microsoft SQL Server Northwinds Microsoft SQL Server -
Instalar el paquete de lanzamiento
A continuación, instala el paquete de lanzamiento en tu instancia de App Builder:-
Inicia sesión en App Builder.
-
Ve a IDE.
Nota
El entorno de diseño integrado, o IDE, proporciona acceso rápido a todos los comandos y configuraciones que necesitas al construir aplicaciones. Aprende más sobre ello en IDE.
-
En Desplegar, haz clic en Instalar versión.
-
Haz clic en + Paquete y luego haz clic en Examinar.
-
Selecciona el archivo
.LPdescargado. -
Haz clic en Guardar. El panel de Versión a la derecha mostrará la información del paquete.
-
Cierra el diálogo de Paquete.
-
Confirma que los detalles sean correctos y haz clic en el botón Instalar.
-
-
Desbloquear la aplicación
Finalmente, desbloquea la aplicación para que tengas acceso a la base de datos Northwinds:-
Selecciona IDE > Servidores de Datos.
-
En el panel de Servidores de Datos, haz clic en Ver Todas las Fuentes de Datos.
-
Localiza la fuente de datos Northwinds que has instalado y selecciónala. El panel de Fuente de Datos mostrará sus detalles.
-
En el panel de Fuente de Datos, haz clic en Más > Desbloquear Fuente de Datos.
-
Crear una nueva aplicación
Después de seguir los pasos anteriores para descargar e instalar Northwinds, estás listo para comenzar a construir tu primera aplicación.
-
Accede al Menú del Sitio, la página de inicio de App Builder, haciendo clic en el icono de hamburguesa en la parte superior derecha para acceder al panel de acciones, luego selecciona Menú del Sitio.
Nota
El panel de acciones es una lista de enlaces a recursos importantes en App Builder. Aprende más sobre esto en panel de acciones.
-
Accede al IDE haciendo clic en su botón en la parte superior.
-
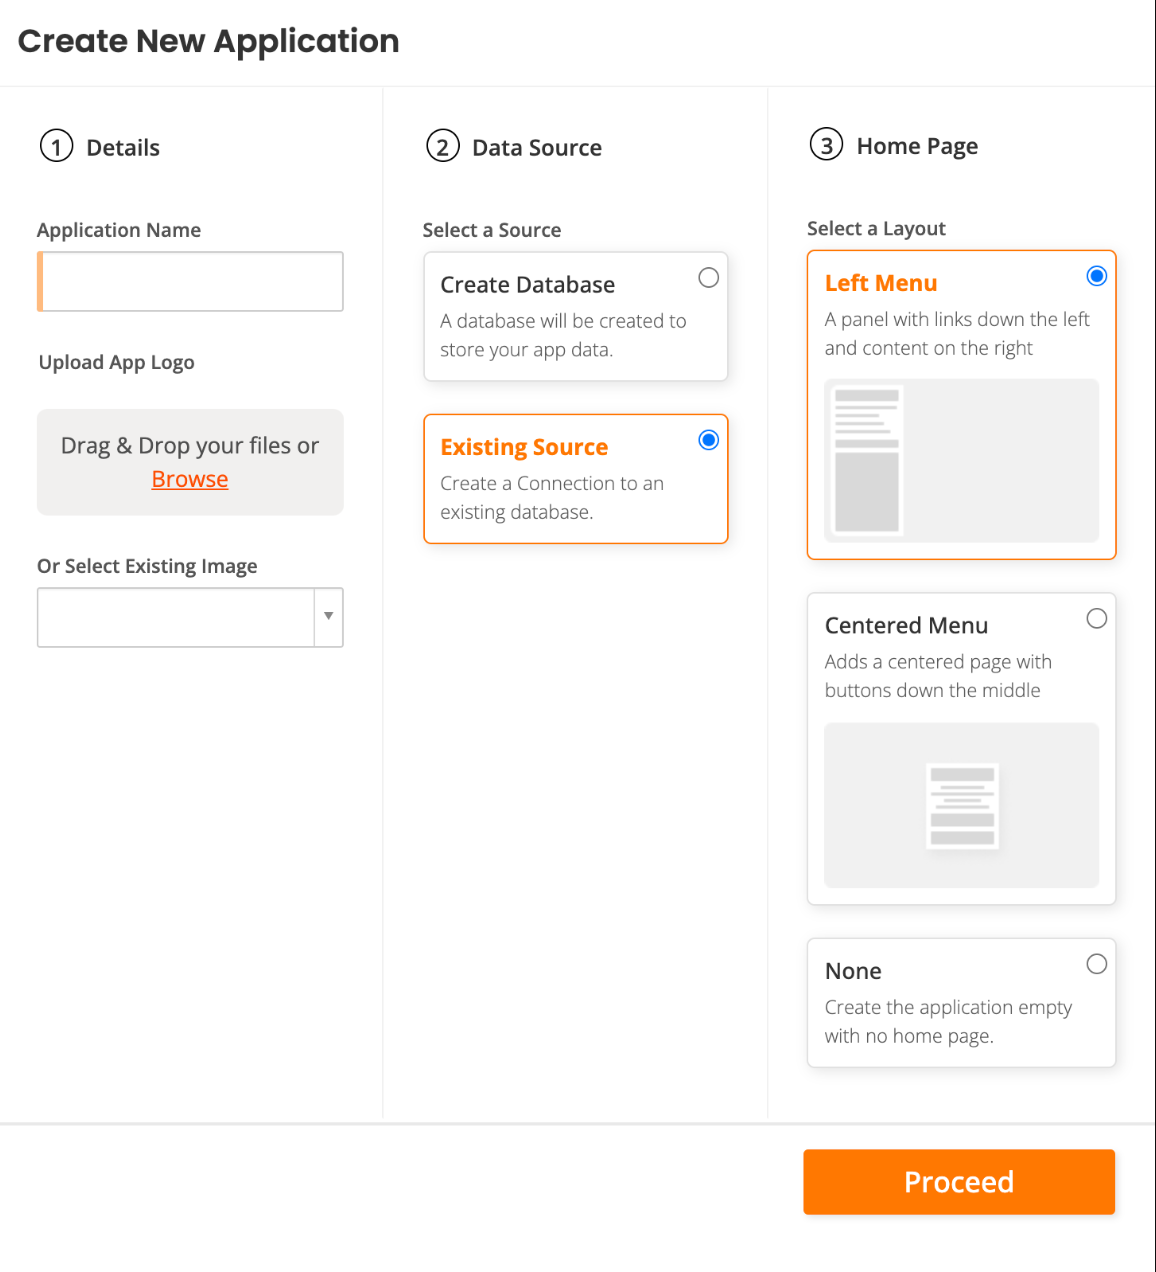
En el panel de Construir, haz clic en + Aplicación. Se abrirá el diálogo de Crear Nueva Aplicación:
-
En la sección ① Detalles, haz lo siguiente:
-
Ingresa un nombre para tu nueva aplicación en el campo Nombre de la Aplicación. En esta serie de tutoriales, utilizaremos el nombre Northwinds.
-
(Opcional) En Subir Logo de la Aplicación, arrastra y suelta una imagen, haz clic en Examinar para encontrar una, o selecciona una imagen existente del menú desplegable.
-
-
En la sección Data Source ②, selecciona Existing Source.
-
En la sección Home Page ③, selecciona Left Menu.
-
Haz clic en Proceed. Se abre el diálogo Add a Source to your application.
-
Selecciona Link to existing source y luego haz clic en el botón Next.
-
En el paso Pick sources, selecciona la base de datos relacional Northwinds.
-
Haz clic en el botón Link 1 Source.
-
En la página de resumen, haz clic en el botón Done.
App Builder creará tu aplicación.
Nota
Hay más de una forma de crear una aplicación en App Builder. Se describen en detalle en la página Create a new app.
Start designing your application
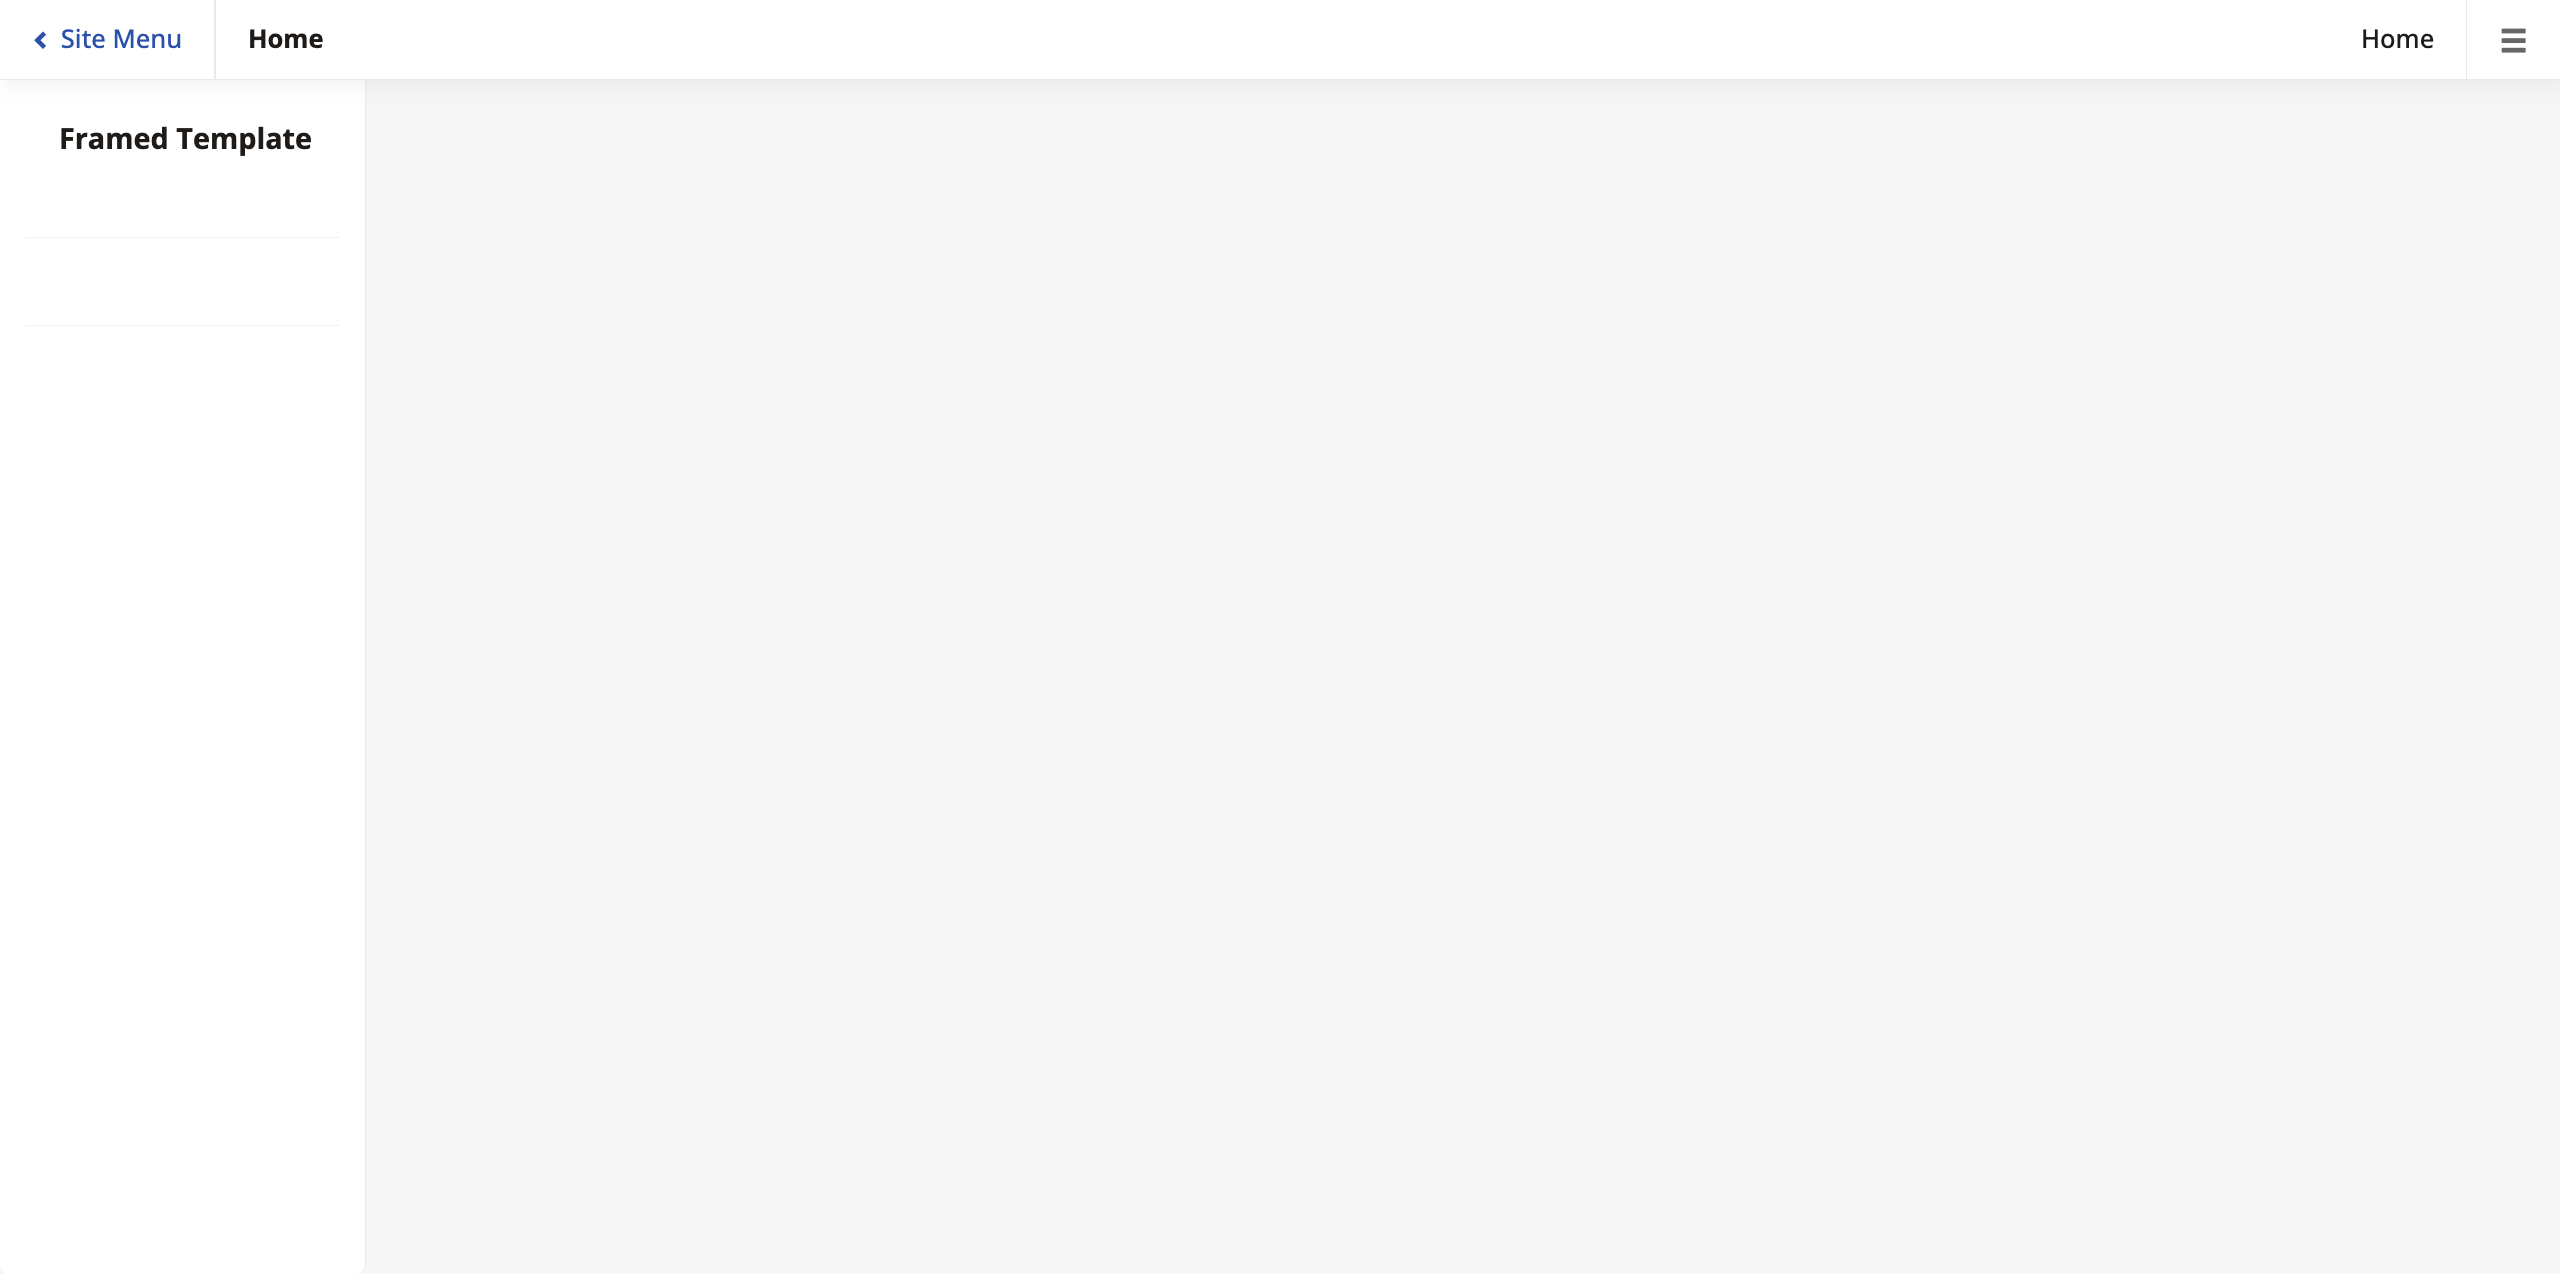
Ahora que App Builder ha creado la aplicación, puedes encontrarla regresando al menú del sitio y haciendo clic en la aplicación recién creada. Su página de inicio está vacía por ahora:
Para comenzar a agregar elementos a tu aplicación, ve a Action Drawer > App Workbench. Llegarás a la página de inicio del App Workbench, que se ve así:
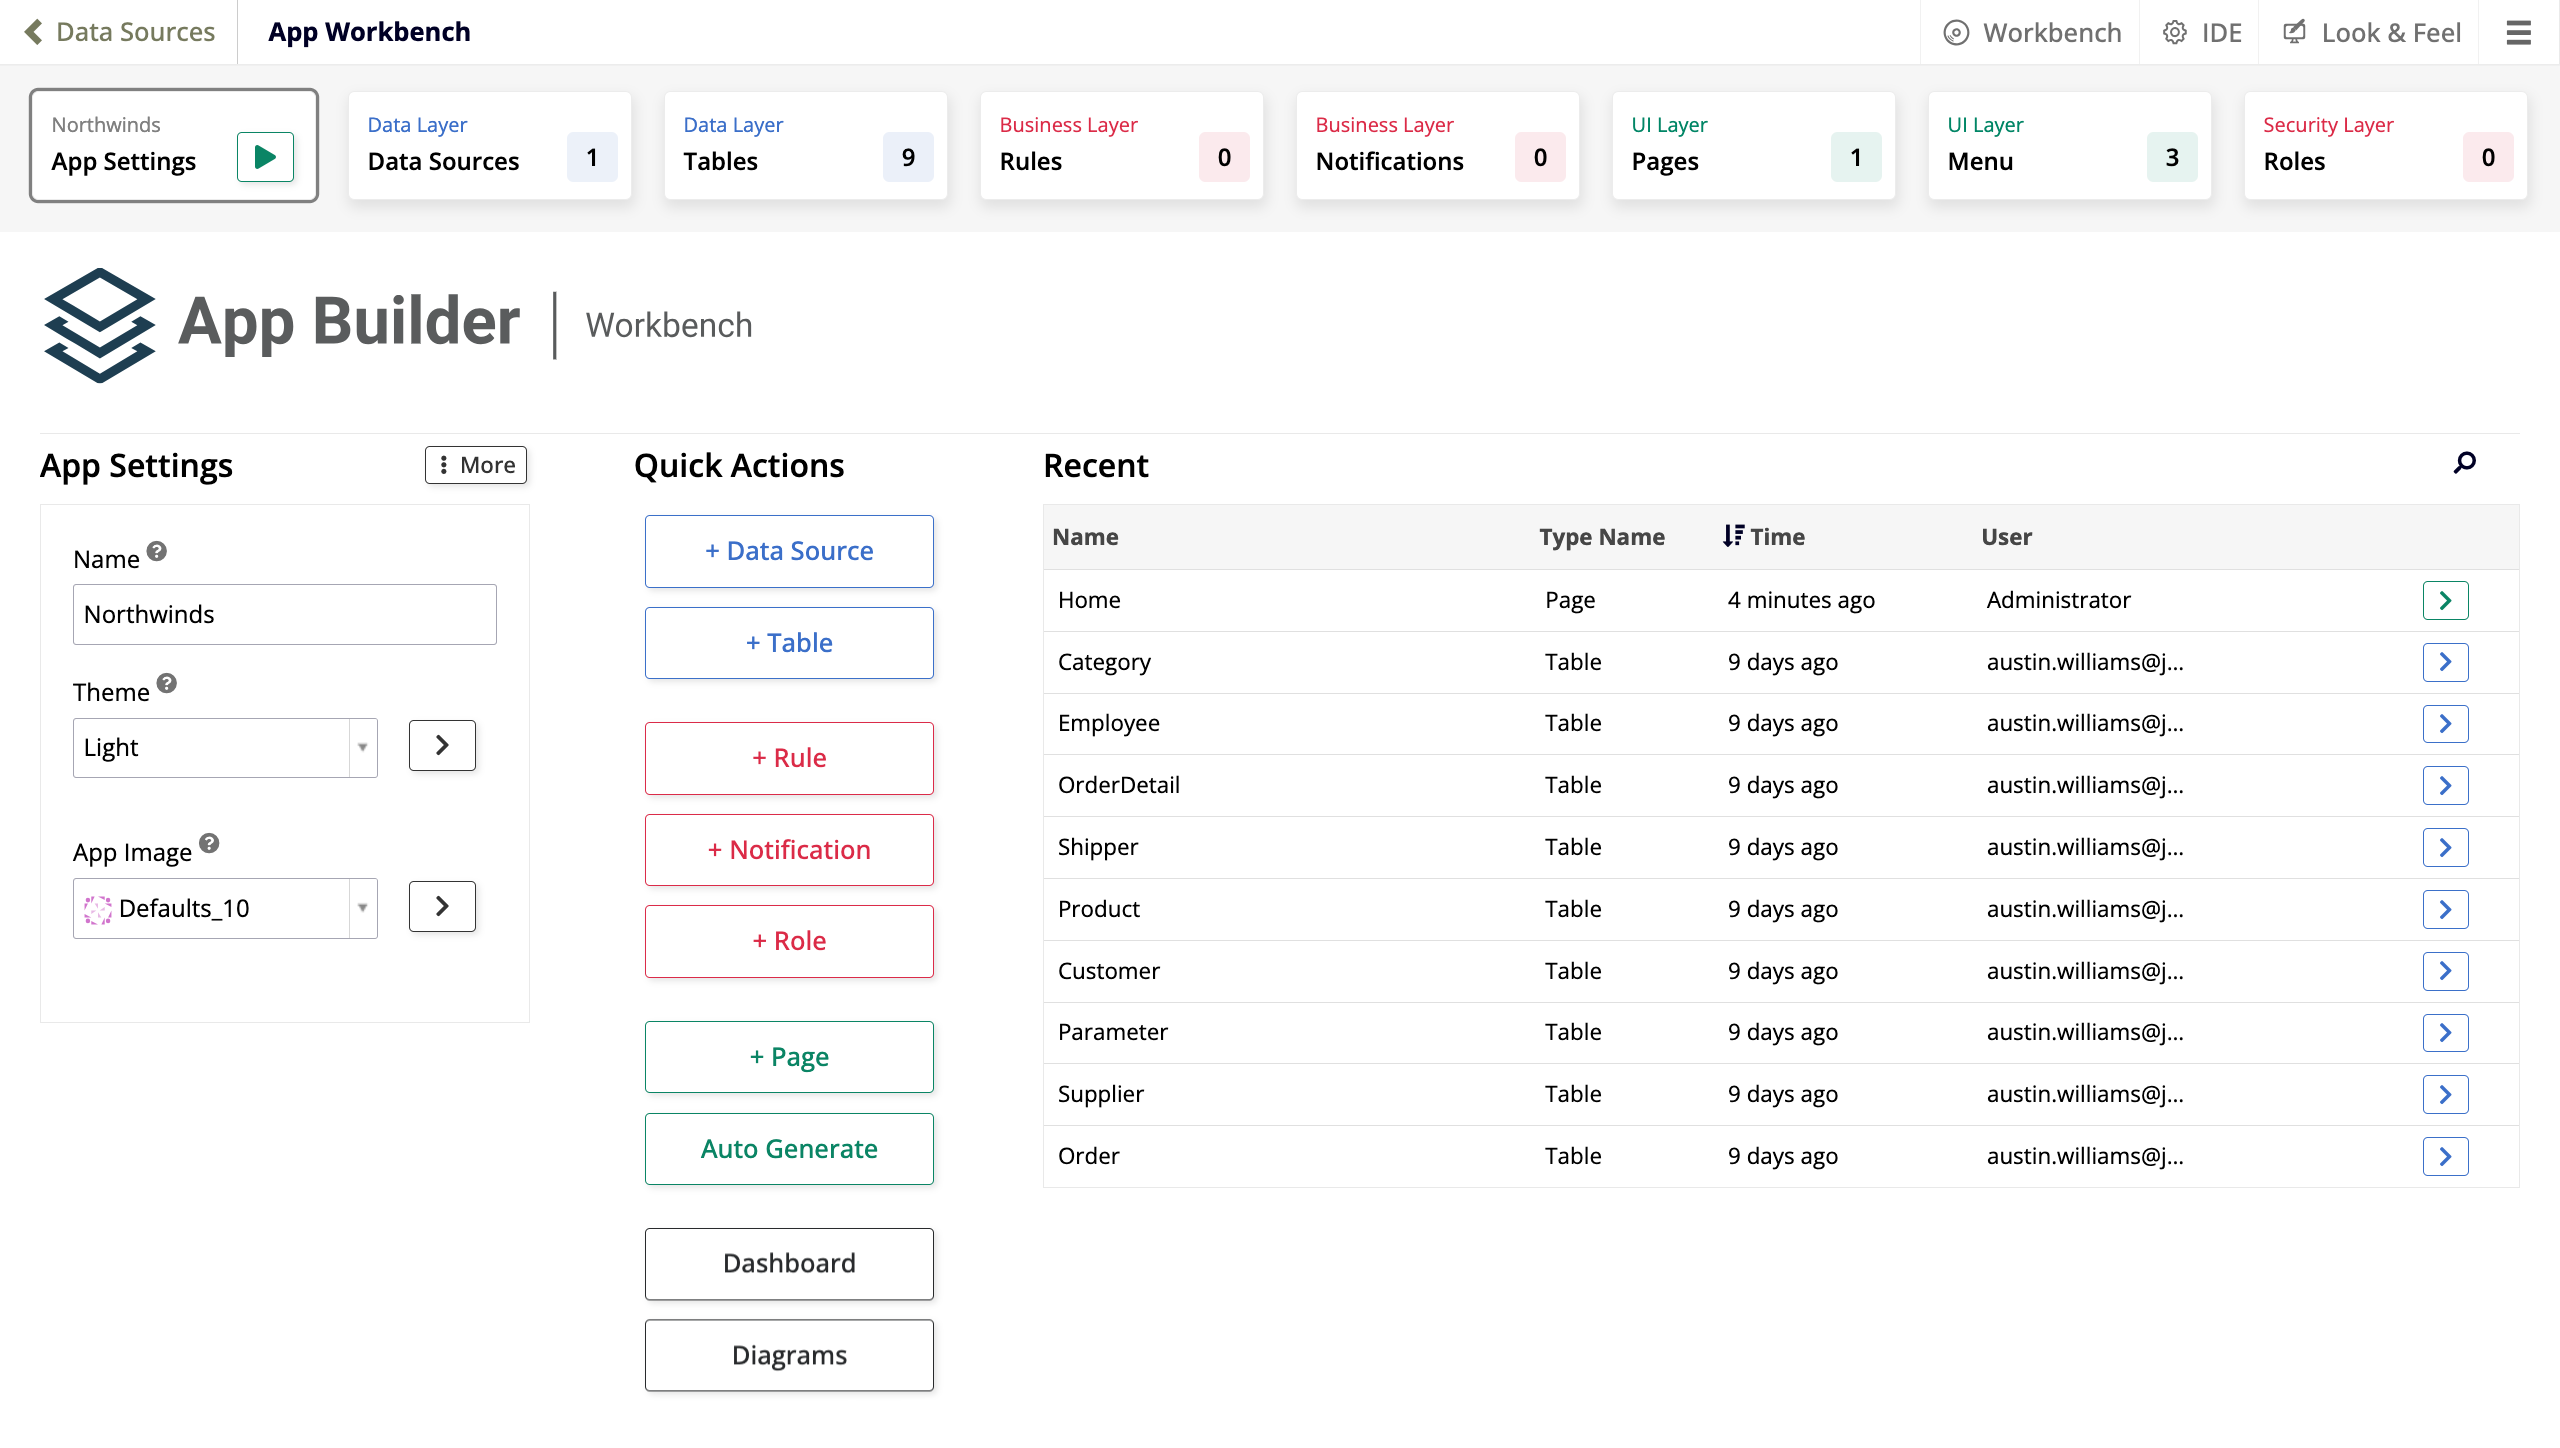
El App Workbench es el área principal donde diseñas tus aplicaciones. Es donde encontrarás las herramientas de desarrollo con las que construirás tu aplicación y donde pasarás la mayor parte de tu tiempo desarrollando. Aprende más sobre ello en App Workbench.
El desarrollo de aplicaciones en App Builder se divide en capas, con cada capa representando un aspecto diferente del proceso de desarrollo, y el App Workbench se divide en pestañas que reflejan esta compartimentación. Al seguir las lecciones, trabajarás en cada una de las capas en orden, ayudándote a entender cómo fluye la información a través de App Builder.
Next steps
Estás listo para comenzar a diseñar tu aplicación de App Builder. Procede a la siguiente página de esta serie de tutoriales, Lesson 2: Add data to your application.