Add a trading partner in Jitterbit EDI
Introduction
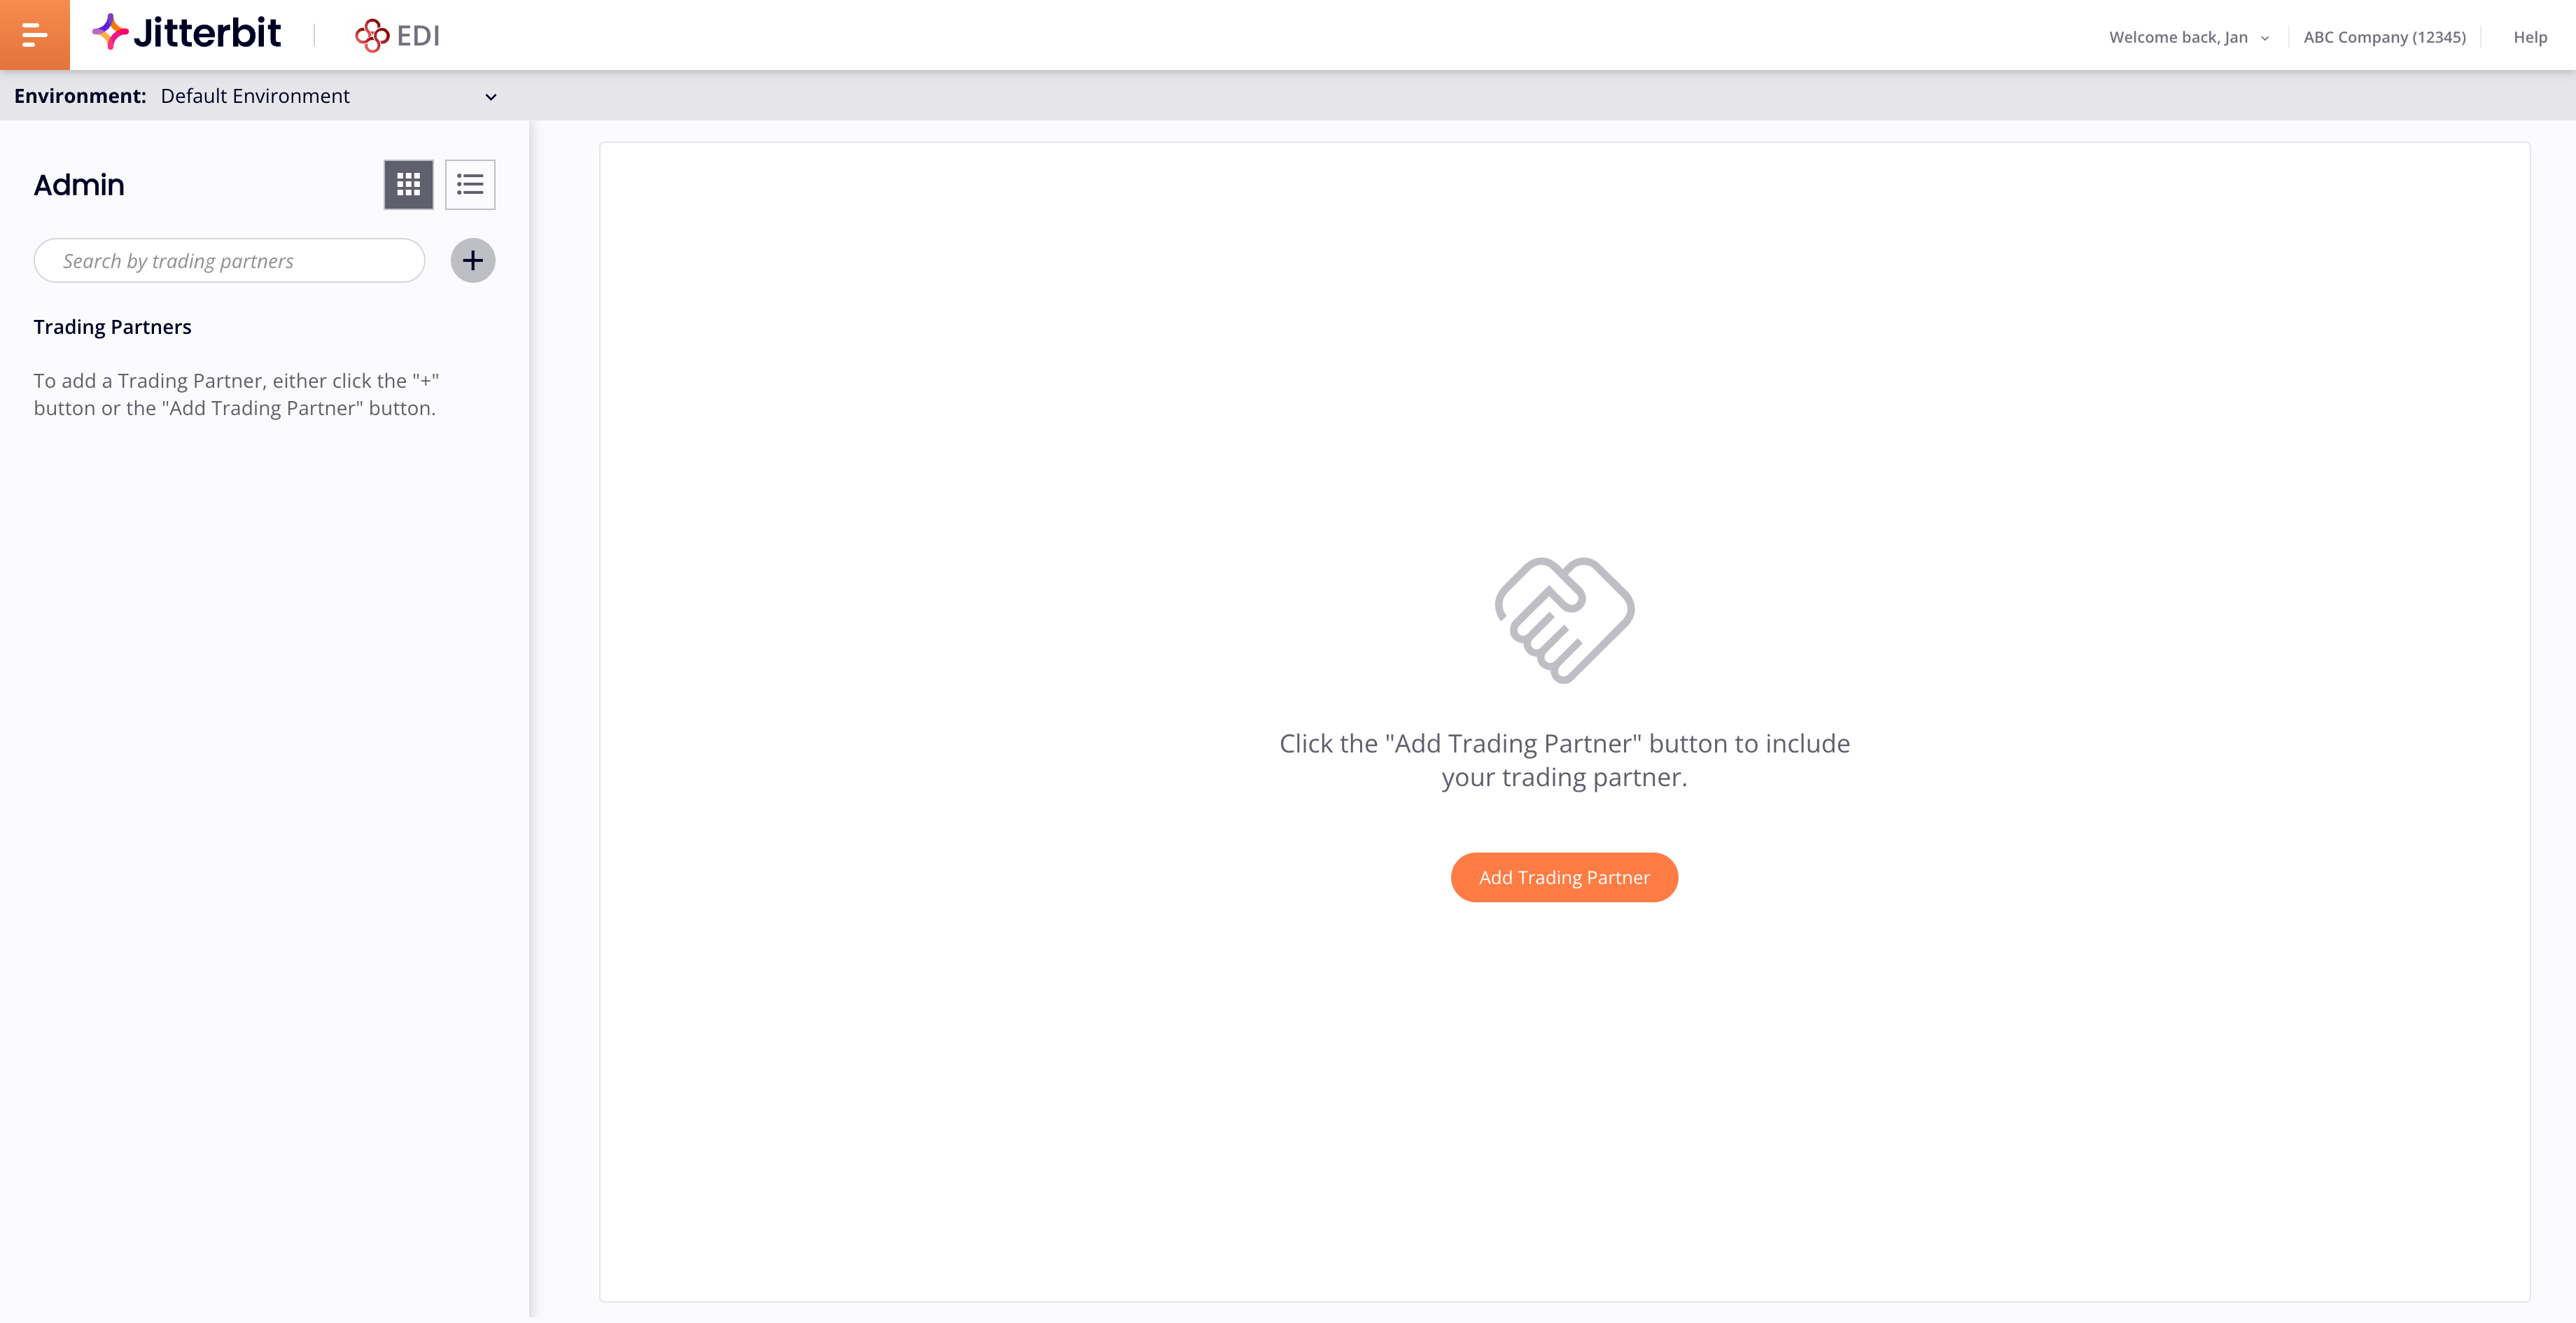
Before you can interact with a trading partner in EDI, you must set up their details on the Trading Partners page ( EDI > Trading Partners). If you haven't done this yet, the page is empty:
Important
Access to the Trading Partners page is restricted to users whose roles include the Admin permission. Other EDI pages are accessible to all users.
The left panel has a count of the number of partners added, and an area for creating and assigning labels to partners.
The main panel is Trading Partners. It has the following controls:
-
Search: Show partners whose name, ID, or label contains the entered text. Matching regions are highlighted.
-
View mode: How to view added partners. Select Grid view to view partners as icons on a grid, or List view (the default) to view them in a table.
-
Import: Import a trading partner.
-
New partner: Add a trading partner.
Add a trading partner
To add a trading partner, follow these steps:
-
Select a Harmony environment from the Environments menu.
-
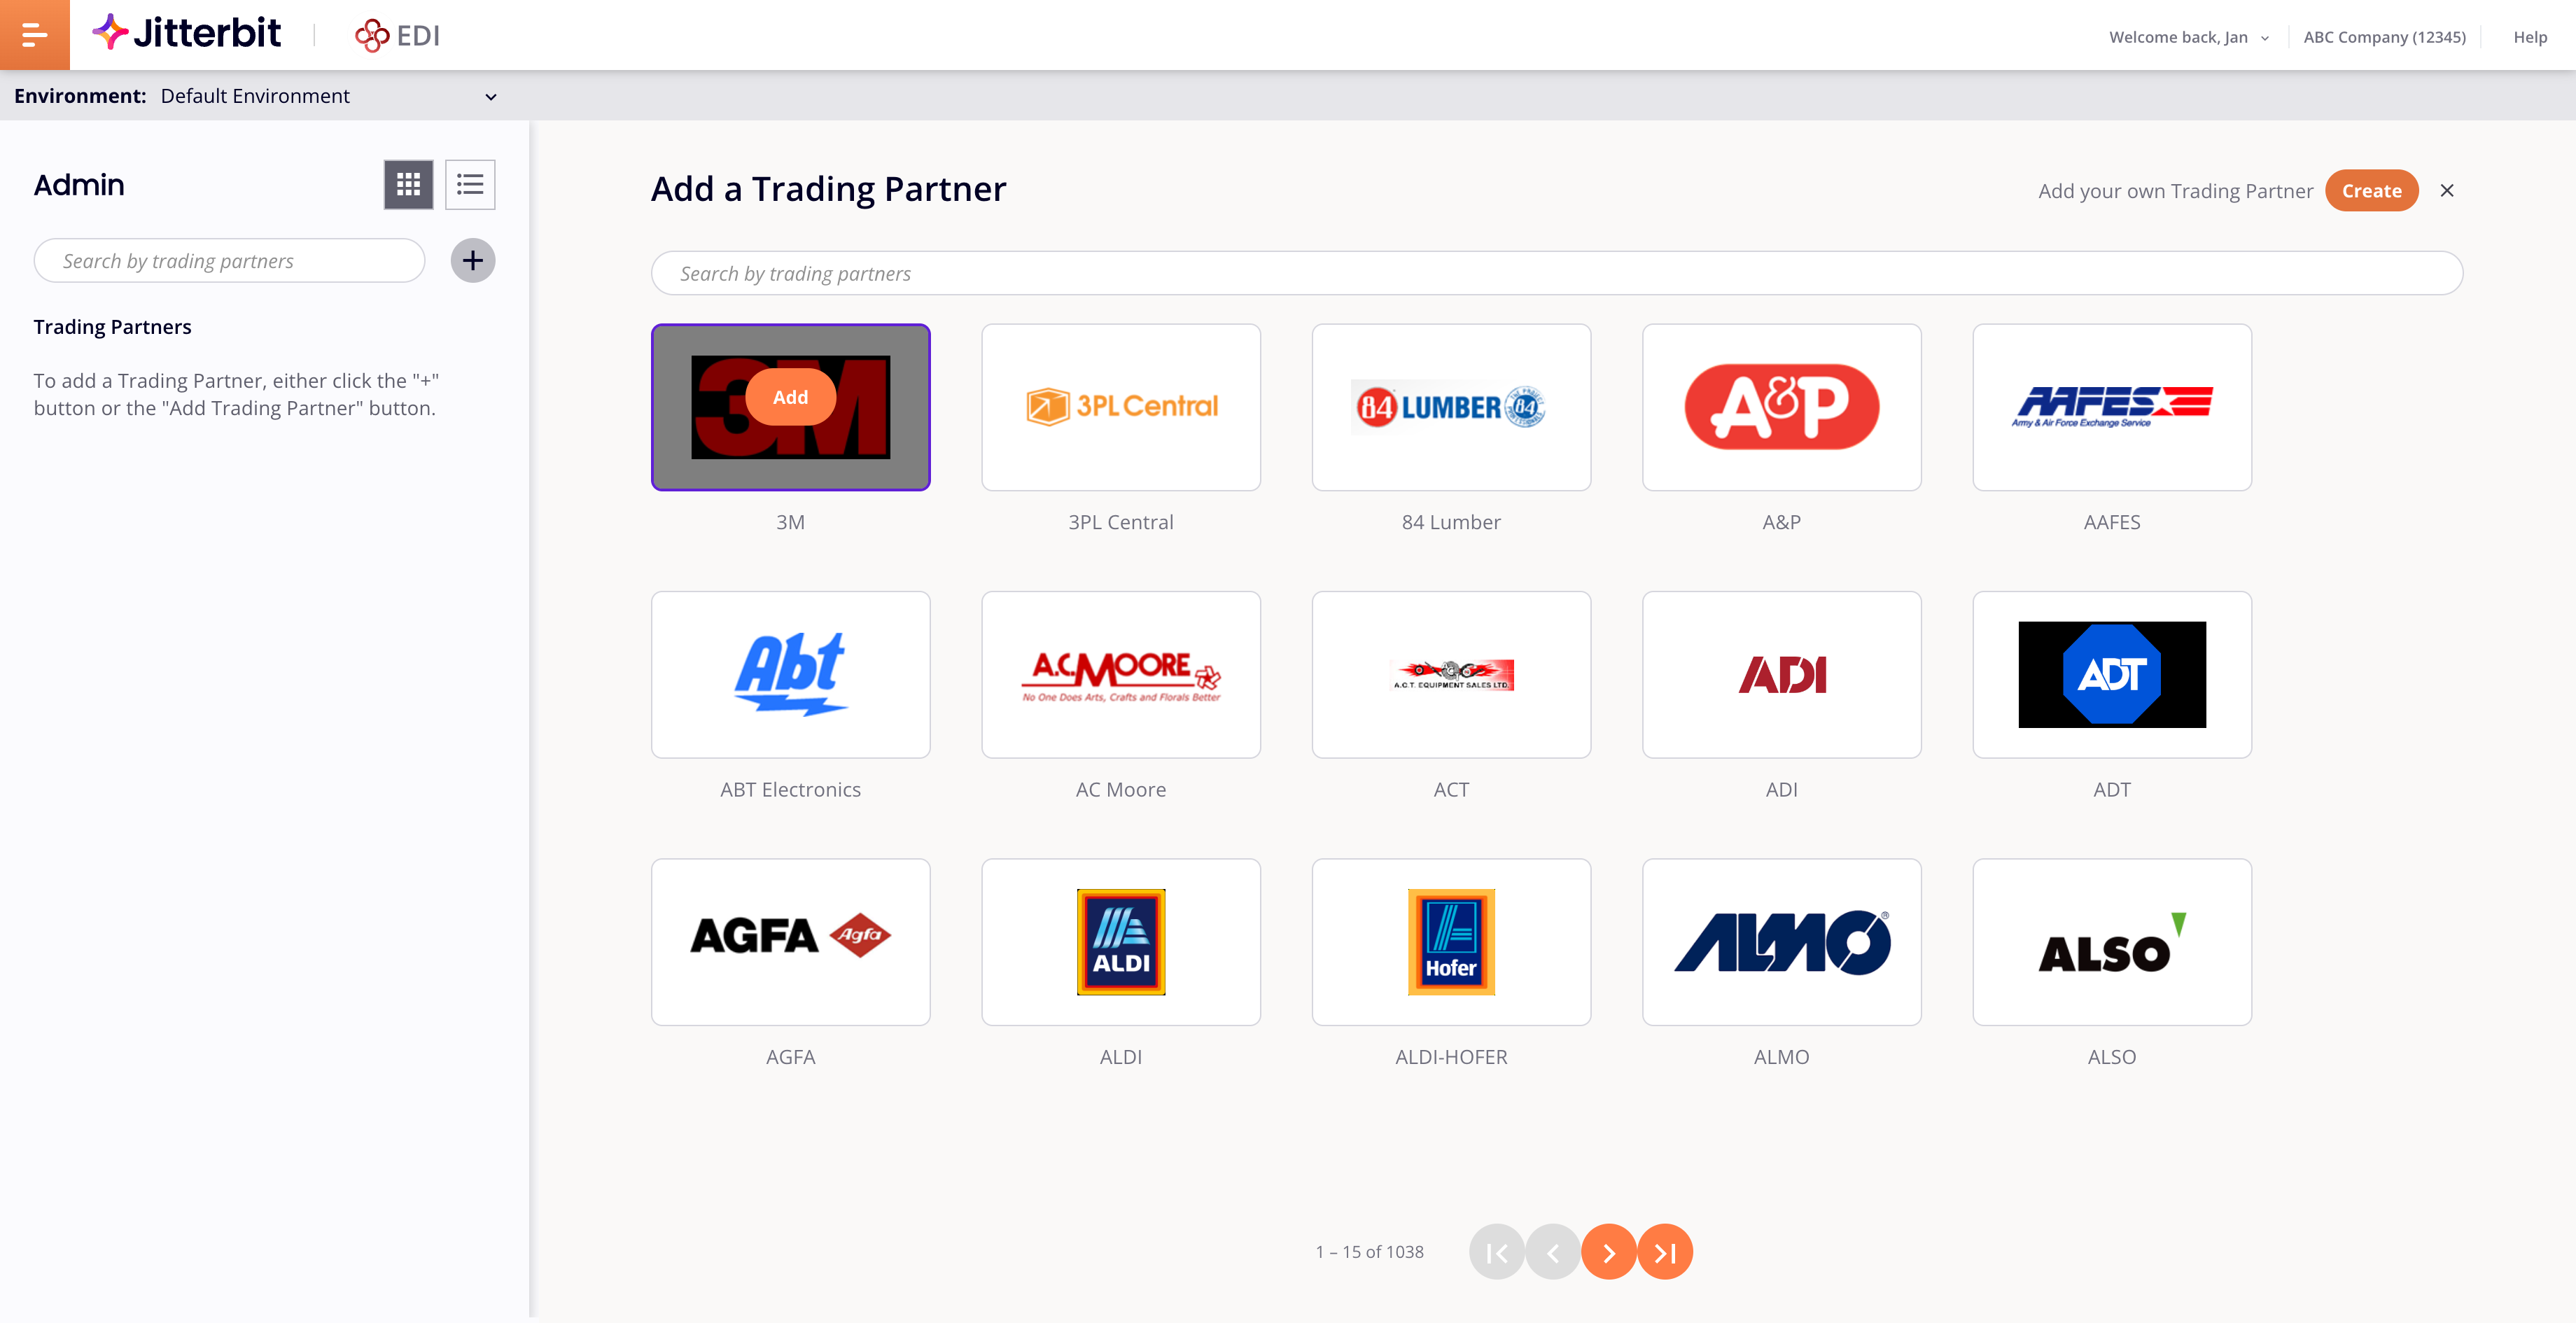
Click the New partner button. The Add a trading partner drawer opens:
-
Use the search bar to find a partner by name or ID, or browse through the pages of available partners using the page navigation buttons. When you find the one you want, hover on it, then click its Add button. The added partner appears in the Trading Partners pane, and the drawer closes. Do this for every partner you want to work with. (If the partner you want doesn't exist, you must create it then add it.)
Note
The first time you add a partner to an environment, the ISA ID Generation dialog opens, where you must create your first ISA ID.
-
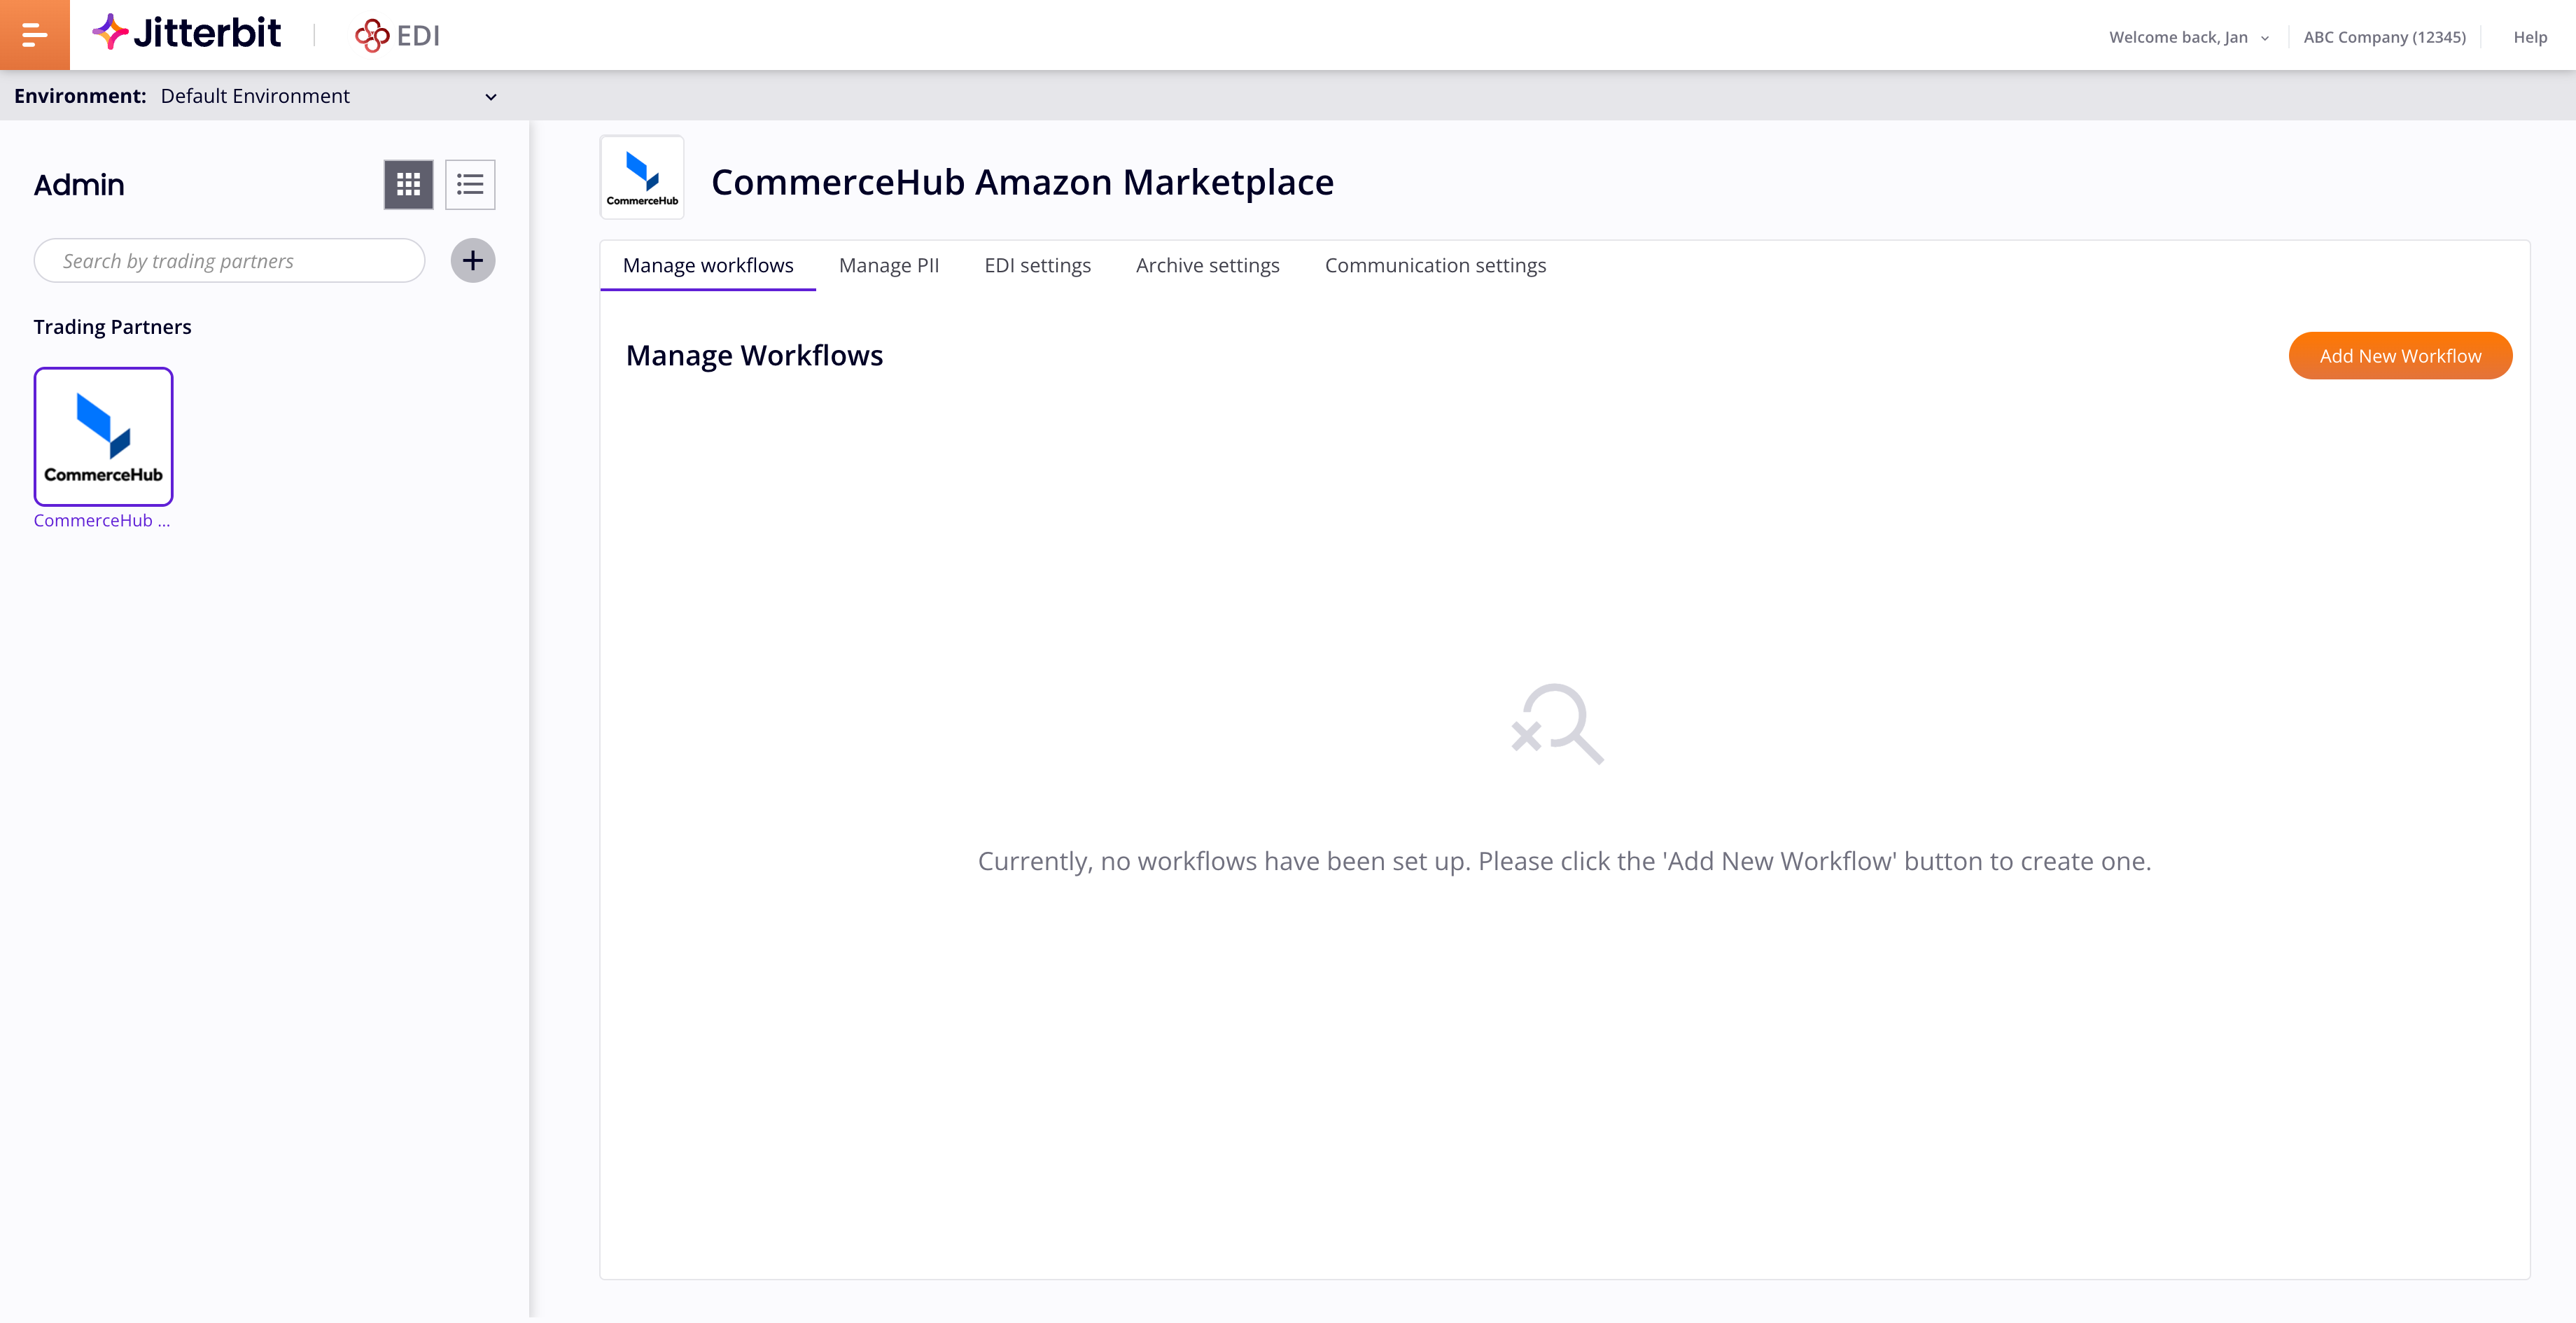
To configure a partner, select it. A drawer opens with the following tabs:
You can adjust the drawer and its contents with the following controls:
-
Previous: Select the previous trading partner.
-
Next: Select the next trading partner.
-
Collapse: Collapse the drawer.
-
Expand: Expand the drawer to fill the page.
-
Return: Return the drawer to its original size.
-
Close: Close the drawer.
-
Add a user-created trading partner
If you want to add a partner that doesn't exist in the list, you must create it. To do this, follow the steps below.
Note
Access to this feature is available upon request. To gain access to this feature, contact your Customer Success Manager (CSM).
-
Click the New partner button. The Add a trading partner drawer opens.
-
Click the Create button. The drawer content changes.
-
Set values for the following fields:
-
Trading partner name: The partner's name.
-
Trading Partner EDI ID: Select from these options:
-
EDI standard: The EDI communications standard to use with this partner. Choose from EDIFACT, TRADACOMS, or X12.
-
Qualifier: Open the menu and select a qualifier code. (Not available when the EDI standard is TRADACOMS.)
-
ISA segment: The partner's ISA ID.
Important
You cannot add a partner ISA ID if it already exists in your environment.
-
-
-
(Optional) To add an image to represent the partner in the trading partners list, click Upload image, then select a JPG, PNG, or SVG image file.
-
Check your values carefully, as they can not changed once saved. When you are sure, click Save.
-
The system creates the new partner within the currently selected environment, and adds it to your list of partners. In List view mode, the Type column shows Custom.
Tip
The partner can be used only in the environment it was created in. If you need it in a different environment, you must change environment and create it again.
To change the name or the logo, follow these steps:
-
Hover on a partner you've created.
-
Click Edit (in the Actions column when in List view mode).
-
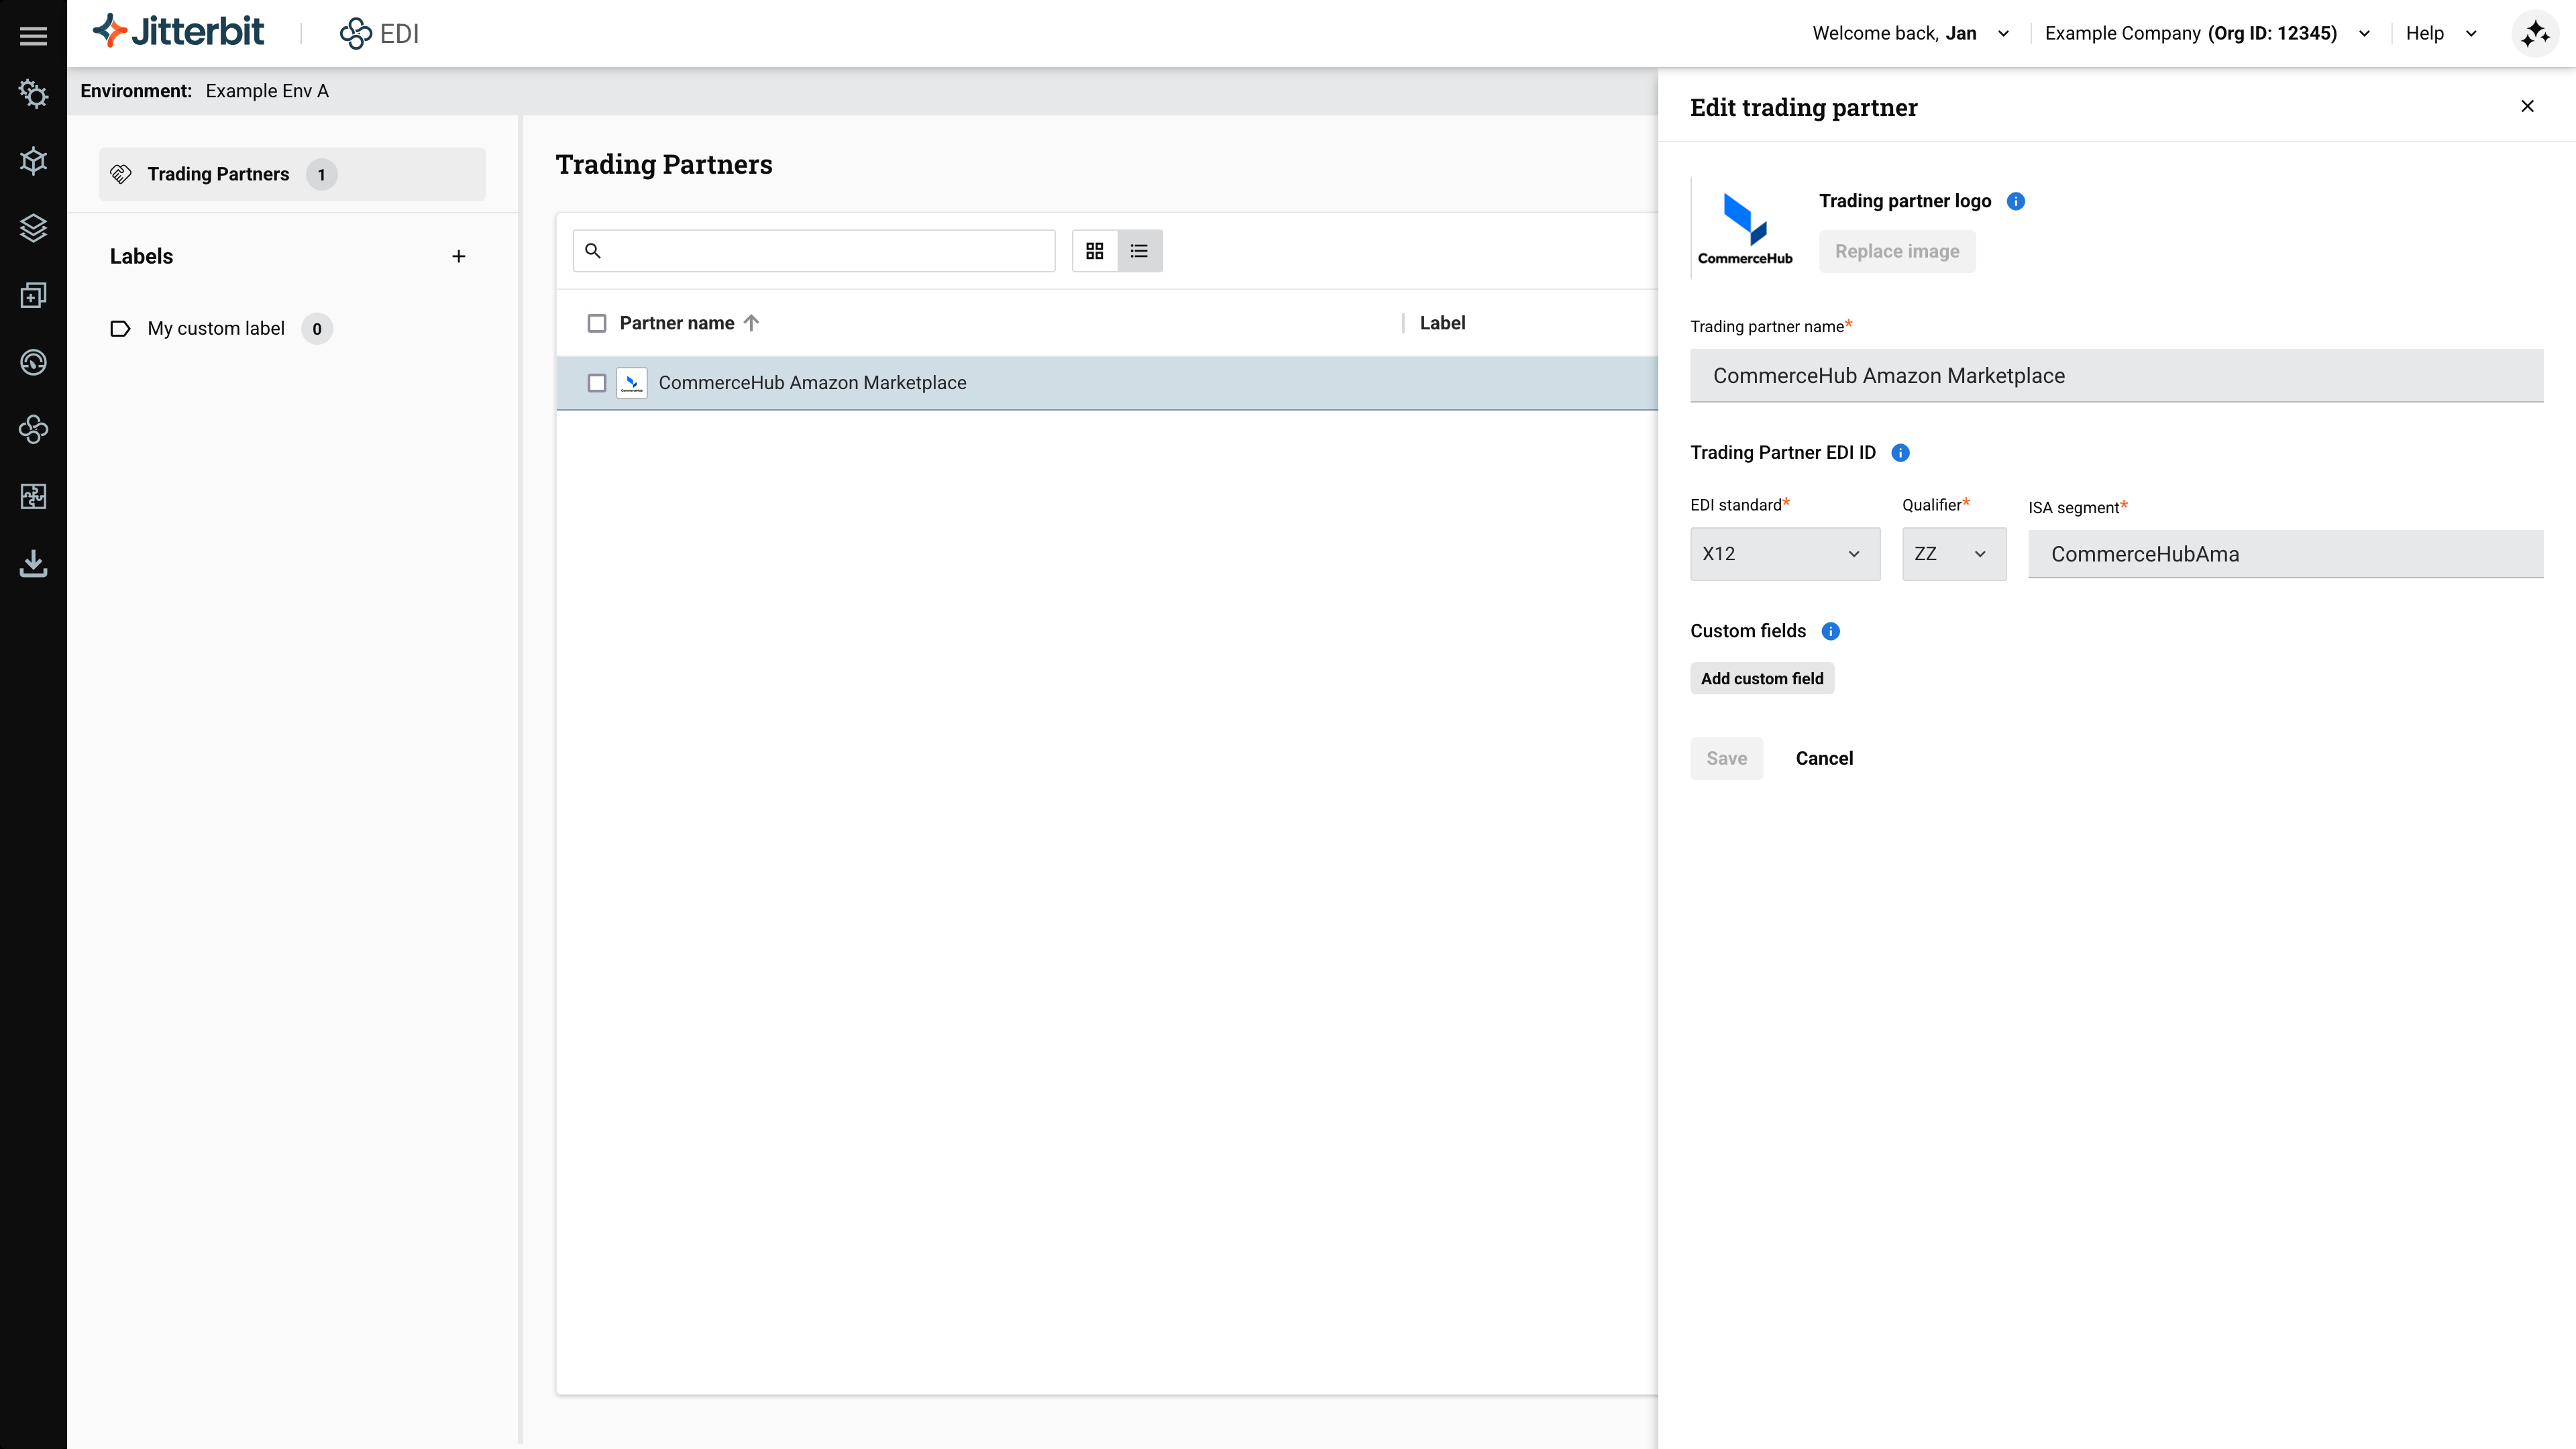
The Edit trading partner drawer opens, where you can do the following:
-
To change the partner name, edit the text in the Trading partner name field.
-
To change the logo, click the Replace image button. To set it, click the Upload image button.
-
-
Click the Save button.
Change a trading partner's settings
To edit a trading partner's settings, follow these steps:
-
Select the partner in the Trading Partners pane. If you have a lot of partners, use the search bar to find the one you want.
-
Edit the partner's workflows, EDI settings, transaction management settings, or communication settings.
Manage custom fields
You can store metadata for a partner by adding up to 10 unique custom fields, each with a name and optional description. To do that, follow these steps:
-
Hover on a partner, then click the Edit icon (in the Actions column when in List view mode). The Edit trading partner drawer opens:
-
Under Custom fields, click Add custom field.
-
Enter values for the following:
-
Field name: The field name, up to 30 characters long.
-
(Optional) Description: A description for this field, up to 150 characters long.
-
-
Click Save.
To delete a custom field, click its Delete icon.
Delete a trading partner
To delete a trading partner, follow these steps:
-
Hover on a partner.
-
Click Delete (in the Actions column when in List view mode). A dialog opens asking you to confirm the action:
Dialog text
Delete Trading Partner
Are you sure you want to delete the Trading PartnerpartnerName? The trading partner, its settings, and all related workflows will be permanently deleted.Please type "DELETE" to confirm.
-
Enter the word DELETE where indicated, then click the Delete button.
Caution
This action permanently deletes the partner, its settings, and workflows. (Saved connections are preserved.)
Import or export partners
You can import and export trading partners as JSON-formatted files:
-
To import a trading partner definition file, click the Import button, then select a
.jsonfile. -
To export one partner, hover on one, then click Export (in the Actions column when in List view mode).
-
To export multiple partners, select them, then click Export in the toolbar.
Labels
You can create and assign a label to a partner, then use it to filter your added trading partners. You can create multiple labels, but can only assign one label to a trading partner. Once assigned, the only way to unassign a label is to delete the label.
Create
To create a label, follow these steps:
-
In the left panel, click the + New label icon.
-
Enter the label.
-
Click or press Enter to save it, or to discard it.
Assign
To assign a label, follow these steps:
-
Hover on a partner, then click Label (in the Actions column when in List view mode). The label list opens.
-
If you see the label you want, select it, otherwise use the search bar to find one. When a label is selected, the label list closes.
Delete
To delete a label, follow these steps:
-
Hover on a label.
-
Click Delete.
-
The label is deleted and unassigned from any partners using it.
Filter
To filter your trading partners by label, select a label in the left panel.