Microsoft SharePoint 365 prerequisites
Introduction
To use the Microsoft SharePoint 365 connector, you must have a Microsoft SharePoint 365 app, its credentials, and certain permissions set. This document describes creating an app and obtaining its credentials for both authentication types available in the connection (Azure Access Control Service or Azure Active Directory).
See Microsoft's documentation for information on upgrading your existing SharePoint app from Azure Access Control Service to Azure Active Directory.
Azure Access Control Service
This section describes how to create an app using the SharePoint Add-in model and Azure Access Control Service (ACS) and set its permissions. The steps for authenticating with Azure Active Directory are described in the next section.
Create an app
These are the instructions for creating an app:
-
Log in to the Microsoft SharePoint instance.
-
Once logged in, navigate to this URL (replacing
<office_365_tenant_URL>with your Office 365 tenant URL):https://<office_365_tenant_URL>/_layouts/15/appregnew.aspx -
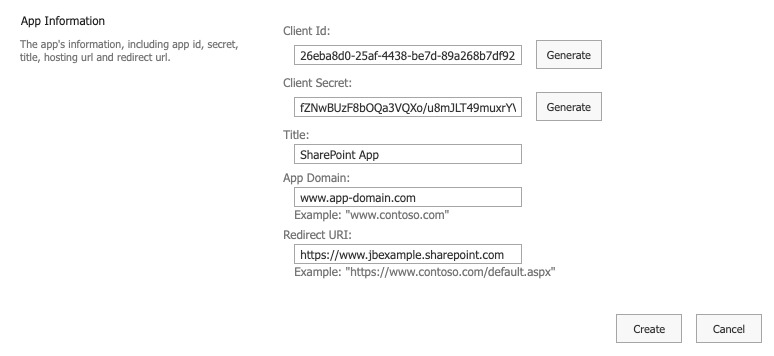
Once you are at the above URL, you are presented with this interface:
-
Client Id: Click Generate to generate a client ID for your app.
-
Client Secret: Click Generate to generate a client secret for your app.
-
Title: Enter a title for your app.
-
App Domain: Enter a domain for your app or enter a placeholder value.
-
Redirect URI: Enter a redirect URI for your app or enter a placeholder value.
Note
The Microsoft SharePoint 365 connector does not use the configured App Domain or Redirect URI.
-
-
Once all fields are populated, click Create. A page displays the app's information. Retain this information for use when setting permissions for the app.
Set permissions
These are the instructions for authorizing the app for use with the Microsoft SharePoint 365 connector:
-
Navigate to this URL (replacing
<office_365_tenant_URL>with your Office 365 tenant URL):https://<office_365_tenant_URL>/_layouts/appinv.aspx -
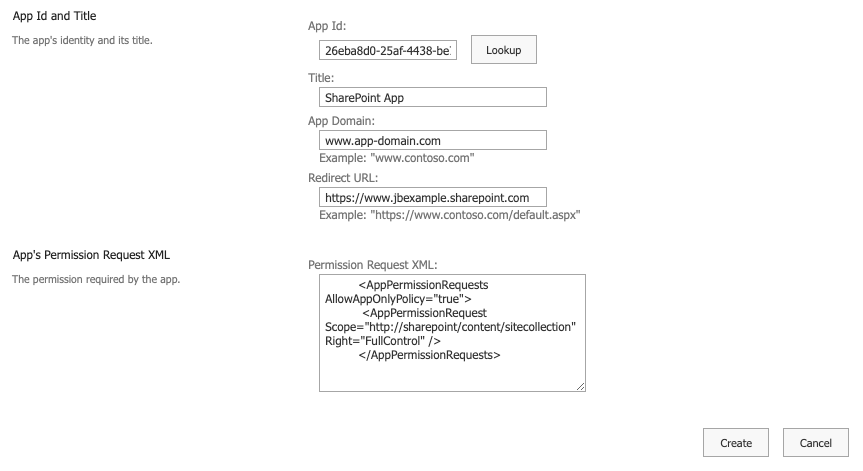
Once you are at the above URL, you are presented with this interface:
-
App Id: Enter the client ID for the app (generated during app creation).
-
Title: Enter the title of your app (set during app creation).
-
App Domain: Enter the domain for your app (set during app creation).
-
Redirect URL: Enter the redirect URL for your app (set during app creation).
-
Permission Request XML: Enter this permission into the text box:
<AppPermissionRequests AllowAppOnlyPolicy="true">
    <AppPermissionRequest Scope="http://sharepoint/content/sitecollection" Right="FullControl" />
</AppPermissionRequests>
For more information on add-in permissions, see Microsoft's documentation on Add-in permissions in SharePoint and Authorization Code OAuth flow for SharePoint Add-ins.
-
Azure Active Directory
This section describes how to register an app using Azure Active Directory, set its permissions, and generate a client assertion.
Microsoft Azure app registration steps
Follow these steps to create an app registration with the Microsoft identity platform:
-
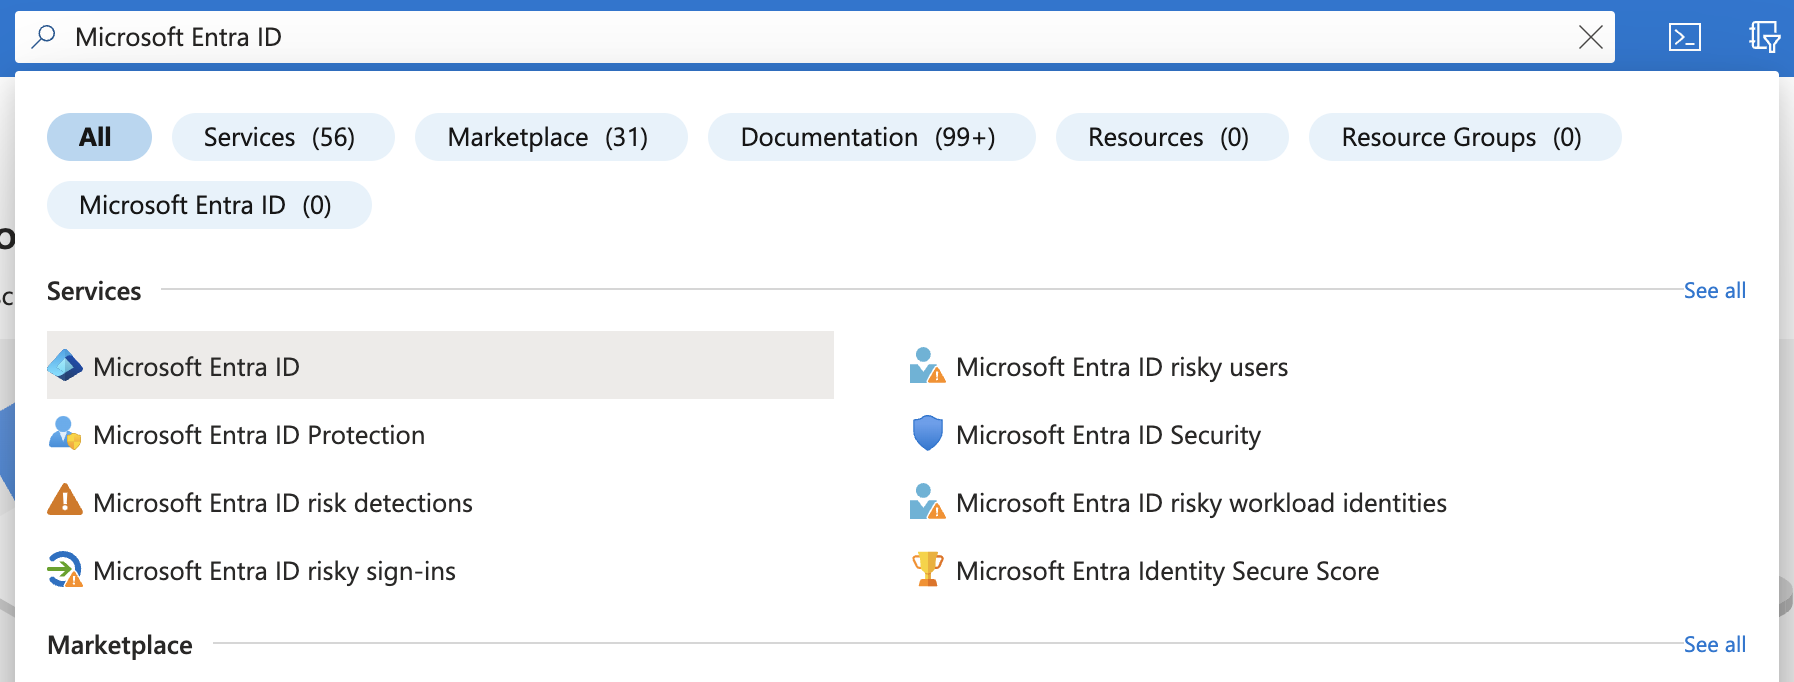
In the Azure portal, search for and click Microsoft Entra ID (previously known as Azure Active Directory or Azure AD):
-
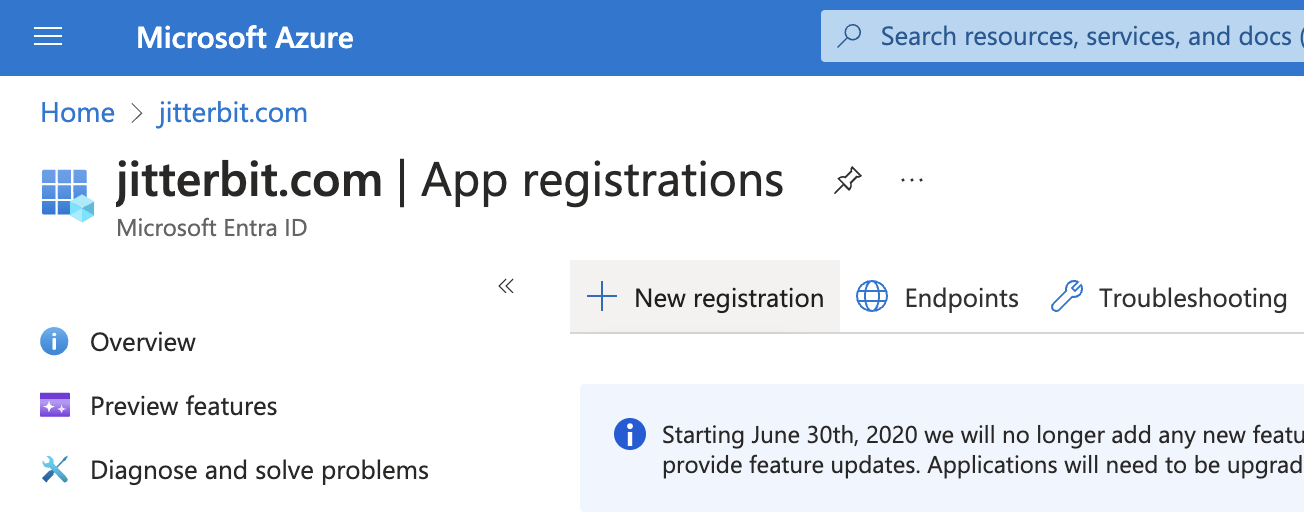
In the left sidebar under Manage, click App registrations.
-
Click New registration:
-
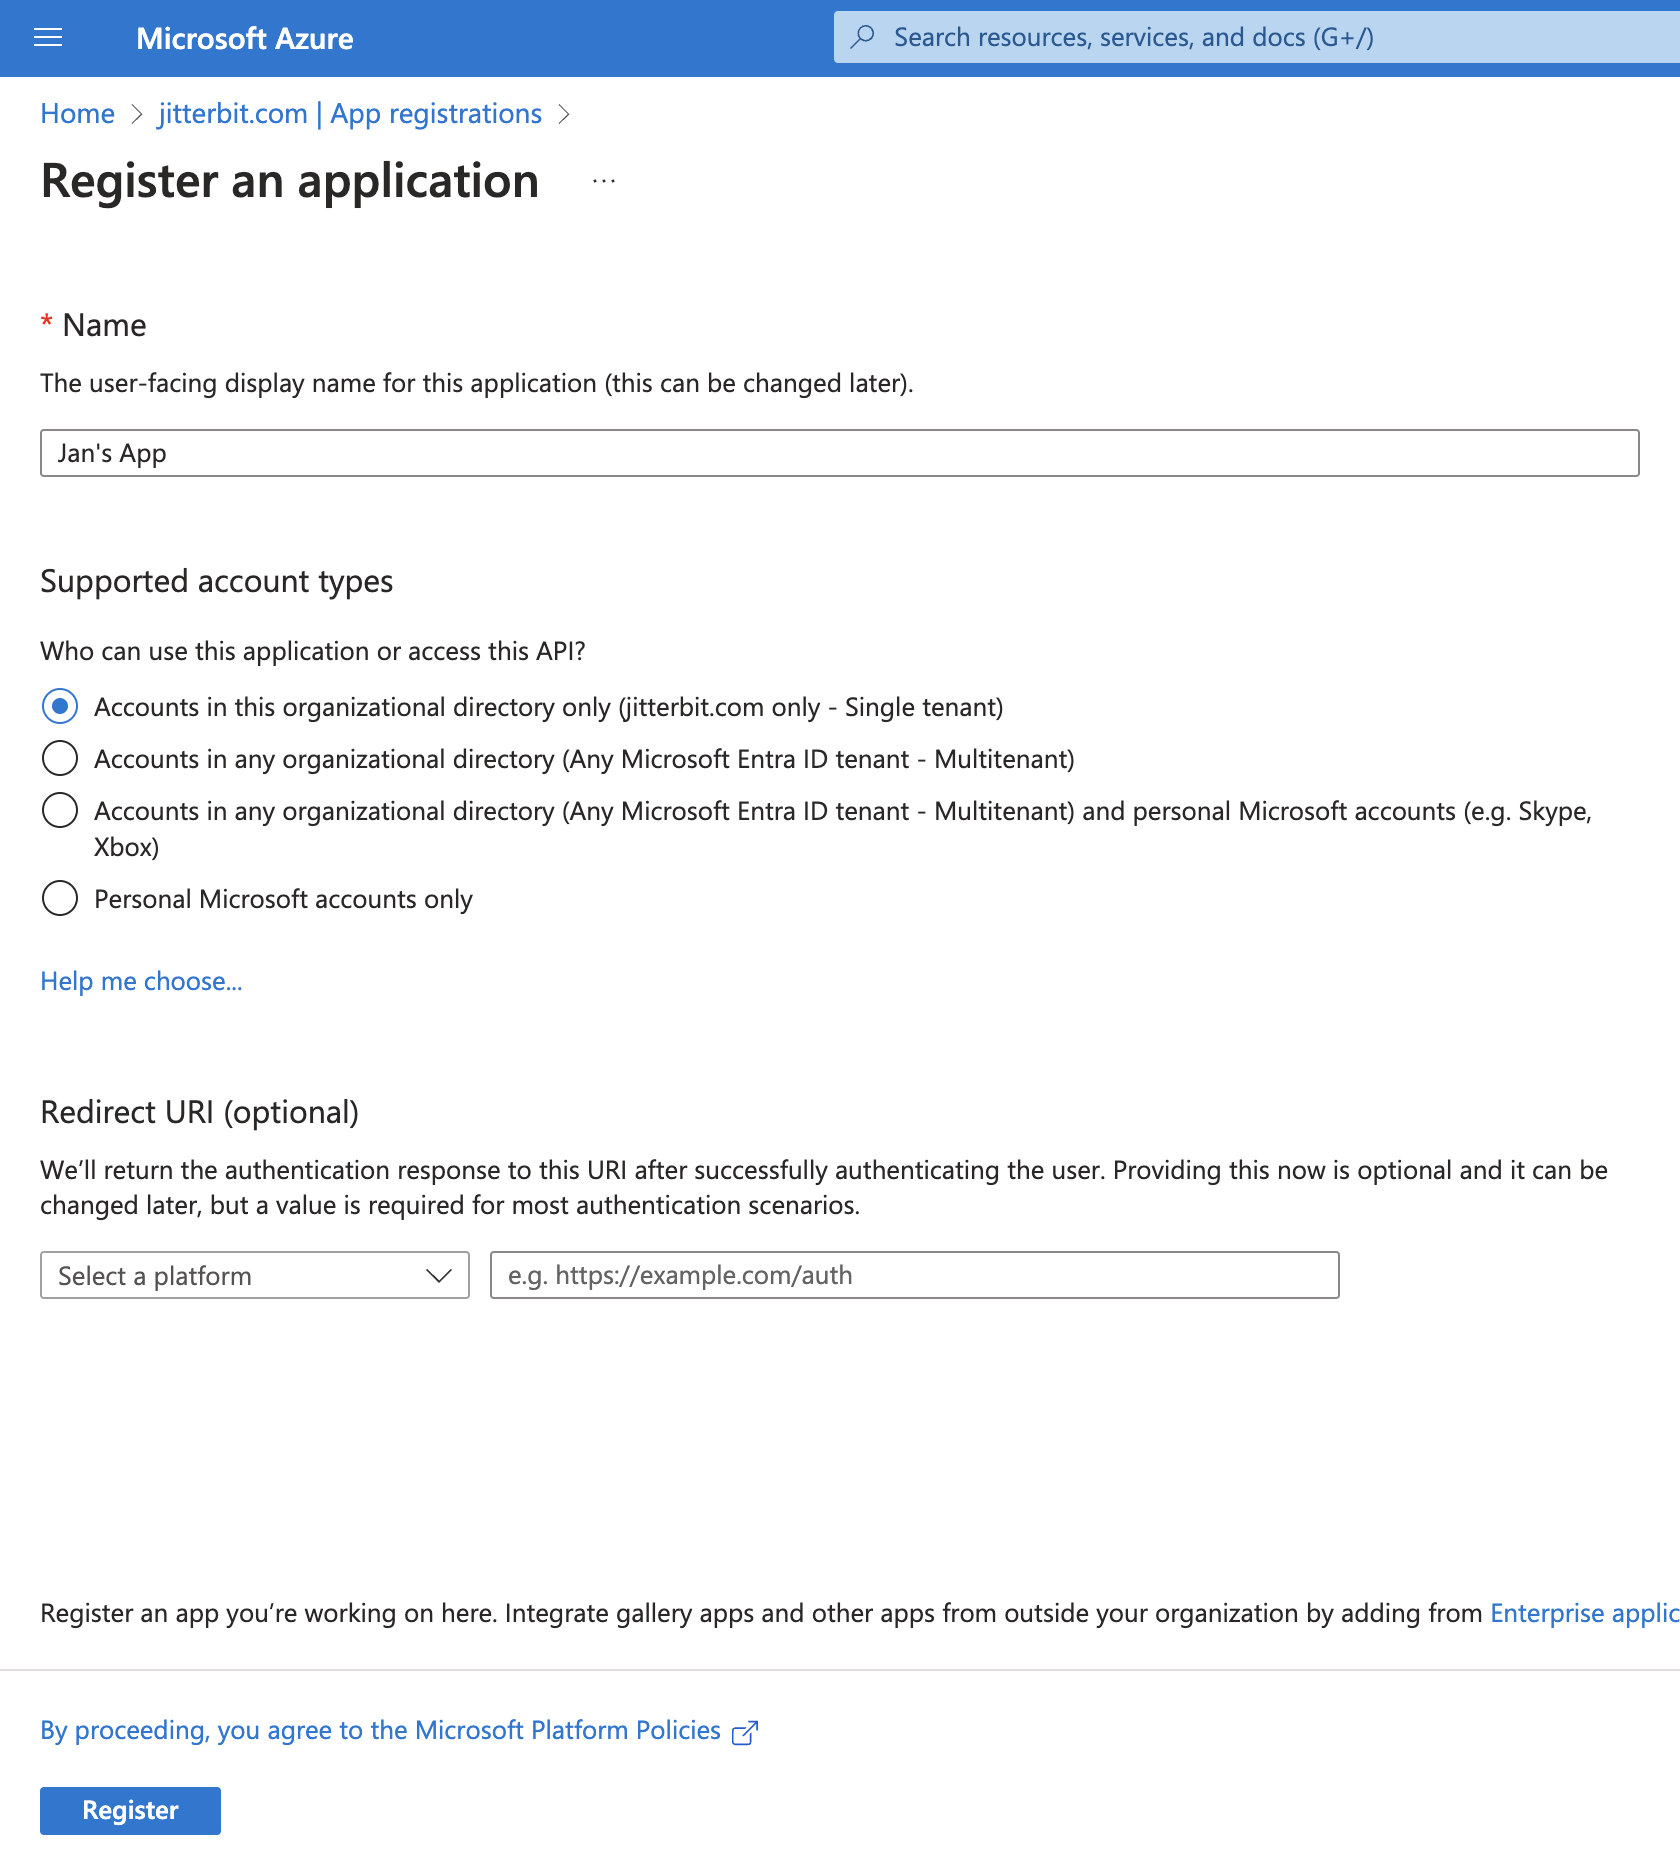
Enter a Name for your app. This display name will be visible to users:
-
Click Register to complete the app registration. You are then directed to the app's Overview page:
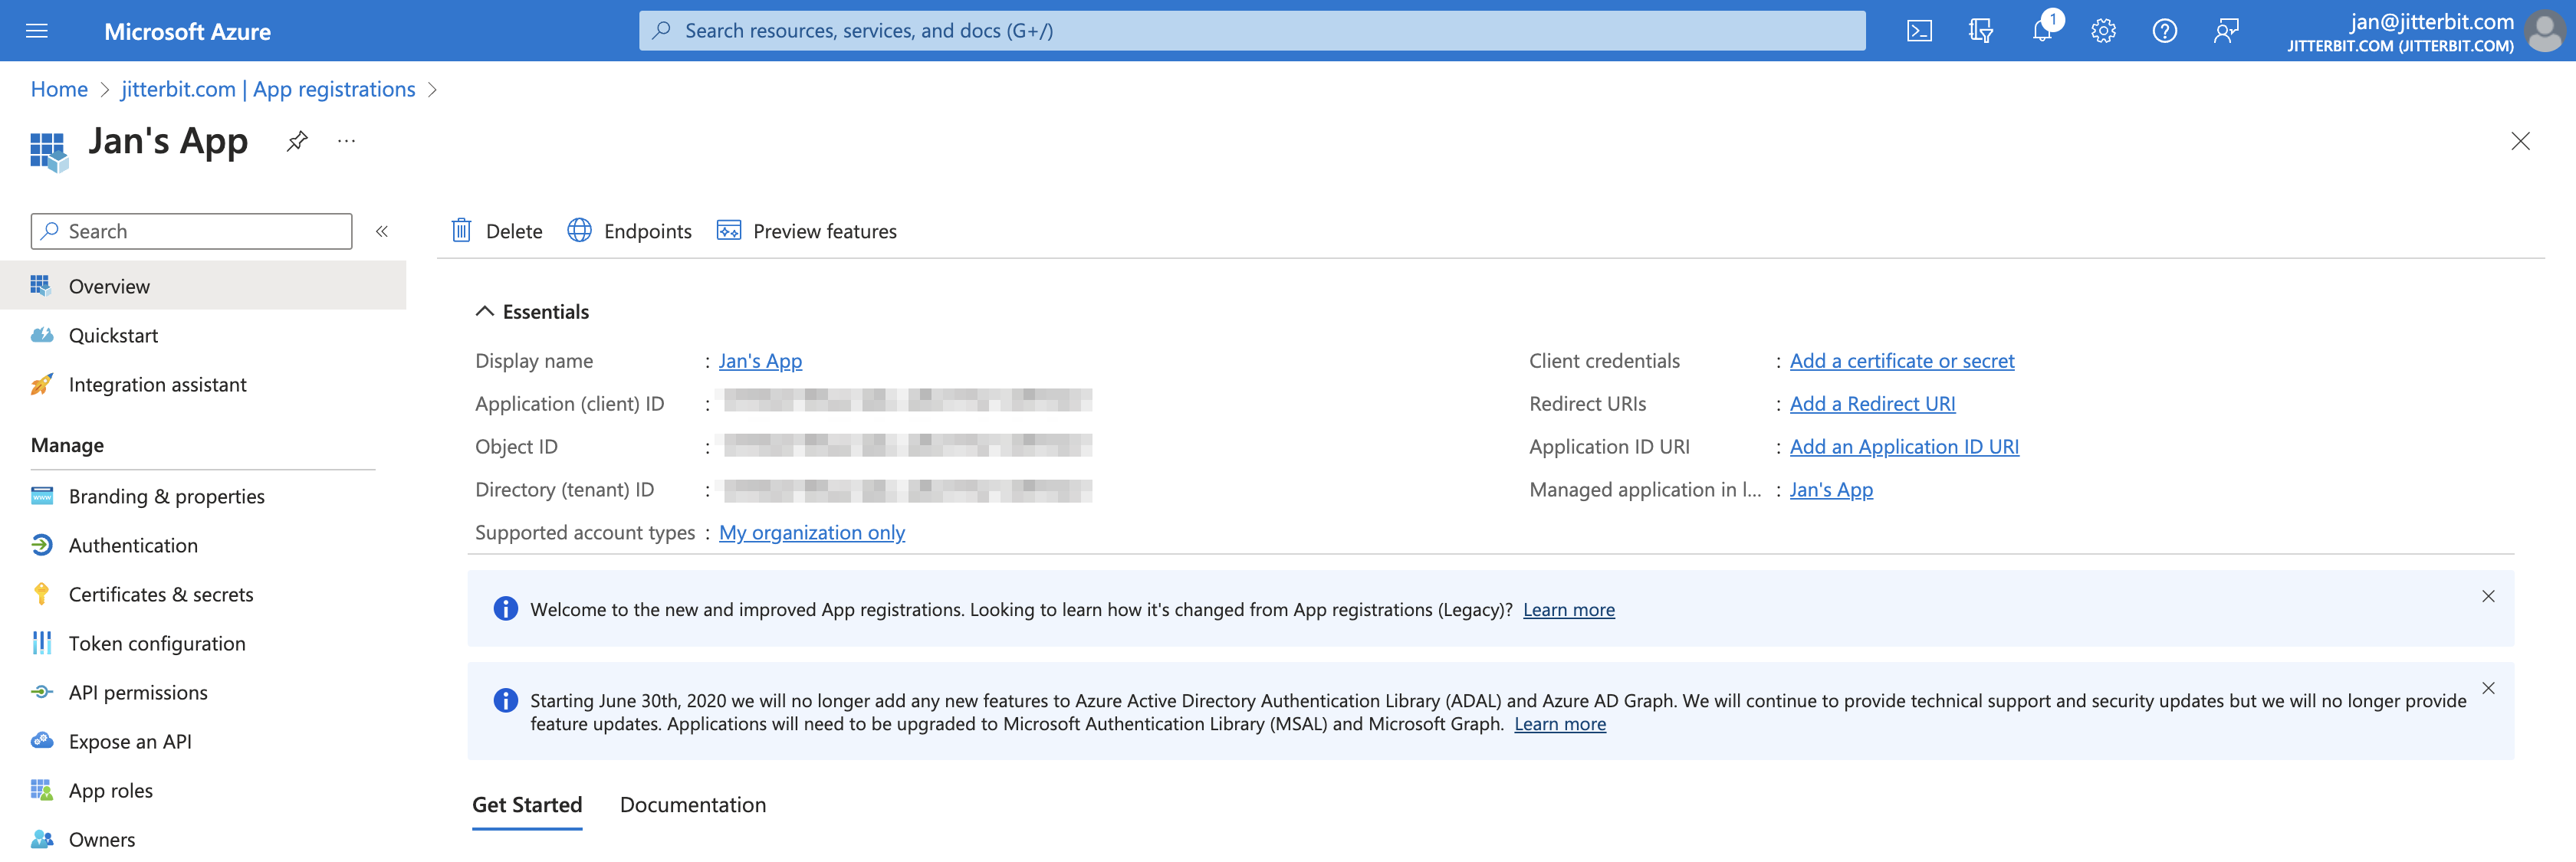
Important
Retain the app registration's Application (client) ID and Directory (tenant) ID to use as the Client ID and Tenant ID when configuring a connection.
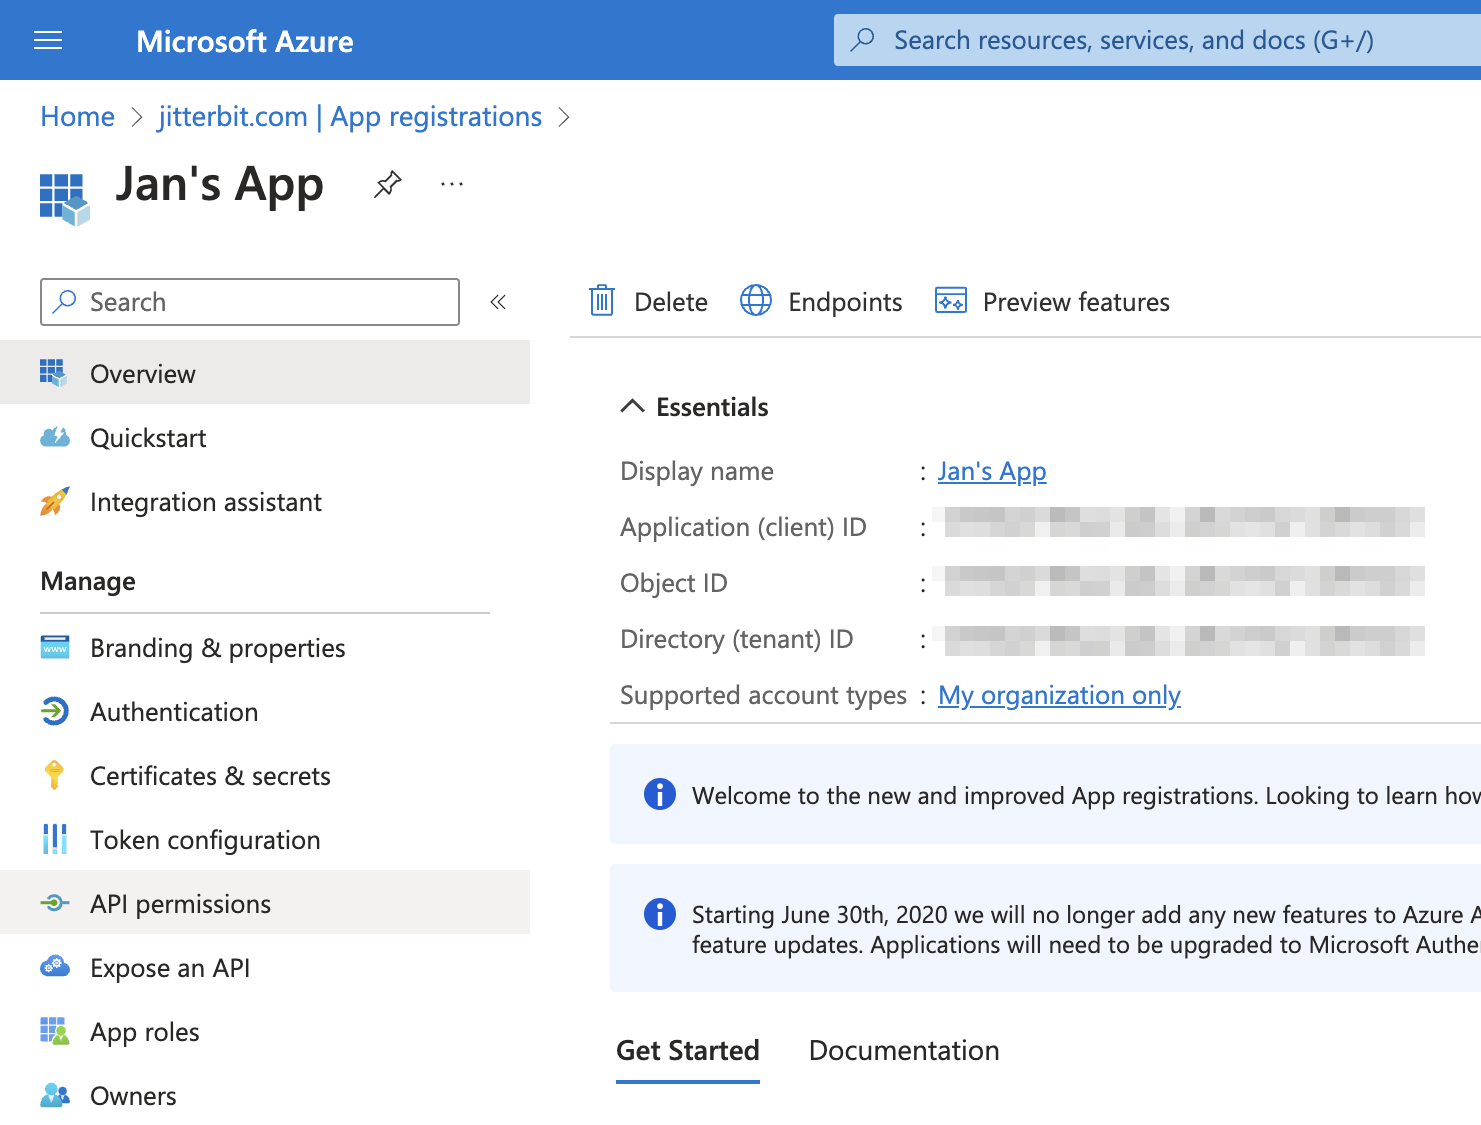
Add required permissions to the app registration
Your app registration must have a specific set of permissions.
In the Azure portal, navigate to your app registration and click API permissions in the left sidebar:
Important
Depending on your Azure organization's security settings, some permissions will require admin consent to allow.
To add Microsoft SharePoint application permissions, follow these steps:
-
On the API permissions page, click Add a permission.
-
In the Request API permissions pane, click the APIs my organization uses tab, search for and click SharePoint.
-
Click Application permissions.
-
Enable the Sites.FullControl.All permission.
-
Click Add permissions. The updated app registration's Configured permissions page is shown.
Generate the client assertion
Follow these steps to generate a client assertion (required for connection configuration):
-
Create a self-signed certificate by completing the following instructions:
Save the Microsoft-provided PowerShell script named
Create-SelfSignedCertificate.ps1to your machine.Within PowerShell, go to the directory where the script was saved and run this script (as an administrator):
.\Create-SelfSignedCertificate.ps1 -CommonName "<Enter a name for the certificate, example: MyCert>" -StartDate <Enter a certificate start date in ISO date format: 2024-10-01> -EndDate <Enter a certificate expiration date in ISO format: 2029-10-01>Replace the placeholder text (including the angle brackets
<>) with the appropriate values for your use case.After running the script, you will be asked to give a password to encrypt your private key, and both the .PFX file and .CER file will be exported to the current directory.
-
Upload the self-signed certificate to the app registration:
On your app registration's overview page, click Add a certificate or secret and then click Upload certificate and select the .CER file generated in step 1.
After uploading the certificate, retain the value in the Thumbprint column for the certificate. Convert the hex thumbprint to a Base64-encoded string and remove any
=characters. -
Generate a .PEM file from the generated .PFX file (from step 1) with this script in PowerShell (as an administrator):
openssl pkcs12 -in <Enter name of the generated .PFX file>.pfx -out private.pem -nodesReplace the placeholder text (including the angle brackets
<>) with the appropriate values.Retain the
private_keyvalue from the generated .PEM file (to be used in step 4). -
Generate the client assertion using jwt.io.
On jwt.io, select RS256 as Algorithm and configure the Header, Payload, and Verify signature.
Enter the Header in this format:
Header{ "alg": "RS256", "typ": "JWT", "x5t":"<Enter the Base64-encoded thumbprint obtained in step 2>" }Replace the placeholder text (including the angle brackets
<>) with the appropriate value.Enter the Payload in this format:
Payload{ "aud": "https://login.microsoftonline.com/<tenantId>/oauth2/v2.0/token", "exp": <an expiration time>, "iss": "<client ID>", "jti": "<a GUID>", "nbf": <a "not before" claim>, "iat": <an "issued at" claim>, "sub": "<client ID>" }Replace the placeholder text (including the angle brackets
<>) with the appropriate value for your use case. For more information on these fields see Microsoft's documentation.In the Verify signature section, enter the
private_key(obtained in step 3) for the app registration.Once the Header, Payload, and Verify signature sections have been configured, the value generated in the Encoded section is the value to be used as the Client assertion in the connection configuration.