Introduction to App Builder - Lesson 1: Create an application
This is the first lesson of the Introduction to App Builder tutorial series, in which you will learn concepts and develop skills with App Builder by constructing an order fulfillment application called Northwinds.
Prerequisites
This tutorial series requires access to an App Builder instance with the Northwinds database already installed. There are two ways to get one:
-
Request a training instance with the Northwinds database pre-installed, or
-
Download and install a release package containing the Northwinds database on your own instance.
Request a training instance
To obtain temporary access to an App Builder instance that already has the Northwinds database as an existing data source, contact the Jitterbit Training Team.
Download and install Northwinds
To use your own App Builder instance for this tutorial, download the Northwinds release package from Jitterbit Marketplace and install it on your instance. In Marketplace, download the package that matches your instance's App Builder version and your database (PostgreSQL or Microsoft SQL Server).
The Marketplace Northwinds page has the complete procedure:
-
Unseal the data source so you can access and build on the Northwinds database.
Create a new application
After downloading and installing Northwinds, you are ready to start building your first application.
-
Access the Site Menu, App Builder's home page, by clicking the hamburger icon in the top right to access the action drawer, then selecting Site Menu.
Note
The action drawer is a list of links to important resources in App Builder. Learn more about it in action drawer.
-
Access the IDE by clicking its button in the top.
-
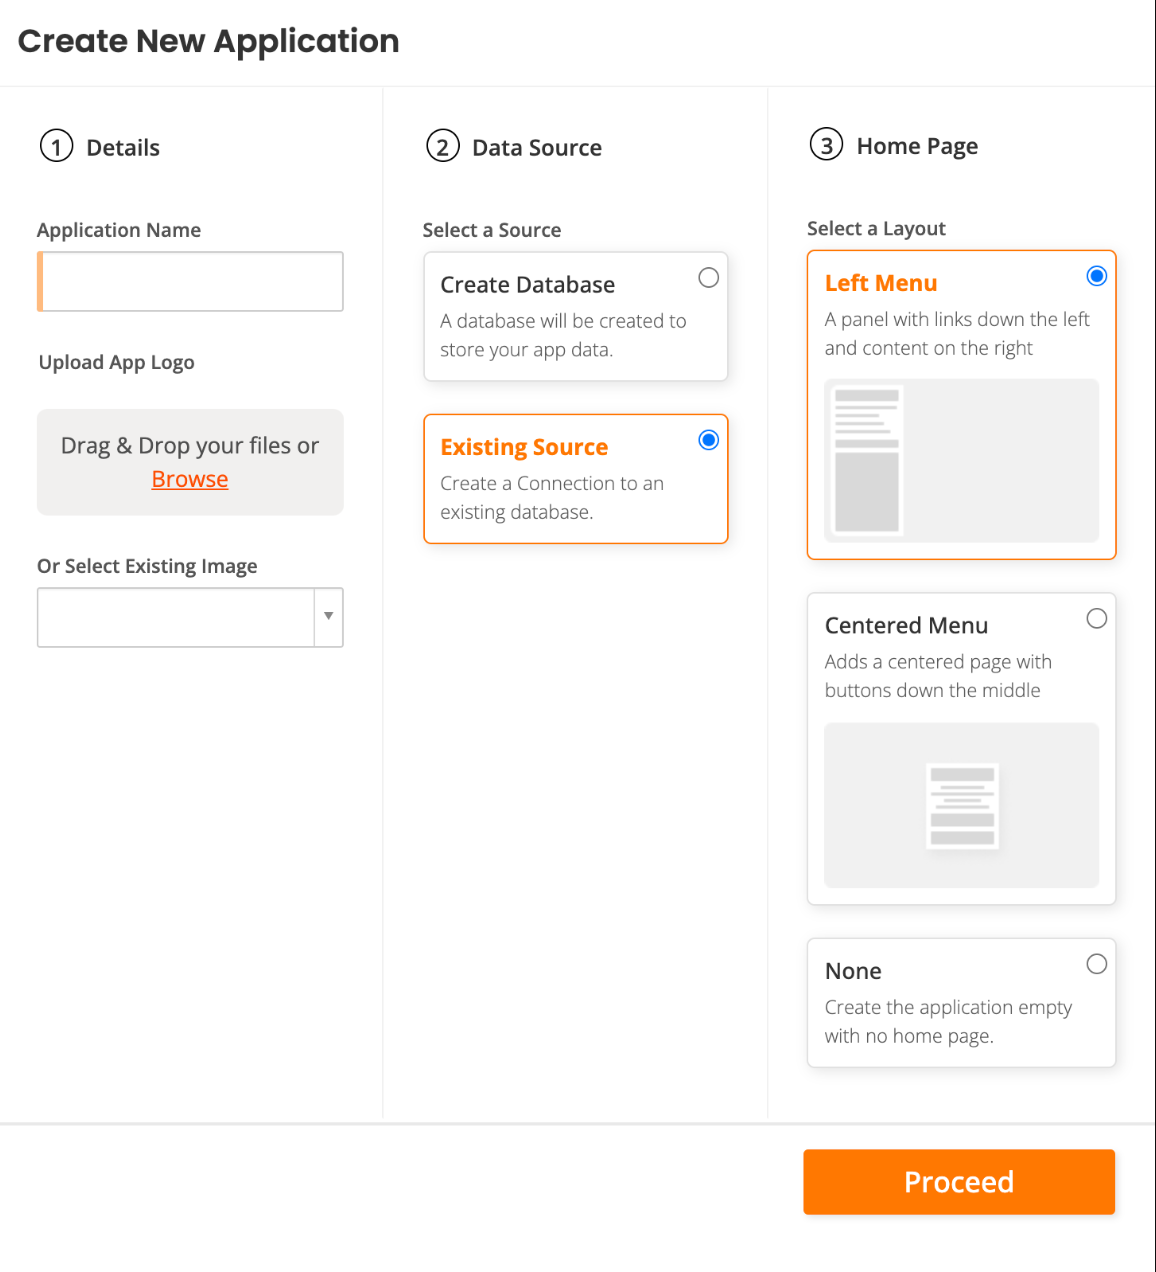
In the Build panel, click + Application. The Create New Application dialog opens:
-
In the ① Details section, do the following:
-
Enter a name for your new app in the Application Name field. In this series of tutorials, we'll use the name Northwinds.
-
(Optional) Under Upload App Logo, either drag and drop an image, click Browse to find one, or select an existing image from the dropdown menu.
-
-
In the ② Data Source section, select Existing Source.
-
In the ③ Home Page section, select Left Menu.
-
Click Proceed. The Add a Source to your application dialog opens.
-
Select Link to existing source then click the Next button.
-
On the Pick sources step, select the Northwinds relational database.
-
Click the Link 1 Source button.
-
On the summary page, click the Done button.
App Builder will create your application.
Note
There is more than one way to create an application in App Builder. They are described in detail in the Create a new app page.
Start designing your application
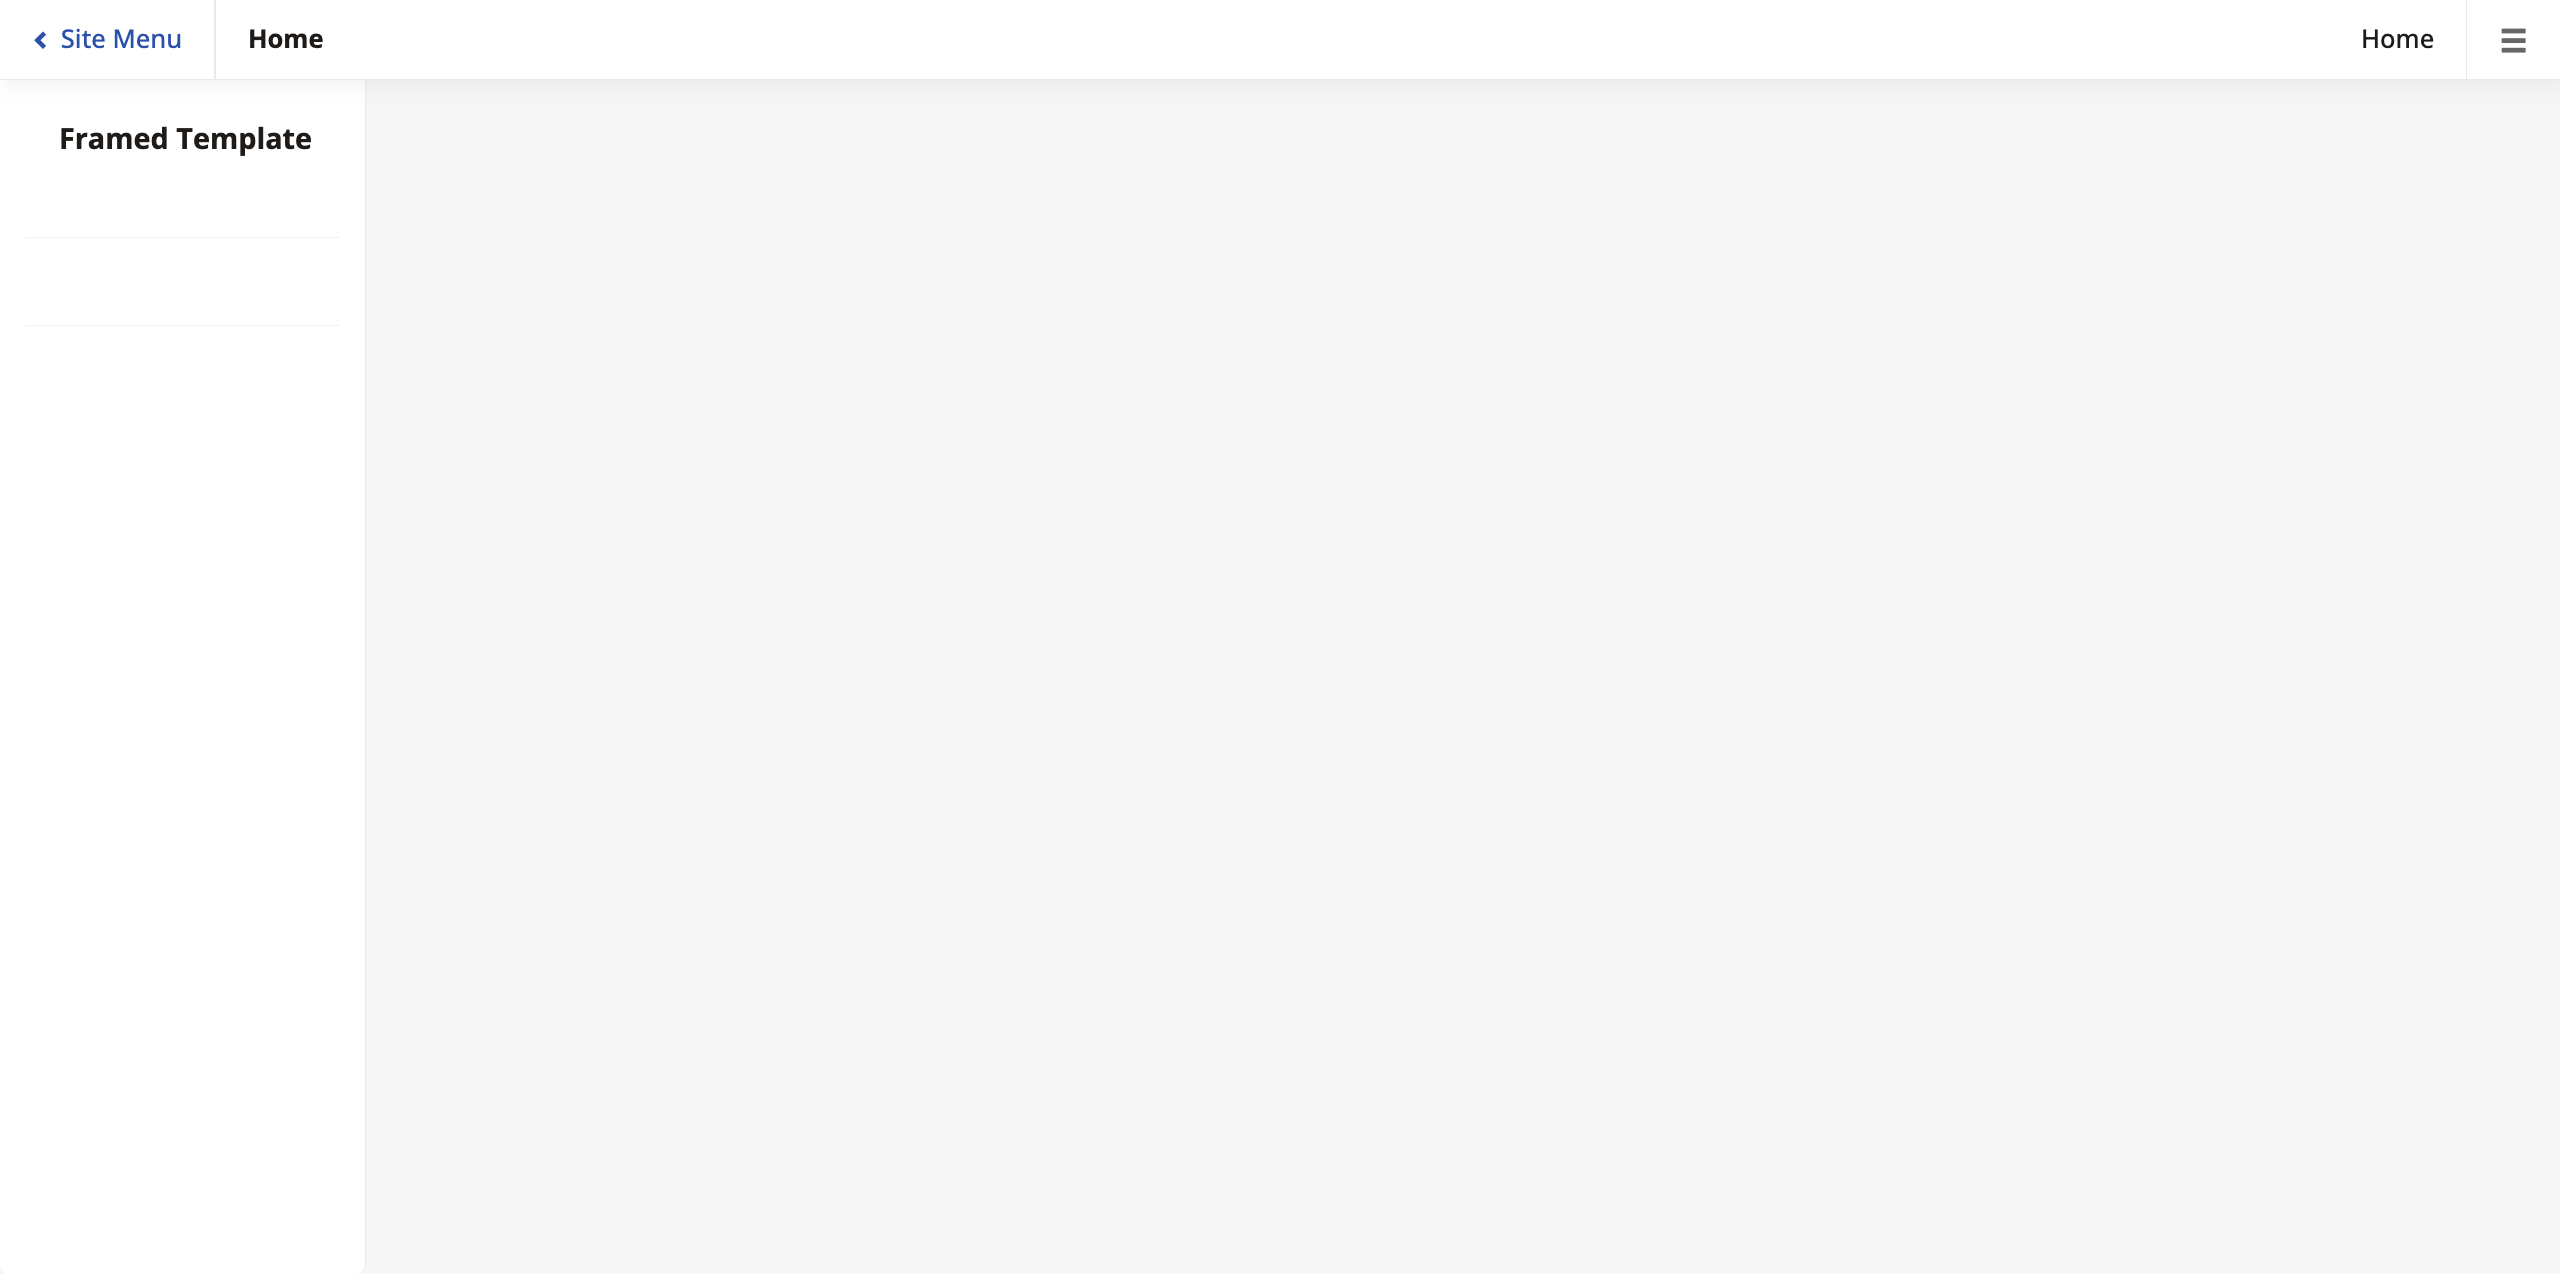
Now that App Builder has created the application, you can find it by returning to the site menu and clicking the recently-created application. Its home page is empty for now:
To start adding elements to your application, go to Action Drawer > App Workbench. You will arrive at the home page of the App Workbench, which looks like this:
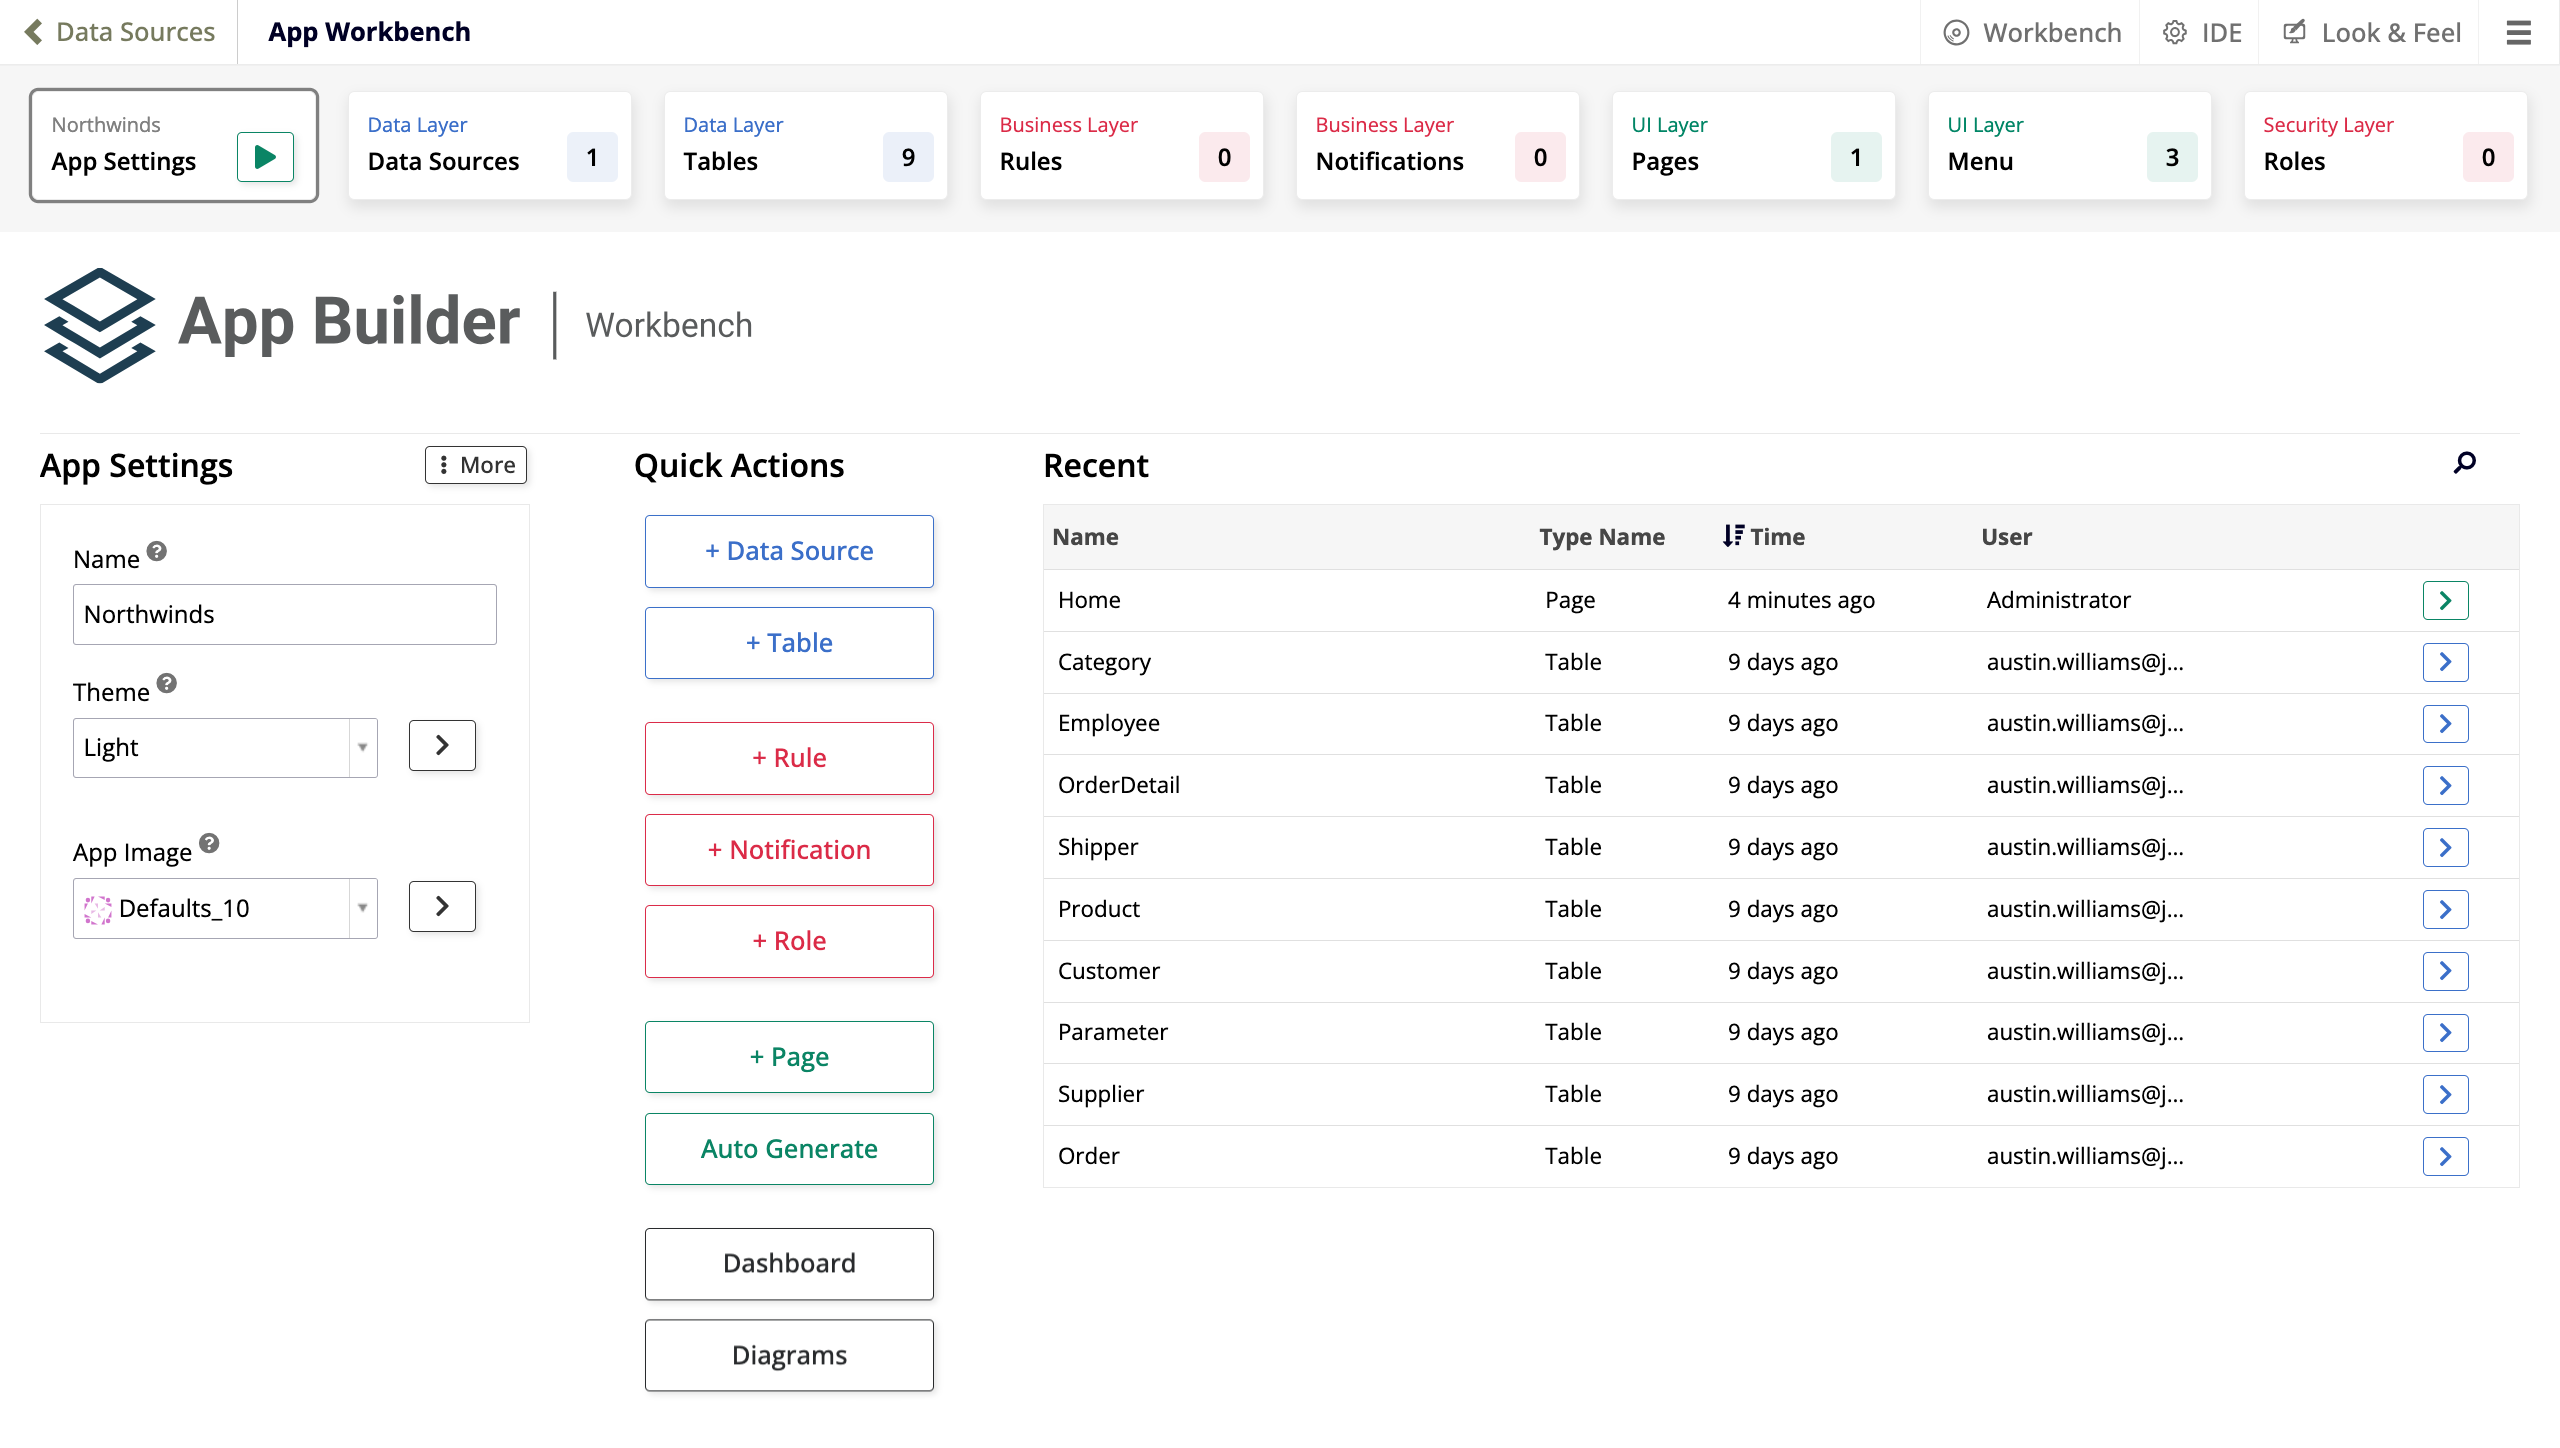
The App Workbench is the main area where you design your applications. It is where you'll find the development tools with which to build your app and where you will spend most of your time developing. Learn more about it in App Workbench.
Application development in App Builder is split into layers, with each layer representing a different aspect of the development process, and the App Workbench is divided into tabs that mirror this compartmentalization. By following the lessons, you will work on each of the layers in order, helping you understand the way data flows through App Builder.
Next steps
You are ready to start designing your App Builder application. Proceed to the next page in this tutorial series, Lesson 2: Add data to your application.