Data source connection in Jitterbit App Builder
Every App Builder application needs a data source, which can both provide it with data and receive data updates and inserts from the application.
When you create an application, you always connect it to at least one data source. You can also connect your applications to additional data sources. This page describes how to do that.
How to connect your App Builder application to a data source
From the Site Menu, locate the application you want to add more data sources to and click its edit icon to go to its App Workbench. Once you're there, follow these steps:
-
Click the Data Sources tab.
-
The Data Sources panel lists the current data sources the application is connected to. Click + Data Source to add another. A dialog called Add a Source to your application appears:
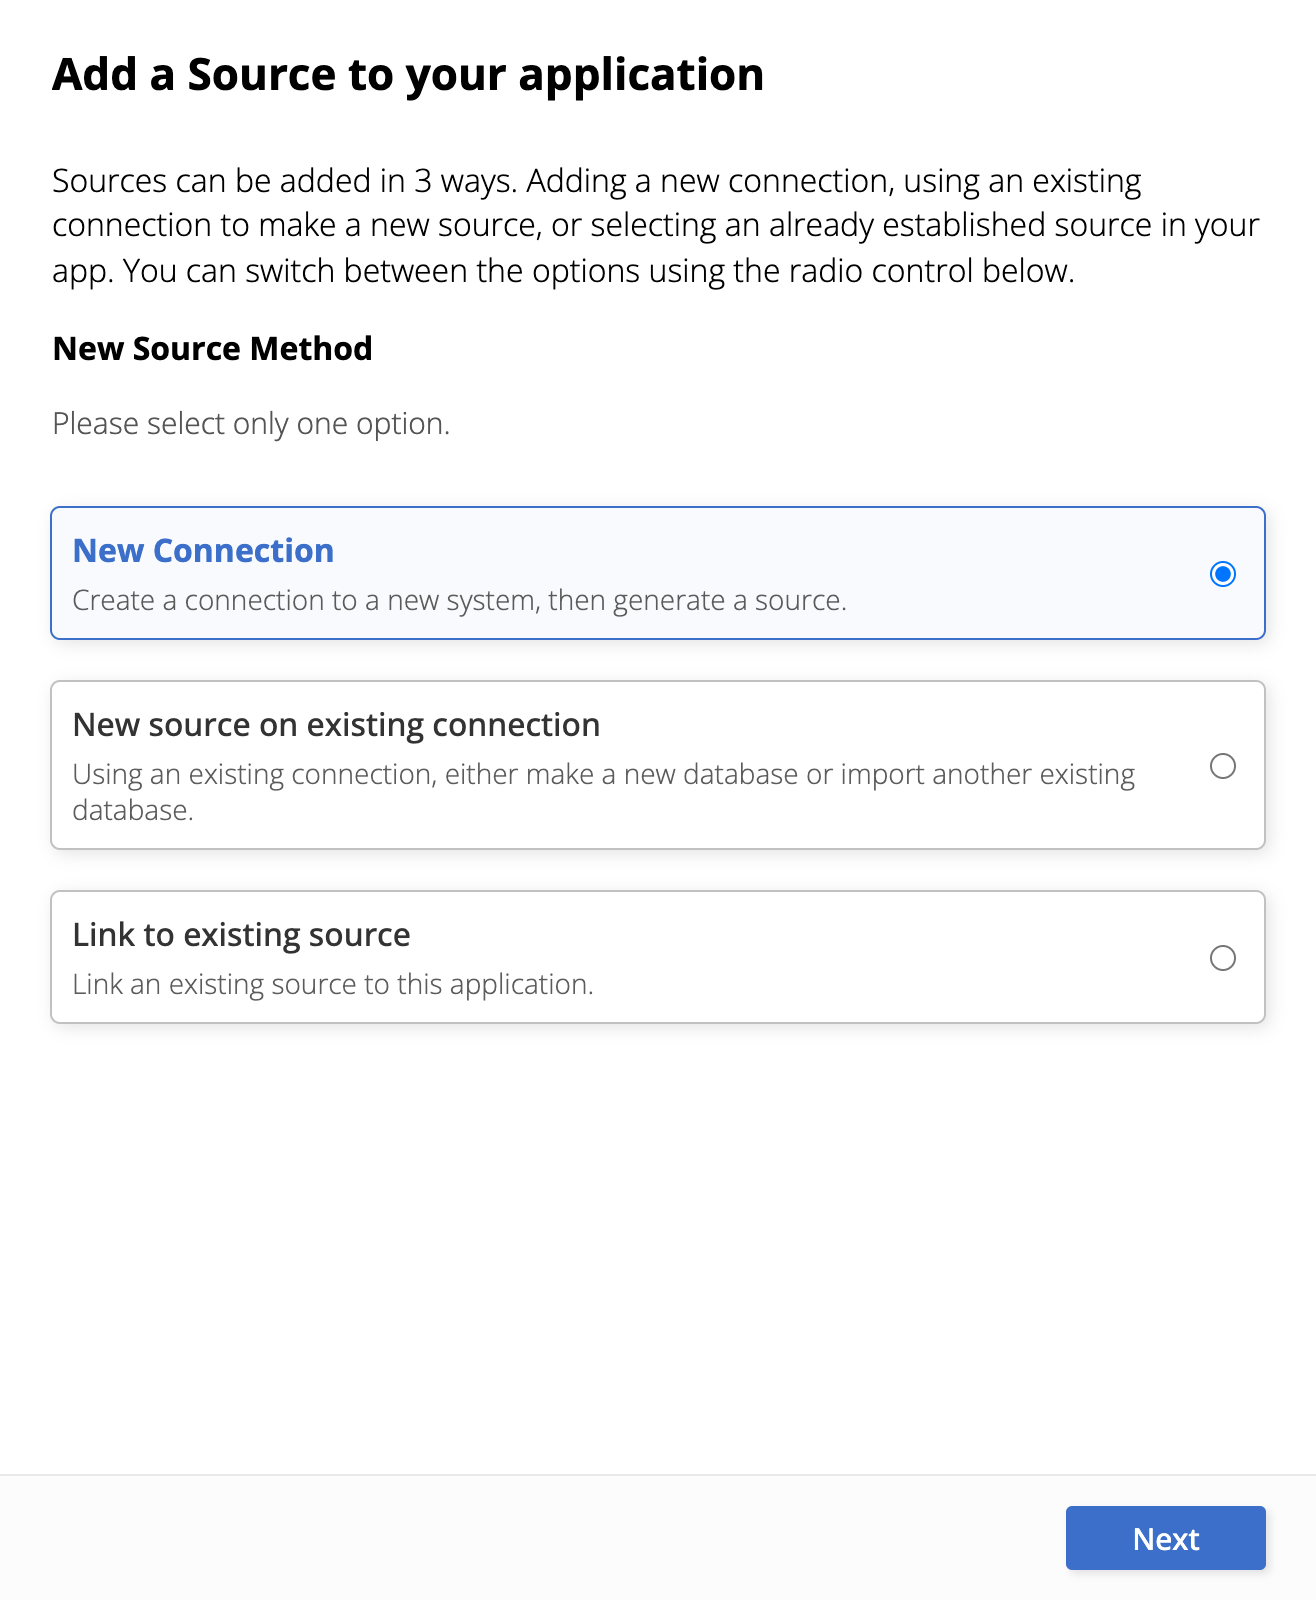
There are three possible paths. Each one of them is described in the sections below:
-
New connection
Create a connection to a new system, then generate a source. -
New source on existing connection
Using an existing connection, either make a new database or import another existing database. -
Link to existing source
Link an existing source to this application.
-
Create a new connection
To connect your application to a new data source, you must establish a connection first. The Add a Source to your application dialog will guide you through the steps of how to do that, which vary depending on the choices you make. An overview of the steps is given below:
-
Select the New Connection option and click Next. A dialog called Choose Connection Type opens:
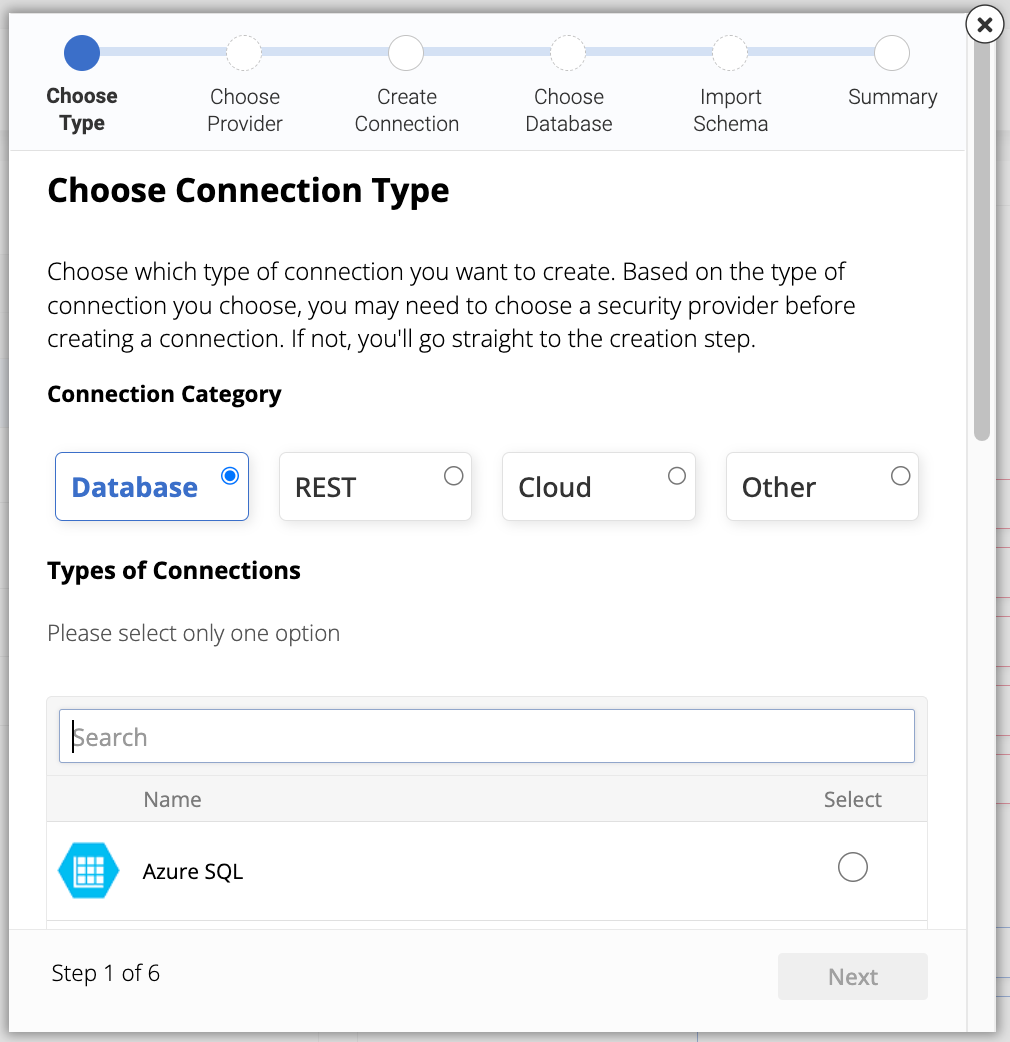
In the Connection Category field group, there are four options of data source types that you can connect your application to: Database, REST, Cloud, and Other. Each option shows a list of data sources belonging to that category. Locate and select the one you want, then click Next. The following steps in the wizard change depending on your choice. All options are listed below:
-
Database
-
Azure SQL
-
Denodo
-
IBM DB2 for z/OS
-
IBM DB2 LUW
-
Microsoft Access
-
Microsoft SQL Server Parallel-Data-Warehouse
-
Netezza
-
SQLite
-
-
REST
-
REST API
-
Webhook API
-
-
Cloud
-
Facebook
-
Google Analytics
-
Hive Hadoop
-
Microsoft SharePoint
-
PayPal
-
Salesforce1 Platform
-
SuccessFactors
-
Twilio
-
Twitter
-
Zoho CRM
-
Other
-
Accounting
-
Dynamics 365 Finance & Operations
-
SAGE Intacct
-
Directory Services
- Active Directory
-
E-Commerce
-
Magento
-
-
File System
-
Jitterbit Harmony
-
API Manager
-
App Builder Connector
-
-
Mail
-
Email
-
Microsoft Office 365
-
-
NoSQL
-
Amazon DynamoDB
-
Cosmos DB
-
-
SAP Database
-
SAP
-
SAP 8Cast v2
-
-
-
-
Depending on your choice of connection type, you may see the second step, Select Security Provider:
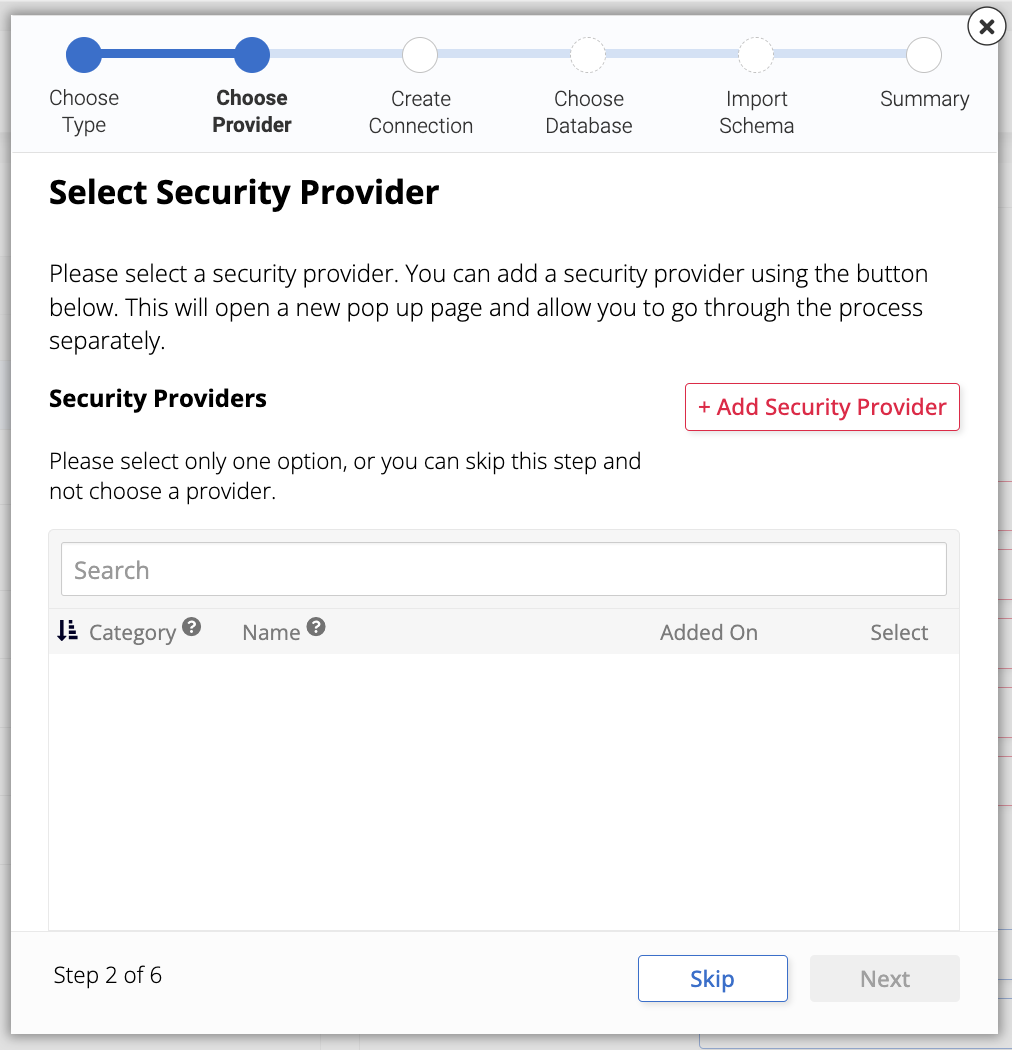
You can select a security provider in this step. The dialog lists the existing providers. You can also create a new one using the + Add Security Provider button, which will start a new wizard with its own steps.
This step is optional. You can proceed without selecting a security provider by clicking Skip.
-
The third step is Create New Connection, where you create the connection to the new system. The screenshot below shows a possible version of the dialog, when the selected server type is REST API, but the fields you will see may be different depending on your selection in the first step:
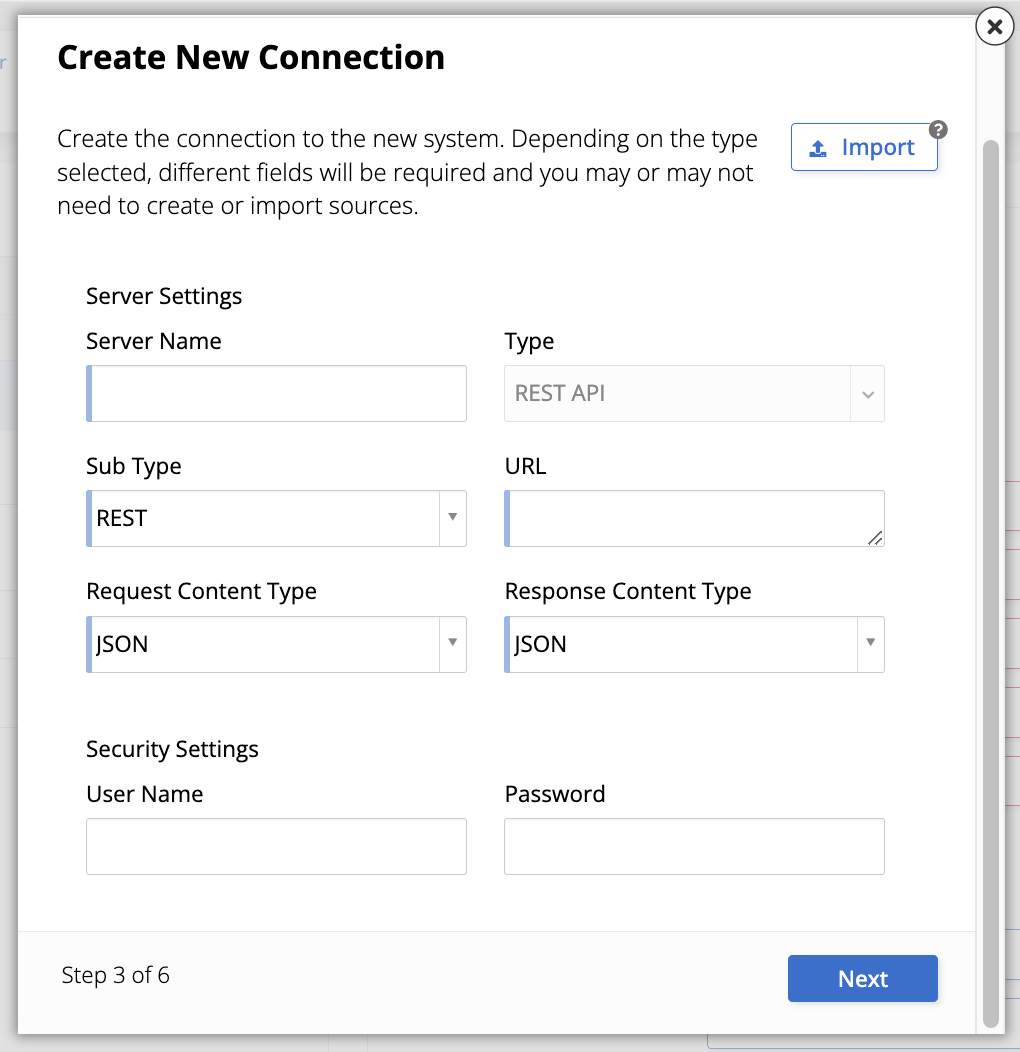
In all cases, the Server Settings field group will include at least a Server Name field, where you should enter a name for your server. Click Next to continue.
-
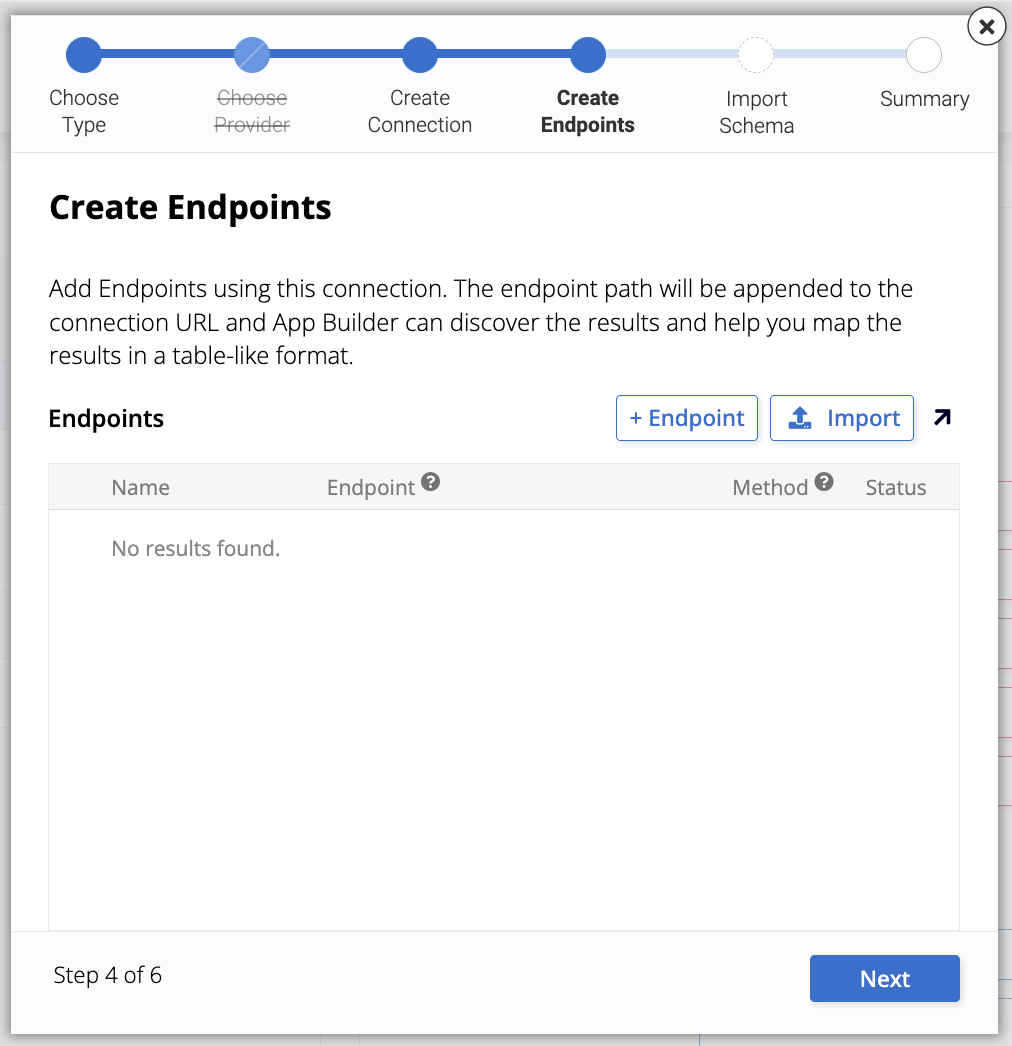
Depending on your selections, you may see a step called Create Endpoints or Create Database. In the example image below, the Endpoints panel lists existing endpoints. You can also create a new one by clicking + Endpoint or import one by clicking Import. This step may be optional. When you are done, click Next.
-
The fifth step, Import Schema, is skipped because you are creating a new connection.
-
The final step of the dialog shows a Summary of your choices. Click Done and the new connection will be established.
New source on existing connection
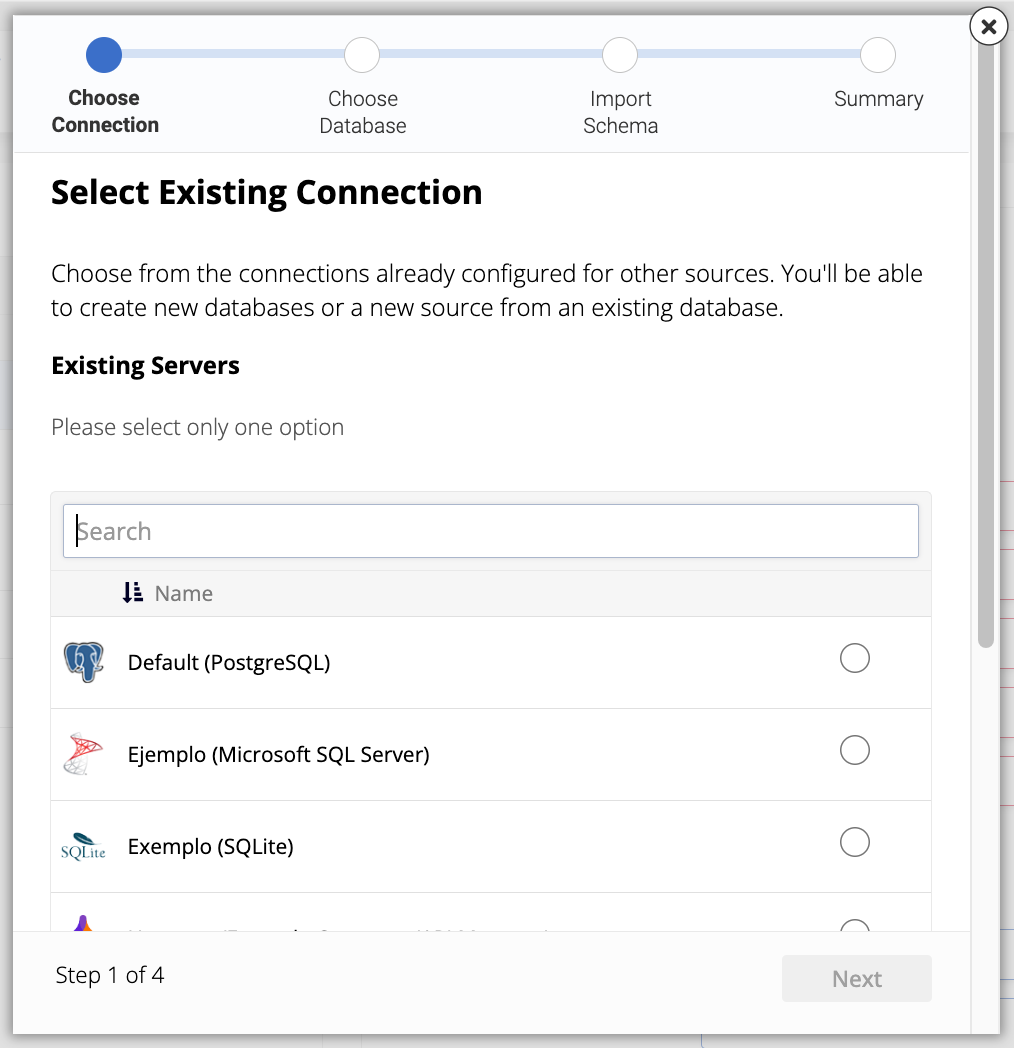
This option allows you to either make a new database or import an existing one using a connection that has already been established. Selecting it will open the Select Existing Connection dialog:
-
The first step lists all the existing connections. Select the one you want to use and click Next.
-
The second step, Choose Database, offers two options:
-
If you want to create a new database in the server you've chosen, click + Create Database. Enter a Data Source Name, a name to identify your new database, and click Next.
-
If you want to use an existing database in the server you've chosen, locate and select it in the Existing Databases list. Click Next.
-
-
In the third step, Import Schema, you will be asked to choose tables, views, and procedures to be imported into the new source. You can select them by navigating through the tabs and clicking individual Import Schema buttons. If you want to import all of them, you can click the Import All button. Click Next when you're done.
-
The fourth step, Summary, sums up all the selections you've made. Review the choices and click Done to finish.
Link to existing source
This option allows you to link an existing data source to the current application. When you select it, you see a list of all the currently existing data sources. Select one or several sources to bring into your application. Click the Link Sources button and you will be taken to the Summary, where you can confirm your choices. Click Done to finish.