Event action types in Jitterbit App Builder
App Builder supports many different Event action types that can be defined for actions associated with events, depending on your intended usage of the action. This page describes the different action types and how you can work with them.
To access the different Event action types:
-
Select App Workbench > Rules.
-
Locate the table (or rule) where you want to define an action, and click its corresponding Events icon. The All Events dialog opens.
-
Select the intrinsic or customized event that should trigger the action by double-clicking its row. A dialog opens.
-
In the Actions panel, select Register and configure the action type in the resulting Action dialog (pictured).
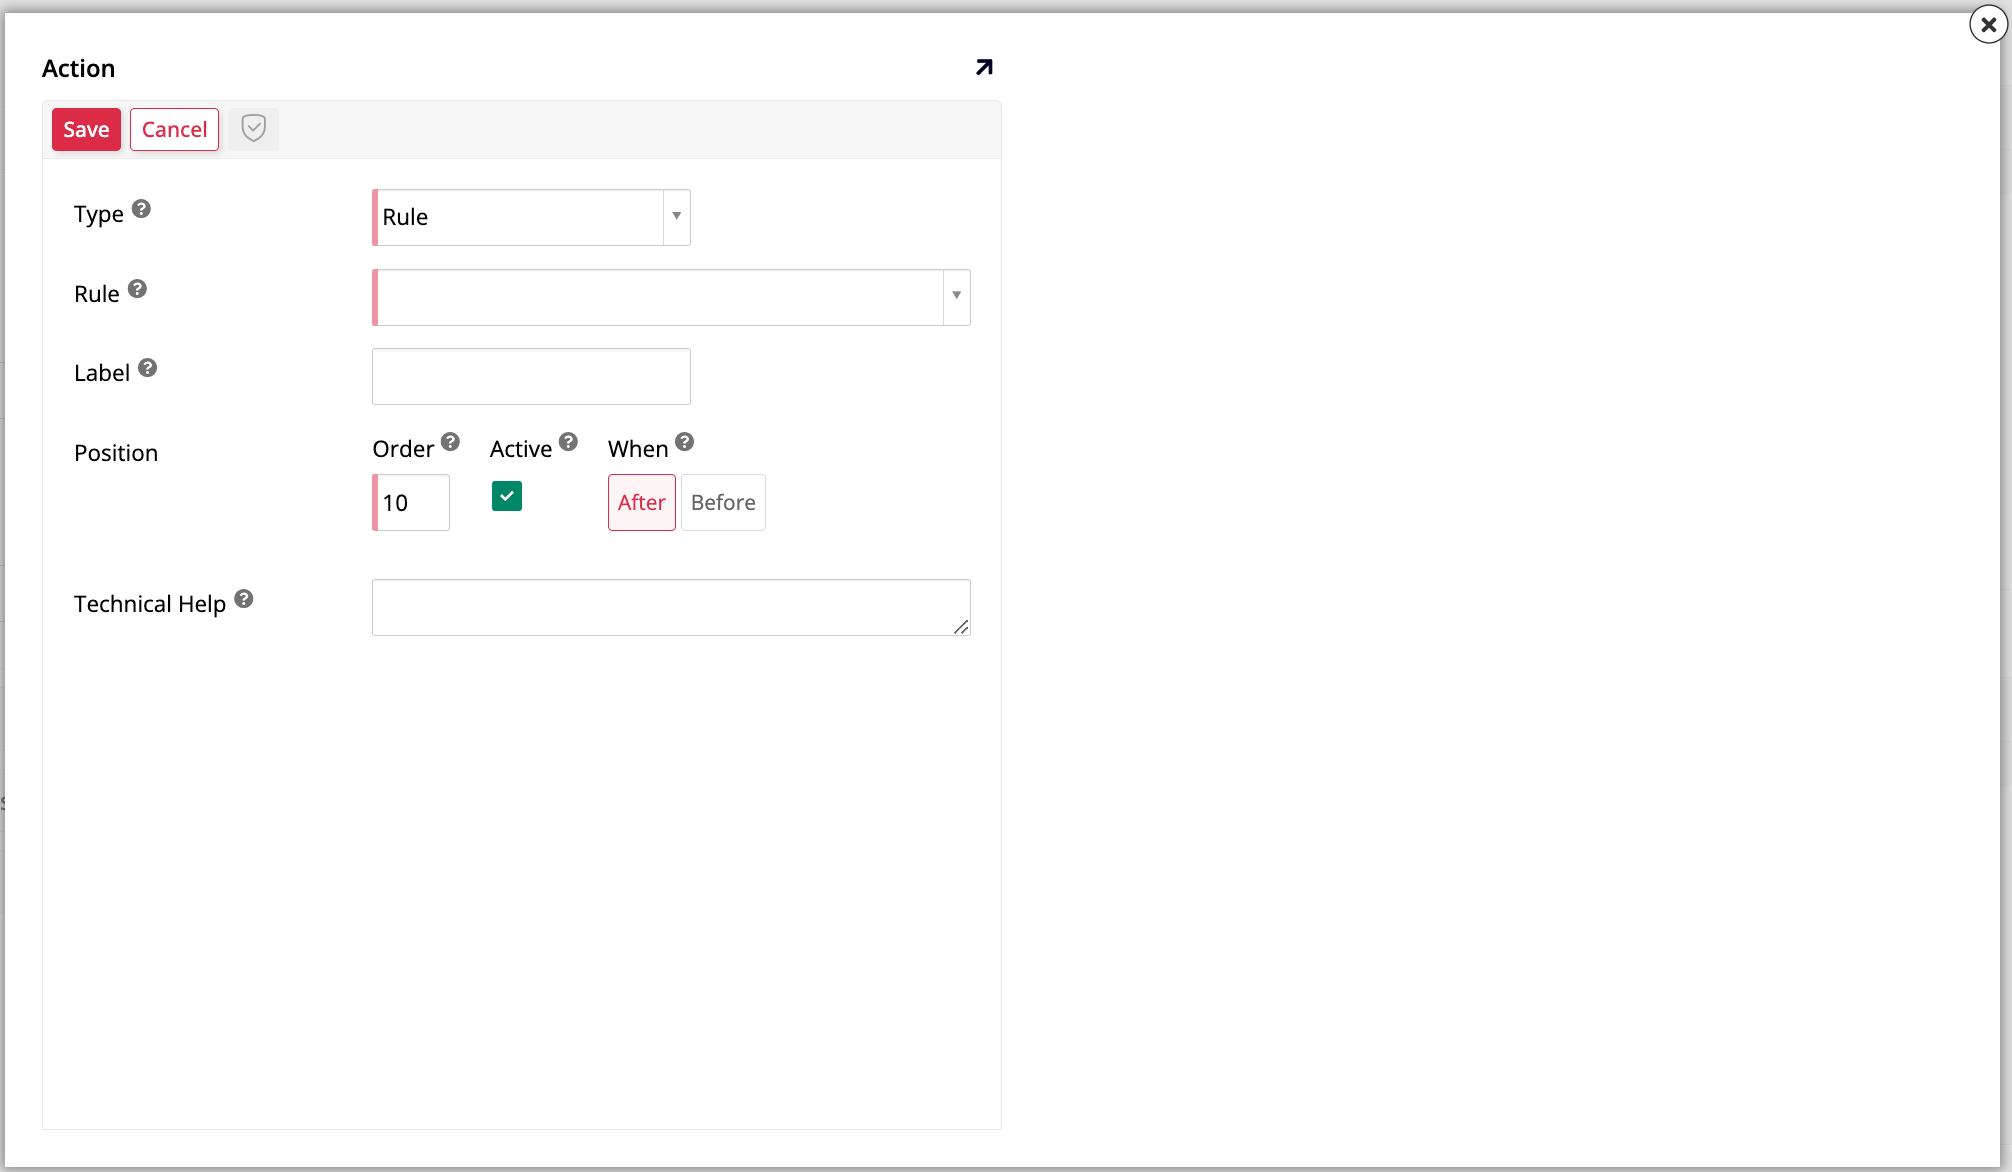
There are nine action types available, divided into Basic and Edge Case. The default action type is Rule, as it's the most frequently used. The basic action types, rules and notifications, are documented separately, while this page documents the remaining types.
Action types:
-
Basic
-
Edge Case
API Call
Use the API Call action type to call an API Manager or REST endpoint as an action. To configure an API Call action, access the Action dialog as described above then configure these fields:
-
Type: Set to API Call.
-
Endpoint: Select the named endpoint to call with the action.
-
Label: (Optional) Enter a label (30 characters max) to be shown in the event diagram. If no label is provided, the endpoint name will be used.
-
Position
-
Order: Enter a value to control the order of execution when run on an event.
-
Active: Enabled by default, this option determines whether the action will be executed.
-
When: Set to either Before or After to determine when the action should execute.
-
-
Technical Help: (Optional) Enter a description of the action's responsibilities and behavior to aid other developers.
To complete the action creation, click Save.
Note
From the REST perspective, App Builder supports inbound and outbound bindings. Inbound columns are sent to the endpoint, and outbound ones originate from the endpoint response and update the in-memory record with the value from the REST. Using outbound binding may result in an error message if the response contains multiple records, as App Builder does not know which record to use in this scenario.
Event
Use the Event action type to execute another named event. To configure an Event action, access the Action dialog as described above then configure these fields:
-
Type: Set to Event.
-
Rule: Select the rule that will perform the action.
-
Event: Select the event that the action will invoke.
-
Treat Validation Warnings As Errors: Enabled dy default. Disable this option if you want to allow the invoked event to receive any warning validations that the user chose to proceed on, but any actions prior to this one will be executed again. To prevent this, consider adding the same validation on the current (calling) event.
-
Label: (Optional) Enter a label (30 characters max) to be shown in the event diagram. If no label is provided, the target event name will be used.
-
Position
-
Order: Enter a value to control the order of execution when run on an event.
-
Active: Enabled by default, this option determines whether the action will be executed.
-
When: Set to either Before or After to determine when the action should execute.
-
-
Technical Help: (Optional) Enter a description of the action's responsibilities and behavior to aid other developers.
To complete the action creation, click Save.
Export
Use the Export action type to export a report to a file. This action exports a file, writes it using commas, pipes, or tabs as delimiters, then stores it in the desired location. To configure an Export action, access the Action dialog as described above then configure these fields:
-
Type: Set to Export.
-
Rule: Select the rule that will perform the action.
-
File System: Select where to store the information being exported. This can be a local or network file system.
-
Delimiter: Select which delimiter (commas, pipes, or tabs) to be used for the file.
-
Output Headers: Enable this option if the file being exported includes a header row. Disabled by default.
-
Filename Column: Select the filename column from the business rule or table being referenced.
-
Label: (Optional) Enter a label (30 characters max) to be shown in the event diagram. If no label is provided, the rule name will be used.
-
Position
-
Order: Enter a value to control the order of execution when run on an event.
-
Active: Enabled by default, this option determines whether the action will be executed.
-
When: Set to either Before or After to determine when the action should execute.
-
-
Technical Help: (Optional) Enter a description of the action's responsibilities and behavior to aid other developers.
To complete the action creation, click Save.
Import
Use the Import action type to import data from a file system to one or many tables. You can import CSV, Excel, or HL7 files. To configure an Import action, access the Action dialog as described above then configure these fields:
-
Type: Set to Import.
-
Import Type: Select the type of file to be imported, either CSV or Excel or HL7.
-
Truncate: (Optional) Enable this option if you want App Builder to delete the target table contents upon import. Disabled by default.
-
File System: Select where to store the information being imported. This can be a local or network file system.
-
Target Table: Select the named table where the imported file will reside.
-
Delimiter: Select which delimiter (commas, pipes, or tabs) to be used for the file.
-
Completed Data Source: Select the file location where the import file will be moved to. Leave this field blank if it is the same as the File System.
-
Label: (Optional) Enter a label (30 characters max) to be shown in the event diagram. If no label is provided, the table name will be used.
-
Position
-
Order: Enter a value to control the order of execution when run on an event.
-
Active: Enabled by default, this option determines whether the action will be executed.
-
When: Set to either Before or After to determine when the action should execute.
-
-
Technical Help: (Optional) Enter a description of the action's responsibilities and behavior to aid other developers.
To complete the action creation, click Save.
Note
Explicit bindings do not have any impact on import.
Note
The Import action imports large files in sequential batches of 1,000 records. As each batch is committed independently, a failure in one batch does not roll back previously successful ones. To avoid data duplication when re-running a failed import, remove the records that were already imported from your file instead of restarting from the beginning.
Plugin
Use the Plugin action type to invoke an action plugin in App Builder. To configure a Plugin action, access the Action dialog as described above then configure these fields:
-
Type: Set to Plugin.
-
Plugin: Select the plugin that will perform the action. The available plugins are:
-
Clear Endpoint Cache: Cancels any endpoint cache generated from previous actions.
-
Commit Event Transactions: Commits any open transaction from the parent event (directly on the event or one of its parents).
-
Create Row on Empty Table: Creates a new row if the Filter event does not return any rows.
-
Http Retriever: Retrieves content from the URL column and stores it in the Result column.
-
JWT Generator: Generates a JSON Web Token (JWT).
-
Persistable – Refresh Row: Refreshes a row.
-
Persistable Salesforce – Refresh Rw: Refreshes a row.
-
Pluralize Name: Pluralizes and humanizes a Name field.
-
Run Background Event: Runs the Background event for the data object (in the background).
-
Save Report: Saves report to PDF directory.
-
Security Provider Hash Password: Hashes the Password column value using a given security provider.
-
Security Provider Password Hash Verifier: Verifies a hashed password using a given security provider.
-
Sleep: Pauses for either one second or a customized Timeout period (in milliseconds).
-
SMTP Mailer: Sends mail using Email, Subject, and optional Body and From fields. Substitution using
{{ field }}is available within the Body and Subject. -
Throw Exception: Throws an exception.
-
-
Label: (Optional) Enter a label (30 characters max) to be shown in the event diagram. If no label is provided, the plugin name will be used.
-
Position
-
Order: Enter a value to control the order of execution when run on an event.
-
Active: Enabled by default, this option determines whether the action will be executed.
-
When: Set to either Before or After to determine when the action should execute.
-
-
Technical Help: (Optional) Enter a description of the action's responsibilities and behavior to aid other developers.
To complete the action creation, click Save.
Procedure
Use the Procedure action type to execute an RDBMS (Relational Database Management System) stored procedure. To configure a Procedure action, access the Action dialog as described above then configure these fields:
-
Type: Set to Plugin.
-
Procedure: Select the stored procedure that will be executed.
-
Label: (Optional) Enter a label (30 characters max) to be shown in the event diagram.
-
Position
-
Order: Enter a value to control the order of execution when run on an event.
-
Active: Enabled by default, this option determines whether the action will be executed.
-
When: Set to either Before or After to determine when the action should execute.
-
-
Technical Help: (Optional) Enter a description of the action's responsibilities and behavior to aid other developers.
To complete the action creation, click Save.
RFC (Remote Function Call)
Use the RFC action type to execute a remote function call. RFCs are primarily used when working with SAP externally and configuring RFC BABI calls and RFC table reads. To configure an RFC action, access the Action dialog as described above then configure these fields:
-
Type: Set to RFC.
-
RFC: Select the function to be called.
-
Label: (Optional) Enter a label (30 characters max) to be shown in the event diagram.
-
Position
-
Order: Enter a value to control the order of execution when run on an event.
-
Active: Enabled by default, this option determines whether the action will be executed.
-
When: Set to either Before or After to determine when the action should execute.
-
-
Technical Help: (Optional) Enter a description of the action's responsibilities and behavior to aid other developers.
To complete the action creation, click Save.