Connect to Jitterbit Harmony in Jitterbit App Builder
Introduction
Since App Builder 4.53, you can use a wizard to set up a connection to Jitterbit Harmony.
The wizard does the following:
-
Sets up user and data source authentication providers for connecting to your Harmony account. (To see these, select IDE > Security Providers.)
-
Sets up an App Builder data server of database category Jitterbit Harmony and type API Manager. (To see this, select IDE > Data Servers.)
-
Sets up configurations for your Harmony account's organizations and environments. You can see and manage these on the IDE > Harmony page.
Set up an API Manager connection
To set up a connection to Harmony, follow these steps:
-
Select IDE > Harmony.
-
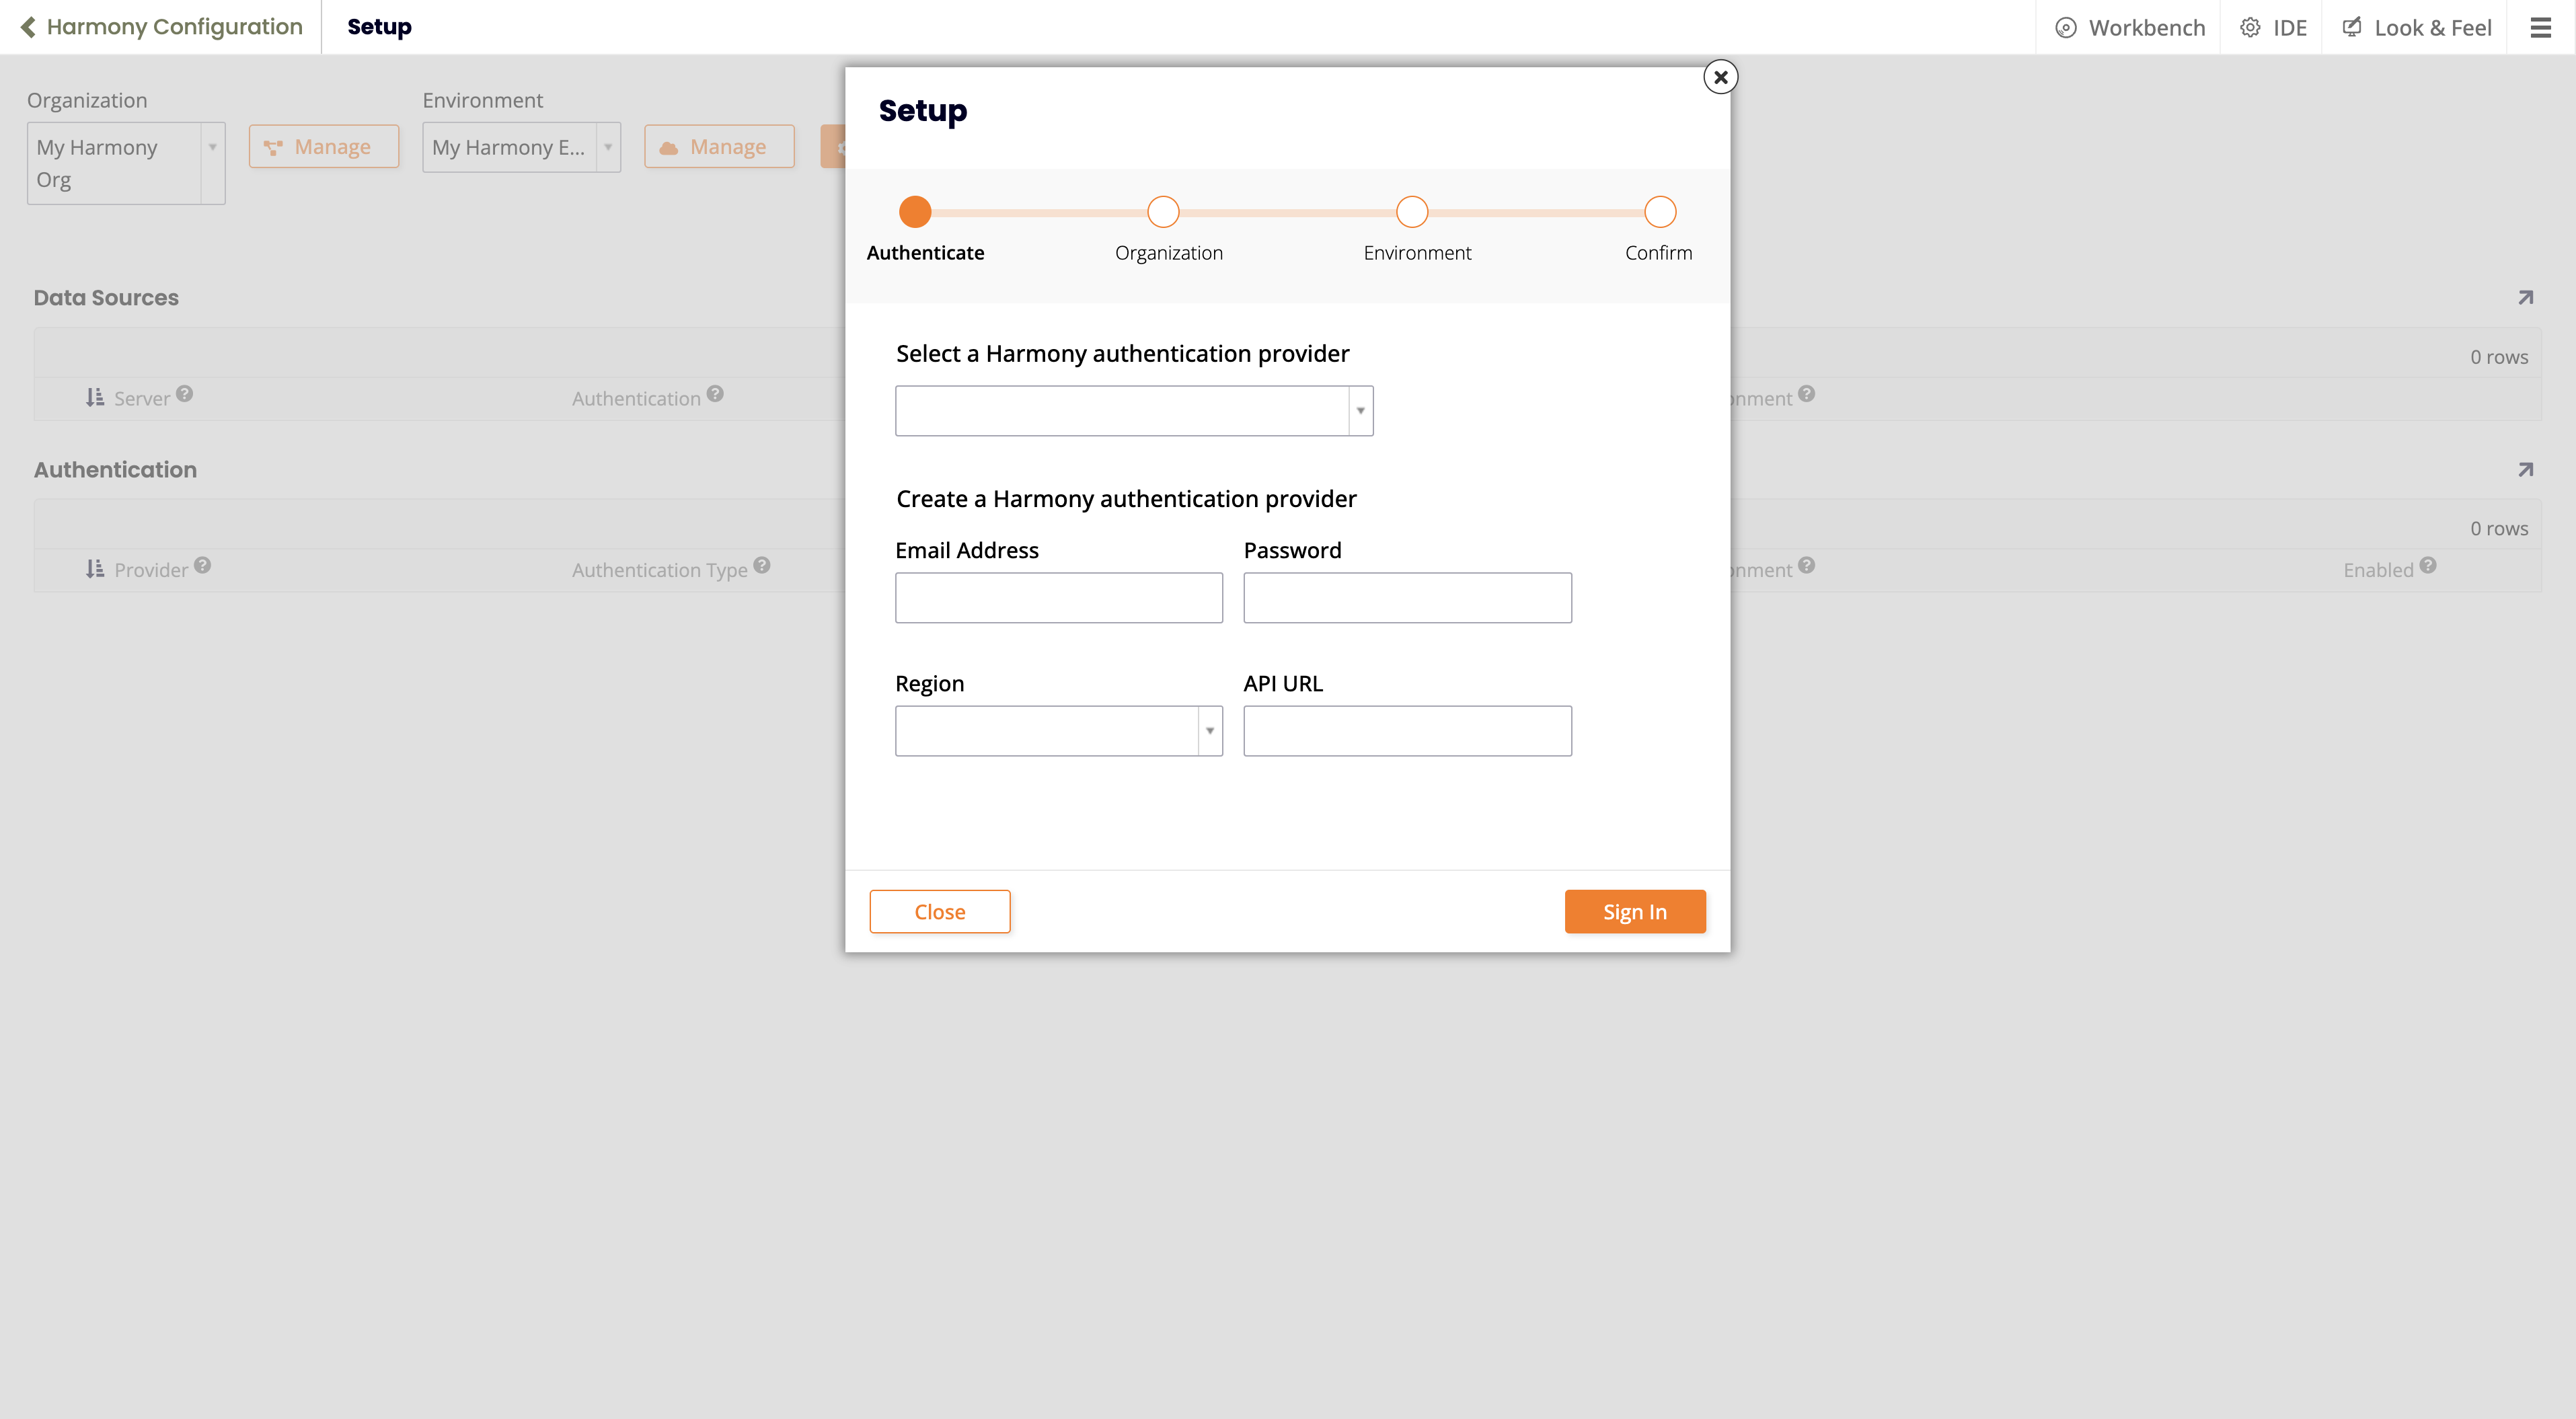
Click the Setup button. The Setup wizard opens:
-
If you have an authentication provider already set up, select it using the Select a Harmony authentication provider menu.
If you don't, set these values under Create a Harmony authentication provider:
-
Email Address: The Harmony account login name.
-
Password: The Harmony account password.
-
Set values for either of the following:
-
Region: The region the account is in. Choose from these options:
- Asia-Pacific
- Europe, the Middle East and Africa
- North America and South America
-
API URL: The base URL for the Harmony server.
-
-
-
Click the Sign In button.
-
If successful, the wizard's Organizations page shows a list of available organizations. Select one, then click the Next button.
-
On the wizard's Environment page, select the environment to use, then click the Next button.
-
On the Confirm page, check the details, then click the Finish button.
-
The Harmony Configuration page shows the added data sources and authentication providers:

Manage Harmony organizations and environments
Organizations
To manage Harmony organizations, follow these steps:
-
Select IDE > Harmony.
-
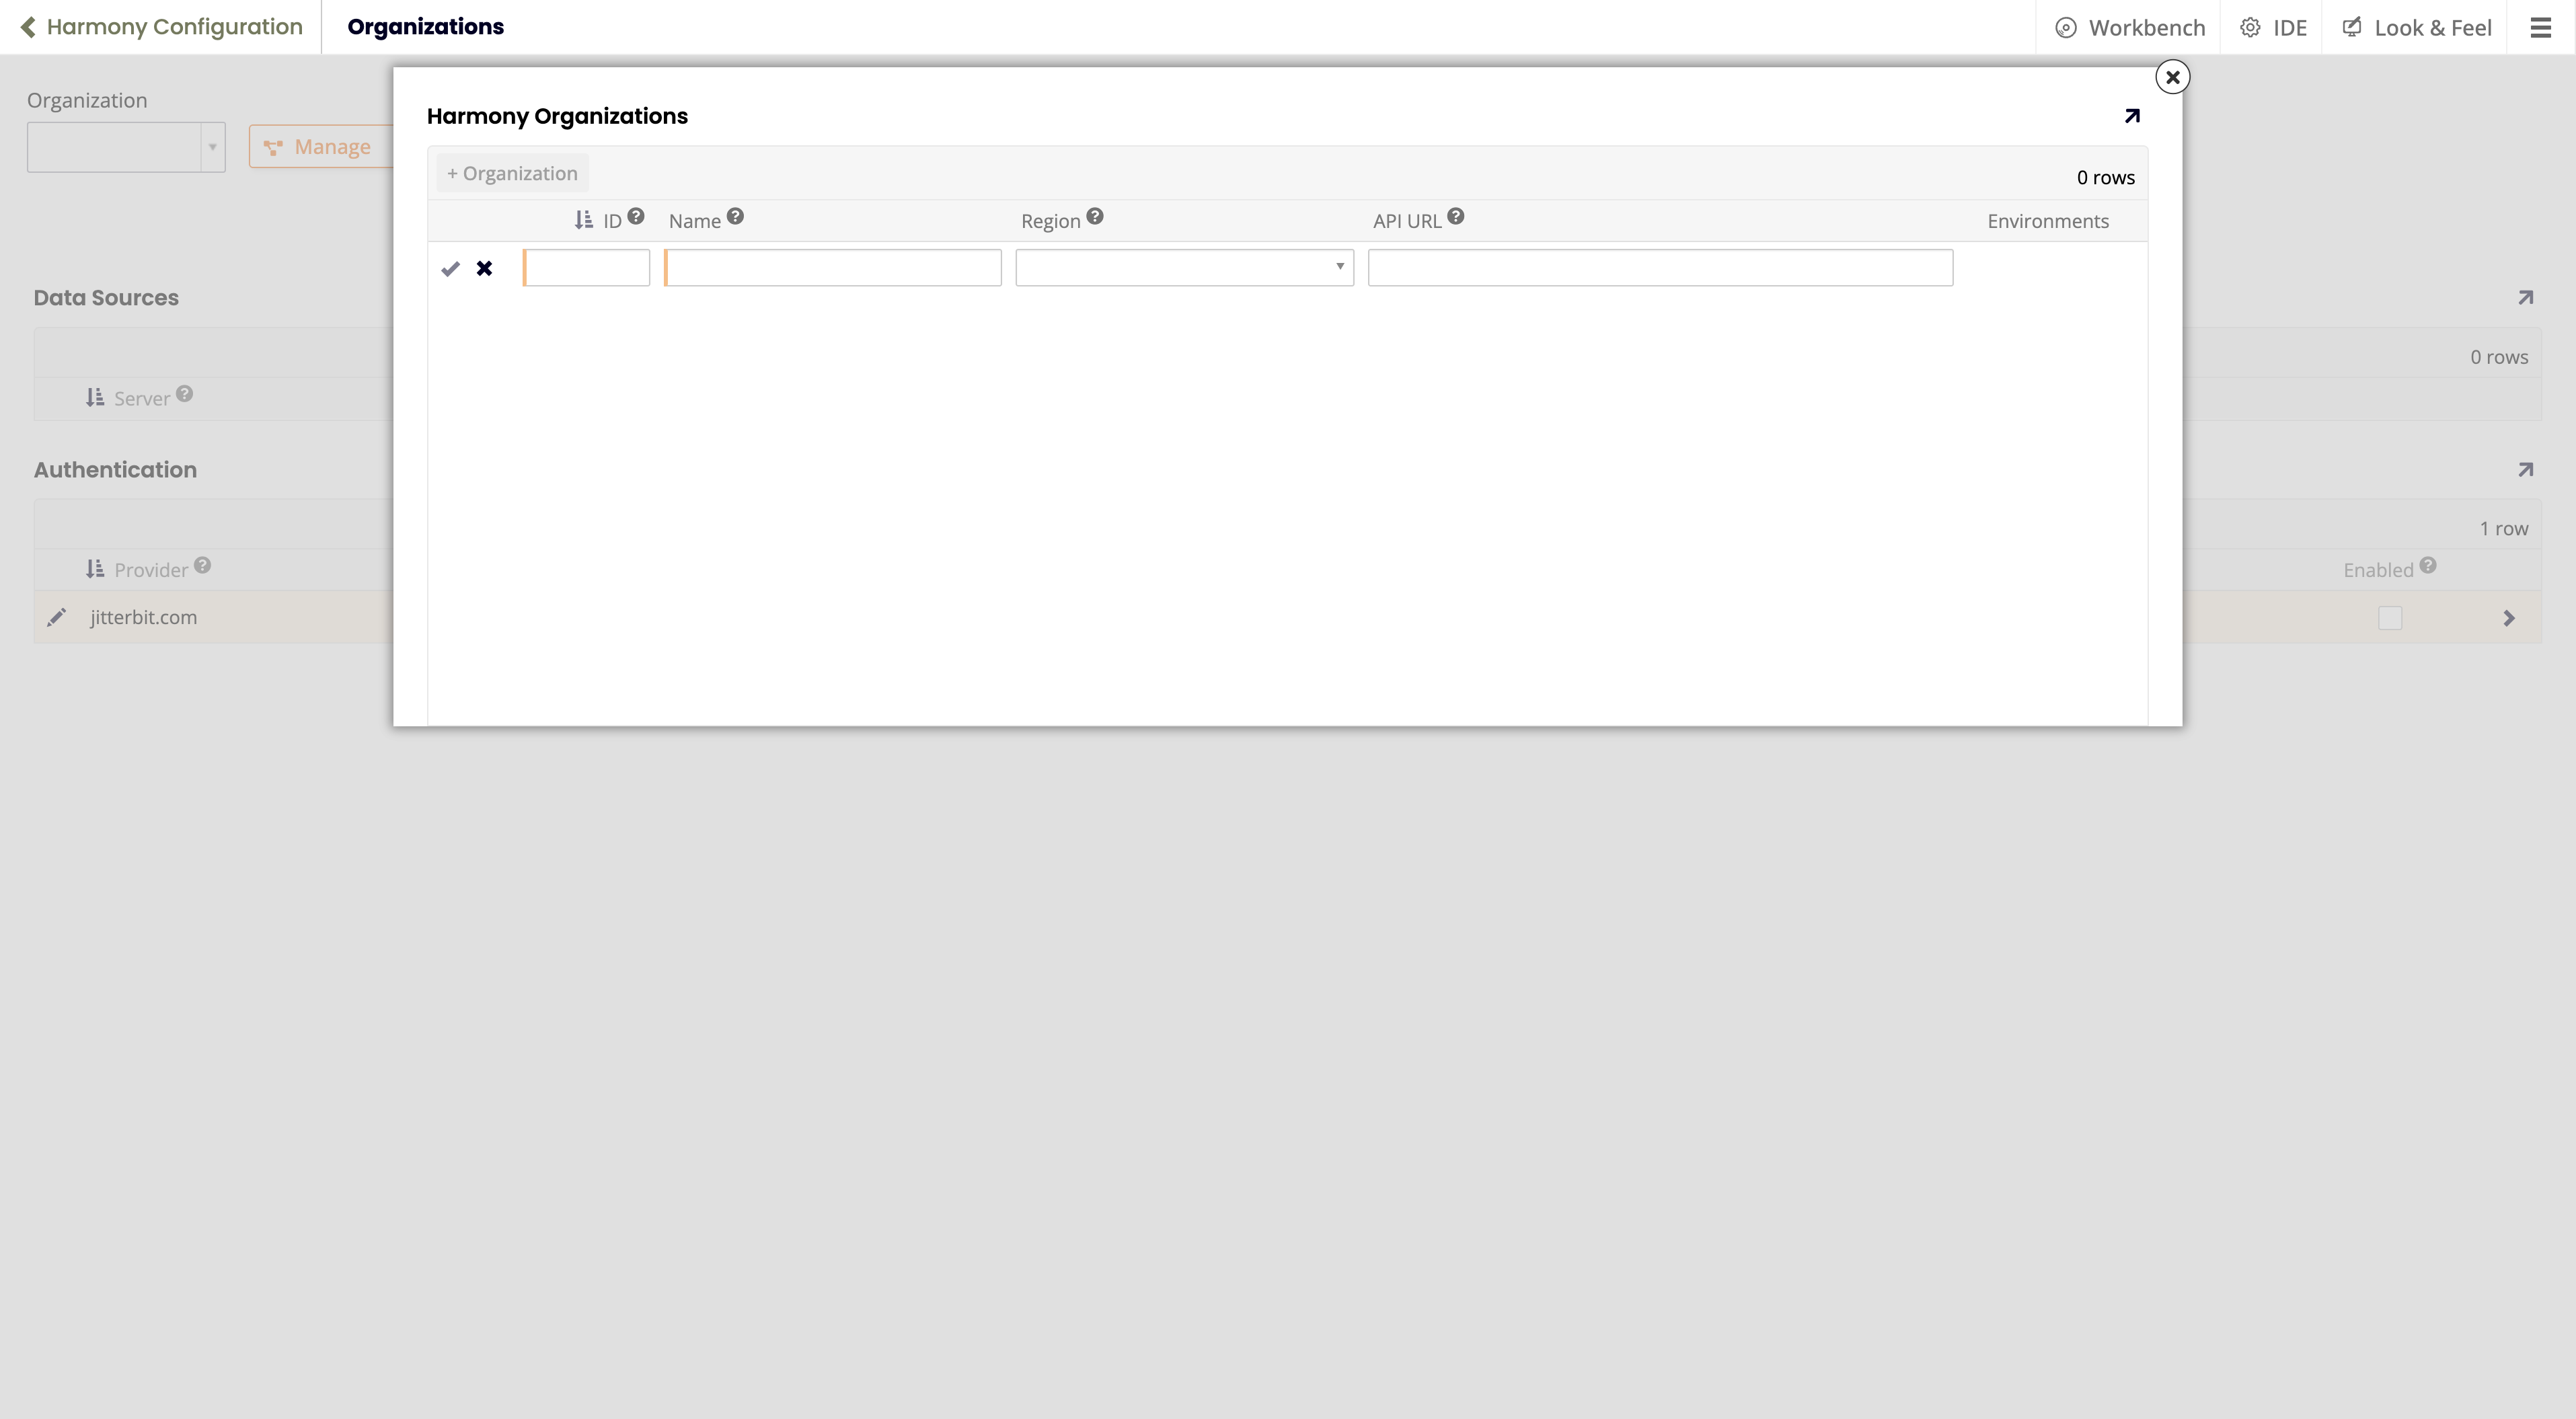
Click the Manage button. The Harmony Organizations popup opens:
-
There are two possibilities:
-
If this is your first time here, there is an empty row ready for input.
-
If there are organizations already set up, they are listed. To add a new one, click the + Organization button.
-
-
In the empty row, set values for the following:
-
ID: The Harmony organization ID.
-
Name: A name for this organization. (It can differ from the name used in Harmony.)
-
Set values for either of the following:
-
Region: The region the account is in. Choose from these options:
- Asia-Pacific
- Europe, the Middle East and Africa
- North America and South America
-
API URL: The base URL for the Harmony server.
-
-
-
Click the Save icon, then close the popup.
Environments
To manage Harmony environments, follow these steps:
-
Select IDE > Harmony.
-
Use the Organization menu to select the organization the environment is in.
-
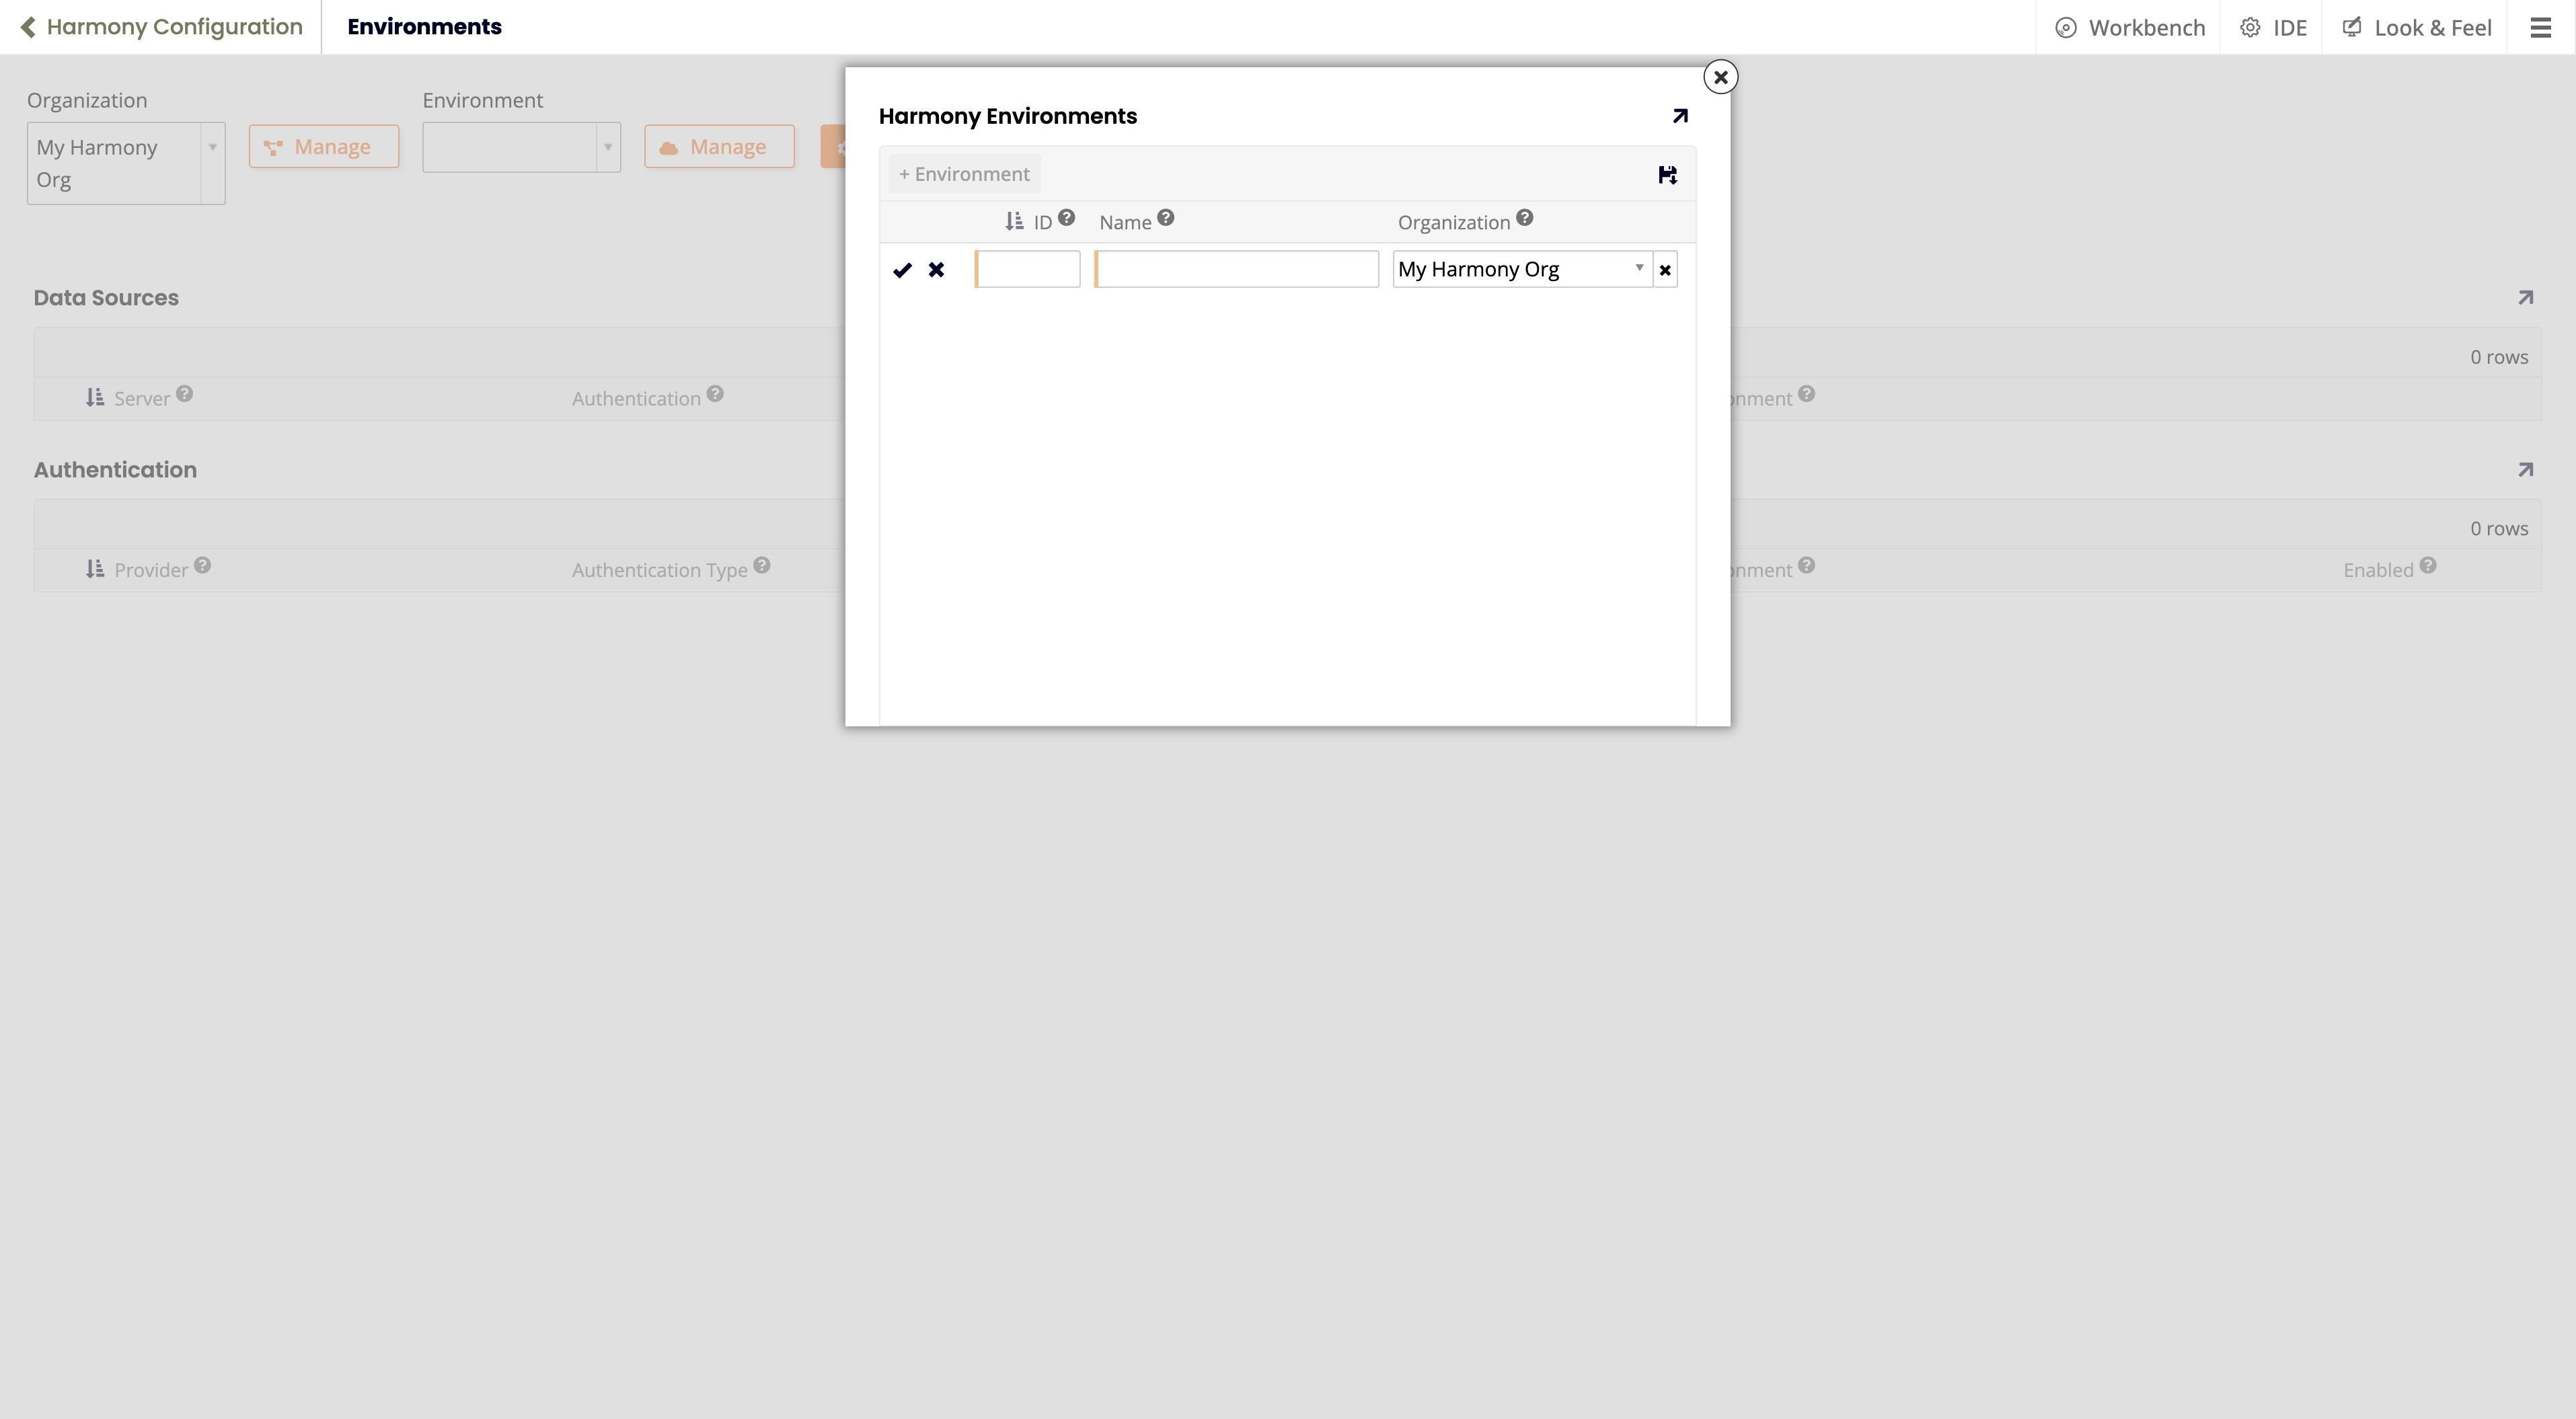
Click the Manage button (next to the Environment menu). The Harmony Environments popup opens:
-
There are two possibilities:
-
If this is your first time here, there is an empty row ready for input, with the Organization setting pre-selected.
-
If there are environments already set up, they are listed. To add a new one, click the + Environment button.
-
-
Set values for the following:
-
ID: The environment ID. Find this on the Management Console > Environments page.
-
Name: A name for this environment. (It can differ from the name used in Harmony.)
-
Organization: The organization the environment is in.
-
-
Click the Save icon, then close the popup.