How to build an AI agent with Model Context Protocol (MCP) in Jitterbit Harmony
Introduction
This guide shows how to build a basic AI agent with an MCP client in Jitterbit Harmony using Studio. It uses the MCP Client connector to consume tools provided by a Model Context Protocol (MCP) server and acts as a chatbot assistant.
The process involves setting the context for the large language model (LLM), which defines the agent as a personal assistant for a software engineer, registering tools for the LLM to know which actions to execute, and exposing a Jitterbit custom API to trigger the workflow that invokes tools on the MCP server.
Tip
For learning purposes, reference the GitHub Agent with MCP provided through Jitterbit Marketplace for an implementation of this guide.
Build an AI agent with an MCP client
-
Create a new Studio project:
- Log in to the Harmony portal and select Studio > Projects.
- Click New Project. A Create New Project dialog opens.
- In the dialog, enter a Project name such as
AI Agent - MCP, select an existing environment, then click Start Designing. The project designer opens.
-
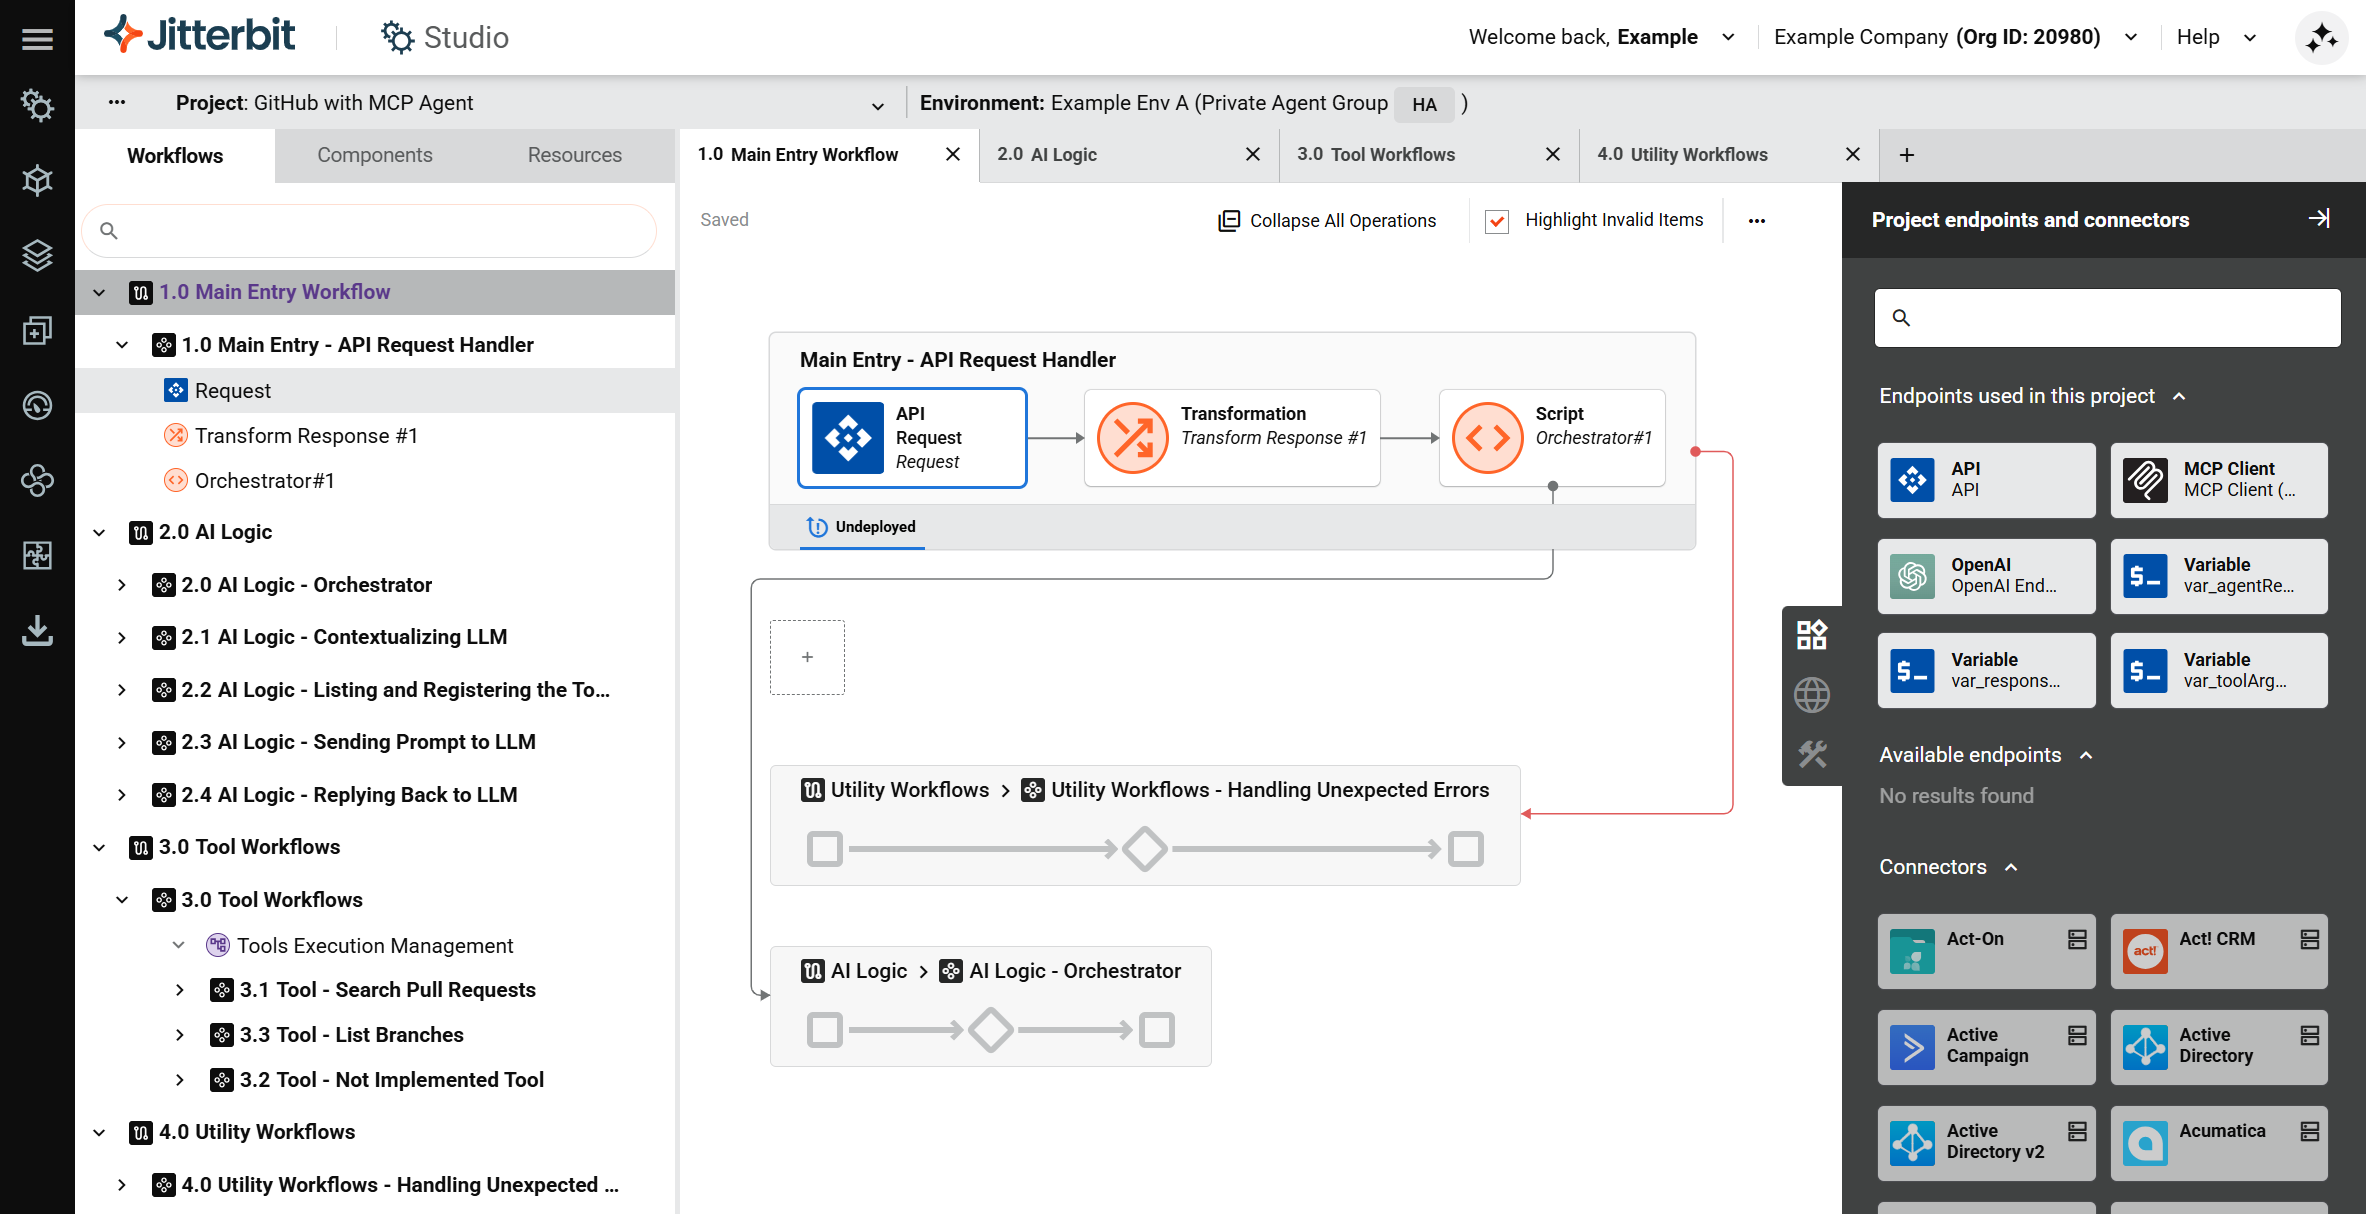
Create the main entry workflow and custom Jitterbit API. This workflow is designed to receive user queries via the API. To create the main entry workflow and API:
-
In the project designer, double-click the default workflow name and rename it to
Main Entry - API Request Handler. -
In the Project endpoints and connectors tab of the design component palette, under the Available endpoints category, click API to show the activity types that can be created. Then click and drag the Request activity type to the drop zone on the design canvas.
-
Double-click the API Request activity to configure it. Define a new JSON schema as follows:
{ "prompt": "<string>" } -
Hover to the right of the API Request activity, click the drop zone, and select New Transformation. A configuration screen opens.
-
Create the target schema as appropriate and map fields within the transformation according to your data and use case. Refer to the GitHub Agent with MCP provided through Jitterbit Marketplace for examples of transforming the data.
-
Double-click the default operation name and rename it as appropriate, for example as
Main Entry - API Request Handler(same as the workflow name). -
Click the operation's actions menu and select Deploy > Deploy.
-
Create a Jitterbit custom API to accept and parse user query payloads:
- Click the operation's actions menu and select Publish as an API or select Publish as an API using AI.
- Keep the default settings except for the following:
- Method:
POST - Response Type:
System Variable
- Method:
- Retain the service URL of the published API.
-
-
Create the main AI logic workflow. The purpose of this workflow is to handle LLM calls and return responses. To create the main AI logic workflow:
-
Click Add New Workflow along the top of the design canvas to create a new workflow.
-
Double-click the default workflow name and rename it to
Main - AI Logic. -
Use a connector to create an endpoint that connects to the LLM service you are using (for example, Amazon Bedrock, Azure OpenAI, Google Gemini, or OpenAI). In the Project endpoints and connectors tab of the design component palette, under the Available endpoints category, click the endpoint to show its activity types, then drag an activity to the drop zone on the design canvas and double-click it to configure it with information such as a prompt to send to the LLM to set the context.
-
Hover to the right of the newly created activity, click the drop zone, and select New Transformation. A configuration screen opens. Map the LLM response into a structured output. Refer to the GitHub Agent with MCP for an example.
-
Use the MCP Client connector to create an endpoint that connects to the MCP server you are using, then drag its List Tools activity type to a new operation drop zone on the design canvas to create another operation.
-
Drag a Register Tools activity type for your LLM to the same operation, to the right of the List Tools activity, then place a transformation between them. Map the output from the tool list to the input for registering tools with the LLM. Once the tools are registered with the LLM, it will have access to execute the actions defined by those tools.
-
Create additional operations for sending the prompt to the LLM and for the LLM to reply, referring to the examples provided in GitHub Agent with MCP.
-
-
Connect the two workflows so that the main AI logic workflow receives the user query from the main entry workflow:
-
Return to the
Main Entry - API Request Handlerworkflow. -
Add a script to call the AI logic workflow:
- Hover to the right of the transformation, click the drop zone, and select New Script.
- Configure the script to run the operation in the
Main - AI Agent Tools Logicworkflow using theRunOperationfunction. For an example, see theOrchestrator #1script in GitHub Agent with MCP.
-
-
Create the tools workflow. In it, add an operation for each tool you want the LLM to be able to invoke, referring to the examples provided in GitHub Agent with MCP. If you have many tools, you can use variables to provide the configuration values needed for configuring the operation steps.
-
Create any utility workflows. A suggested workflow for error handling is included as an example in GitHub Agent with MCP.
-
Click the project's actions menu and select Deploy Project.