How to build a contextual AI agent in Jitterbit Harmony
Introduction
This guide shows how to add memory and context to a reactive AI agent in Jitterbit Harmony using Studio. This agent stores conversation history and maintains context across multiple interactions.
Important
These steps are a continuation from the how-to guide on building a reactive agent.
Tip
For learning purposes, reference the Contextual Agent provided through Jitterbit Marketplace for an implementation of this guide.
Build a contextual AI agent
-
Open the Studio project that contains your reactive AI agent.
-
Add a datastore, such as Jitterbit Cloud Datastore or equivalent. Create two key storages:
Bot_Authorized_Users: To manage authorized sessions.Agent_Q_and_A: To store conversation history for context.
-
Update the main AI logic:
-
Open the workflow
Main - AI Agent Tools Logic. -
Click a new operation drop zone and select New Script. Configure the script to fetch conversation history for the user from the datastore. Include previous questions/answers in the LLM prompt to maintain context. See the script named
Main-AI Logicin the Contextual Agent for an example.
-
-
Add utility workflows. For each:
-
Click Add New Workflow along the top of the design canvas to create a new workflow.
-
Double-click the default workflow name and rename it. Create two workflows:
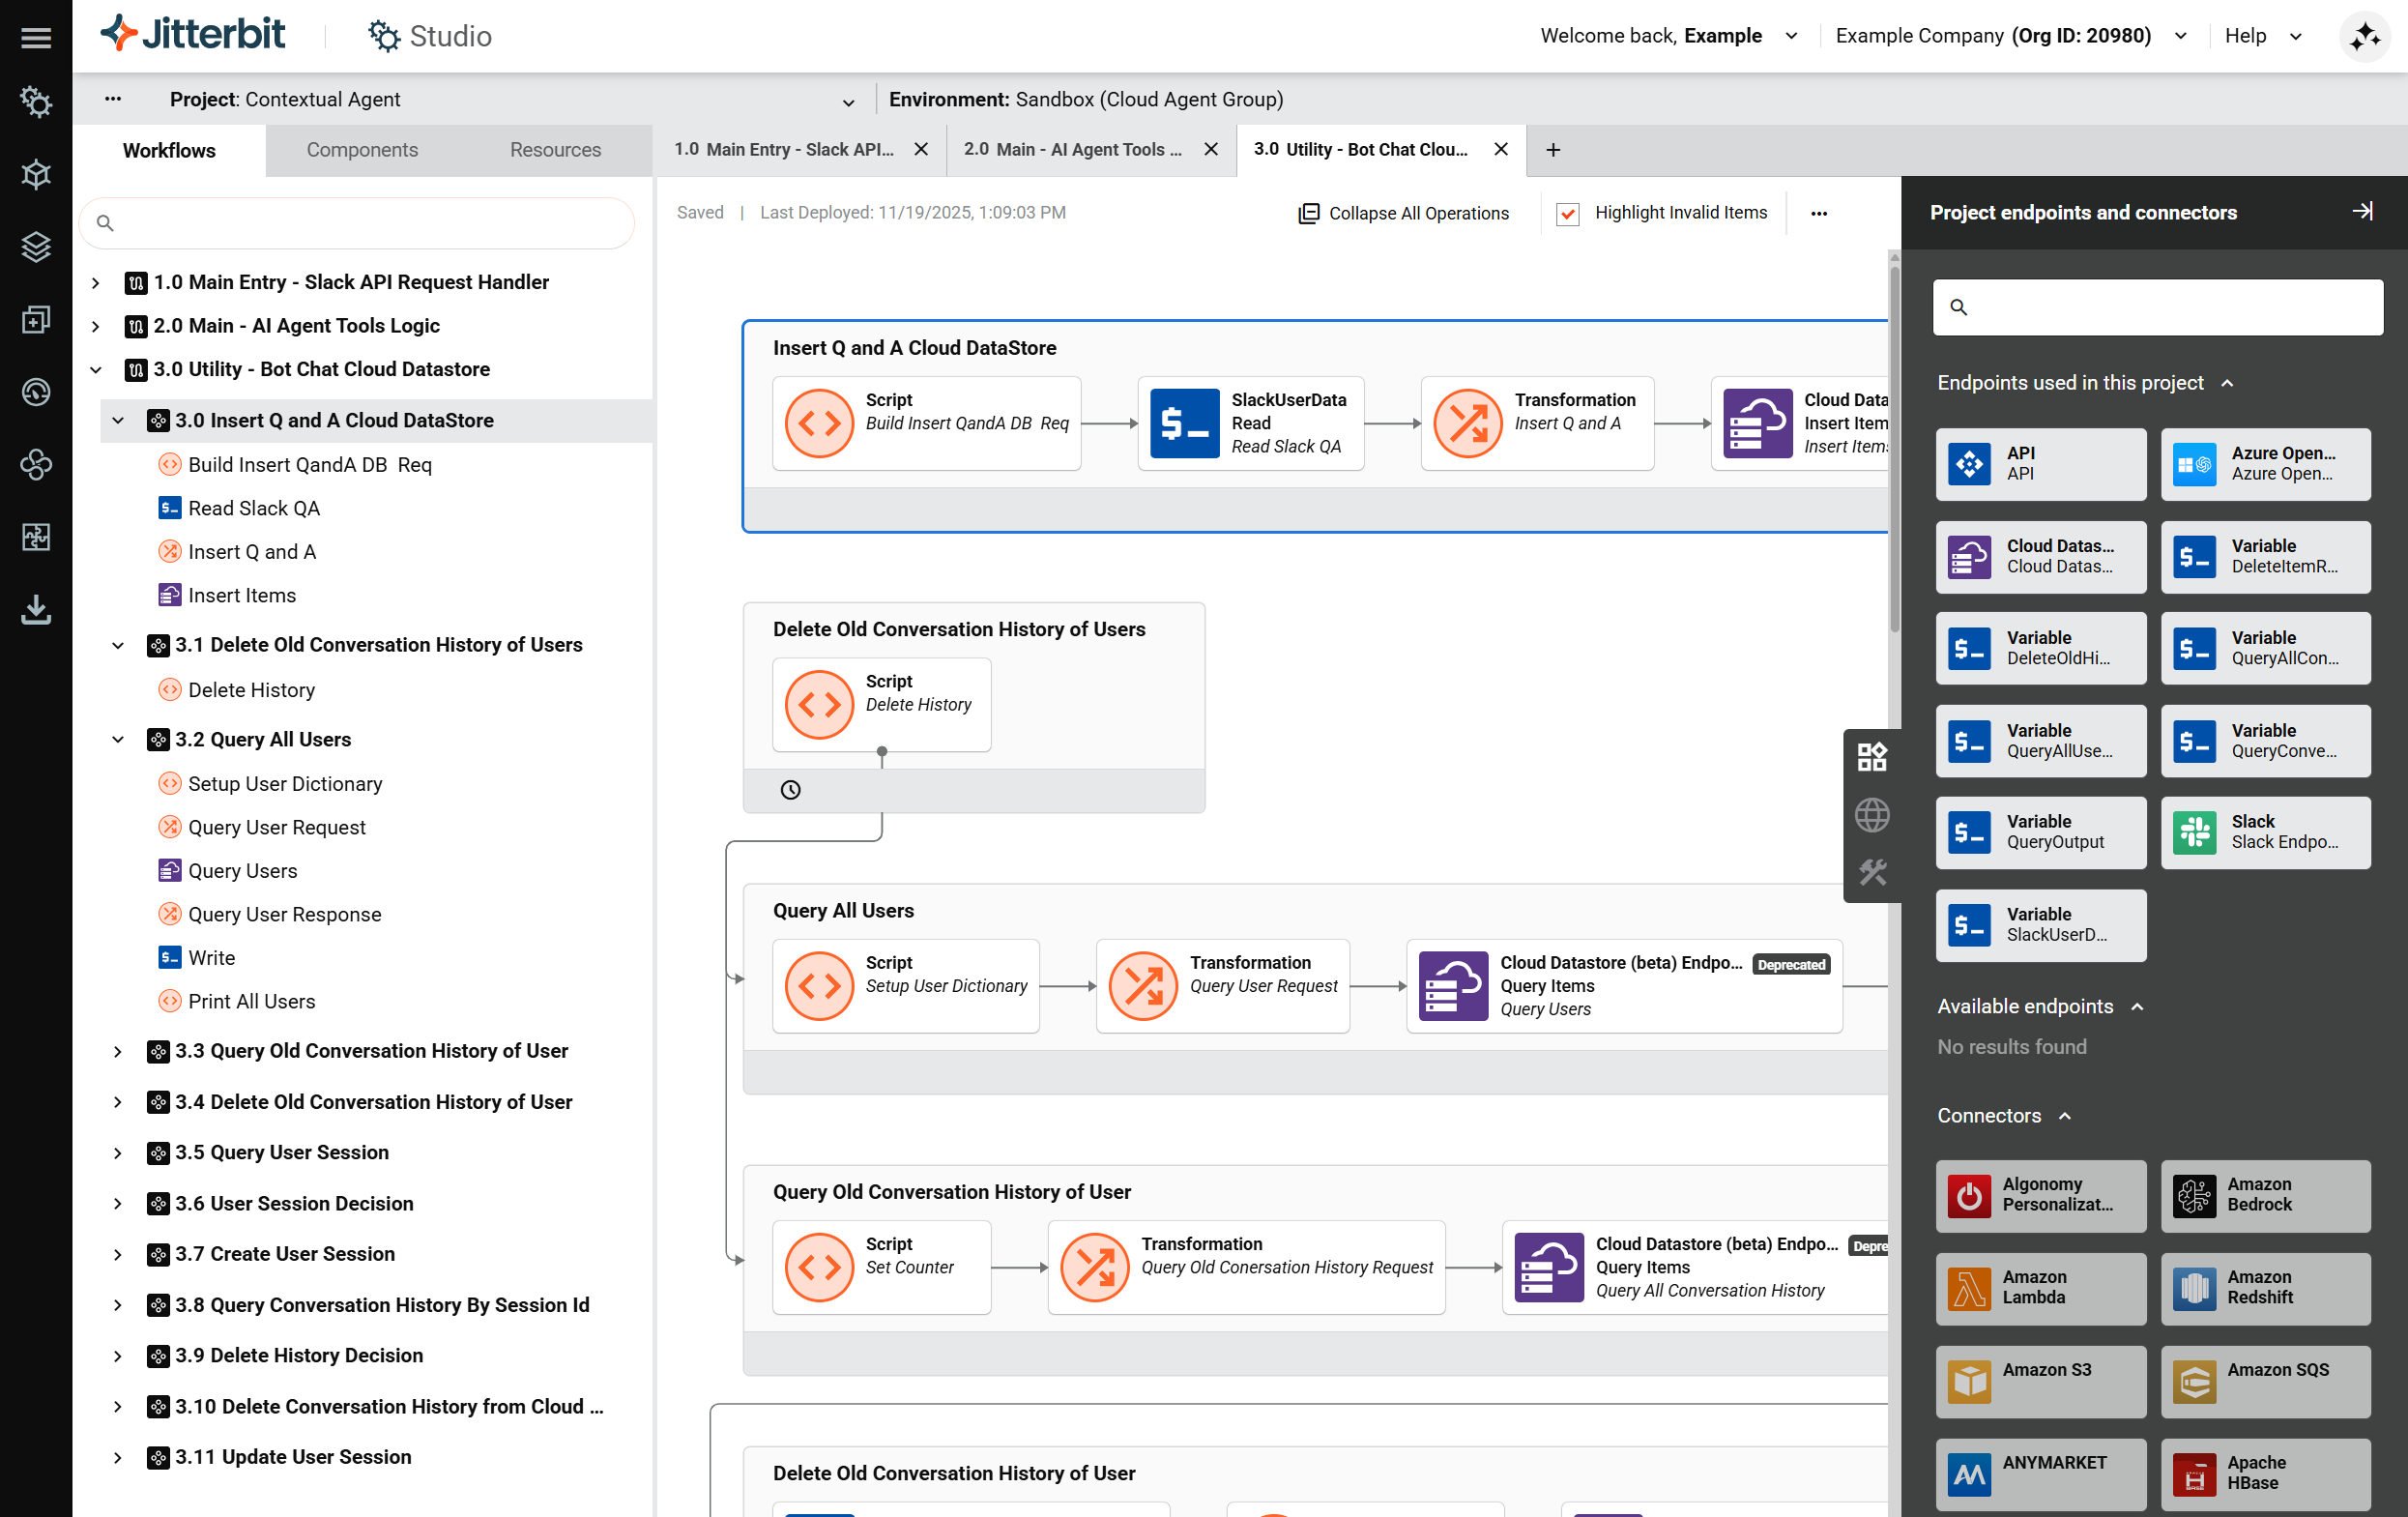
Utility - Read from Datastore: Fetches conversation history.Utility - Write to Datastore: Saves new messages and responses.
See the workflow named
Utility - Bot Chat Cloud Datastorein the Contextual Agent for an example.
-
-
Ensure workflows have stateless entry:
- Slack or API entry workflows only convert user input to internal payload.
- Main logic handles memory retrieval and updates.
Next steps
To build upon the AI agent with memory and context, see Build an AI agent with RAG.