Custom PostgreSQL install on Windows
Introduction
When you install a private agent on Windows, PostgreSQL is installed to a default location; you cannot choose where to install it to. To specify a non-default location for a private agent's PostgreSQL instance, you must interrupt the normal installation process, then find and manually run part of the installation sequence. This page shows how to do that.
Tip
If you have any problems during this procedure, uninstall the private agent on Windows and try again.
Install PostgreSQL to a specified location on Windows
To choose where to install PostgreSQL when installing a Windows private agent, follow these steps:
-
Perform a partial installation of the Jitterbit private agent:
-
Run the private agent Windows standard installer.
-
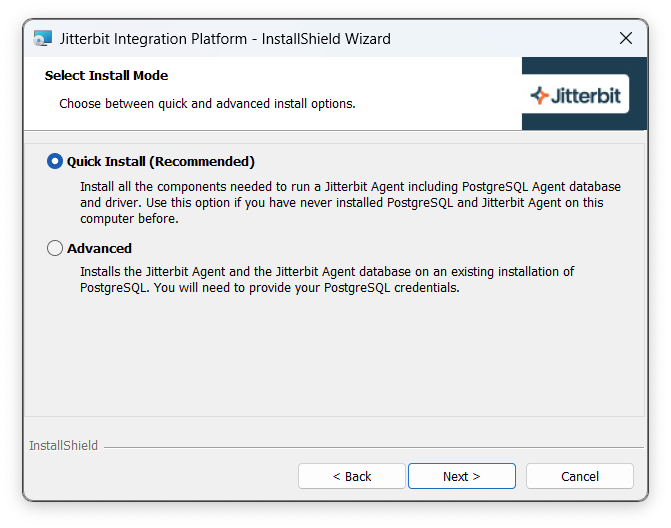
When you see the Install mode screen, stop. Do not click the Next or Cancel buttons:

Important
You will return to this window in later steps.
-
-
Find the install files. These are stored in a temporary folder. Here is one way to find them:
-
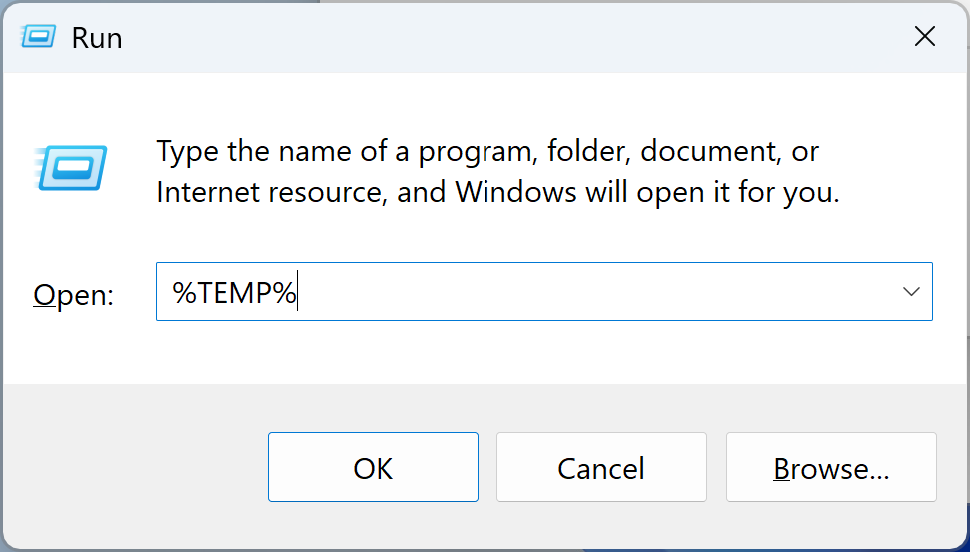
Press Win + R.
-
In the Run dialog, enter
%TEMP%, then press Enter:
-
In the file explorer's search bar, enter
postgresql*windows:
-
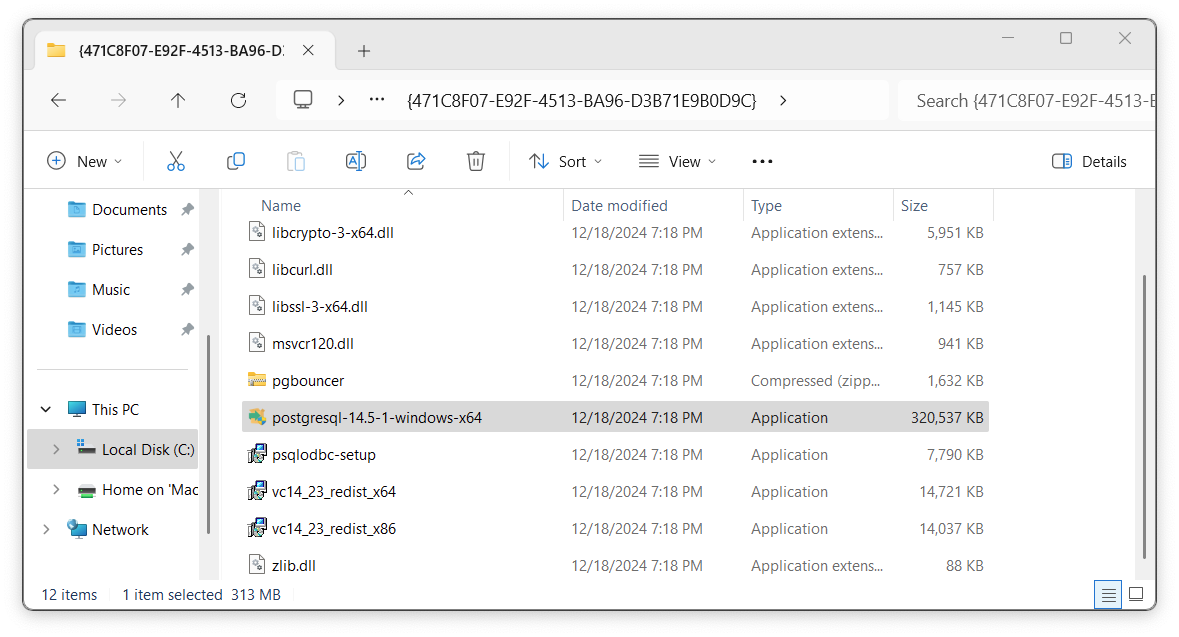
On the found file, right-click and select Open file location. This is the temporary folder containing the expanded private agent installation package:

-
-
Install Microsoft Visual C++:
- In the open temporary folder, double-click the file
vc14_23_redist_x64, then follow the wizard instructions to install Microsoft Visual C++.
- In the open temporary folder, double-click the file
-
Install PostgreSQL:
-
Double-click the PostgreSQL installation file to start the installer, then follow the wizard instructions:
-
On the Select components screen, deselect Stack Builder.
-
On the Installation Directory screen, specify where you want to install PostgreSQL.
-
On the Password screen, enter a password for the PostgreSQL server.
Important
Keep track of the password. It is required later.
-
On the Port screen, specify a port number, or leave the default value.
-
On the Advanced Options screen, leave the default value.
-
Allow the installer to continue. On the last screen, Completing the PostgreSQL Setup Wizard, click the Finish button.
-
-
-
Complete the installation of the Jitterbit private agent:
-
On the Install Mode screen of the Jitterbit Integration Platform installer window, select Advanced mode, then click the Next button.
-
On the Destination Folder screen, specify where to install the private agent, or leave the default value, then click the Next button.
-
On the Database administrative credentials screen, enter the PostgreSQL administrator password, then click the Next button.
-
On the Resuming screen, click the Next button.
-
On the Completed screen, click the Finish button.
-